I was at my local hardware store, of all places, picking up a new rake handle in early November, when the man behind me in line started talking about stuffing. Not the kind you’d expect either—he was a retired plumber named Frank, with a flannel shirt and the kind of quiet authority that makes you listen. “My wife can’t have gluten,” he said, nodding at the bag of cornbread mix I was holding, “so I’ve been perfecting my own recipe for years.” I wasn’t expecting cooking advice from a plumber named Frank, but there I was, standing between a display of paint swatches and snow shovels, listening to him describe exactly how to make a Wholesome Gluten-Free Herb Stuffing that had apparently converted his entire gluten-loving family.
Frank told me the secret was in the toasting—you have to dry out the bread until it’s almost crouton-like, and you can’t skip the fresh herbs. He even drew a little diagram on the back of his receipt for me, which I still keep tucked in my favorite cookbook. Honestly, I was skeptical at first. Gluten-free stuffing can be a sad, soggy mess if you’re not careful, and Thanksgiving is no time for culinary risks. But Frank’s confidence was contagious, and I figured if a plumber could crack the code, so could I.
That first Thanksgiving, I made his version with a few tweaks of my own, and let me tell you—it was a revelation. The texture was perfect, the herbs sang, and nobody at the table even asked if it was gluten-free. They just asked for seconds. Maybe you’ve been there, staring at a box of gluten-free bread crumbs and wondering if this is the year you finally nail it. Well, this is that recipe. It’s become my go-to for Thanksgiving, and I think it’s about to become yours too.
Why You’ll Love This Recipe
This isn’t just another gluten-free stuffing recipe that leaves you disappointed. I’ve tested this version more times than I can count, tweaking the ratios and the baking times until it was absolutely foolproof. It’s the kind of recipe that makes you forget it’s gluten-free, and that’s the highest compliment I can give.
- Quick & Easy: Comes together in under an hour, with only 15 minutes of active prep. Perfect for the chaos of Thanksgiving morning.
- Simple Ingredients: No weird specialty flours or hard-to-find items. You can find everything at your regular grocery store.
- Perfect for Thanksgiving: This stuffing holds its own against any traditional version. It’s the side dish that gets the most compliments every single year.
- Crowd-Pleaser: Gluten-free or not, everyone at your table will love it. I’ve served it to picky eaters, health-conscious relatives, and classic stuffing purists—all gave it two thumbs up.
- Unbelievably Delicious: The combination of fresh sage, thyme, and rosemary with perfectly toasted gluten-free bread creates a texture and flavor that’s next-level comfort food.
What sets this recipe apart is the technique. Most gluten-free stuffings turn into mush because the bread absorbs too much liquid and falls apart. But by toasting the bread cubes until they’re bone-dry, then using a careful ratio of broth to eggs, you get a stuffing that’s crisp on top, tender inside, and holds its shape beautifully. It’s comfort food reimagined—healthier, faster, but with the same soul-soothing satisfaction that makes Thanksgiving special.
What Ingredients You Will Need
This recipe uses simple, wholesome ingredients to deliver bold flavor and satisfying texture without the fuss. Most of these are pantry staples, and the fresh herbs are worth seeking out—they really make the dish sing.
- Gluten-free bread (about 1 large loaf, or 10 cups cubed) – Look for a sturdy loaf, not the soft, squishy kind. I prefer Canyon Bakehouse or Schar for the best texture. Day-old bread works great, or you can dry it out in the oven.
- Unsalted butter (6 tablespoons) – Adds richness and helps the bread get golden and crisp. You can use vegan butter if needed.
- Yellow onion (1 large, diced) – Provides a savory base. Sweet onion works too, but yellow gives the best flavor.
- Celery stalks (3, diced) – Essential for that classic stuffing crunch and aroma.
- Garlic cloves (4, minced) – Adds depth. Don’t skip it!
- Fresh sage leaves (2 tablespoons, chopped) – The star herb for Thanksgiving stuffing. Dried won’t give the same punch, but use 2 teaspoons if that’s all you have.
- Fresh thyme leaves (1 tablespoon) – Earthy and warm. Strip the leaves from the stems.
- Fresh rosemary (1 tablespoon, finely chopped) – Piney and aromatic. Go easy—it’s potent.
- Fresh parsley (1/4 cup, chopped) – Adds a fresh, bright note at the end.
- Low-sodium chicken or vegetable broth (2 cups) – Use vegetable broth for a vegetarian version. Low-sodium is key so you can control the salt.
- Large eggs (2) – The secret to structure. They bind the stuffing so it doesn’t fall apart. Use flax eggs if you need it vegan.
- Salt (1 teaspoon, plus more to taste) – I use fine sea salt.
- Black pepper (1/2 teaspoon, freshly ground) – Freshly ground makes a difference here.
Ingredient Selection Tips: For the bread, avoid anything too airy or with large holes—you want a dense, sturdy loaf that will hold up to the liquid. I’ve found that gluten-free sourdough works beautifully if you can find it. And please, use fresh herbs. I know it’s tempting to use dried when you’re in a rush, but the fresh herbs are what make this stuffing taste like Thanksgiving.
Equipment Needed
You don’t need anything fancy for this recipe, which is part of the beauty. Here’s what you’ll need:
- Large baking sheet – For toasting the bread cubes. A rimmed sheet works best to prevent spills.
- Large skillet or sauté pan – For cooking the vegetables. A 12-inch pan gives you plenty of room.
- 9×13-inch baking dish – The perfect size for this amount of stuffing. A 3-quart casserole dish works too.
- Large mixing bowl – For combining everything. You’ll need room to toss without spilling.
- Sharp knife and cutting board – For dicing the vegetables and chopping the herbs.
- Wooden spoon or spatula – For stirring the vegetables and folding the ingredients together.
- Measuring cups and spoons – Accuracy matters for the liquid ratio.
Budget-Friendly Options: If you don’t have a 9×13 dish, you can use a 10-inch cast iron skillet or even a disposable aluminum pan. For the baking sheet, any large oven-safe tray will do. I’ve made this in a pinch with a cookie sheet, and it worked just fine.
Preparation Method
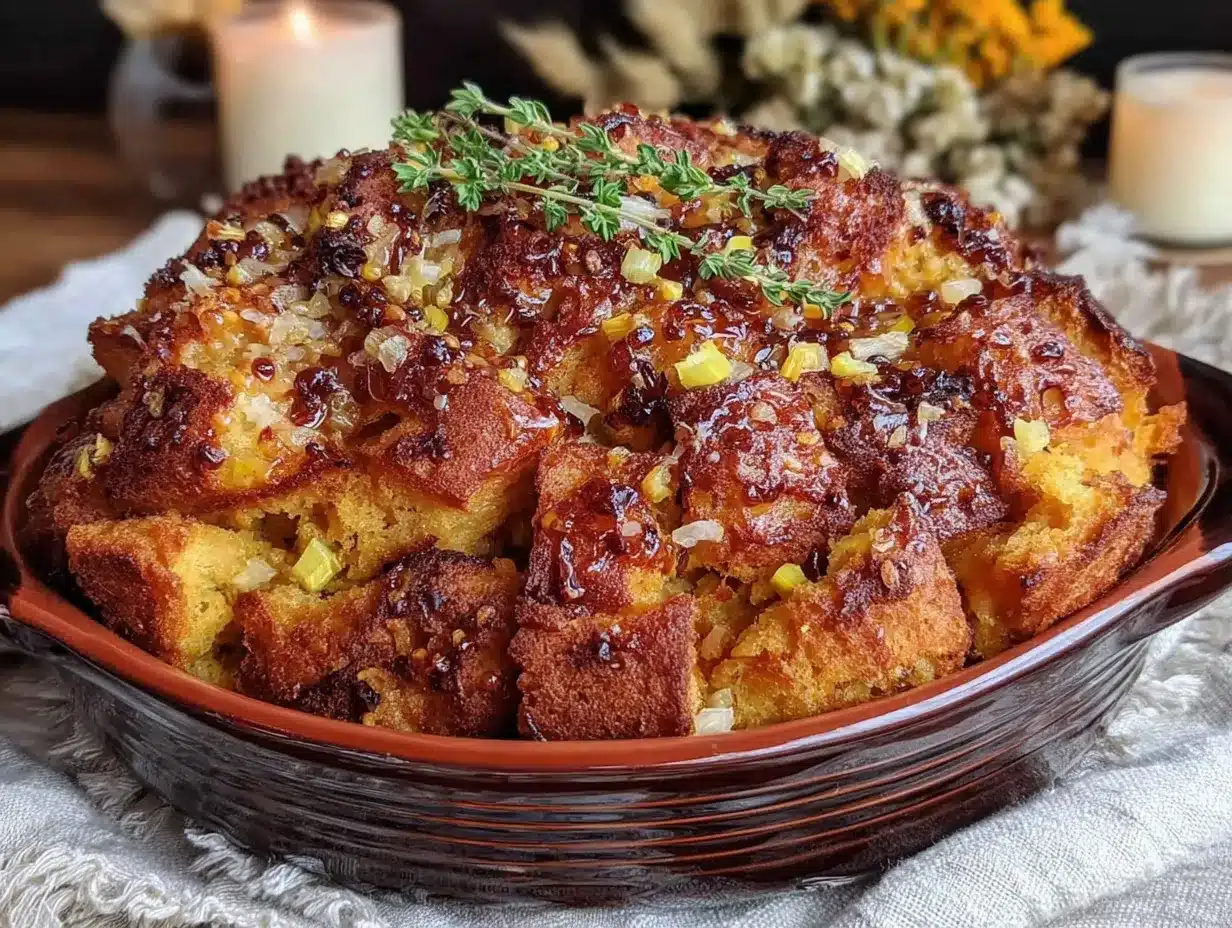
- Preheat and prep the bread. Preheat your oven to 375°F (190°C). Cut your gluten-free bread into 1/2-inch cubes—you should have about 10 cups. Spread them in a single layer on a large baking sheet. Toast for 12-15 minutes, stirring halfway through, until the cubes are dry, golden, and feel slightly crisp. They should be completely dry to the touch, like a crouton. Set aside to cool. (Pro tip: Don’t rush this step. Soggy stuffing is the enemy, and proper toasting is your best defense.)
- Sauté the aromatics. While the bread toasts, melt the butter in a large skillet over medium heat. Add the diced onion and celery, and cook for 6-8 minutes, stirring occasionally, until the onion is translucent and the celery has softened. Add the minced garlic, chopped sage, thyme, and rosemary, and cook for another minute until fragrant. The smell at this point is absolutely incredible—it’s like Thanksgiving in a pan.
- Combine the wet ingredients. In a small bowl or measuring cup, whisk together the chicken broth and eggs until well combined. Season with the salt and pepper. Set aside. (If you’re using vegetable broth, this is where you can add a pinch of poultry seasoning if you want that classic flavor.)
- Assemble the stuffing. Transfer the toasted bread cubes to a large mixing bowl. Pour the sautéed vegetable and herb mixture over the top and toss gently to distribute. Gradually pour the broth and egg mixture over the bread, tossing as you go, until all the liquid is absorbed. The bread should be moist but not swimming. Fold in the fresh parsley.
- Bake to perfection. Transfer the stuffing to a greased 9×13-inch baking dish and spread it into an even layer. Cover with foil and bake at 375°F (190°C) for 25 minutes. Remove the foil and bake for another 15-20 minutes, until the top is golden brown and slightly crisp. The edges should be a little crunchy, while the center stays tender.
- Rest and serve. Let the stuffing rest for 5-10 minutes before serving. This allows it to set up and makes it easier to scoop. Garnish with a few extra fresh parsley leaves if you’re feeling fancy.
Sensory Cues: The bread should smell toasty and nutty after baking. When you add the broth mixture, you should hear a slight sizzle as it hits the warm bread. The finished stuffing should look golden on top, with visible flecks of green herbs. When you press a spoon into it, it should hold its shape without crumbling.
Cooking Tips & Techniques
Let me save you from the mistakes I’ve made along the way. The first time I made this, I used soft gluten-free sandwich bread and didn’t toast it long enough. The result was a sad, mushy mess that collapsed into a puddle. Learn from my failure.
- Don’t skip the toasting. This is non-negotiable. Gluten-free bread is more porous than regular bread, so it absorbs liquid faster. Toasting it until bone-dry creates a barrier that prevents it from turning to paste. If you’re short on time, you can use day-old bread that’s been sitting out overnight, but toasting is still better.
- Measure your liquid carefully. The ratio of bread to liquid is critical. Too much broth, and you’ll have stuffing soup. Too little, and it’ll be dry and crumbly. Start with 2 cups of broth and add more only if the bread looks parched after mixing. You want it moist, not drenched.
- Use room temperature eggs. Cold eggs can seize up when mixed with the broth, creating lumps. Let them sit on the counter for 15 minutes before using. Or, if you’re in a hurry, place them in a bowl of warm water for 5 minutes.
- Let it rest before serving. I know it’s hard to wait when the whole house smells amazing, but resting allows the stuffing to firm up. If you serve it straight out of the oven, it might fall apart on the plate.
- Double the recipe for a crowd. This recipe serves about 8-10 people. If you’re feeding a bigger group, double everything and use a larger baking dish. Just increase the baking time by 10-15 minutes, and check for doneness by looking for that golden top.
Variations & Adaptations
One of the best things about this stuffing is how adaptable it is. Over the years, I’ve tried several variations, and they’ve all been winners.
- Vegan Version: Replace the butter with vegan butter or olive oil, and use flax eggs (2 tablespoons ground flaxseed mixed with 6 tablespoons water, let sit for 5 minutes) instead of regular eggs. Use vegetable broth. It’s just as flavorful and holds together beautifully.
- Sausage and Apple Stuffing: Brown 1 pound of gluten-free Italian sausage (casings removed) in the skillet before cooking the vegetables. Add 1 diced apple (I like Honeycrisp) along with the celery. The sweetness of the apple plays beautifully with the savory herbs.
- Mushroom and Leek Variation: Swap the celery for 2 cups of sliced cremini mushrooms and 2 leeks (white and light green parts only, cleaned thoroughly). Sauté them in the butter until golden. This version feels extra luxurious and earthy.
- Cornbread Stuffing: Use gluten-free cornbread instead of regular bread. Bake a batch of your favorite gluten-free cornbread, let it cool and dry out, then cube and toast it. The cornbread adds a slight sweetness that’s amazing with the herbs.
- Herb Adjustments: Not a fan of rosemary? Use extra thyme and sage. Want more kick? Add 1/2 teaspoon of red pepper flakes with the garlic. The herb blend is flexible, so make it your own.
My personal favorite variation is the sausage and apple version. I made it for a Friendsgiving last year, and someone actually asked me to cater their next holiday dinner. I’m not kidding—it’s that good.
Serving & Storage Suggestions
This stuffing is best served warm, straight from the oven. The contrast between the crispy top and the tender interior is pure magic. Here’s how to make the most of it:
- Serving Temperature: Serve it hot, but let it rest for 5-10 minutes after baking. This helps it set and makes it easier to scoop without falling apart.
- Presentation: Transfer the stuffing to a warm serving bowl or platter. Garnish with a few fresh sage leaves and a sprinkle of fresh parsley for a pop of color. It’s rustic and beautiful.
- Complementary Dishes: This stuffing is a natural partner for roast turkey, of course, but it also shines alongside roasted chicken, pork loin, or even a hearty vegan roast. For sides, try it with creamy mashed potatoes, roasted Brussels sprouts, or a tangy cranberry sauce to cut through the richness.
- Beverage Pairing: A crisp white wine like Sauvignon Blanc or a dry Riesling balances the savory herbs. For non-alcoholic options, sparkling apple cider is a festive choice.
- Storage: Leftover stuffing keeps well in an airtight container in the refrigerator for up to 4 days. The flavors actually meld and deepen overnight, so it might taste even better the next day.
- Reheating: To reheat, place the stuffing in a baking dish, sprinkle with a tablespoon or two of broth to add moisture, cover with foil, and warm in a 350°F (175°C) oven for 15-20 minutes. You can also microwave individual portions, but the oven method keeps the texture better.
- Freezing: This stuffing freezes beautifully. Let it cool completely, then transfer to a freezer-safe container or zip-top bag. Freeze for up to 3 months. Thaw overnight in the refrigerator and reheat as directed above.
Nutritional Information & Benefits
This stuffing is proof that gluten-free doesn’t mean flavor-free or nutritionally empty. Here’s a rough breakdown per serving (based on 10 servings):
| Nutrient | Amount per Serving |
|---|---|
| Calories | 245 |
| Total Fat | 10g |
| Saturated Fat | 5g |
| Carbohydrates | 32g |
| Fiber | 4g |
| Protein | 7g |
| Sodium | 420mg |
Health Benefits: This stuffing is packed with fiber from the gluten-free bread and vegetables, which supports healthy digestion. Celery is a good source of vitamin K and antioxidants, while fresh herbs like sage and thyme are known for their anti-inflammatory properties. By using low-sodium broth, you can control the salt content, making this a more heart-friendly option than traditional stuffing. Plus, the eggs add a nice protein boost that helps keep you full and satisfied.
Dietary Considerations: This recipe is naturally gluten-free, and with the substitutions listed above, it can easily be made vegan and dairy-free. It’s also nut-free and soy-free if you choose your bread and broth carefully. As always, check your ingredient labels to ensure they meet your dietary needs.
Conclusion
This Wholesome Gluten-Free Herb Stuffing has become my non-negotiable Thanksgiving staple. It’s the dish that proves you don’t have to sacrifice flavor or texture when you’re cooking gluten-free. Every time I make it, I think of Frank the plumber and his hand-drawn diagram, and I smile. It’s amazing where good recipes come from, isn’t it?
I hope you give this recipe a try and make it your own. Maybe you’ll add a little extra sage, or throw in some chestnuts, or serve it alongside your grandmother’s cranberry sauce. That’s the beauty of cooking—you can adapt and experiment and make each dish a reflection of your own story. Let me know how it turns out in the comments below. Did you try a variation? Did your gluten-eating guests ask for the recipe? I’d love to hear about it.
Here’s to a Thanksgiving table where everyone feels included, and the stuffing is the star of the show. Happy cooking, friends!
Frequently Asked Questions
Can I make this stuffing ahead of time?
Absolutely! You can assemble the stuffing (steps 1-4) up to 24 hours in advance. Cover and refrigerate the unbaked stuffing, then bake it as directed on Thanksgiving day. You may need to add 5-10 minutes to the baking time since it’s starting from cold.
What’s the best gluten-free bread for this recipe?
I recommend a sturdy, dense gluten-free bread like Canyon Bakehouse or Schar. Avoid soft, airy breads that fall apart easily. Gluten-free sourdough or multigrain loaves work particularly well because they have more structure.
Why did my stuffing turn out soggy?
Soggy stuffing usually means the bread wasn’t toasted enough or there was too much liquid. Make sure your bread cubes are completely dry and crisp before mixing. Start with 2 cups of broth and add more only if needed. The bread should be moist but not swimming.
Can I cook this stuffing inside the turkey?
I don’t recommend it for food safety reasons. The stuffing needs to reach 165°F (74°C) to be safe, and it’s difficult to achieve that inside a turkey without overcooking the bird. Baking it separately gives you better control and a crispier top.
How do I make this recipe nut-free?
This recipe is naturally nut-free as written, but always check the labels on your gluten-free bread and broth. Some brands may be processed in facilities that handle nuts. If you’re cooking for someone with a severe allergy, opt for certified nut-free products.
Pin This Recipe!
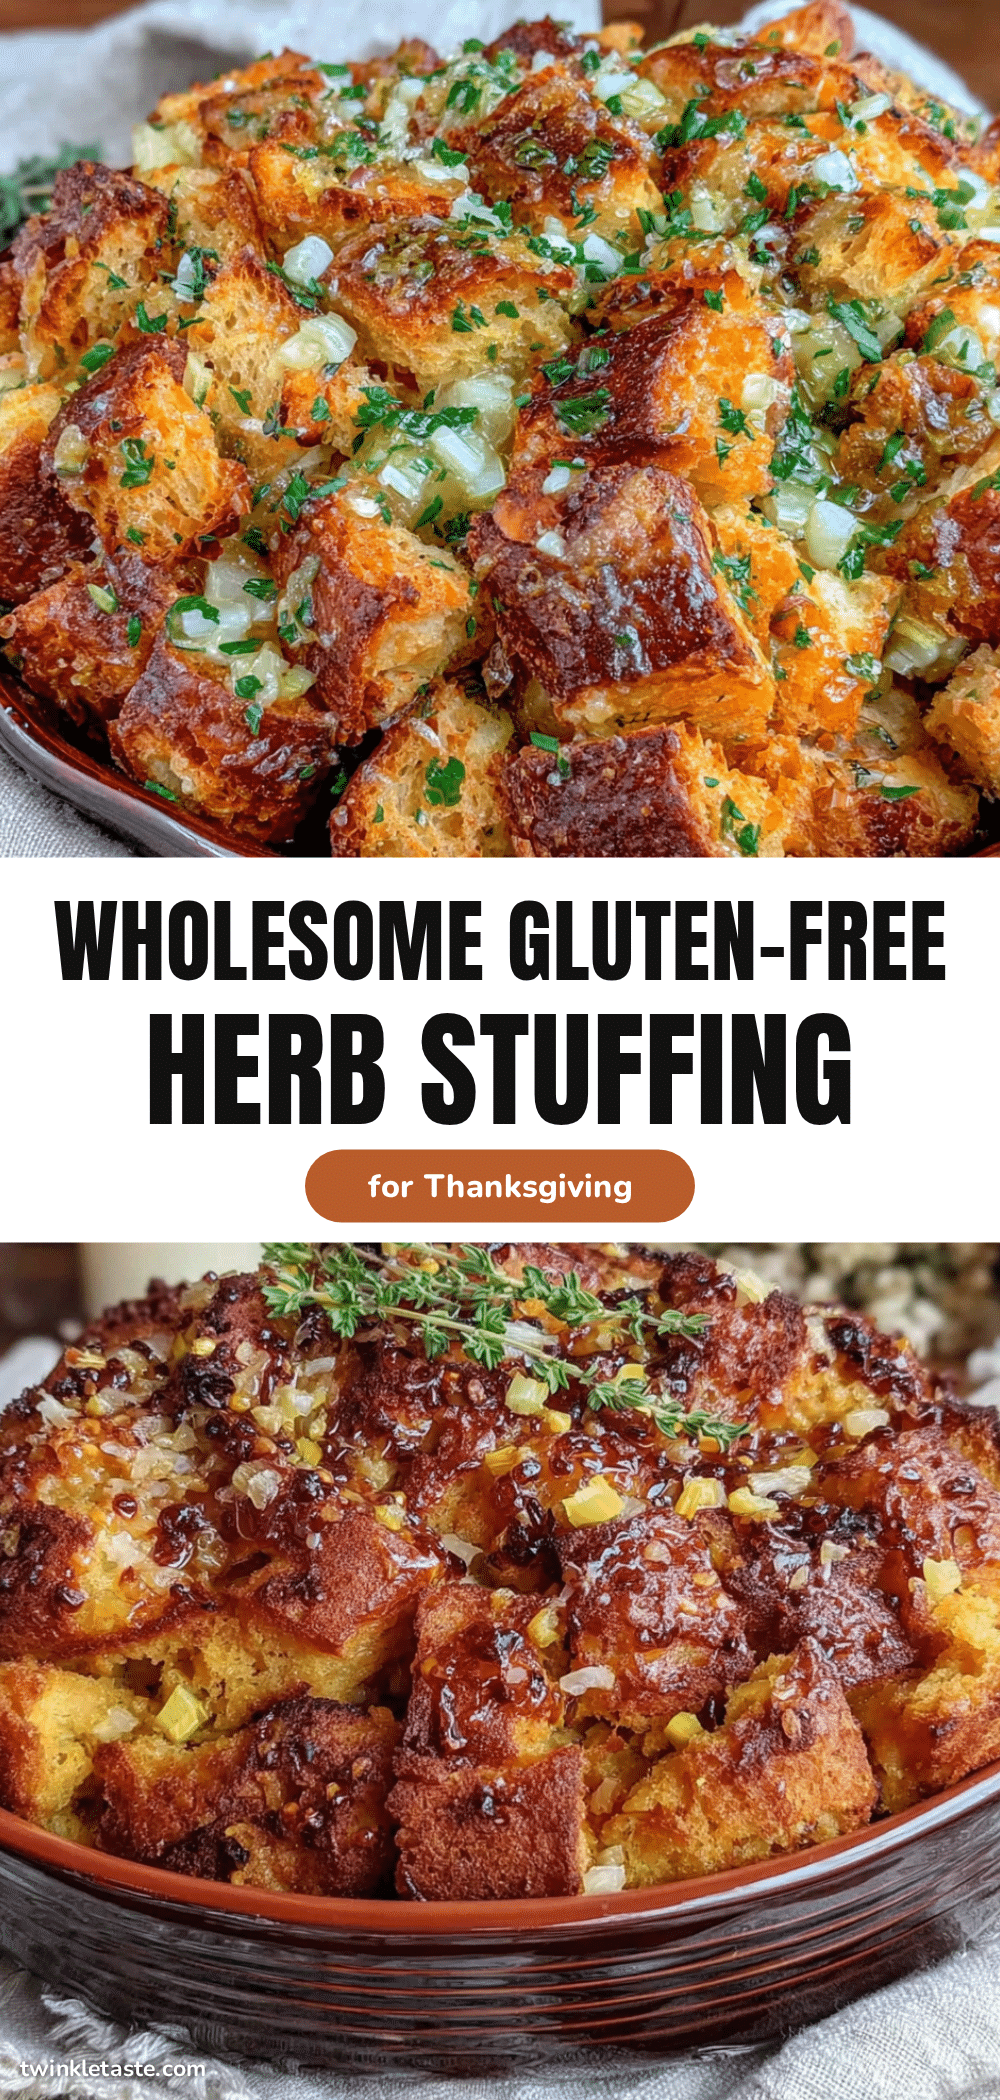
Wholesome Gluten-Free Herb Stuffing Thanksgiving Recipe

A foolproof gluten-free stuffing with perfectly toasted bread, fresh herbs, and a crisp top that holds its shape. This crowd-pleasing side dish is so delicious, no one will guess it’s gluten-free.
- Prep Time: 15 minutes
- Cook Time: 40 minutes
- Total Time: 55 minutes
- Yield: 8-10 servings 1x
- Category: Side Dish
- Cuisine: American
Ingredients
- 1 large loaf gluten-free bread (about 10 cups cubed)
- 6 tablespoons unsalted butter
- 1 large yellow onion, diced
- 3 celery stalks, diced
- 4 garlic cloves, minced
- 2 tablespoons fresh sage leaves, chopped
- 1 tablespoon fresh thyme leaves
- 1 tablespoon fresh rosemary, finely chopped
- 1/4 cup fresh parsley, chopped
- 2 cups low-sodium chicken or vegetable broth
- 2 large eggs
- 1 teaspoon fine sea salt
- 1/2 teaspoon freshly ground black pepper
Instructions
- Preheat oven to 375°F (190°C). Cut gluten-free bread into 1/2-inch cubes (about 10 cups). Spread in a single layer on a large baking sheet. Toast for 12-15 minutes, stirring halfway, until dry, golden, and slightly crisp. Set aside to cool.
- While bread toasts, melt butter in a large skillet over medium heat. Add diced onion and celery; cook 6-8 minutes until onion is translucent and celery softened. Add minced garlic, chopped sage, thyme, and rosemary; cook 1 minute until fragrant.
- In a small bowl, whisk together broth and eggs until combined. Season with salt and pepper. Set aside.
- Transfer toasted bread cubes to a large mixing bowl. Pour sautéed vegetable-herb mixture over top and toss gently. Gradually pour broth-egg mixture over bread, tossing until liquid is absorbed. Fold in fresh parsley.
- Transfer stuffing to a greased 9×13-inch baking dish. Cover with foil and bake at 375°F for 25 minutes. Remove foil and bake 15-20 minutes more until top is golden brown and slightly crisp.
- Let stuffing rest 5-10 minutes before serving. Garnish with extra fresh parsley if desired.
Notes
Toast bread until bone-dry to prevent sogginess. Use fresh herbs for best flavor. Let stuffing rest before serving to help it set. Can be assembled up to 24 hours ahead and refrigerated unbaked; add 5-10 minutes to baking time if starting from cold.
Nutrition
- Serving Size: 1 serving (based on
- Calories: 245
- Sodium: 420
- Fat: 10
- Saturated Fat: 5
- Carbohydrates: 32
- Fiber: 4
- Protein: 7
Keywords: gluten-free stuffing, Thanksgiving stuffing, herb stuffing, gluten-free Thanksgiving, holiday side dish


