I wasn’t expecting baking advice from my plumber, but there I was, sitting on the floor of my kitchen with a wrench in one hand and a sticky note in the other. A pipe had burst under the sink—right in the middle of Thanksgiving prep, because of course it did—and Frank, the nicest guy in coveralls you’ll ever meet, had just finished fixing the mess. While I was mopping up puddles and feeling sorry for myself, he started talking about pumpkin pie.
“You know,” he said, wiping his hands on a rag, “my grandmother used to make the best pumpkin pie I’ve ever had. She’d roast the pumpkin herself, wouldn’t touch a can. Said the secret was in the straining.” I laughed at first—here was a plumber giving me pastry advice. But Frank didn’t laugh. He pulled a crumpled sticky note from his pocket, the edges worn and the ink smudged, and handed it to me. “Try it,” he said. “You won’t go back.”
Honestly, I almost forgot about that sticky note. I stuffed it in my apron pocket and didn’t think about it again until three days later, when I was staring at a can of pumpkin puree and feeling like something was missing. I dug out Frank’s note, squinted at the faded handwriting, and decided to give it a shot. Let me tell you—that pie changed everything. The filling was silkier, the spices more balanced, and the crust? Flaky enough to make you close your eyes after the first bite. I’ve been making it ever since, and now I’m sharing it with you.
Maybe you’ve been there—searching for that one pumpkin pie recipe that feels like the one. The kind that makes people at the dinner table go quiet, then ask for seconds. The kind that doesn’t require a culinary degree but still feels special enough for a holiday table. Well, friend, this is it. This is the perfect classic pumpkin pie from scratch, and it came from the most unexpected source: a plumber named Frank who knew more about pastry than half the bakers I’ve met.
Why You’ll Love This Recipe
I’ve tested this recipe more times than I can count—through burnt crusts, runny fillings, and one memorable disaster where I forgot the sugar entirely (don’t ask). After all that trial and error, I can say with confidence: this is the best version. Here’s why you’ll love it too:
- Made from scratch, but totally doable: Roasting your own pumpkin sounds intimidating, but it’s actually simpler than you think. Plus, the flavor difference is night and day.
- Silky, not grainy: The secret is straining the pumpkin puree through a fine-mesh sieve. It removes excess water and gives you that velvety texture everyone craves.
- Perfectly spiced: Not too much cinnamon, not too little nutmeg. I’ve balanced the spices so every bite tastes like fall without being overwhelming.
- Crowd-pleaser guaranteed: I’ve served this at potlucks, dinner parties, and family gatherings. It disappears every single time.
- Make-ahead friendly: You can prep the crust and filling a day ahead, which is a lifesaver when you’re hosting. Less stress, more time with your guests.
- Impress without stress: This pie looks gorgeous on a dessert table—golden crust, smooth filling, maybe a dollop of whipped cream on top. Your guests will think you spent hours, but you’ll know the truth.
This isn’t just another pumpkin pie recipe. It’s the one that makes people ask for the recipe before they’ve even finished their slice. It’s comfort food at its finest—familiar, cozy, and absolutely delicious.
What Ingredients You Will Need
This recipe uses simple, wholesome ingredients that you probably already have in your pantry. The magic comes from how they work together—each one plays a role in creating that perfect texture and flavor. Let’s break it down.
For the Crust
- 1 ¼ cups all-purpose flour (plus extra for dusting)
- ½ teaspoon salt
- 1 tablespoon granulated sugar
- ½ cup cold unsalted butter, cut into small cubes (I prefer Kerrygold for its rich flavor)
- 3 to 4 tablespoons ice water
For the Pumpkin Filling
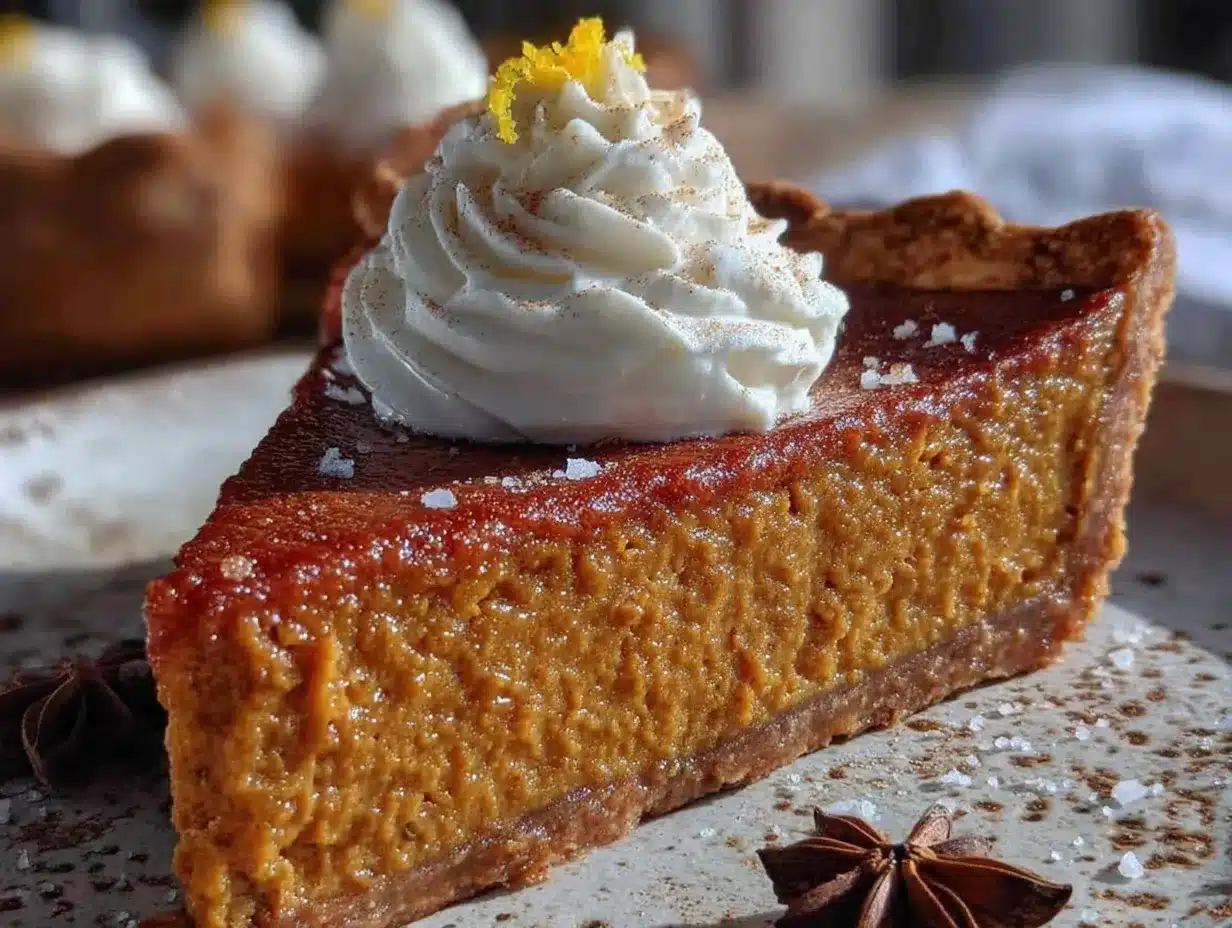
- 1 small sugar pumpkin (about 2 pounds), or 1 ¾ cups homemade pumpkin puree
- ¾ cup granulated sugar
- 1 teaspoon ground cinnamon
- ½ teaspoon ground ginger
- ½ teaspoon ground nutmeg
- ¼ teaspoon ground cloves
- ½ teaspoon salt
- 2 large eggs, room temperature
- 1 ¼ cups heavy cream (or half-and-half for a lighter version)
- 1 teaspoon vanilla extract
Ingredient tips: Look for a sugar pumpkin, not a carving pumpkin—sugar pumpkins are smaller, sweeter, and have less water content. If you’re short on time, you can use canned pumpkin puree (not pumpkin pie filling). I recommend Libby’s for consistent results. For the spices, fresh-grated nutmeg makes a noticeable difference—trust me on this one.
Substitutions: Need a dairy-free option? Use cold coconut oil in the crust and full-fat coconut cream in the filling. For a gluten-free crust, swap the all-purpose flour with a 1:1 gluten-free baking blend. The texture will be slightly different, but still delicious.
Equipment Needed
You don’t need a fancy kitchen to make this pie. Here’s what you’ll need:
- 9-inch pie dish (glass or ceramic works best—metal can lead to uneven baking)
- Rolling pin (a wine bottle works in a pinch—I’ve done it!)
- Large mixing bowls (one for the crust, one for the filling)
- Fine-mesh sieve or cheesecloth (for straining the pumpkin puree)
- Parchment paper and pie weights (or dried beans, for blind baking)
- Whisk
- Measuring cups and spoons
- Sharp knife and cutting board (for the pumpkin)
- Baking sheet (to catch drips)
Budget-friendly tip: If you don’t have pie weights, line your crust with parchment paper and fill it with dried beans or rice. You can reuse those beans for blind baking again and again—just don’t try to cook them afterward!
Preparation Method
Let’s walk through this step by step. I’ve included sensory cues so you know exactly what to look for at each stage. Take your time—good things come to those who wait.
Step 1: Roast the Pumpkin
Preheat your oven to 375°F (190°C). Cut your sugar pumpkin in half from stem to stem. Scoop out the seeds and stringy bits—save the seeds for roasting later if you like. Place the pumpkin halves cut-side down on a baking sheet lined with parchment paper. Roast for 45 to 55 minutes, until the flesh is tender and easily pierced with a fork. You’ll know it’s done when the skin starts to wrinkle and the kitchen smells like autumn. Let it cool completely, then scoop out the flesh. Puree it in a food processor until smooth, then press it through a fine-mesh sieve to remove any fibrous bits. This step is non-negotiable for that silky texture.
Step 2: Make the Crust
In a large bowl, whisk together the flour, salt, and sugar. Add the cold butter cubes and use a pastry cutter or your fingertips to work the butter into the flour until it resembles coarse meal with pea-sized butter pieces. Drizzle in the ice water, one tablespoon at a time, mixing with a fork until the dough just comes together. It should feel slightly tacky but not sticky. Shape it into a disk, wrap in plastic, and refrigerate for at least 1 hour. This rest is crucial—it relaxes the gluten and keeps the crust tender.
Step 3: Blind Bake the Crust
Preheat your oven to 375°F (190°C). On a lightly floured surface, roll the dough out to a 12-inch circle, about ⅛-inch thick. Transfer it to your pie dish, gently pressing it into the bottom and sides. Trim the excess, leaving a ½-inch overhang, then crimp the edges however you like. Line the crust with parchment paper and fill with pie weights or dried beans. Bake for 15 minutes, then remove the paper and weights and bake for another 8 to 10 minutes, until the bottom looks dry and lightly golden. Set aside to cool slightly.
Step 4: Make the Filling
In a large bowl, whisk together the sugar, cinnamon, ginger, nutmeg, cloves, and salt. In a separate bowl, whisk the eggs until frothy, then add the pumpkin puree, heavy cream, and vanilla extract. Whisk until smooth. Gradually add the dry ingredients to the wet mixture, whisking continuously until everything is combined. The filling should be smooth, glossy, and a beautiful deep orange color. Give it a taste—it should be sweet, spiced, and just a little rich.
Step 5: Assemble and Bake
Pour the filling into the partially baked crust. Place the pie on a baking sheet to catch any drips. Bake at 375°F (190°C) for 15 minutes, then reduce the temperature to 350°F (175°C) and bake for another 40 to 50 minutes. The pie is done when the edges are set and the center jiggles slightly—like a firm Jell-O. A knife inserted near the center should come out mostly clean. Let it cool completely on a wire rack. This can take 2 to 3 hours, but don’t rush it. The filling needs time to set properly.
Cooking Tips & Techniques
I’ve made every mistake in the book so you don’t have to. Here are my best tips:
- Don’t skip the straining: I learned this the hard way. If you don’t strain your pumpkin puree, you’ll end up with a watery filling that never sets. Trust me, that extra five minutes is worth it.
- Keep everything cold: For the flakiest crust, your butter and water need to be ice-cold. If your kitchen is warm, pop the dough in the fridge for 10 minutes between steps.
- Watch the crust edges: They tend to brown faster than the filling. If the edges look golden before the pie is done, cover them with foil or a pie shield.
- Let it cool completely: I know it’s tempting to slice into a warm pie, but patience pays off. A fully cooled pie will slice cleanly and hold its shape.
- Use a kitchen scale: For the most consistent results, weigh your flour and pumpkin puree. It takes the guesswork out of baking.
One time, I forgot to add the sugar to the filling. I only realized after the pie was in the oven. Let’s just say that was a very sad, very bland pumpkin pie. Learn from my mistakes—double-check your ingredients before you start mixing!
Variations & Adaptations
This recipe is a great base for experimentation. Here are a few variations I’ve tried:
Spiced Maple Pumpkin Pie
Swap the granulated sugar for ¾ cup maple syrup. Reduce the heavy cream to 1 cup to account for the extra liquid. The maple flavor pairs beautifully with the warm spices—it’s like fall in a slice.
Chocolate Swirl Pumpkin Pie
Melt ½ cup dark chocolate chips and swirl it into the filling before baking. The chocolate adds a rich, decadent twist that’s perfect for chocolate lovers. I made this for a friend’s birthday and it was a hit.
Vegan Pumpkin Pie
Use a vegan butter stick in the crust and replace the eggs with ¼ cup cornstarch mixed with ½ cup water. Use full-fat coconut cream instead of heavy cream. The texture is slightly different, but the flavor is still amazing.
Gluten-Free Pumpkin Pie
Substitute the all-purpose flour with a 1:1 gluten-free baking blend. Add ½ teaspoon xanthan gum if your blend doesn’t include it. The crust will be a bit more delicate, so handle it gently.
Serving & Storage Suggestions
This pie is best served at room temperature or slightly warm—not straight from the fridge, as the flavors are muted when cold. A dollop of lightly sweetened whipped cream or a scoop of vanilla ice cream takes it over the top.
For a dinner party: Slice the pie just before serving and arrange the slices on a platter with fresh mint leaves or a dusting of cinnamon. It makes for a stunning presentation.
Storage: Cover the pie loosely with plastic wrap or foil and store it in the refrigerator for up to 4 days. The flavors actually deepen after a day or two, so leftovers are a treat.
Freezing: You can freeze the baked pie for up to 3 months. Wrap it tightly in plastic wrap, then foil. Thaw overnight in the refrigerator and bring to room temperature before serving. Do not freeze an unbaked pie—the filling will separate during baking.
Reheating: To reheat individual slices, pop them in a 300°F (150°C) oven for 10 minutes. The microwave works in a pinch, but the crust will lose its flakiness.
Nutritional Information & Benefits
Here’s the approximate nutritional breakdown per slice (based on 8 servings):
| Nutrient | Amount |
|---|---|
| Calories | 380 |
| Total Fat | 22g |
| Saturated Fat | 13g |
| Cholesterol | 95mg |
| Sodium | 320mg |
| Total Carbohydrates | 42g |
| Dietary Fiber | 3g |
| Sugars | 24g |
| Protein | 5g |
Pumpkin is packed with vitamin A, which supports eye health, and fiber, which aids digestion. The spices—cinnamon, ginger, and nutmeg—have anti-inflammatory properties. While this is a treat, it’s one with some nutritional perks. For a lighter version, use half-and-half instead of heavy cream and reduce the sugar by a quarter cup.
Note: This recipe contains dairy, gluten, and eggs. For allergen-friendly options, see the variations section above.
Conclusion
This perfect classic pumpkin pie from scratch is more than just a recipe—it’s a story. It’s the pie that came from a plumber’s grandmother, scribbled on a sticky note in the middle of a kitchen disaster. It’s the pie I’ve made for every Thanksgiving since, the one that never fails to get compliments. And now it’s yours.
I hope you make this pie for your next gathering—whether it’s a holiday dinner, a potluck, or just a cozy night in. Don’t be afraid to make it your own. Add a little extra cinnamon, swap in maple syrup, or top it with a mountain of whipped cream. The best recipes are the ones that evolve with you.
If you try this recipe, I’d love to hear about it! Leave a comment below and let me know how it turned out. Did you add your own twist? Did your guests ask for the recipe? Share your story—I read every single comment.
Now go make that pie. Frank would be proud.
Frequently Asked Questions
Can I use canned pumpkin instead of roasting a fresh pumpkin?
Absolutely. If you’re short on time, use 1 ¾ cups of canned pumpkin puree. Just make sure it’s 100% pure pumpkin, not pumpkin pie filling. Libby’s is my go-to brand.
Why is my pumpkin pie filling watery?
This usually happens when the pumpkin puree has too much water content. Make sure to strain your puree through a fine-mesh sieve or cheesecloth before using it. Also, don’t overmix the filling—that can incorporate too much air.
Can I make this pie ahead of time?
Yes! You can bake the pie up to 2 days in advance. Store it covered in the refrigerator and bring it to room temperature before serving. You can also prep the crust and filling separately a day ahead.
How do I prevent the crust from getting soggy?
Blind baking the crust is key. Bake it with pie weights for 15 minutes, then remove the weights and bake until the bottom is dry and lightly golden. This creates a barrier that keeps the filling from soaking in.
Can I freeze leftover pumpkin pie?
Yes, you can freeze baked pumpkin pie for up to 3 months. Wrap it tightly in plastic wrap and then foil. Thaw overnight in the refrigerator and bring to room temperature before serving. The texture will still be great.
Pin This Recipe!
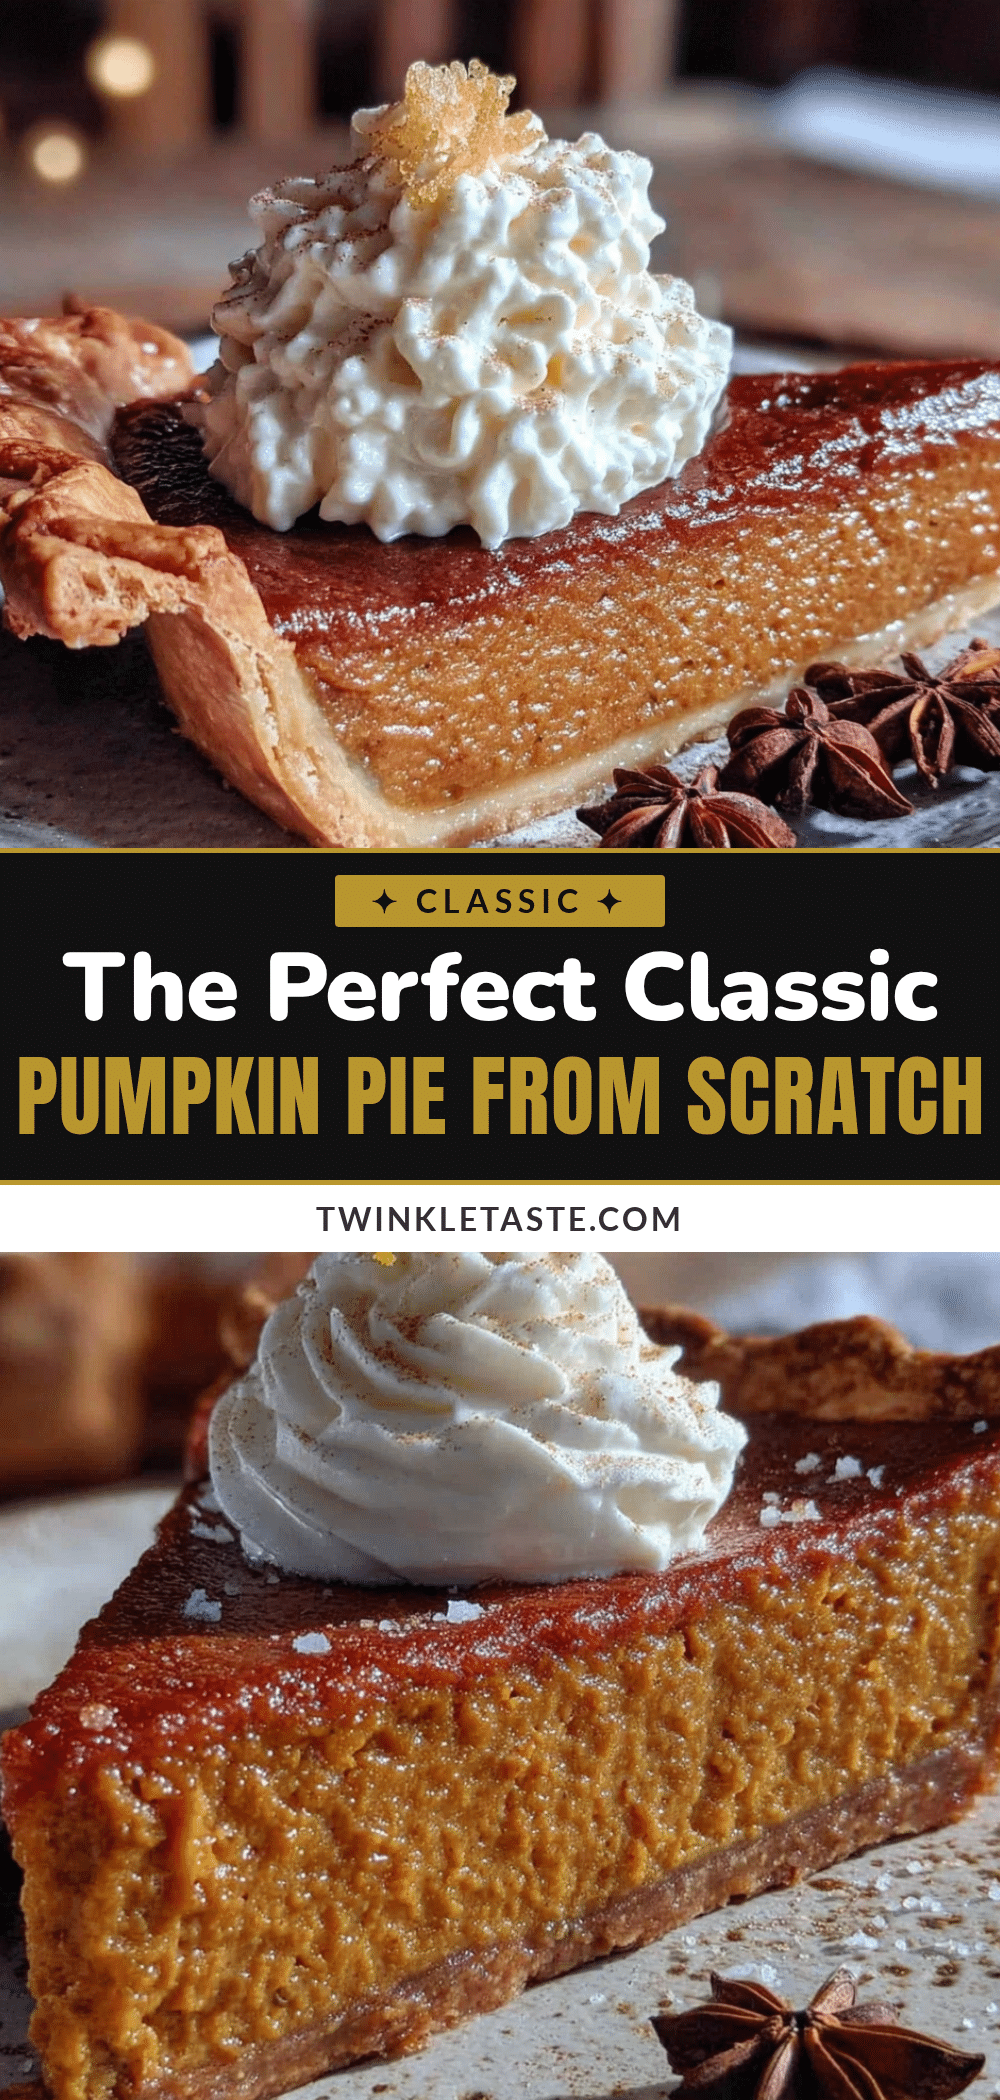
The Perfect Classic Pumpkin Pie from Scratch
This perfect classic pumpkin pie from scratch is more than just a recipe—it’s a story. It’s the pie that came from a plumber’s grandmother, scribbled on a sticky note in the middle of a kitchen disaster, and it’s the one that never fails to get compliments.
- Prep Time: 30 minutes
- Cook Time: 1 hour 10 minutes
- Total Time: 1 hour 40 minutes
- Yield: 8 servings 1x
- Category: Dessert
- Cuisine: American
Ingredients
- 1 ¼ cups all-purpose flour (plus extra for dusting)
- ½ teaspoon salt
- 1 tablespoon granulated sugar
- ½ cup cold unsalted butter, cut into small cubes
- 3 to 4 tablespoons ice water
- 1 small sugar pumpkin (about 2 pounds), or 1 ¾ cups homemade pumpkin puree
- ¾ cup granulated sugar
- 1 teaspoon ground cinnamon
- ½ teaspoon ground ginger
- ½ teaspoon ground nutmeg
- ¼ teaspoon ground cloves
- ½ teaspoon salt
- 2 large eggs, room temperature
- 1 ¼ cups heavy cream (or half-and-half for a lighter version)
- 1 teaspoon vanilla extract
Instructions
- Preheat your oven to 375°F (190°C). Cut your sugar pumpkin in half from stem to stem. Scoop out the seeds and stringy bits. Place the pumpkin halves cut-side down on a baking sheet lined with parchment paper. Roast for 45 to 55 minutes, until the flesh is tender and easily pierced with a fork. Let it cool completely, then scoop out the flesh. Puree it in a food processor until smooth, then press it through a fine-mesh sieve to remove any fibrous bits.
- In a large bowl, whisk together the flour, salt, and sugar. Add the cold butter cubes and use a pastry cutter or your fingertips to work the butter into the flour until it resembles coarse meal with pea-sized butter pieces. Drizzle in the ice water, one tablespoon at a time, mixing with a fork until the dough just comes together. Shape it into a disk, wrap in plastic, and refrigerate for at least 1 hour.
- Preheat your oven to 375°F (190°C). On a lightly floured surface, roll the dough out to a 12-inch circle, about ⅛-inch thick. Transfer it to your pie dish, gently pressing it into the bottom and sides. Trim the excess, leaving a ½-inch overhang, then crimp the edges. Line the crust with parchment paper and fill with pie weights or dried beans. Bake for 15 minutes, then remove the paper and weights and bake for another 8 to 10 minutes, until the bottom looks dry and lightly golden. Set aside to c…
- In a large bowl, whisk together the sugar, cinnamon, ginger, nutmeg, cloves, and salt. In a separate bowl, whisk the eggs until frothy, then add the pumpkin puree, heavy cream, and vanilla extract. Whisk until smooth. Gradually add the dry ingredients to the wet mixture, whisking continuously until everything is combined.
- Pour the filling into the partially baked crust. Place the pie on a baking sheet to catch any drips. Bake at 375°F (190°C) for 15 minutes, then reduce the temperature to 350°F (175°C) and bake for another 40 to 50 minutes. The pie is done when the edges are set and the center jiggles slightly—like a firm Jell-O. Let it cool completely on a wire rack, about 2 to 3 hours.
Notes
Don’t skip the straining of the pumpkin puree for a silky texture. Keep everything cold for the flakiest crust. Watch the crust edges and cover with foil if they brown too quickly. Let the pie cool completely before slicing for clean cuts.
Nutrition
- Serving Size: 1 slice
- Calories: 380
- Sugar: 24
- Sodium: 320
- Fat: 22
- Saturated Fat: 13
- Carbohydrates: 42
- Fiber: 3
- Protein: 5
Keywords: pumpkin pie, classic pumpkin pie, homemade pumpkin pie, Thanksgiving dessert, fall dessert, from scratch pumpkin pie


