For a while, I just accepted that quick pickles weren’t going to taste like the tangy, crisp ones I remembered from summer picnics and old family gatherings. You know, those pickles that had just the right zing without being overly sour or mushy. I didn’t want to wait weeks for a batch to ferment or soak, but honestly, the ones I tried that promised speed usually fell flat—either too bland or way too salty. One afternoon, I found myself slicing cucumbers while the kitchen smelled faintly of dill and garlic, wondering if there was a way to get that perfect tang in just a day.
The crunch was there, the tang was there, but it wasn’t until I tweaked the brine and chilling time that I realized something subtle was missing in all the recipes I’d seen before. It wasn’t about rushing, but about balancing the flavors so they had time to marry just enough. The pickles weren’t just a side anymore; they felt like a quick, satisfying fix for that craving that snuck up whenever I needed a crisp bite alongside a sandwich or a snack. That quiet realization—that tangy, crunchy pickles could really be ready in 24 hours without fuss—made this recipe stick around my kitchen, quietly promising a reliable little jar of comfort whenever the mood struck.
Why You’ll Love This Recipe
From my many attempts in the kitchen, this easy tangy refrigerator dill pickles recipe stands out because it respects the tick of the clock without shortchanging the flavor. Here’s why it’s earned a permanent spot in my fridge:
- Quick & Easy: Ready in just 24 hours, this recipe is perfect for last-minute pickle cravings or when you want a fresh, crisp snack without the wait.
- Simple Ingredients: No obscure spices or fancy tools needed—just cucumbers, dill, garlic, and pantry staples like vinegar and salt.
- Perfect for Any Occasion: Whether it’s a casual sandwich, a backyard barbecue, or a cozy night in with a juicy burger, these pickles fit right in.
- Crowd-Pleaser: I’ve brought these along to potlucks and family dinners, and they always disappear fast—even the kids love them!
- Unbelievably Delicious: The balance of vinegar, fresh dill, and a hint of garlic creates a tang that wakes up your taste buds without overpowering.
This isn’t just another pickle recipe; it’s the one where I blended fresh dill sprigs instead of dried herbs for that vibrant, garden-fresh aroma. Plus, swapping regular white vinegar for a mild apple cider vinegar gives it a subtle fruitiness that makes all the difference. Honestly, if you’ve ever wondered how to get that perfect dill pickle crunch without the fuss or the long wait, this recipe is your go-to. It’s like the quick fix that feels like you took your time.
What Ingredients You Will Need
This recipe uses simple, wholesome ingredients to deliver bold flavor and satisfying crunch without any fuss. Most of these are pantry staples, and you might already have them on hand. Here’s what you’ll need, grouped by purpose:
- For the Pickles:
- 1 pound (450 g) fresh cucumbers, preferably Kirby or pickling cucumbers (small and firm)
- 2-3 fresh dill sprigs (fresh dill is key for that authentic tangy flavor)
- 2 cloves garlic, peeled and smashed (adds a subtle punch)
- For the Brine:
- 1 cup (240 ml) distilled white vinegar or apple cider vinegar (I prefer apple cider vinegar for a mild fruity note)
- 1 cup (240 ml) water
- 1 tablespoon kosher salt or pickling salt (avoid iodized salt for clarity and flavor)
- 1 tablespoon granulated sugar (balances the tartness)
- 1 teaspoon black peppercorns (whole, for gentle spice)
- ½ teaspoon red pepper flakes (optional, for a touch of heat)
When picking cucumbers, look for firm ones with no soft spots—this keeps that crunch intact after soaking. If you want to try a gluten-free twist, everything here is naturally gluten-free, so no worries. For a dairy-free or vegan diet, this recipe fits right in since it’s all plant-based. I usually recommend brands like Bragg for apple cider vinegar because the flavor is consistent and clean.
Equipment Needed
To make these easy tangy refrigerator dill pickles, you won’t need anything fancy—just the basics you probably already own:
- A large glass jar or airtight container (at least 1-quart/1-liter capacity) for marinating the pickles
- A sharp knife and cutting board for slicing cucumbers
- A medium saucepan to bring the brine to a quick boil
- A measuring cup and spoons for accuracy (especially with salt and vinegar)
- A mixing bowl to combine ingredients if preferred
If you don’t have a glass jar, a food-safe plastic container with a tight lid works well. I’ve tried metal containers before, but the vinegar can react, so I stick to glass or plastic. For maintenance, just wash your jars with hot, soapy water and dry thoroughly. Budget-wise, these are all easy to find and inexpensive, making this an accessible recipe for most kitchens.
Preparation Method
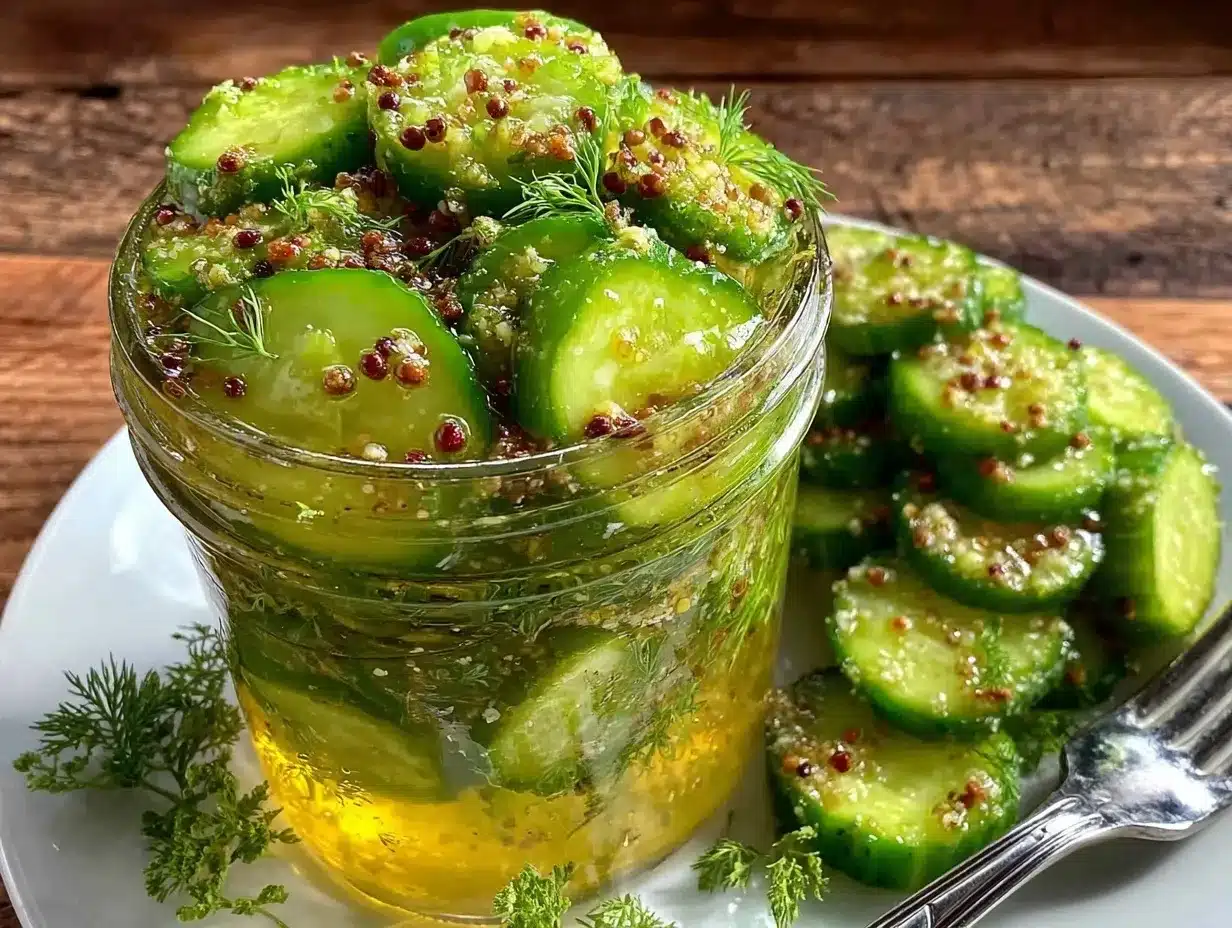
- Wash and Slice the Cucumbers: Rinse 1 pound (450 g) of fresh cucumbers under cold water to remove dirt. Trim off the blossom ends (they can make pickles soft). Slice the cucumbers into ¼-inch (0.6 cm) thick rounds or spears, depending on your preference. This should take about 5 minutes.
- Prepare the Brine: In a medium saucepan, combine 1 cup (240 ml) vinegar, 1 cup (240 ml) water, 1 tablespoon kosher salt, and 1 tablespoon sugar. Bring to a gentle boil over medium heat, stirring occasionally until the salt and sugar dissolve. This takes roughly 3-4 minutes. Remove from heat and let it cool slightly while you prep the rest.
- Pack the Jar: Place 2-3 fresh dill sprigs, 2 smashed garlic cloves, 1 teaspoon black peppercorns, and optional ½ teaspoon red pepper flakes at the bottom of your clean jar. Then pack the sliced cucumbers tightly but without crushing them. The goal is a snug fit for even pickling.
- Pour the Brine: Carefully pour the warm (not hot) brine over the cucumbers until fully submerged. Leave a little headspace at the top. If cucumbers float, press them down gently or add a small clean weight to keep them submerged.
- Seal and Refrigerate: Close the jar tightly and place it in the fridge for at least 24 hours. The pickles will start to develop their signature tang and crunch in that time. Resist the urge to open prematurely—patience pays off!
- Check & Serve: After 24 hours, taste a pickle slice. If it’s tangy and crisp enough for you, they’re ready. If not, leave them another day or two for stronger flavor. Use within 2-3 weeks for best freshness.
Pro tip: If the brine turns cloudy after a day or two, it’s normal—it just means the fermentation process is gently happening. If you want to speed things up, slice cucumbers thinner, but be aware they’ll soften faster too.
Cooking Tips & Techniques
Making refrigerator dill pickles is straightforward, but a few tricks can save you from common missteps. First, always use fresh cucumbers. I once tried pickling slightly older cucumbers and ended up with soggy, flavorless slices—lesson learned the hard way. Also, removing the blossom ends is essential to keep the pickles crunchy; that little tip wasn’t obvious until I noticed the difference in texture.
When mixing the brine, don’t skip dissolving the salt and sugar fully. Undissolved salt crystals can cause uneven pickling and a gritty texture. Use kosher or pickling salt; table salt has additives that can cloud the brine and alter taste. For a consistently tangy bite, keep the pickles fully submerged in the brine—this means pressing down the cucumbers or using a small weight to prevent floating.
Timing is everything here. While 24 hours is the minimum, I often leave mine 2-3 days when I remember, which deepens the flavor without losing crunch. Multitasking tip: prepare the pickles the night before a barbecue or sandwich night, so they’re ready just in time to complement your main dish. If you’ve ever made juicy Lucy burgers, these pickles make an unbeatable topping.
Variations & Adaptations
This recipe is pretty flexible, and you can easily adjust it to suit your taste or dietary needs. Here are a few variations I’ve tried or recommend:
- Spicy Pickles: Add more red pepper flakes or a few slices of fresh jalapeño to the jar for a fiery kick.
- Garlic Lovers: Double the garlic cloves or add a pinch of garlic powder in the brine for a stronger punch.
- Low-Sodium Option: Reduce the salt by half and use a longer soaking time (up to 48 hours) to allow gentle flavor absorption without overwhelming saltiness.
- Different Herbs: Swap dill for fresh tarragon or fresh basil for a different herbal note. I once tried fresh rosemary, which gave a lovely piney aroma.
- Quick Bread & Butter Style: Add 2 tablespoons sugar and a few mustard seeds for a sweeter, milder pickle.
For a seasonal twist, try pairing these pickles with a fresh cucumber tomato salad like the one in this recipe—the crisp textures and tangy flavors complement each other beautifully. If you don’t have fresh dill, dried dill can work in a pinch, but fresh gives that unmatched brightness.
Serving & Storage Suggestions
These easy tangy refrigerator dill pickles are best served chilled right from the fridge. They make a fantastic crunchy side for sandwiches, burgers, or even charcuterie boards. I especially love them alongside something hearty like the jack-o-lantern stuffed peppers—the acidity cuts through rich flavors wonderfully.
Store the pickles in their brine in the refrigerator, tightly sealed. They’ll keep fresh and crunchy for up to 3 weeks, but I usually find them disappearing sooner. If you want to preserve them longer, you’d need to try canning or fermenting, but for quick eats, refrigeration is perfect.
When reheating isn’t really needed here, but if you want to serve them at room temperature, take them out about 15 minutes ahead. The flavors mellow slightly, making them less sharp but still refreshing. Over time, the pickles develop deeper flavor, so if you prefer stronger sour notes, let them chill for 2-3 days before digging in.
Nutritional Information & Benefits
These pickles are low in calories—about 10-15 calories per serving (4-5 slices)—and naturally fat-free. The cucumbers provide hydration and fiber, while the vinegar may aid digestion and blood sugar regulation. Fresh dill adds antioxidants and vitamins A and C, contributing a healthful touch to this tangy treat.
Since the recipe uses simple, whole ingredients and no added preservatives, it’s a clean snack option. It’s naturally gluten-free, vegan, and paleo-friendly—which covers quite a few dietary preferences. Just watch the sodium intake if you’re on a low-salt diet, as pickles can be salty. I personally appreciate having these pickles on hand when I’m craving something crunchy without guilt.
Conclusion
Easy tangy refrigerator dill pickles are a simple, reliable way to bring crunch and zest to your meals without waiting weeks or fussing over fermentation. They fill that space where you want fresh, tart, and garlicky bites in a pinch. What I love most is how adaptable they are—you can tweak the spice or herb levels to find your perfect balance.
Feel free to experiment with your favorite flavors or pair them with dishes like juicy burgers or hearty stuffed peppers, and see how they transform your everyday meals. If you give this recipe a try, I’d love to hear how you made it your own or what you served it with. There’s something quietly satisfying about having a jar of homemade pickles in the fridge, ready to brighten up whatever’s on your plate.
FAQs
How long do refrigerator dill pickles last?
They typically stay fresh and crunchy for up to 3 weeks when stored in the fridge in their brine.
Can I use regular cucumbers instead of pickling cucumbers?
You can, but pickling cucumbers are firmer and have fewer seeds, which helps keep your pickles crisp.
Do I need to sterilize the jar before making pickles?
It’s best to wash the jar in hot soapy water and rinse well. Sterilizing isn’t necessary for refrigerator pickles since they’re stored cold.
Can I make these pickles spicy?
Absolutely! Just add extra red pepper flakes or sliced fresh jalapeños to the jar for a spicy kick.
What vinegar works best for this recipe?
Distilled white vinegar or apple cider vinegar both work well; apple cider vinegar adds a subtle fruity note that I prefer.
Pin This Recipe!
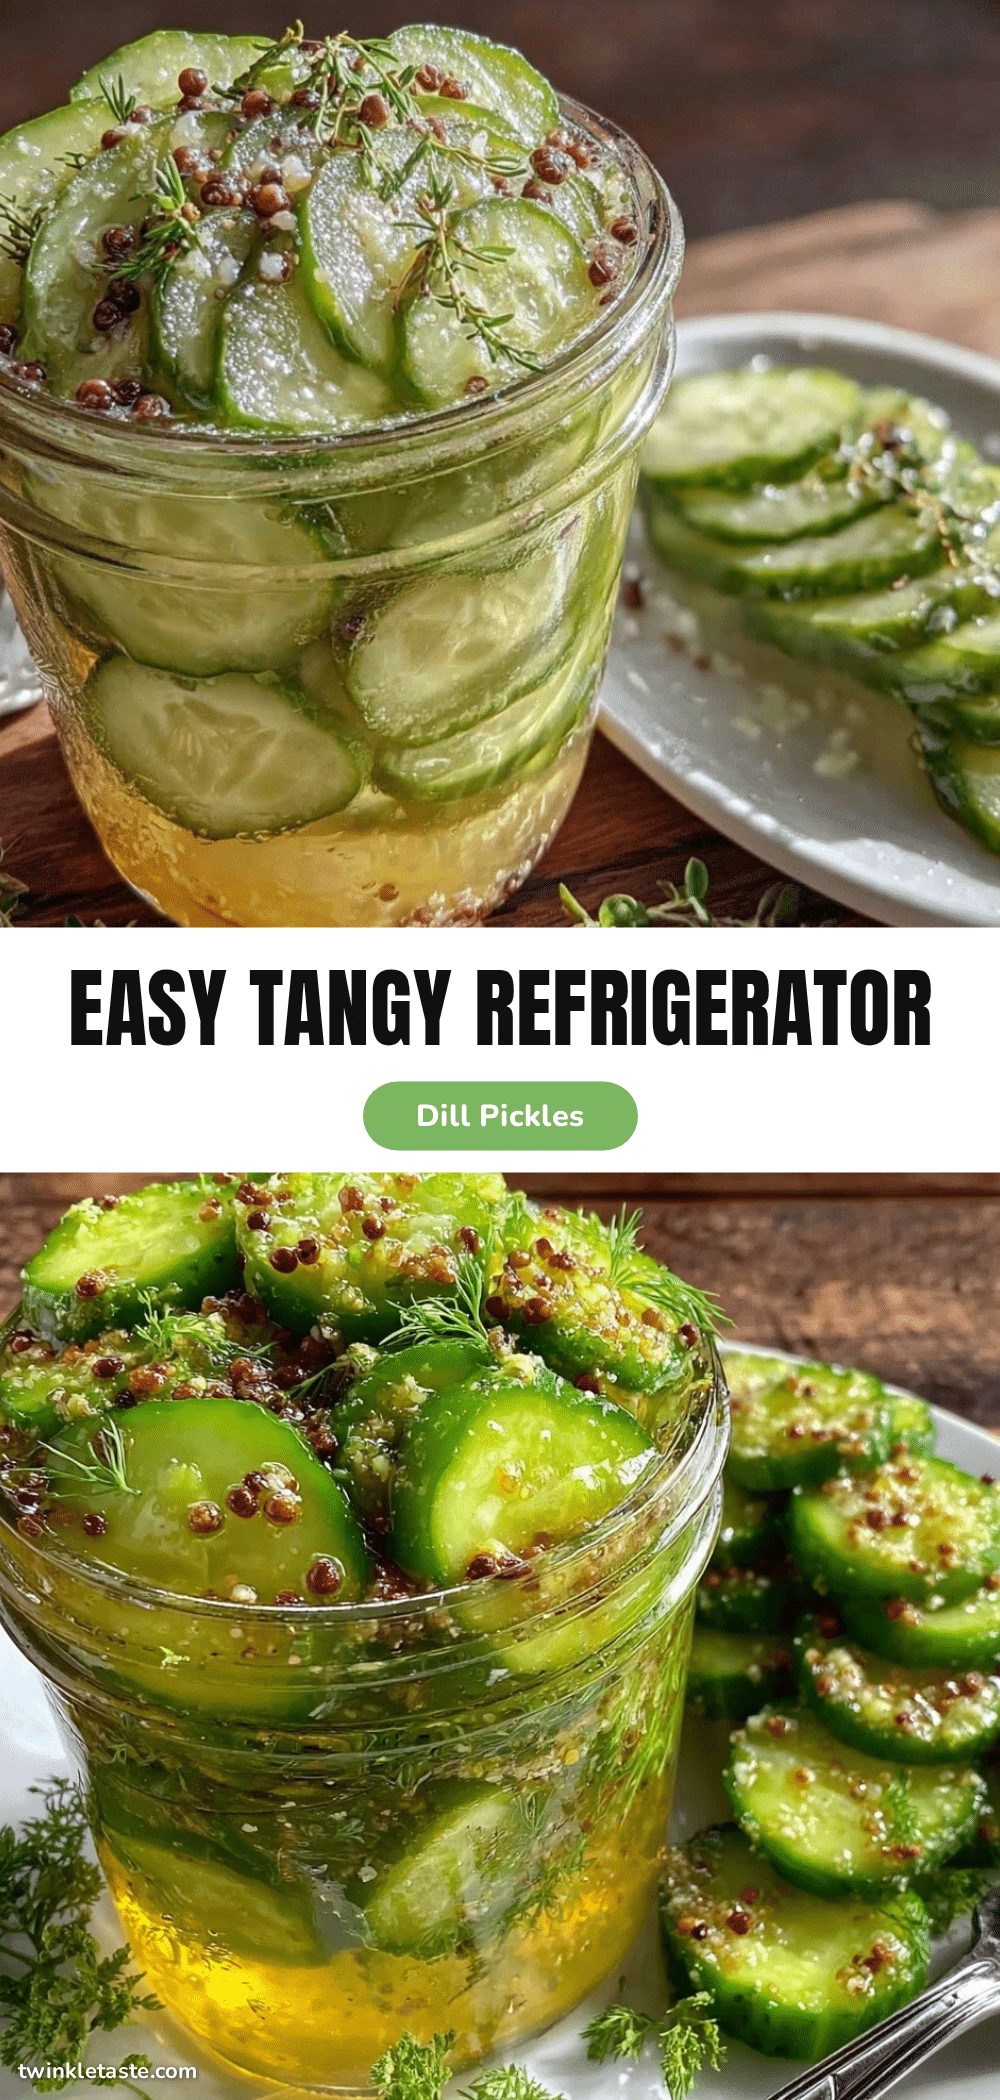
Easy Tangy Refrigerator Dill Pickles Recipe Ready in 24 Hours
A quick and easy recipe for tangy, crunchy refrigerator dill pickles that are ready in just 24 hours, perfect for a fresh snack or sandwich topping.
- Prep Time: 10 minutes
- Cook Time: 5 minutes
- Total Time: 24 hours 15 minutes
- Yield: 4 servings 1x
- Category: Side Dish
- Cuisine: American
Ingredients
- 1 pound (450 g) fresh cucumbers, preferably Kirby or pickling cucumbers
- 2–3 fresh dill sprigs
- 2 cloves garlic, peeled and smashed
- 1 cup (240 ml) distilled white vinegar or apple cider vinegar
- 1 cup (240 ml) water
- 1 tablespoon kosher salt or pickling salt
- 1 tablespoon granulated sugar
- 1 teaspoon black peppercorns
- ½ teaspoon red pepper flakes (optional)
Instructions
- Wash and slice the cucumbers into ¼-inch thick rounds or spears after rinsing and trimming off the blossom ends.
- In a medium saucepan, combine vinegar, water, kosher salt, and sugar. Bring to a gentle boil over medium heat, stirring until salt and sugar dissolve. Remove from heat and let cool slightly.
- Place fresh dill sprigs, smashed garlic cloves, black peppercorns, and optional red pepper flakes at the bottom of a clean jar.
- Pack the sliced cucumbers tightly into the jar without crushing them.
- Pour the warm brine over the cucumbers until fully submerged, leaving some headspace. Press down cucumbers if they float.
- Seal the jar tightly and refrigerate for at least 24 hours before serving.
- After 24 hours, taste and if desired, let sit for up to 2-3 days for stronger flavor. Use within 2-3 weeks.
Notes
Use fresh cucumbers and remove blossom ends to keep pickles crunchy. Fully dissolve salt and sugar in brine to avoid gritty texture. Keep cucumbers submerged in brine to ensure even pickling. For stronger flavor, refrigerate 2-3 days. If brine turns cloudy, it’s normal fermentation. Use kosher or pickling salt, avoid iodized salt.
Nutrition
- Serving Size: 4-5 pickle slices
- Calories: 1015
- Sugar: 1
- Sodium: 600
- Carbohydrates: 3
- Fiber: 1
Keywords: refrigerator pickles, dill pickles, quick pickles, tangy pickles, easy pickles, homemade pickles, crunchy pickles


