There’s this nagging thought right now—juicy, molten cheese oozing from the center of a perfectly seasoned burger. It’s not just hunger; it’s a craving for that satisfying bite where the savory meat meets a molten core of cheese, melting just right so it doesn’t all spill out but still floods your taste buds. Honestly, making Savory Juicy Lucy Burgers with Melted Cheese Center isn’t as tricky as you might think, even if it feels like a culinary tightrope walk. I’ve burned more than a few patties trying to get that perfect cheese pocket sealed up, but once you nail it, it’s pure magic.
The first time I made these burgers, I underestimated how much cheese to stuff inside. The cheese escaped, leaving my hands greasy but my mouth wanting more. That trial taught me a lot about the balance of meat and cheese, and now I stick to a method that guarantees juicy, flavorful burgers every time. What I love about this recipe is how the cheese center turns the ordinary burger into something just a bit rebellious and totally satisfying.
It’s not just about the melted cheese, though. The seasoning, the char on the outside, the bun choice—each element plays its part. And while I usually pair these with something fresh like a crisp cucumber salad, inspired by my fresh creamy dill cucumber tomato salad, the burger stands strong on its own. This recipe stuck with me because it’s one of those rare dishes that’s casual, fun, and indulgent without being overly complicated. It’s a little messy, a lot delicious, and perfect for those moments when you want to treat yourself without fuss.
Why You’ll Love This Recipe
After testing countless burger recipes, this Savory Juicy Lucy Burgers recipe stands out for plenty of good reasons. It’s not just another cheeseburger—it’s a juicy, cheesy surprise wrapped in a perfectly seasoned beef patty. Here’s why you’ll want to make it again and again:
- Quick & Easy: You can have these ready in about 30 minutes, perfect for weeknights when you want something impressive but fast.
- Simple Ingredients: No need for fancy or hard-to-find items. Ground beef, cheese, and pantry staples are all you really need.
- Perfect for Gatherings: Whether it’s a backyard barbecue or a casual dinner, these burgers are sure to impress without stress.
- Crowd-Pleaser: Kids and adults alike love the surprise cheese center—there’s always a line at my place when these come out.
- Unbelievably Delicious: The contrast of the savory, juicy beef with gooey melted cheese is pure comfort food. It’s the kind of burger that makes you close your eyes after the first bite.
What makes this recipe different? The technique for sealing the cheese inside is key. I blend a bit of grated cheese with shredded sharp cheddar to add texture and meltability, which means the cheese stays put but still melts flawlessly. Plus, the seasoning mix is simple but hits all the right notes—smoky, salty, with just a hint of garlic and pepper. This isn’t just a burger; it’s an experience that feels special every time.
What Ingredients You Will Need
This recipe uses straightforward, wholesome ingredients to deliver bold flavor and that signature juicy texture without fuss. Most are pantry staples, and you can easily swap or upgrade depending on what you have.
- For the Burger Patties:
- 1 lb (450 g) ground beef, 80/20 blend (for juicy, flavorful patties)
- 1 tsp kosher salt
- ½ tsp freshly ground black pepper
- ½ tsp garlic powder
- ½ tsp smoked paprika (adds subtle smoky depth)
- For the Cheese Center:
- 4 oz (115 g) sharp cheddar cheese, shredded (melts well and has great flavor)
- 2 oz (55 g) mozzarella cheese, shredded (for gooey meltiness)
- For Assembly:
- 4 burger buns, toasted (brioche or potato buns work beautifully)
- Butter or oil for toasting buns
- Your favorite burger toppings: lettuce, tomato, pickles, onions
- Condiments: mustard, ketchup, mayo, or a spicy aioli
If you want to swap out the cheddar for a different cheese, gouda or pepper jack are great options. For a lighter burger, ground turkey can be used but expect a milder flavor. If you prefer dairy-free, try a plant-based cheese that melts well, though I find the texture differs slightly.
Equipment Needed
Making these Savory Juicy Lucy Burgers doesn’t require fancy gear, but having the right tools makes the process smoother:
- Mixing bowl (medium to large) for combining the beef and seasonings
- Grater or food processor to shred cheese finely
- Non-stick or cast iron skillet for cooking the patties — cast iron gives a great sear and even heat
- Spatula for flipping burgers carefully
- Meat thermometer (optional but handy) to check doneness without cutting them open
- Knife and cutting board for prep
If you don’t have a cast iron skillet, a heavy-bottomed pan will do. I’ve also cooked these on an outdoor grill using a grill-safe pan and it works well. For toasting buns, a simple skillet or toaster oven suffices. I always recommend keeping your skillet well-seasoned — it really helps with that perfect crust on the patty.
Preparation Method
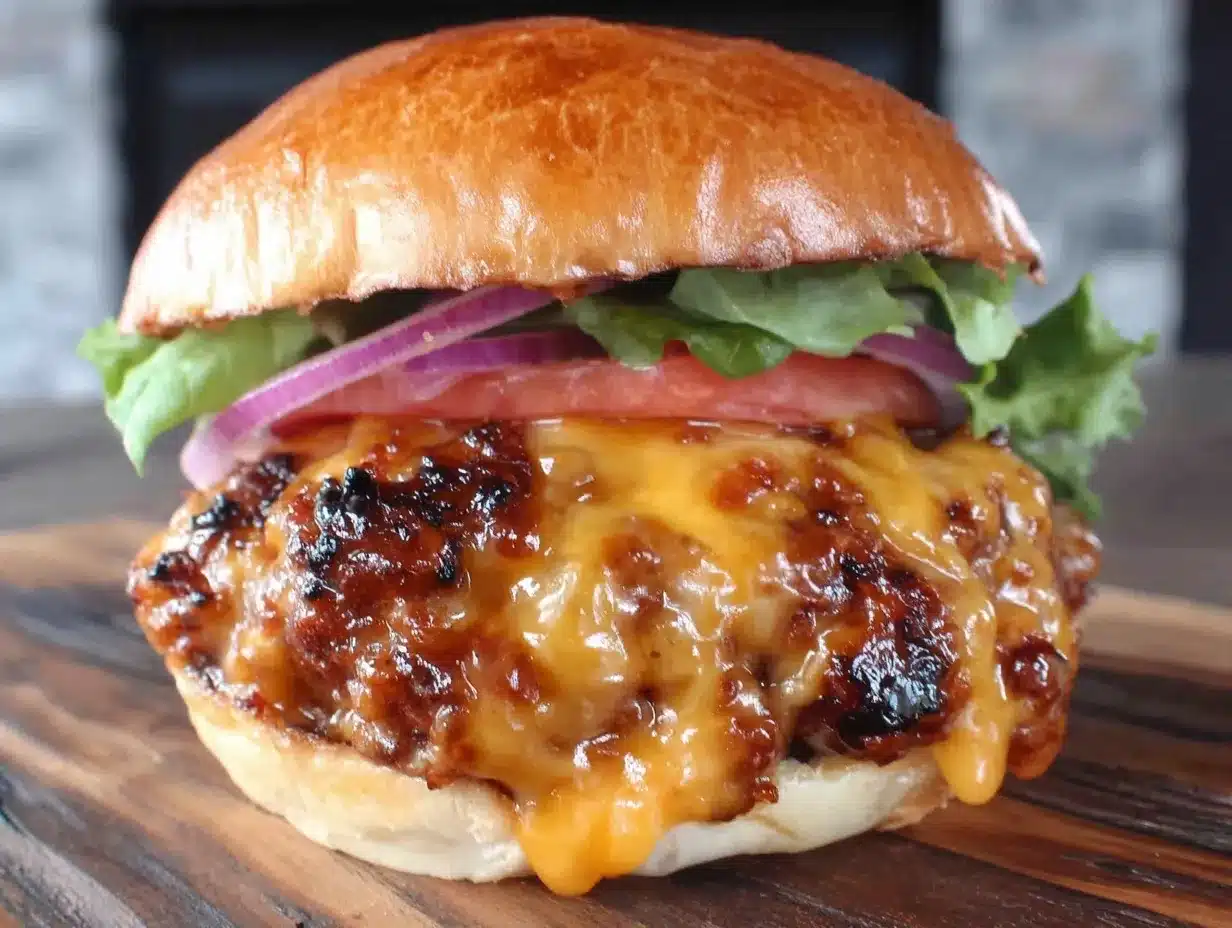
- Prepare the Cheese Filling (5 minutes): In a small bowl, mix the shredded sharp cheddar and mozzarella. This combo ensures a melty, stretchy cheese center that’s flavorful. Set aside.
- Season the Beef (5 minutes): In a large bowl, combine the ground beef with salt, pepper, garlic powder, and smoked paprika. Gently mix with your hands—don’t overwork it or the patties will get tough.
- Form Burger Patties (10 minutes): Divide the meat into 8 equal portions (about 2 oz or 60 g each). Flatten each portion into a thin patty. Place a heaping tablespoon of the cheese mixture in the center of 4 patties. Top with the remaining 4 patties and press edges firmly to seal the cheese inside completely. Make sure there are no gaps or cracks to avoid cheese leakage during cooking.
- Chill Patties (Optional, 10-15 minutes): Place the stuffed patties on a plate or tray and chill in the fridge for 10-15 minutes. This helps the cheese stay inside while cooking.
- Cook the Burgers (12-15 minutes): Heat your skillet over medium-high heat and lightly oil or butter it. Cook the patties for about 6-7 minutes per side, flipping carefully. You want a nice crust on the outside and the cheese fully melted inside. Use a meat thermometer if you have one: aim for an internal temperature of 160°F (71°C) for safety.
- Toast the Buns (3-5 minutes): While the burgers cook, spread butter on the cut sides of buns and toast them in a separate pan until golden and crispy.
- Assemble and Serve: Place the burger patties on the toasted buns and add your favorite toppings and condiments. Serve immediately for best melty results.
Pro tip: Don’t press down on the burgers while cooking—that’s a quick way to lose all the juicy cheese goodness inside. Also, if your patties start to puff up in the middle, gently press them with the spatula to keep them flat and cook evenly.
Cooking Tips & Techniques
Making Juicy Lucy burgers with a melted cheese center can be a bit of a balancing act, but these tried-and-true tips will make it much easier:
- Seal the edges well: This is the trickiest part. I recommend pinching and pressing the edges firmly, then folding the meat over itself slightly to create a thicker barrier so the cheese doesn’t leak out as it melts.
- Use the right fat content: 80/20 ground beef is ideal. Leaner beef will dry out, while fattier blends keep the patties juicy and flavorful.
- Don’t overcrowd the pan: Cook in batches if needed. Overcrowding lowers the pan temperature and prevents that delicious crust.
- Rest the burgers briefly: Letting them rest for 3-5 minutes off the heat helps redistribute juices and keeps the cheese melted perfectly inside.
- Be patient with flipping: Flip only once or twice using a wide spatula to keep the patties intact and the cheese sealed.
- Watch the heat: Medium-high heat is best. Too hot and the outside burns before the cheese melts; too low and you won’t get that nice crust.
I learned the hard way that under-seasoning the meat makes all the difference. A little salt and smoked paprika go a long way. Also, don’t skip chilling the patties if you have time—this really helps the cheese stay put during cooking.
Variations & Adaptations
This Savory Juicy Lucy Burger recipe is versatile and easy to tweak to suit your tastes or dietary needs.
- Spicy Variation: Add diced jalapeños or mix in some chipotle powder to the beef for a smoky heat kick. Swap the cheese for pepper jack for an extra zing.
- Vegetarian Option: Use a well-seasoned black bean or mushroom-based patty and stuff with vegan cheese for a similar melty surprise. Cooking time varies, so watch closely.
- Seasonal Twist: Try swapping cheddar for smoked gouda in the fall for a deeper, earthy flavor. In summer, serve with fresh pickled cucumbers from this easy quick pickled refrigerator cucumbers recipe to add brightness.
- Gluten-Free Adaptation: Use gluten-free buns or serve the patties wrapped in lettuce leaves for a low-carb approach.
- My Personal Variation: Sometimes I brush the buns with garlic butter and add caramelized onions on top of the burger—adds a sweet-savory depth that’s irresistible.
Serving & Storage Suggestions
Serve these burgers hot off the skillet, right after assembling to enjoy the melted cheese at its best. Toasted buns provide a satisfying crunch that contrasts beautifully with the juicy, molten center.
For sides, I love pairing these burgers with something fresh and light. A crisp cucumber tomato salad keeps things balanced and refreshing, much like my favorite refreshing cucumber tomato salad. Crispy fries, onion rings, or even some smoky grilled veggies also work great.
To store leftovers, wrap the cooled burgers tightly in foil or plastic wrap and refrigerate. They keep well for up to 2 days. Reheat gently in a skillet or oven at 325°F (160°C) to avoid overcooking and drying out. The cheese center might firm up but will still be tasty.
Flavors meld nicely if you let the burgers rest in the fridge overnight. Just warm them slowly before serving again. Avoid microwaving as it can make the bun soggy and the meat tough.
Nutritional Information & Benefits
Each Savory Juicy Lucy Burger contains approximately 500-600 calories, depending on bun choice and toppings. The beef provides a good source of protein and essential iron, while the cheese adds calcium and a satisfying richness.
Using an 80/20 ground beef blend balances flavor and fat for juiciness without going overboard on calories. If you’re watching fat intake, leaner meats or turkey can be swapped but may sacrifice some moisture.
This recipe is naturally gluten-free if served without a bun or with a gluten-free alternative. It contains dairy and beef, so it’s not suitable for vegans or those with dairy allergies without substitutions.
From a wellness perspective, I appreciate that this burger recipe uses minimal processed ingredients and lets the quality of the meat and cheese shine. Pairing it with fresh salads or pickles adds fiber and freshness to round out the meal.
Conclusion
These Savory Juicy Lucy Burgers with Melted Cheese Center are a perfect treat when you want something indulgent but straightforward. They’re a little messy, totally satisfying, and bring that warm, cozy feeling with every bite. I love how easy it is to customize them—whether you want to add a spicy twist, keep things classic, or try a seasonal topping, there’s room to make this recipe your own.
Cooking these burgers reminds me why simple ingredients done right can create unforgettable meals. The melty cheese surprise inside is like a little reward for your efforts, and honestly, it never gets old. Give it a try, and I bet it will become a favorite at your table, too. Feel free to share how you make it your own—I always love hearing your twists and tips!
FAQs
How do I prevent the cheese from leaking out of the burger?
Make sure to pinch and seal the edges of the patties firmly, pressing the meat over itself to create a tight seal. Chilling the patties for 10-15 minutes before cooking also helps keep the cheese inside.
What types of cheese work best for Juicy Lucy burgers?
Sharp cheddar combined with mozzarella is a classic because cheddar adds flavor and mozzarella gives that stretchy melt. Gouda, pepper jack, or smoked cheeses can be great alternatives depending on your taste.
Can I make these burgers ahead of time?
You can prepare and shape the patties ahead and keep them refrigerated for up to 24 hours before cooking. Avoid freezing raw stuffed patties as the cheese can leak and texture might suffer.
What’s the best way to cook these burgers if I don’t have a skillet?
An outdoor grill works well—use a grill-safe pan to prevent cheese leakage. Alternatively, baking at 375°F (190°C) on a lined baking sheet can work, but you won’t get the same crust.
Are these burgers suitable for a low-carb diet?
Yes, simply omit the bun and serve wrapped in lettuce leaves. The burger and cheese center are naturally low-carb, making it a great option for keto or other low-carb eating plans.
Pin This Recipe!
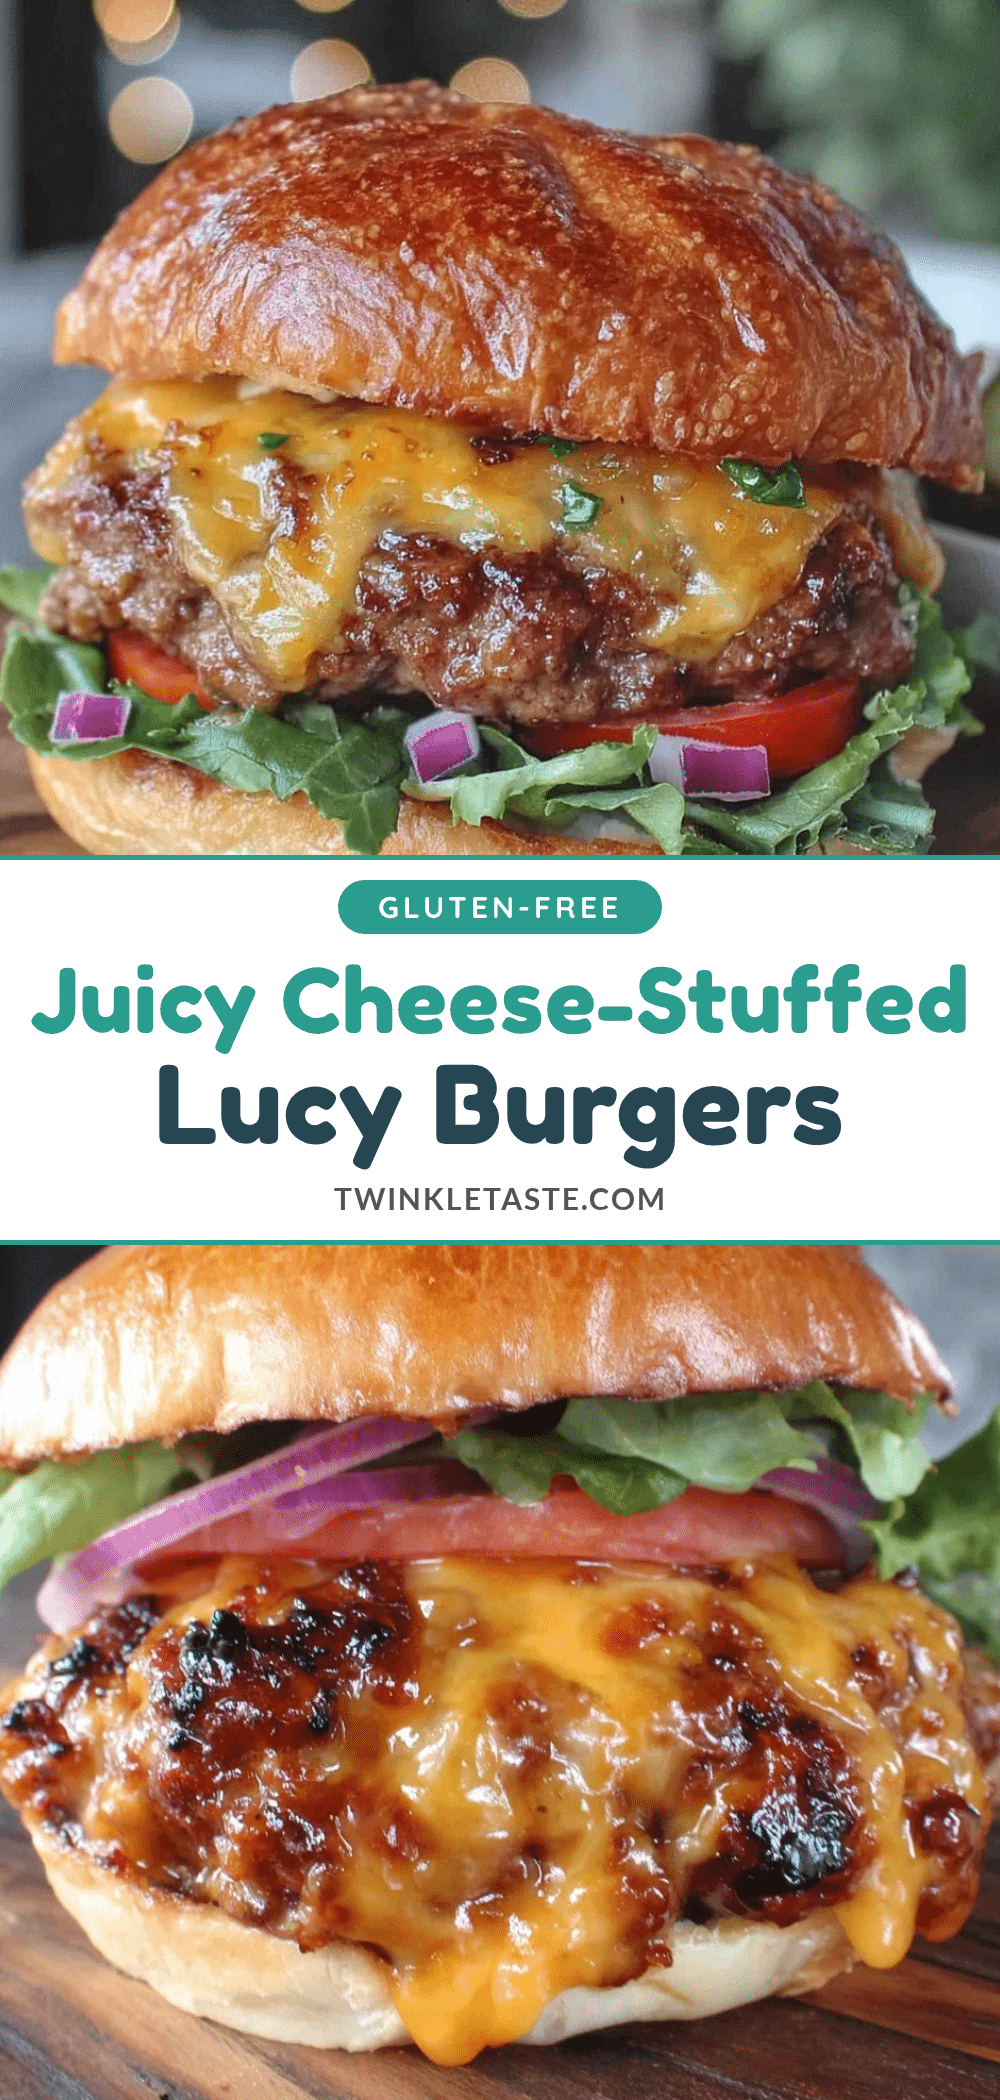
Savory Juicy Lucy Burgers Recipe Easy Melted Cheese Center Guide

These Savory Juicy Lucy Burgers feature a molten cheese center sealed inside perfectly seasoned beef patties, delivering a juicy, cheesy surprise with every bite. Quick and easy to make, they are perfect for casual dinners or gatherings.
- Prep Time: 20 minutes
- Cook Time: 15 minutes
- Total Time: 35 minutes
- Yield: 4 servings 1x
- Category: Main Course
- Cuisine: American
Ingredients
- 1 lb ground beef, 80/20 blend
- 1 tsp kosher salt
- ½ tsp freshly ground black pepper
- ½ tsp garlic powder
- ½ tsp smoked paprika
- 4 oz sharp cheddar cheese, shredded
- 2 oz mozzarella cheese, shredded
- 4 burger buns, toasted (brioche or potato buns recommended)
- Butter or oil for toasting buns
- Your favorite burger toppings: lettuce, tomato, pickles, onions
- Condiments: mustard, ketchup, mayo, or spicy aioli
Instructions
- Prepare the Cheese Filling: Mix shredded sharp cheddar and mozzarella cheese in a small bowl and set aside.
- Season the Beef: Combine ground beef with salt, pepper, garlic powder, and smoked paprika in a large bowl. Mix gently with hands without overworking.
- Form Burger Patties: Divide meat into 8 equal portions (~2 oz each). Flatten each into thin patties. Place a heaping tablespoon of cheese mixture in the center of 4 patties. Top with remaining patties and press edges firmly to seal cheese inside with no gaps.
- Chill Patties (Optional): Refrigerate stuffed patties for 10-15 minutes to help cheese stay inside during cooking.
- Cook the Burgers: Heat skillet over medium-high heat and lightly oil or butter it. Cook patties 6-7 minutes per side until crust forms and cheese melts inside. Use a meat thermometer to ensure internal temperature reaches 160°F (71°C).
- Toast the Buns: While burgers cook, spread butter on buns and toast in a separate pan until golden and crispy.
- Assemble and Serve: Place patties on toasted buns, add desired toppings and condiments, and serve immediately.
Notes
Seal the edges of the patties firmly and chill before cooking to prevent cheese leakage. Avoid pressing down on burgers while cooking to retain juiciness. Use 80/20 ground beef for best flavor and moisture. Rest burgers 3-5 minutes after cooking for optimal juiciness.
Nutrition
- Serving Size: 1 burger with bun an
- Calories: 550
- Sugar: 5
- Sodium: 700
- Fat: 35
- Saturated Fat: 15
- Carbohydrates: 30
- Fiber: 2
- Protein: 35
Keywords: Juicy Lucy burgers, stuffed burgers, melted cheese burgers, easy burger recipe, cheesy burgers, backyard barbecue, comfort food


