My friend Jen asked me why I couldn’t just use melted butter instead of waiting for it to soften. I started to explain why that wouldn’t work — something about creaming and air and the science of it all. Then I stopped. I had been trying to teach her how to make my go-to cookie recipe, and honestly? I had no good answer for why I’d never tried it myself.
So we did it. We poured in the melted butter, crossed our fingers, and scooped the dough onto the baking sheet. The cookies came out of the oven looking a little different — flatter, sure, but the edges were this perfect shade of golden brown I’d never gotten before. And the texture? Let me tell you, they were chewy in a way that made me question everything I thought I knew about cookie science. I mean, I’d been making cookies for years, and here was a simple swap that changed the whole game.
That afternoon, we ate three cookies each while standing in her kitchen. The dough had been a little sticky, and I’d accidentally dropped a spoonful on the floor, but we just scooped it up and laughed. It was one of those moments where the recipe became more than just instructions — it became a memory. And now, every time I make these thick and chewy bakery-style chocolate chip cookies, I think of Jen and her melted butter idea.
Why You’ll Love This Recipe
These aren’t just any chocolate chip cookies. They’re the kind that make you close your eyes after the first bite — the kind that taste like they came from a fancy bakery but come together right in your own kitchen. Here’s why this recipe is different:
- Quick & Easy: No waiting for butter to soften. Melted butter means the dough comes together in under 15 minutes. Perfect for those sudden cookie cravings.
- Simple Ingredients: You probably have everything already — butter, sugar, eggs, flour, chocolate chips. No fancy extracts or hard-to-find flours here.
- Perfect for Any Occasion: Great for bake sales, after-school snacks, holiday cookie exchanges, or just a Tuesday night treat. They always fit the moment.
- Crowd-Pleaser: I’ve brought these to parties, potlucks, and family dinners. Kids grab two. Adults sneak one when they think no one’s looking. They disappear fast.
- Unbelievably Delicious: The texture is what sets them apart — thick centers, slightly crisp edges, and that perfect chew that keeps you coming back for more.
What makes this recipe different from the rest is the technique. Using melted butter gives the cookies a denser, chewier texture that you just can’t get with the traditional creaming method. Plus, the addition of an extra egg yolk adds richness without making them cakey. This isn’t just another cookie recipe — it’s the one you’ll come back to again and again.
What Ingredients You Will Need
This recipe uses simple, wholesome ingredients to deliver that signature bakery-style texture and flavor. Most of these are pantry staples, so you can whip up a batch anytime the mood strikes.
- Unsalted butter – 1 cup (2 sticks), melted and slightly cooled. I prefer using unsalted so I can control the salt level. Let it cool for about 5 minutes after melting so it doesn’t cook the eggs.
- Brown sugar – 1 ¼ cups, packed. Light or dark brown sugar both work. Dark brown sugar gives a deeper, more molasses-like flavor. This is key for chewiness.
- Granulated sugar – ½ cup. The combination of brown and white sugar gives the cookies their perfect texture — crisp edges and soft centers.
- Large eggs – 2 whole eggs plus 1 egg yolk, at room temperature. The extra yolk adds richness and tenderness. If you forget to take them out early, place them in a bowl of warm water for 5 minutes.
- Vanilla extract – 2 teaspoons. Pure vanilla extract makes a difference, but imitation works in a pinch. I’ve used both and honestly, the cookies are still amazing.
- All-purpose flour – 3 cups, spooned and leveled. Don’t scoop directly from the bag — you’ll end up with too much flour, and nobody wants dry cookies.
- Baking soda – 1 teaspoon. This helps the cookies spread just enough while keeping them thick.
- Salt – 1 teaspoon. Balances the sweetness and enhances the chocolate flavor. I use fine sea salt.
- Cornstarch – 1 tablespoon. This is the secret ingredient for extra-soft, tender cookies. Don’t skip it.
- Chocolate chips – 2 cups. Semi-sweet is my go-to, but milk chocolate or dark chocolate both work. I like to use a mix of chips and roughly chopped chocolate bars for those melty pools of chocolate.
For the best results, I recommend using a good-quality vanilla extract like Nielsen-Massey or Simply Organic. And for chocolate, Guittard or Ghirardelli chips never disappoint. If you’re looking for a dairy-free option, use plant-based butter and dairy-free chocolate chips — just note the texture may be slightly different.
Equipment Needed
You don’t need fancy equipment to make these cookies, which is part of what makes this recipe so great. Here’s what you’ll need:
- Large mixing bowl – For combining the wet ingredients and dry ingredients. A glass or stainless steel bowl works perfectly.
- Whisk – For mixing the melted butter and sugars together until smooth.
- Rubber spatula or wooden spoon – For folding in the flour and chocolate chips without overmixing.
- Measuring cups and spoons – Accurate measurements are important here. Use dry measuring cups for flour and sugar, and liquid measuring cups if you ever need to measure milk or oil.
- Baking sheets – I recommend heavy-duty aluminum baking sheets. They heat evenly and prevent the bottoms from burning.
- Parchment paper or silicone baking mat – This prevents sticking and makes cleanup a breeze. I prefer parchment paper because it gives slightly crisper bottoms.
- Cookie scoop – A 3-tablespoon scoop makes perfectly uniform cookies. If you don’t have one, use a ¼-cup measure and shape the dough into balls.
- Cooling rack – Lets the cookies cool evenly without getting soggy on the bottom.
If you don’t have a cookie scoop, don’t worry. Just use two spoons to portion the dough, or roll it into balls with your hands. The cookies will still turn out great — they might just look a little more rustic.
Preparation Method
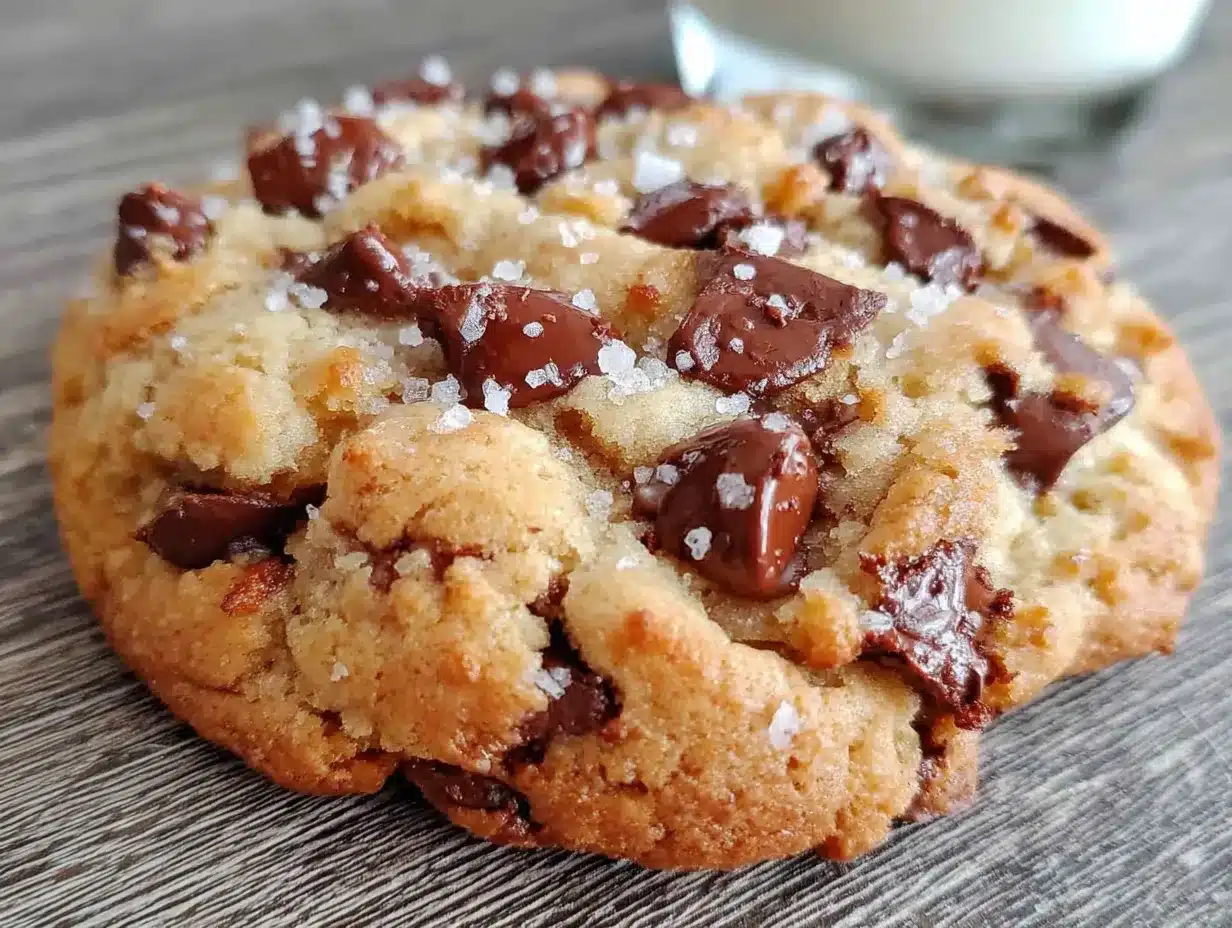
Let’s get baking. This recipe makes about 18 large cookies, so plan accordingly. Trust me, you’ll want to share these — or at least pretend you will.
- Preheat your oven to 350°F (175°C). Line two baking sheets with parchment paper or silicone mats. This gives the cookies a clean release and even browning.
- Melt the butter. In a small saucepan or microwave-safe bowl, melt 1 cup (2 sticks) of unsalted butter. Let it cool for 5 minutes — you want it warm, not hot. If it’s too hot, it will cook the eggs and give you greasy cookies.
- Mix the wet ingredients. In a large bowl, whisk together the melted butter, 1 ¼ cups packed brown sugar, and ½ cup granulated sugar until smooth. The mixture should look like wet sand. Add 2 whole eggs plus 1 egg yolk and 2 teaspoons vanilla extract. Whisk until fully combined. The batter will be thick and glossy.
- Combine the dry ingredients. In a separate bowl, whisk together 3 cups all-purpose flour, 1 teaspoon baking soda, 1 teaspoon salt, and 1 tablespoon cornstarch. This ensures everything is evenly distributed before adding to the wet mixture.
- Mix the dough. Gradually add the dry ingredients to the wet ingredients, stirring with a rubber spatula or wooden spoon. Mix just until no streaks of flour remain. Overmixing will develop the gluten and make the cookies tough. You want to see a few floury spots — that’s okay.
- Fold in the chocolate chips. Add 2 cups of chocolate chips and fold gently until they’re evenly distributed. If the dough feels too soft, cover it and refrigerate for 30 minutes. This step is optional but helps prevent the cookies from spreading too much.
- Portion the dough. Using a 3-tablespoon cookie scoop, scoop the dough into balls and place them on the prepared baking sheets, spacing them about 3 inches apart. For extra-tall cookies, roll each ball into a tall cylinder shape rather than a round ball.
- Bake. Bake one sheet at a time for 12-14 minutes, until the edges are golden brown and the centers look slightly underdone. The cookies will continue to set as they cool. If you want softer, chewier cookies, pull them out at the 12-minute mark.
- Cool. Let the cookies cool on the baking sheet for 5 minutes. This allows them to set without breaking apart. Then transfer them to a wire rack to cool completely. Or, you know, eat one warm and burn your tongue a little. It’s worth it.
A quick note: if your cookies spread too much, your butter was too warm or your dough wasn’t chilled long enough. Next time, pop the dough in the fridge for 15-20 minutes before baking. It makes a big difference.
Cooking Tips & Techniques
After making these cookies more times than I can count — including a few batches that came out flat as pancakes — I’ve learned a few things. Here are my best tips for getting that perfect thick and chewy texture every time:
- Use melted butter but let it cool. Melted butter gives the cookies a denser, chewier texture. But if it’s too hot, it will melt the sugar and cause the cookies to spread too much. Let it cool for 5 minutes after melting.
- Don’t overmix the dough. This is probably the most common mistake. Mix just until the flour disappears. Overmixing develops gluten, which makes cookies tough instead of tender.
- Chill the dough if you have time. Chilling for 30 minutes to an hour helps the flavors develop and prevents the cookies from spreading too much. If you’re in a hurry, you can skip this step — the cookies will just be a little flatter.
- Use a cookie scoop for uniform sizes. Uniform cookies bake evenly. If some are bigger than others, the small ones will burn while the big ones are still raw in the middle.
- Bake one sheet at a time. I know it’s tempting to cram both sheets in the oven, but the heat won’t circulate evenly. Your cookies will come out unevenly baked. Trust me, I’ve made this mistake.
- Pull them out when the centers look slightly underdone. The cookies will continue to bake on the hot pan after you take them out. If they look perfectly done in the oven, they’ll be overdone by the time they cool.
I once forgot to add the cornstarch to a batch, and the cookies came out flat and crispy. That’s when I realized just how much that tiny ingredient matters. Don’t skip it — it’s the secret to that soft, tender texture.
Variations & Adaptations
One of the best things about this recipe is how easy it is to adapt. Here are some of my favorite variations:
- Double Chocolate Chip Cookies: Replace ¼ cup of the flour with ¼ cup of unsweetened cocoa powder. Use dark chocolate chips for an extra-rich flavor. These are dangerously good.
- Peanut Butter Chocolate Chip Cookies: Reduce the butter to ¾ cup and add ½ cup creamy peanut butter. Mix it in with the wet ingredients. The peanut butter adds a salty-savory note that pairs beautifully with the chocolate.
- Gluten-Free Version: Substitute the all-purpose flour with a 1:1 gluten-free baking flour blend. I’ve used Bob’s Red Mill and King Arthur brands with great results. The texture will be slightly more delicate, but still delicious.
- Vegan Version: Use plant-based butter and replace each egg with a flax egg (1 tablespoon ground flaxseed + 3 tablespoons water per egg). The cookies will be a little less chewy but still tasty.
- Add-In Variations: Swap half the chocolate chips for white chocolate chips, chopped nuts (walnuts or pecans work great), dried cranberries, or toffee bits. I once added flaky sea salt on top before baking, and it was a game-changer.
My personal favorite variation? I add a handful of chopped dark chocolate bar pieces along with the chips. The irregular chunks melt into puddles of chocolate that make every bite different. It’s the little things, you know?
Serving & Storage Suggestions
These cookies are best served warm, when the chocolate is still slightly melty and the edges are crisp. But they’re pretty amazing at room temperature too — if they last that long.
For serving, I like to arrange them on a pretty plate with a glass of cold milk or a hot cup of coffee. They’re perfect for dunking. If you’re feeling fancy, warm them in the microwave for 10 seconds before serving — it brings back that just-baked texture.
For storage, keep the cookies in an airtight container at room temperature. They’ll stay fresh for up to 5 days. I like to layer them with parchment paper between each row to prevent sticking. If you live in a humid climate, add a piece of bread to the container — it absorbs excess moisture and keeps the cookies soft.
These cookies freeze beautifully. Place the baked cookies in a single layer on a baking sheet and freeze until solid, then transfer them to a freezer-safe bag. They’ll keep for up to 3 months. To reheat, pop a frozen cookie in the microwave for 15-20 seconds, or let it thaw at room temperature for about 30 minutes.
You can also freeze the raw cookie dough. Scoop it into balls, place them on a baking sheet, and freeze until solid. Then transfer the dough balls to a freezer bag. When you’re ready to bake, just add 2-3 minutes to the baking time — no need to thaw. Fresh cookies anytime you want them. Honestly, that’s the real magic of this recipe.
Nutritional Information & Benefits
Let’s be real — these are cookies, not health food. But that doesn’t mean they can’t fit into a balanced lifestyle. Here’s the estimated nutritional breakdown per cookie (based on 18 cookies):
- Calories: Approximately 280
- Fat: 14g
- Saturated Fat: 8g
- Carbohydrates: 37g
- Sugar: 22g
- Protein: 4g
- Fiber: 1g
- Sodium: 180mg
While these cookies aren’t exactly a health food, they do have some redeeming qualities. The butter provides vitamin A, and the eggs offer a good dose of protein and B vitamins. Dark chocolate, if you use it, contains antioxidants and can even help improve mood — which, honestly, is reason enough to have a cookie.
For those with dietary restrictions, this recipe contains gluten, dairy, and eggs. But as I mentioned in the variations section, you can easily adapt it to be gluten-free or vegan. Just be aware that the texture will change slightly.
My personal philosophy? Enjoy the cookie. Savor it. And then maybe go for a walk or drink some water. Balance, my friends. It’s all about balance.
Conclusion
These thick and chewy bakery-style chocolate chip cookies are everything you want in a cookie — soft centers, crisp edges, and plenty of melty chocolate in every bite. They come together quickly with simple ingredients, and they never fail to impress. Whether you’re baking for a crowd or just treating yourself on a quiet afternoon, this recipe delivers.
I love how adaptable this recipe is. You can switch up the add-ins, adjust the sweetness, or make it gluten-free — it always works. And that’s the beauty of a good base recipe. It becomes yours.
So go ahead, preheat that oven. Melt that butter. And make some memories in the kitchen. I’d love to hear how your cookies turn out — drop a comment below and tell me about your favorite variations. Did you add nuts? Swap the chocolate? Forget the cornstarch and learn the hard way like I did? Share it all. Happy baking!
Frequently Asked Questions
Can I use salted butter instead of unsalted?
Yes, you can. Just reduce the added salt to ½ teaspoon instead of 1 teaspoon. This keeps the cookies from becoming too salty.
Why did my cookies turn out flat?
Flat cookies usually mean the butter was too warm or the dough wasn’t chilled long enough. Try chilling the dough for 30 minutes before baking, and make sure your melted butter has cooled for at least 5 minutes.
Can I make the dough ahead of time?
Absolutely. You can refrigerate the dough for up to 3 days or freeze it for up to 3 months. Just let it sit at room temperature for 10 minutes before scooping and baking if it’s been refrigerated.
How do I get that bakery-style look?
For tall, domed cookies, roll the dough into tall cylinders instead of round balls. Also, bake them from chilled dough — it helps them hold their shape better.
Can I use all brown sugar instead of a mix?
Yes, but the cookies will be softer and have a deeper molasses flavor. They’ll also spread a bit more. If you want a chewier cookie, using all brown sugar is actually a great option.
Pin This Recipe!
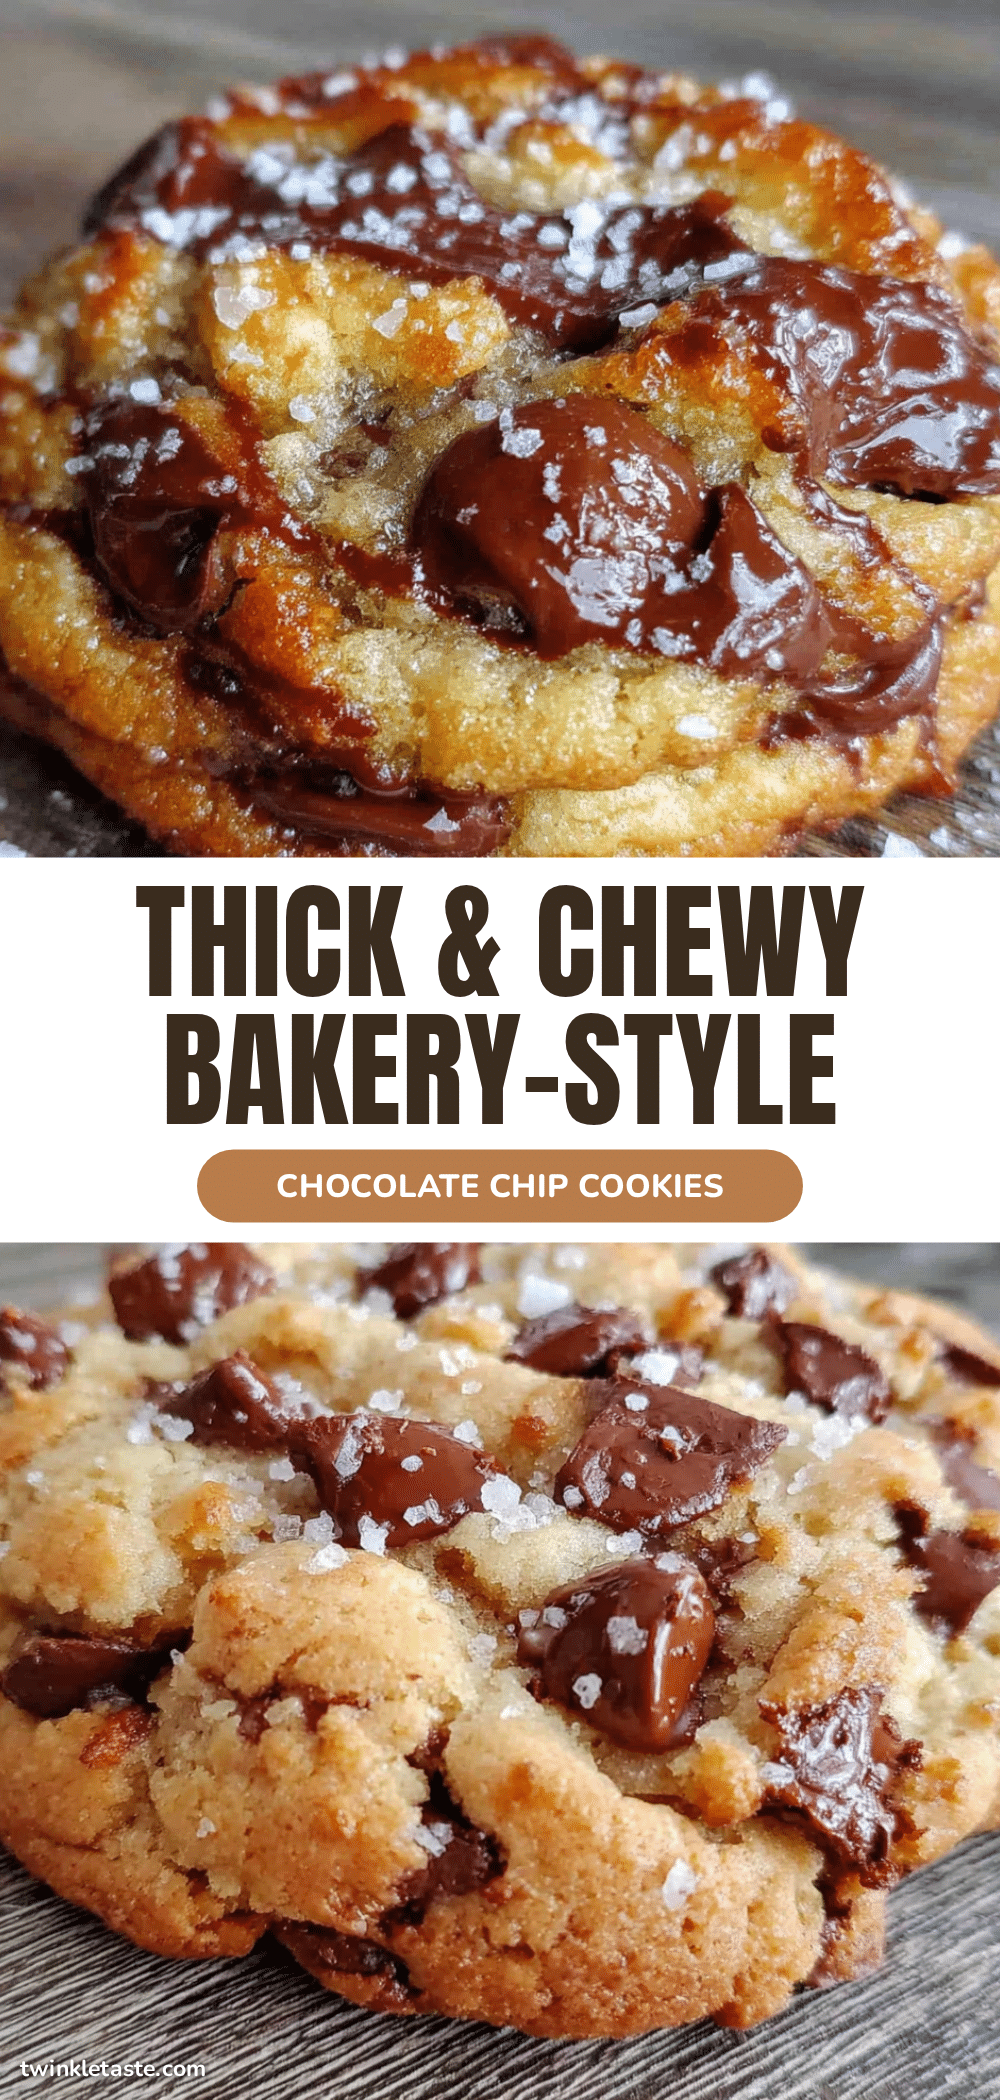
Thick and Chewy Bakery-Style Chocolate Chip Cookies (Best Recipe)

These thick and chewy bakery-style chocolate chip cookies are everything you want in a cookie — soft centers, crisp edges, and plenty of melty chocolate in every bite. They come together quickly with simple ingredients, and they never fail to impress.
- Prep Time: 15 minutes
- Cook Time: 12-14 minutes per batch
- Total Time: 30 minutes (plus optional chilling time)
- Yield: 18 large cookies 1x
- Category: Dessert
- Cuisine: American
Ingredients
- 1 cup (2 sticks) unsalted butter, melted and slightly cooled
- 1 ¼ cups packed brown sugar (light or dark)
- ½ cup granulated sugar
- 2 large eggs plus 1 egg yolk, at room temperature
- 2 teaspoons vanilla extract
- 3 cups all-purpose flour, spooned and leveled
- 1 teaspoon baking soda
- 1 teaspoon salt (fine sea salt)
- 1 tablespoon cornstarch
- 2 cups semi-sweet chocolate chips (or mix of chips and chopped chocolate)
Instructions
- Preheat your oven to 350°F (175°C). Line two baking sheets with parchment paper or silicone mats.
- Melt the butter. In a small saucepan or microwave-safe bowl, melt 1 cup (2 sticks) of unsalted butter. Let it cool for 5 minutes.
- Mix the wet ingredients. In a large bowl, whisk together the melted butter, 1 ¼ cups packed brown sugar, and ½ cup granulated sugar until smooth. Add 2 whole eggs plus 1 egg yolk and 2 teaspoons vanilla extract. Whisk until fully combined.
- Combine the dry ingredients. In a separate bowl, whisk together 3 cups all-purpose flour, 1 teaspoon baking soda, 1 teaspoon salt, and 1 tablespoon cornstarch.
- Mix the dough. Gradually add the dry ingredients to the wet ingredients, stirring with a rubber spatula or wooden spoon. Mix just until no streaks of flour remain.
- Fold in the chocolate chips. Add 2 cups of chocolate chips and fold gently until evenly distributed. If the dough feels too soft, cover and refrigerate for 30 minutes.
- Portion the dough. Using a 3-tablespoon cookie scoop, scoop the dough into balls and place them on the prepared baking sheets, spacing them about 3 inches apart. For extra-tall cookies, roll each ball into a tall cylinder shape.
- Bake. Bake one sheet at a time for 12-14 minutes, until the edges are golden brown and the centers look slightly underdone.
- Cool. Let the cookies cool on the baking sheet for 5 minutes, then transfer them to a wire rack to cool completely.
Notes
For best results, let melted butter cool for 5 minutes before mixing. Don’t overmix the dough. Chilling the dough for 30 minutes helps prevent spreading. Pull cookies out when centers look slightly underdone; they will continue to set on the hot pan. Cornstarch is the secret to soft, tender cookies.
Nutrition
- Serving Size: 1 cookie
- Calories: 280
- Sugar: 22
- Sodium: 180
- Fat: 14
- Saturated Fat: 8
- Carbohydrates: 37
- Fiber: 1
- Protein: 4
Keywords: chocolate chip cookies, thick and chewy cookies, bakery-style cookies, easy cookie recipe, best chocolate chip cookies


