November, and the kitchen counter is littered with the usual cold-weather debris—a half-empty mug of tea, a crumpled tissue, a bottle of honey that’s crystallized at the bottom. My youngest came home from school with that specific, glassy-eyed look again, the one that means we’re about to enter another round of the sniffle marathon. I was tired of the store-bought stuff, honestly. The syrups were sticky, the packets felt wasteful, and the kids were starting to eye the medicine cabinet with profound suspicion. So I stood there, staring at a bag of dried elderberries I’d impulsively bought last month, and decided to just… try. That’s how these homemade elderberry gummies for immune support were born—not from a plan, but from a quiet, slightly desperate Tuesday afternoon.
I wasn’t aiming for a perfect, pectin-set, gummy-bear replica. I just wanted something that felt good to give them. Something that didn’t taste like cough syrup and regret. The first batch was a mess—too runny, oddly lumpy, and I used way too much honey. But the kids ate them. They asked for more. And in that moment, I realized this wasn’t just a recipe; it was a small, tangible way to feel like I was doing something, even when I couldn’t control the weather or the school germ exchange. This is that recipe, perfected over a few more messy batches, and it’s honestly become a staple in our home from October through March.
Why You’ll Love This Recipe
I’ve tested this recipe more times than I can count, tweaking the gelatin ratio, the steeping time, and the sweetener balance until it was just right. Here’s why I think you’ll love it as much as we do:
- Simple, Real Ingredients: No corn syrup, no artificial flavors, no weird preservatives. Just elderberries, honey, lemon, and gelatin. You can pronounce everything.
- Kid-Approved (Finally): These taste like a mild, fruity honey candy. My kids have no idea they’re getting a dose of immune support. They just think it’s a treat.
- So Much Cheaper Than Store-Bought: A bag of dried elderberries makes multiple batches, and gelatin is inexpensive. You’ll save a ton compared to those fancy wellness gummies.
- Perfect for Busy Families: Once you make a batch, they last for weeks in the fridge. Grab one in the morning, toss one in a lunchbox, or offer one after school. No fuss.
- Customizable & Fun: You can use silicone molds in fun shapes (stars, bears, dinosaurs) or just pour the mixture into a square pan and cut it into cubes. It’s a little project that feels satisfying.
What makes this recipe different from others? It’s the balance. I’ve found that a longer, slower steep of the elderberries extracts the most flavor and color without making the syrup bitter. And I use a specific type of gelatin (grass-fed, bovine) that sets firmly but still has a soft, pleasant chew. It’s not a science experiment—it’s a kitchen-tested method that works every single time. Honestly, the first time you pop one of these out of the mold and it holds its shape perfectly, you’ll feel like a kitchen wizard.
What Ingredients You Will Need
This recipe uses a short list of pantry-friendly ingredients that work together to create a potent, delicious gummy. The elderberries are the star, but each component plays a crucial role.
- Dried Elderberries (½ cup): These are the foundation. Look for dried, organic elderberries (Sambucus nigra). They’re available online or at health food stores. Don’t use fresh elderberries—they need to be cooked to be safe. I prefer Mountain Rose Herbs for their consistent quality, but any reputable brand works.
- Filtered Water (2 cups): Use good water. Tap water with chlorine can affect the flavor of your final syrup. It’s a small detail that makes a difference.
- Raw Honey (¼ cup, plus more to taste): Honey adds natural sweetness and its own immune-supporting properties. Don’t use honey for infants under 1 year old. You can substitute with maple syrup or agave if needed, but honey gives the best flavor.
- Fresh Lemon Juice (2 tablespoons): The acidity helps balance the sweetness and acts as a natural preservative. It also helps the gelatin set properly. Always use fresh, never bottled.
- Grass-Fed Beef Gelatin (¼ cup or about 4 tablespoons): This is the magic ingredient that turns the liquid into gummies. Great Lakes Gelatin (red can) is my go-to for its neutral flavor and reliable set. You can use a collagen peptide blend, but it won’t set as firmly. Make sure it’s a blooming gelatin, not a hydrolyzed collagen (which won’t gel).
Ingredient Selection Tip: When choosing elderberries, look for ones that are deep purple-black, not brown or faded. They should smell slightly sweet and earthy. Avoid any bags that smell musty or have visible debris. For the gelatin, always check the label to ensure it’s a “gelatin” and not a “collagen peptide”—they are not interchangeable for gummies.
Substitution Guidance: If you’re vegan, this recipe won’t work with standard gelatin. You can try using agar agar powder, but the texture will be very different—more like a firm jelly than a chewy gummy. Start with 2 teaspoons of agar agar powder and adjust. The result won’t be the same, but it’s a viable alternative.
Equipment Needed
You don’t need a fancy kitchen setup for this. Most of these items you probably already have. Here’s what you’ll need:
- Small to Medium Saucepan: For simmering the elderberries. A stainless steel or enameled pot works best—avoid aluminum, which can react with the berries.
- Fine-Mesh Strainer or Cheesecloth: To strain out the elderberry solids. A nut milk bag works great too. Don’t skip this step—the berries are woody and not pleasant to eat.
- Glass Measuring Cup or Bowl: For mixing the gelatin. A 2-cup Pyrex measuring cup is perfect because it has a spout for pouring.
- Silicone Gummy Molds: These are optional but fun. I use bear-shaped molds, but you can use any shape. If you don’t have molds, an 8×8-inch glass dish works perfectly.
- Small Whisk or Fork: For whisking the gelatin into the liquid. A fork works in a pinch.
- Dropper or Small Spouted Pitcher: Makes filling the molds much easier. A turkey baster works too, honestly.
- Refrigerator Space: You need a flat spot in your fridge for the molds or dish to set.
If you don’t have silicone molds, don’t let that stop you. I’ve made this recipe in a small glass dish, let it set, and then cut it into little squares with a sharp knife. They look rustic but taste exactly the same. The molds just make them more fun for kids.
Preparation Method
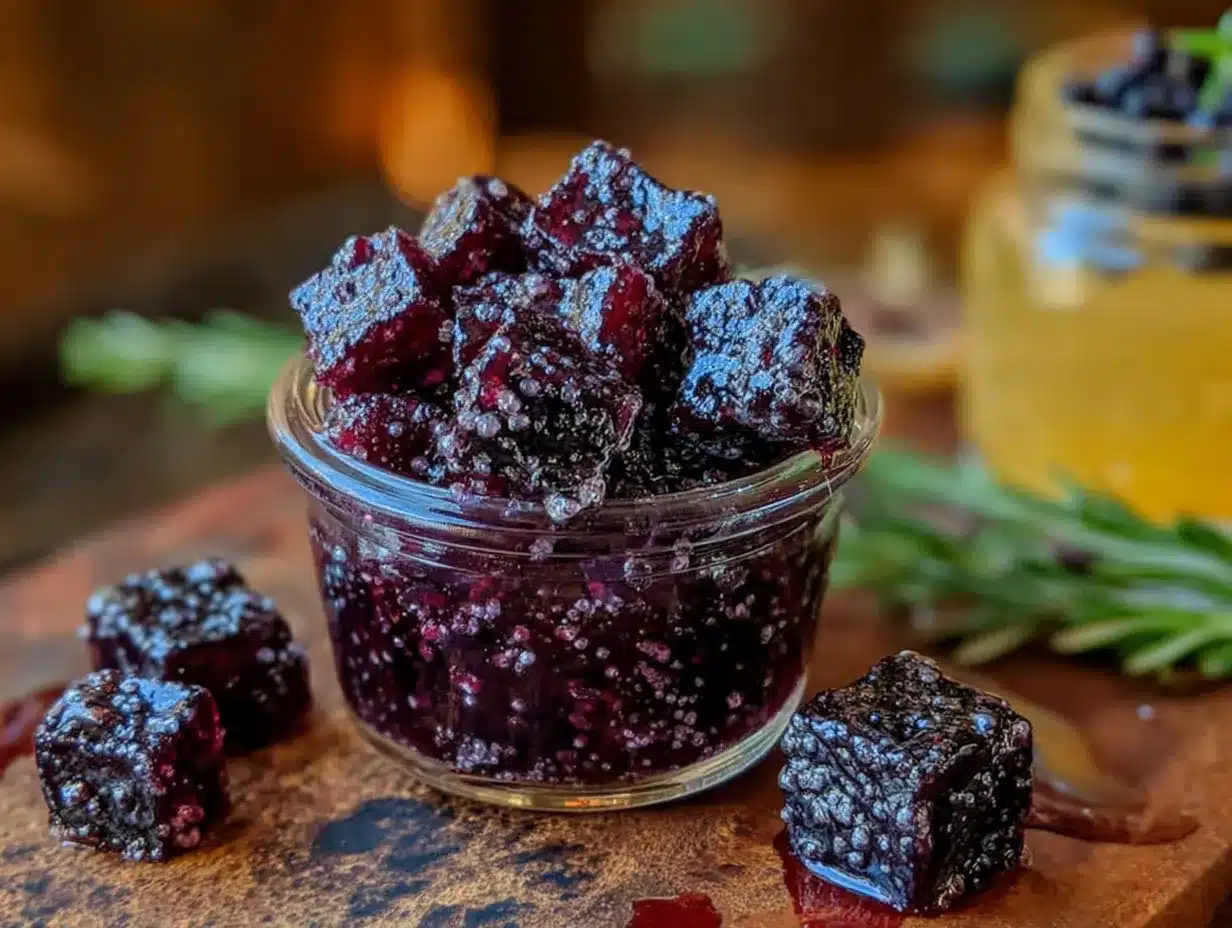
This method is broken down into two main parts: making the concentrated elderberry syrup, and then turning it into gummies. Take your time with the first part—it’s where the flavor develops.
- Simmer the Elderberries: In your saucepan, combine the ½ cup dried elderberries and 2 cups filtered water. Bring it to a gentle boil over medium-high heat, then immediately reduce the heat to low. Let it simmer, uncovered, for about 30–40 minutes. You want the liquid to reduce by about half. The berries will swell and the liquid will turn a deep, dark purple. Sensory cue: Your kitchen will smell like a cozy, slightly floral tea. Don’t let it boil vigorously—a gentle simmer is key to avoiding bitterness.
- Strain the Liquid: Place your fine-mesh strainer over a glass measuring cup or bowl. Carefully pour the hot elderberry mixture through the strainer. Use the back of a spoon to gently press on the berries to extract as much liquid as possible. Warning: The berries will be hot, so let them cool for a minute before pressing. Discard the spent berries (compost them!). You should have about 1 cup of concentrated elderberry liquid. If you have a bit less, that’s fine—just note the volume.
- Sweeten and Acidify: While the liquid is still warm (but not boiling), whisk in the ¼ cup raw honey and 2 tablespoons fresh lemon juice. Taste it. It should be pleasantly sweet with a little tang. If you want it sweeter, add another tablespoon of honey. The honey will dissolve easily into the warm liquid. Let this mixture cool until it’s just warm to the touch—about 100°F (38°C). If it’s too hot, it can damage the gelatin’s setting ability.
- Bloom the Gelatin: In a small bowl, sprinkle the ¼ cup (4 tablespoons) grass-fed beef gelatin over ½ cup of the warm elderberry liquid. Don’t dump it all in at once—sprinkle it evenly over the surface. Let it sit for 5 minutes without stirring. This is called “blooming” and it’s crucial for a smooth, lump-free texture. The gelatin will absorb the liquid and become a thick, spongy mass. Troubleshooting: If you see lumps after blooming, don’t panic. You can gently warm the mixture over very low heat, whisking constantly, until the lumps dissolve.
- Combine and Whisk: After the gelatin has bloomed, pour the remaining elderberry liquid into the bowl with the bloomed gelatin. Whisk gently but thoroughly until the gelatin is completely dissolved and the mixture is smooth and glossy. It should look like a thin, dark syrup. If you see any streaks of undissolved gelatin, keep whisking. If necessary, place the bowl over a pan of simmering water (a double boiler) and whisk until smooth.
- Fill the Molds: If using silicone molds, place them on a baking sheet for stability. Use a dropper or small spouted pitcher to carefully fill each cavity. Don’t overfill—leave a tiny bit of space at the top. If using a dish, simply pour the mixture into the dish. Pro tip: If you get bubbles on the surface, spray a little cooking spray on a paper towel and gently dab the tops. Or, let the mixture sit for a minute before pouring to let bubbles rise.
- Set in the Refrigerator: Carefully transfer the baking sheet (or dish) to the refrigerator. Let the gummies set for at least 4 hours, but overnight is better. They need to be fully firm to pop out of the molds cleanly. Don’t rush this step.
- Unmold and Store: Once set, gently pop the gummies out of the molds. If they stick, let them sit at room temperature for 5 minutes, or place the mold on a warm (not hot) surface for a few seconds. Store them in an airtight container in the refrigerator.
Cooking Tips & Techniques
I’ve made this recipe at least a dozen times, and I’ve learned a few things the hard way. Here are my best tips to ensure your first batch is a success.
The Temperature Trap: The biggest mistake people make is adding gelatin to liquid that’s too hot. If your elderberry syrup is above 120°F (49°C), it can weaken the gelatin’s structure, resulting in gummies that are soft and weepy. Always let your syrup cool until it’s just warm to the touch—like a comfortable bathwater temperature. I use my finger to test it, honestly. If it feels hot, it’s too hot.
The Lump Lesson: I once tried to bloom my gelatin in cold water instead of the elderberry liquid. Big mistake. It created hard, rubbery lumps that never dissolved. Always bloom the gelatin in some of the warm (not hot) elderberry liquid. This ensures it incorporates smoothly and evenly.
The Patience Factor: Don’t rush the setting time. I’ve been tempted to pop them out after 3 hours, and they were still a bit tacky. Overnight is your friend. The longer they set, the firmer and cleaner they’ll release from the molds. Also, make sure your fridge is level—otherwise, your gummies will be lopsided.
Multitasking Strategy: This recipe is surprisingly easy to fit into a busy day. Simmer the elderberries while you’re making dinner. Strain it and let it cool while you eat. Then, bloom the gelatin and fill the molds in about 10 minutes. Pop them in the fridge before you go to bed, and they’re ready in the morning. It’s a low-effort, high-reward project.
Variations & Adaptations
Once you’ve mastered the basic recipe, feel free to play around. Here are some of my favorite variations.
- Spiced Immune Gummies: Add a cinnamon stick, 2 whole cloves, and a 1-inch piece of fresh ginger (sliced) to the pot while simmering the elderberries. This adds warmth and extra immune-supporting properties. Strain them out with the berries. It’s like a chai version of the gummies.
- Tropical Twist: Swap ½ cup of the water for unsweetened pineapple or mango juice. The natural sweetness and tropical flavor pair beautifully with the elderberries. Just reduce the honey slightly to account for the extra sweetness.
- Vegan Agar Agar Version: As mentioned, this won’t be a chewy gummy, but it works. Use 2 teaspoons of agar agar powder instead of gelatin. Sprinkle it over the warm elderberry liquid, bring it to a boil, and simmer for 2 minutes, whisking constantly. Pour into molds immediately—agar sets at room temperature, so you need to work fast. The texture is more like a firm jelly.
- Berry Boost: Add a handful of dried rose hips or hibiscus flowers to the pot with the elderberries. Both are rich in vitamin C and add a lovely floral note. Strain them out with the berries.
I personally love the spiced version during the winter months. I once made a batch with a whole star anise pod, and it was incredible—warm, aromatic, and deeply comforting. Just remember to strain it thoroughly.
Serving & Storage Suggestions
These gummies are best enjoyed cold, straight from the fridge. The texture is firm and pleasant, almost like a fruit snack. Here’s how to serve and store them.
Serving: I offer one or two gummies per day as a daily immune-support boost, especially during cold and flu season. They’re perfect for school lunches, after-school snacks, or a post-dinner treat. You can also serve them at room temperature, but they will be softer. For a fun presentation, arrange them on a small plate with a few fresh berries or a sprig of mint.
Storage: Store the gummies in an airtight container in the refrigerator. They will last for up to 3 weeks, but honestly, they never last that long in my house. Do not freeze them—freezing will ruin the texture, making them weepy and grainy when thawed. If you need to store them for longer, you can make a double batch and keep one in the fridge and one in the back of the fridge (where it’s coldest).
Flavor Development: The flavors actually meld and deepen after a day or two in the fridge. The honey becomes more pronounced, and the elderberry flavor rounds out. They’re good on day one, but they’re amazing on day three. So don’t worry if they seem a little one-note at first—they’ll get better.
Nutritional Information & Benefits
These gummies are a powerhouse of immune-supporting nutrients in a delicious, kid-friendly form. Here’s a quick breakdown.
Estimated Nutritional Values (per 2-gummy serving):
| Nutrient | Amount |
|---|---|
| Calories | 35-40 |
| Total Fat | 0g |
| Carbohydrates | 8-10g |
| Sugars | 7-9g (from honey) |
| Protein | 4-5g (from gelatin) |
| Vitamin C | ~2mg (from lemon juice) |
Health Benefits: Elderberries are packed with antioxidants, particularly anthocyanins, which help support a healthy immune system. They’re also rich in vitamin C and dietary fiber. The honey adds its own antimicrobial properties and soothes sore throats. Gelatin is excellent for gut health, skin, hair, and nails. It’s a collagen-rich protein that supports joint health too. This is a snack that does double duty—it tastes good and does good.
Dietary Considerations: This recipe is naturally gluten-free, grain-free, and dairy-free. It’s also free from refined sugar. The main allergen to watch for is the gelatin (which is animal-derived). For a vegan option, see the agar agar variation above. Always check your honey source if you have concerns about pollen allergies.
Conclusion
These homemade elderberry gummies for immune support have become a quiet little ritual in our home. They’re not a magic bullet, but they are a simple, wholesome way to feel a little more prepared for whatever the season throws our way. I love that I know exactly what’s in them—no mystery ingredients, no preservatives, just good, real food. And I love that my kids actually enjoy taking them. It’s a small win in the daily parenting battle, and I’ll take it.
I encourage you to make a batch and see how they fit into your routine. Maybe you’ll eat them straight from the fridge like I do, or maybe you’ll pack them in school lunches. Maybe you’ll even experiment with the spiced version and make it your own. That’s the beauty of homemade—you’re in control.
If you try this recipe, I’d love to hear about it! Leave a comment below and let me know how they turned out, or share your own variations. And if you’re looking for another cozy, immune-supporting recipe, check out my wholesome homemade elderberry syrup—it’s a classic for a reason. Happy cooking, friends. Stay well.
Frequently Asked Questions
Can I use fresh elderberries instead of dried?
No, you should not use fresh elderberries for this recipe. Fresh elderberries contain a compound that can cause nausea if eaten raw. They must be cooked thoroughly to be safe. Dried elderberries are already processed and safe to use as directed. If you have fresh berries, you can dry them first, but it’s easier to just use dried.
Why are my gummies too soft or not setting?
This is usually a temperature issue. If your elderberry liquid was too hot when you added the gelatin (above 120°F), it can weaken the gelatin’s structure. Also, make sure you used the correct type of gelatin—blooming gelatin, not hydrolyzed collagen. Finally, ensure they set in the fridge for at least 4 hours, preferably overnight. If they’re still soft, you can try re-melting them with a little extra gelatin and re-setting them.
Can I use a different sweetener?
Absolutely. You can substitute the honey with maple syrup, agave nectar, or even a pinch of stevia. Keep in mind that different sweeteners have different sweetness levels and consistencies. Maple syrup will give a slightly thinner consistency, so you may need to add a tiny bit more gelatin. Start with 3 tablespoons of maple syrup and adjust to taste.
How long do these gummies last?
Stored in an airtight container in the refrigerator, these gummies will last for up to 3 weeks. They may start to soften slightly after the first week, but they’re still safe to eat. Do not freeze them—the texture will be ruined. If you see any mold or off smells, discard them immediately.
Can I make these without a mold?
Yes, absolutely! If you don’t have silicone molds, simply pour the mixture into a small glass dish (like an 8×8-inch baking dish) lined with parchment paper. Let it set in the fridge overnight. Once firm, lift the block out using the parchment, and cut it into small squares using a sharp knife. They won’t be shaped like bears, but they’ll taste exactly the same. This is actually my preferred method when I’m in a hurry.
Pin This Recipe!
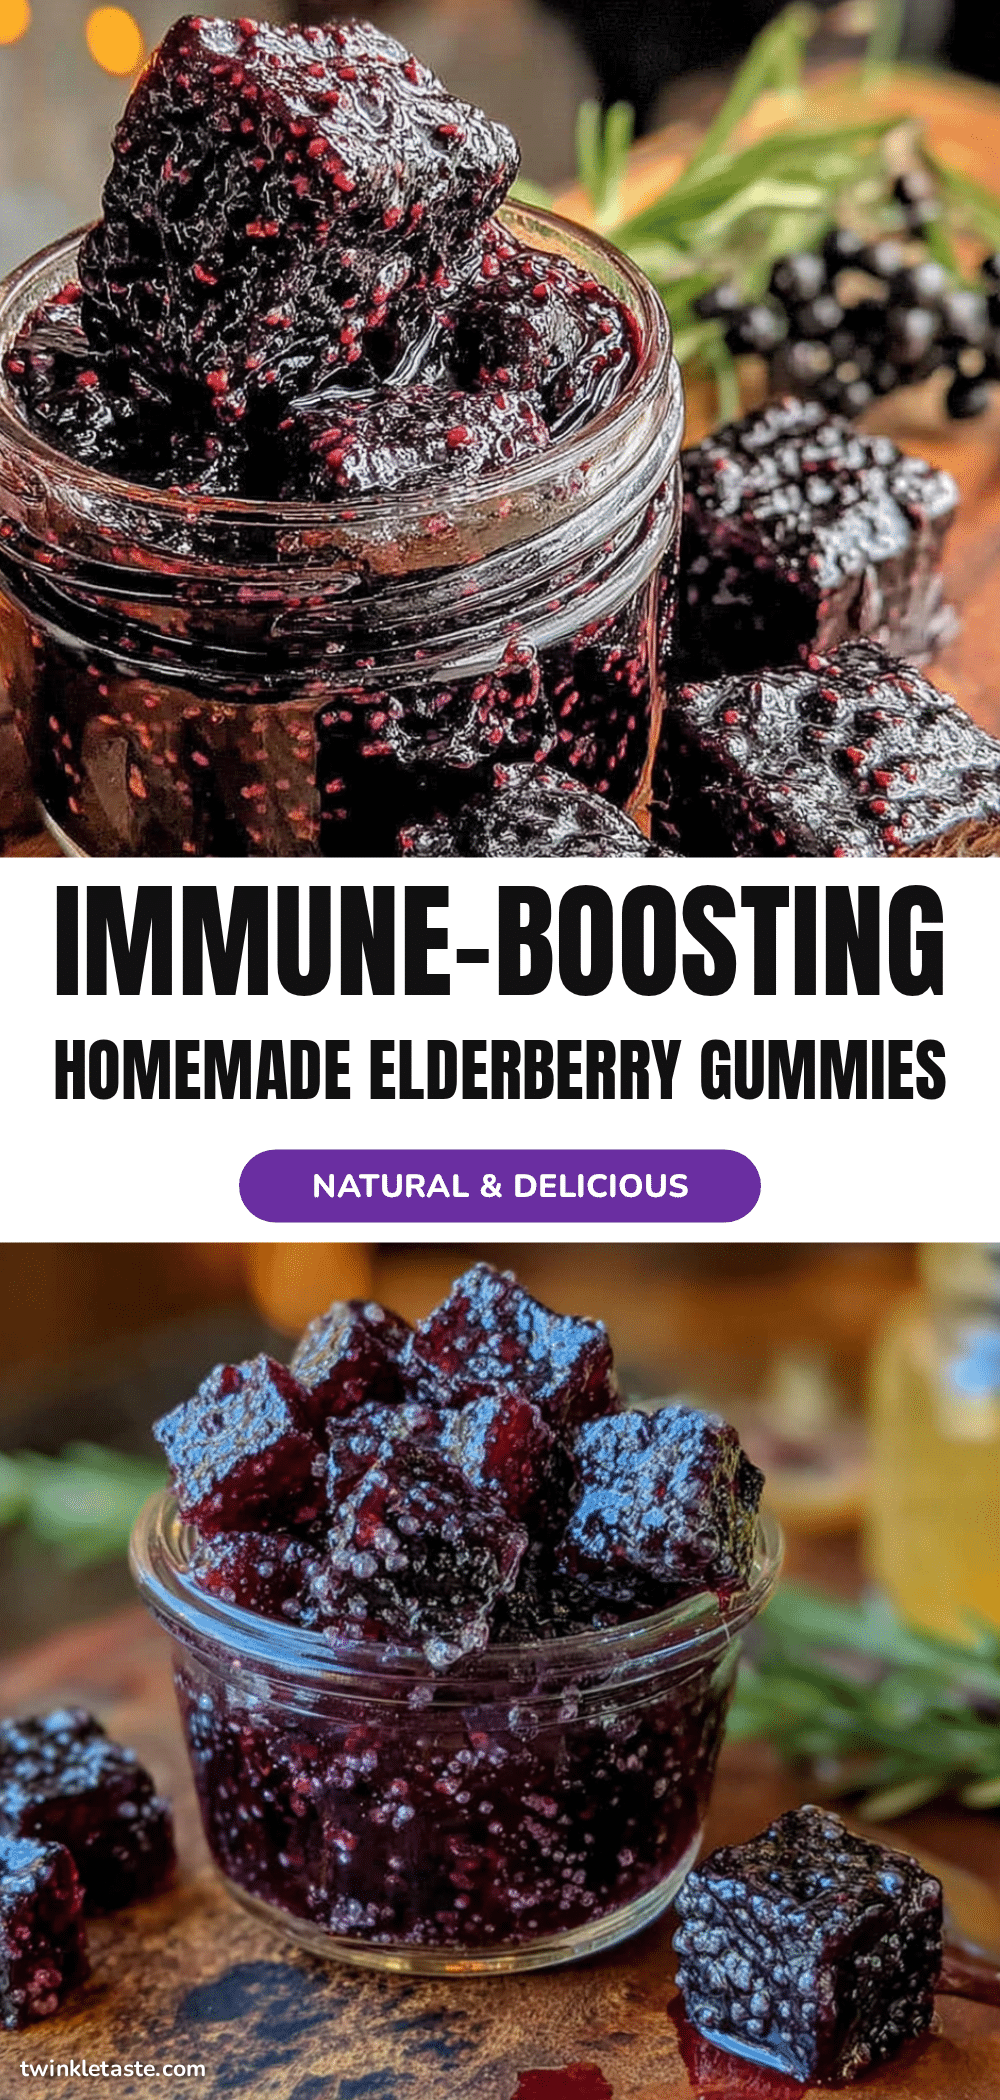
Homemade Elderberry Gummies: Easy Immune Support
These homemade elderberry gummies are a simple, kid-friendly way to support the immune system using real ingredients like elderberries, honey, and gelatin. Perfect for busy families during cold and flu season.
- Prep Time: 15 minutes
- Cook Time: 40 minutes
- Total Time: 4 hours 55 minutes (includes setting time)
- Yield: 4 servings 1x
- Category: Snack
- Cuisine: American
Ingredients
- ½ cup dried elderberries
- 2 cups filtered water
- ¼ cup raw honey (plus more to taste)
- 2 tablespoons fresh lemon juice
- ¼ cup (4 tablespoons) grass-fed beef gelatin
Instructions
- Simmer the Elderberries: In a saucepan, combine ½ cup dried elderberries and 2 cups filtered water. Bring to a gentle boil over medium-high heat, then reduce heat to low. Simmer uncovered for 30–40 minutes until liquid reduces by about half and turns deep purple.
- Strain the Liquid: Place a fine-mesh strainer over a glass measuring cup. Pour the hot elderberry mixture through the strainer, pressing on the berries with a spoon to extract as much liquid as possible. Discard the berries. You should have about 1 cup of concentrated liquid.
- Sweeten and Acidify: While the liquid is still warm (not boiling), whisk in ¼ cup raw honey and 2 tablespoons fresh lemon juice. Taste and add more honey if desired. Let cool until just warm to the touch (about 100°F/38°C).
- Bloom the Gelatin: In a small bowl, sprinkle ¼ cup (4 tablespoons) grass-fed beef gelatin over ½ cup of the warm elderberry liquid. Let sit for 5 minutes without stirring until it becomes a thick, spongy mass.
- Combine and Whisk: Pour the remaining elderberry liquid into the bowl with the bloomed gelatin. Whisk gently until completely dissolved and smooth. If lumps remain, warm over a double boiler while whisking.
- Fill the Molds: Place silicone molds on a baking sheet. Use a dropper or small spouted pitcher to fill each cavity, leaving a tiny space at the top. Alternatively, pour into an 8×8-inch glass dish.
- Set in the Refrigerator: Transfer the baking sheet or dish to the refrigerator. Let set for at least 4 hours, preferably overnight, until firm.
- Unmold and Store: Gently pop gummies out of molds. If they stick, let sit at room temperature for 5 minutes. Store in an airtight container in the refrigerator.
Notes
Do not use fresh elderberries—they must be cooked. Ensure liquid is not above 120°F when adding gelatin to avoid weakening the set. For vegan option, use 2 teaspoons agar agar powder instead of gelatin (texture will be more like firm jelly). Gummies last up to 3 weeks in the fridge; do not freeze.
Nutrition
- Serving Size: 2 gummies
- Calories: 3540
- Sugar: 79
- Carbohydrates: 810
- Protein: 45
Keywords: elderberry gummies, immune support, homemade gummies, elderberry recipe, kid-friendly, natural remedy, honey gummies


