Okay, I want a slice of something warm and spiced right now, and I have exactly three things in my pantry that could make that happen, plus a can of pumpkin that’s been staring at me. That’s the thing about fall cravings—they hit hard and fast, and you don’t always have time to cream butter and sugar together, let alone wash a stand mixer bowl. So here I am, standing in my kitchen at 4 PM on a Tuesday, already thinking about the coffee I’ll pour alongside a bowl of this easy pumpkin dump cake. I know it sounds almost too simple to be good, but that’s the trick with dump cakes—they’re kind of magic. You layer, you dump, you bake, and somehow the whole thing transforms into this buttery, crumbly, custard-like dessert that tastes like you actually tried. Honestly, I almost didn’t post this recipe because I thought, “Is this too easy? Will people think it’s cheating?” But then I took a bite straight out of the pan—warm, with a little vanilla ice cream melting into the cracks—and I realized that good food doesn’t have to be complicated. It just has to taste like home. And this pumpkin dump cake does exactly that.
This isn’t just another pumpkin dessert. It’s the one you’ll make when you need something impressive fast, when you forgot to bring dessert to a Friendsgiving, or when you just want to smell cinnamon and nutmeg filling up your house without spending an hour in the kitchen. With just four main ingredients, it’s practically foolproof. So let me show you how this easy dump cake works, because once you try it, you’ll be making it all season long.
Why You’ll Love This Recipe
I’ve tested this pumpkin dump cake about six times now, tweaking the ratios and trying different cake mix flavors, and I can confidently say this version is the one. It hits that sweet spot between a soft, almost pudding-like pumpkin layer and a crunchy, buttery cake topping that shatters slightly when you bite into it. Here’s why it’s become my go-to fall dessert:
- Only 4 Ingredients: Pumpkin puree, evaporated milk, cake mix, and butter. That’s it. No eggs, no vanilla extract, no special spices (though I add cinnamon because I can’t help myself).
- Ready in Under an Hour: From pantry to oven in five minutes flat. The hardest part is waiting for it to bake.
- Perfect for Entertaining: This is the dessert you bring to a potluck when you want people to ask for the recipe. It feeds a crowd and looks beautiful with a dusting of powdered sugar or a scoop of ice cream.
- No Electric Mixer Required: You mix the pumpkin filling with a spoon, dump the dry cake mix on top, and drizzle melted butter over everything. Your stand mixer can stay in the cabinet.
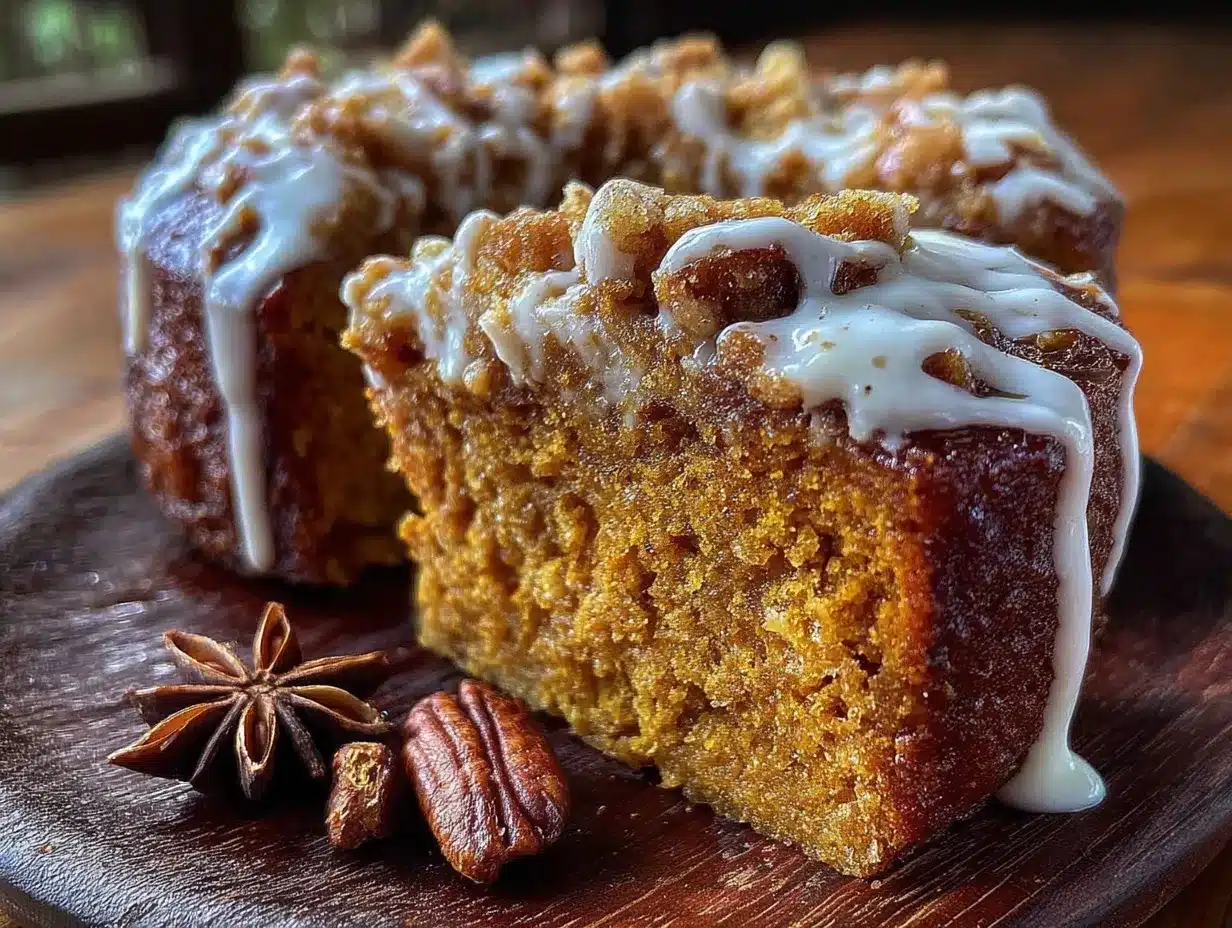
- Unbelievably Delicious Texture: The bottom layer stays creamy and almost flan-like, while the top bakes into a golden, crumbly crust that’s part cake, part streusel. It’s the best of both worlds.
What makes this recipe different from other pumpkin dump cakes you’ll find online is the ratio. I tested it with less evaporated milk and more pumpkin, and the texture was too dense. Too much cake mix and it felt dry. This version? It’s perfectly balanced. The pumpkin layer is silky and spiced, and the topping stays crunchy for days (if it lasts that long). It’s the kind of dessert that makes you close your eyes after the first bite—and that’s not something I say lightly.
What Ingredients You Will Need
This recipe uses simple, pantry-friendly ingredients to create something that tastes way more complex than it is. Here’s everything you’ll need:
For the Pumpkin Layer
- 1 can (15 oz) pumpkin puree — Not pumpkin pie filling. Make sure you grab 100% pure pumpkin. I prefer Libby’s for its consistent texture and deep color.
- 1 can (12 oz) evaporated milk — This adds richness without making the filling too heavy. Don’t substitute sweetened condensed milk here; it’s too sweet and will change the texture.
- 1/2 cup granulated sugar — Just enough to sweeten the pumpkin without overpowering the spice.
- 1 teaspoon pumpkin pie spice — Or make your own with 1/2 teaspoon cinnamon, 1/4 teaspoon nutmeg, 1/4 teaspoon ginger, and a pinch of cloves.
- 1/2 teaspoon cinnamon — Because you can never have too much cinnamon in a pumpkin dessert.
- 1/4 teaspoon salt — This balances the sweetness and brings out the pumpkin flavor.
For the Topping
- 1 box (15.25 oz) yellow cake mix — Duncan Hines or Betty Crocker both work great. You can also use spice cake mix for extra warmth, or a gluten-free yellow cake mix if needed.
- 3/4 cup unsalted butter, melted — This is what creates that crumbly, golden topping. Use salted butter if that’s all you have, just reduce the added salt in the pumpkin layer.
Optional Add-Ins
- 1/2 cup chopped pecans or walnuts — Sprinkle over the cake mix before adding the butter for extra crunch.
- 1/4 cup brown sugar — Sprinkle over the top for a deeper, caramel-like sweetness.
- Vanilla ice cream or whipped cream — For serving, because warm pumpkin dump cake and cold ice cream is a match made in heaven.
Ingredient Substitution Tips: Need a dairy-free version? Use full-fat canned coconut milk instead of evaporated milk and a plant-based butter alternative. For a lower-sugar option, use a sugar substitute in the pumpkin layer (like monk fruit sweetener) and a sugar-free yellow cake mix. Just keep in mind that the texture may vary slightly.
I always recommend using a high-quality pumpkin puree. Cheap brands can be watery and result in a less stable filling. If your pumpkin puree looks thin, let it drain in a fine-mesh sieve for 15 minutes before using.
Equipment Needed
The beauty of this recipe is that it doesn’t require much gear. Here’s what you’ll need:
- 9×13-inch baking dish — Glass or ceramic works best. Metal pans can work too, but you may need to reduce the baking time by 5 minutes.
- Large mixing bowl — For whisking together the pumpkin filling.
- Whisk or spatula — A whisk works best to get the pumpkin smooth, but a spatula does the job too.
- Measuring cups and spoons — For the sugar, spices, and melted butter.
- Small saucepan or microwave-safe bowl — For melting the butter.
- Cooling rack — Optional, but helps the cake cool evenly.
If you don’t have a 9×13 pan, you can use two 8×8 square pans, but reduce the baking time to about 35-40 minutes. I’ve also made this in a cast iron skillet for a rustic look—just grease it well and keep an eye on the edges, as cast iron conducts heat differently.
One thing I learned the hard way: don’t use a disposable aluminum pan for this recipe. The heat distribution is uneven, and the edges of the cake mix tend to burn while the center stays underdone. Stick with glass or ceramic for the best results.
Preparation Method
This easy pumpkin dump cake comes together in about five minutes of active work. Here’s how to do it:
- Preheat your oven to 350°F (175°C). Lightly grease your 9×13 baking dish with butter or nonstick spray.
- Make the pumpkin filling: In a large mixing bowl, combine the pumpkin puree, evaporated milk, granulated sugar, pumpkin pie spice, cinnamon, and salt. Whisk until completely smooth. The mixture will be thin and pourable—that’s normal. Pour it into the prepared baking dish and spread it evenly.
- Add the cake mix layer: Open the box of yellow cake mix and sprinkle the dry powder evenly over the pumpkin mixture. Don’t stir it in. Just let it sit on top like a snowy blanket. Try to cover the entire surface, breaking up any clumps with your fingers.
- Drizzle the melted butter: Pour the melted butter evenly over the cake mix. Don’t stir. The butter will sink into the dry cake mix as it bakes, creating that signature crumbly topping. If you’re adding nuts or brown sugar, sprinkle them on now.
- Bake: Place the dish in the preheated oven and bake for 45-50 minutes, or until the top is golden brown and the edges are bubbly. The center should be set but still slightly jiggly—it will continue to set as it cools.
- Cool slightly: Let the dump cake cool on a wire rack for at least 15-20 minutes before serving. This allows the pumpkin layer to firm up and makes it easier to scoop.
- Serve warm: Scoop into bowls and top with vanilla ice cream, whipped cream, or a drizzle of caramel sauce. The contrast between warm pumpkin and cold ice cream is pure magic.
Important Notes: If the top is browning too quickly but the center isn’t set yet, tent the dish loosely with aluminum foil for the last 10 minutes of baking. Every oven runs a little differently, so start checking at the 40-minute mark. The cake is done when the edges are bubbly and the top is deep golden brown.
I like to sprinkle a little extra cinnamon on top right when it comes out of the oven—the heat releases the aroma and makes the whole kitchen smell incredible.
Cooking Tips & Techniques
After testing this recipe multiple times, here are the things I wish someone had told me before I started:
Don’t overmix the pumpkin layer. Whisk just until smooth. Overmixing can incorporate too much air, which can cause the filling to puff up and then collapse. A few small lumps are fine.
Use cold butter for a crunchier topping. I know the recipe calls for melted butter, but if you want an even more pronounced crumble, cube cold butter and dot it over the cake mix instead. It won’t spread as evenly, but the texture will be more like a streusel. I’ve done both, and honestly, I prefer the melted butter method for its consistency.
Let it rest before serving. This is the hardest part, I know. But if you scoop into it straight out of the oven, the pumpkin layer will be too runny. Give it at least 15 minutes to set up. The leftovers are even better the next day—the flavors meld together and the texture becomes perfectly creamy.
Watch the edges. The cake mix around the edges of the pan tends to brown faster than the center. If you see dark spots forming, rotate the pan halfway through baking. I’ve burned a batch before because I got distracted—the edges were black but the middle was still soupy. Don’t be like me.
Use a serrated knife to cut clean squares. If you want neat slices for serving, let the cake cool completely, then use a serrated knife to cut through the crumbly top layer. A regular knife will just push the topping around.
One of my biggest failures with this recipe was using a dark metal pan. The bottom burned before the top was done. Now I always use a light-colored glass dish, and it comes out perfect every time.
Variations & Adaptations
This pumpkin dump cake is incredibly versatile. Here are some ways to change it up:
Spice Cake Variation
Swap the yellow cake mix for a box of spice cake mix. It adds warm notes of cinnamon, nutmeg, and allspice to the topping, making the whole dessert taste even more like fall. This is my personal favorite variation—it’s like autumn in a bowl.
Gluten-Free Option
Use a gluten-free yellow cake mix (King Arthur Flour makes a great one) and ensure your pumpkin puree and evaporated milk are certified gluten-free. The texture will be slightly more delicate, but it’s still delicious. I’ve made this for a gluten-sensitive friend, and she couldn’t tell the difference.
Vegan Adaptation
Replace the evaporated milk with full-fat oat milk or canned coconut cream. Use a vegan butter substitute for the topping. The pumpkin layer will be slightly less rich, but the coconut cream adds a lovely subtle flavor that pairs well with the spice.
Pumpkin Chocolate Chip Dump Cake
Before adding the cake mix, sprinkle 1/2 cup of semi-sweet chocolate chips over the pumpkin layer. The chocolate melts into pockets of gooey goodness throughout the cake. It’s a little indulgent, but sometimes you need chocolate with your pumpkin.
Low-Sugar Version
Use a sugar substitute like monk fruit or erythritol in the pumpkin layer and a sugar-free yellow cake mix. The texture will be slightly less tender, but the flavor is still fantastic. I’ve tested this with a keto audience in mind, and it works surprisingly well.
I’ve also tried adding a cream cheese layer by softening 8 ounces of cream cheese and dropping spoonfuls over the pumpkin before adding the cake mix. It creates these tangy pockets that cut through the sweetness—absolutely divine if you have the extra time.
Serving & Storage Suggestions
This pumpkin dump cake is best served warm, straight from the oven. The contrast between the warm, spiced pumpkin layer and the cold, creamy topping is what makes it so addictive. Here’s how I like to serve it:
Serving Temperature: Warm is non-negotiable. If it’s been sitting out for a while, pop individual servings in the microwave for 15-20 seconds before adding ice cream.
Toppings: Vanilla bean ice cream is the classic choice, but try it with salted caramel ice cream or a dollop of freshly whipped cream. A drizzle of caramel sauce and a sprinkle of cinnamon on top takes it over the edge.
Complementary Dishes: This dessert pairs beautifully with a hot cup of coffee or spiced chai latte. If you’re serving it after a fall meal, it goes well with cozy slow cooker Tuscan white bean chicken soup or a light fresh house balsamic vinaigrette chopped salad to balance the richness.
Storage: Cover the baking dish tightly with plastic wrap or foil and store in the refrigerator for up to 5 days. The topping will soften slightly, but the flavors actually deepen overnight. I often make this a day ahead for gatherings because it tastes even better the next day.
Freezing: This dump cake freezes beautifully. Cool it completely, then wrap the entire dish in plastic wrap and foil. Freeze for up to 3 months. Thaw overnight in the refrigerator and reheat in a 300°F oven for 15-20 minutes, or microwave individual portions for 30 seconds.
Reheating: The best way to reheat is in the oven at 325°F for 10-15 minutes. The microwave works in a pinch, but it can make the topping soggy. If you must use the microwave, reheat in 15-second bursts until just warm.
One thing I love about this recipe is that the topping stays surprisingly crunchy for the first two days. After that, it softens into something more like a traditional cake top. Both versions are delicious, so don’t stress about finishing it quickly.
Nutritional Information & Benefits
Here’s the approximate nutritional breakdown for one serving (based on 12 servings):
- Calories: 320
- Total Fat: 14g
- Saturated Fat: 8g
- Cholesterol: 35mg
- Sodium: 380mg
- Total Carbohydrates: 47g
- Dietary Fiber: 2g
- Sugars: 28g
- Protein: 4g
While this is definitely a treat, pumpkin itself is packed with health benefits. It’s rich in vitamin A (from beta-carotene), which supports eye health and immune function. The fiber in pumpkin also helps with digestion and keeps you feeling full longer.
Dietary Considerations: This recipe can be adapted for gluten-free and vegan diets (see variations above). It contains dairy from the butter and evaporated milk. If you’re watching your sugar intake, the low-sugar variation works well.
I love that this dessert feels indulgent but isn’t as heavy as some other fall treats. It’s the kind of thing you can enjoy after a hearty meal without feeling like you need to unbutton your pants. And honestly, that’s a win in my book.
Conclusion
This easy pumpkin dump cake is proof that you don’t need complicated techniques or a long ingredient list to make something truly special. It’s the dessert I turn to when I want the house to smell like fall without spending all afternoon in the kitchen. It’s the recipe I bring to gatherings when I want to impress without stressing. And honestly? It’s the one I make just for myself on a quiet Tuesday evening, because sometimes you need a warm, spiced, buttery bowl of comfort.
I’d love to hear how this turns out for you. Did you try a variation? Add nuts? Swap the cake mix? Drop a comment below and let me know—I read every single one, and your tweaks might inspire someone else. And if you loved this recipe, share it with a friend who needs a little fall magic in their life. Happy baking, friends.
Frequently Asked Questions
Can I use pumpkin pie filling instead of pumpkin puree?
I don’t recommend it. Pumpkin pie filling already has sugar and spices added, so the sweetness and flavor will be off. Stick with 100% pure pumpkin puree for the best results.
Why is my dump cake soupy in the middle?
It’s likely underbaked. The center should be set but still slightly jiggly when you take it out—it will firm up as it cools. If it’s still soupy after cooling, pop it back in the oven for another 10 minutes.
Can I make this in a slow cooker?
Yes! Grease the slow cooker, layer the ingredients as directed, and cook on low for 3-4 hours or high for 1.5-2 hours. The topping won’t get as crispy, but it’s still delicious. Prop the lid open with a wooden spoon for the last 30 minutes to let steam escape.
Do I need to refrigerate leftovers?
Yes, because of the evaporated milk and butter. Store covered in the refrigerator for up to 5 days. Let it come to room temperature or reheat before serving.
Can I use a different cake mix flavor?
Absolutely! Spice cake, butter pecan, or even white cake mix all work beautifully. Just avoid chocolate cake mix—the flavors clash with the pumpkin. Trust me, I tried it once and it was not good.
Pin This Recipe!
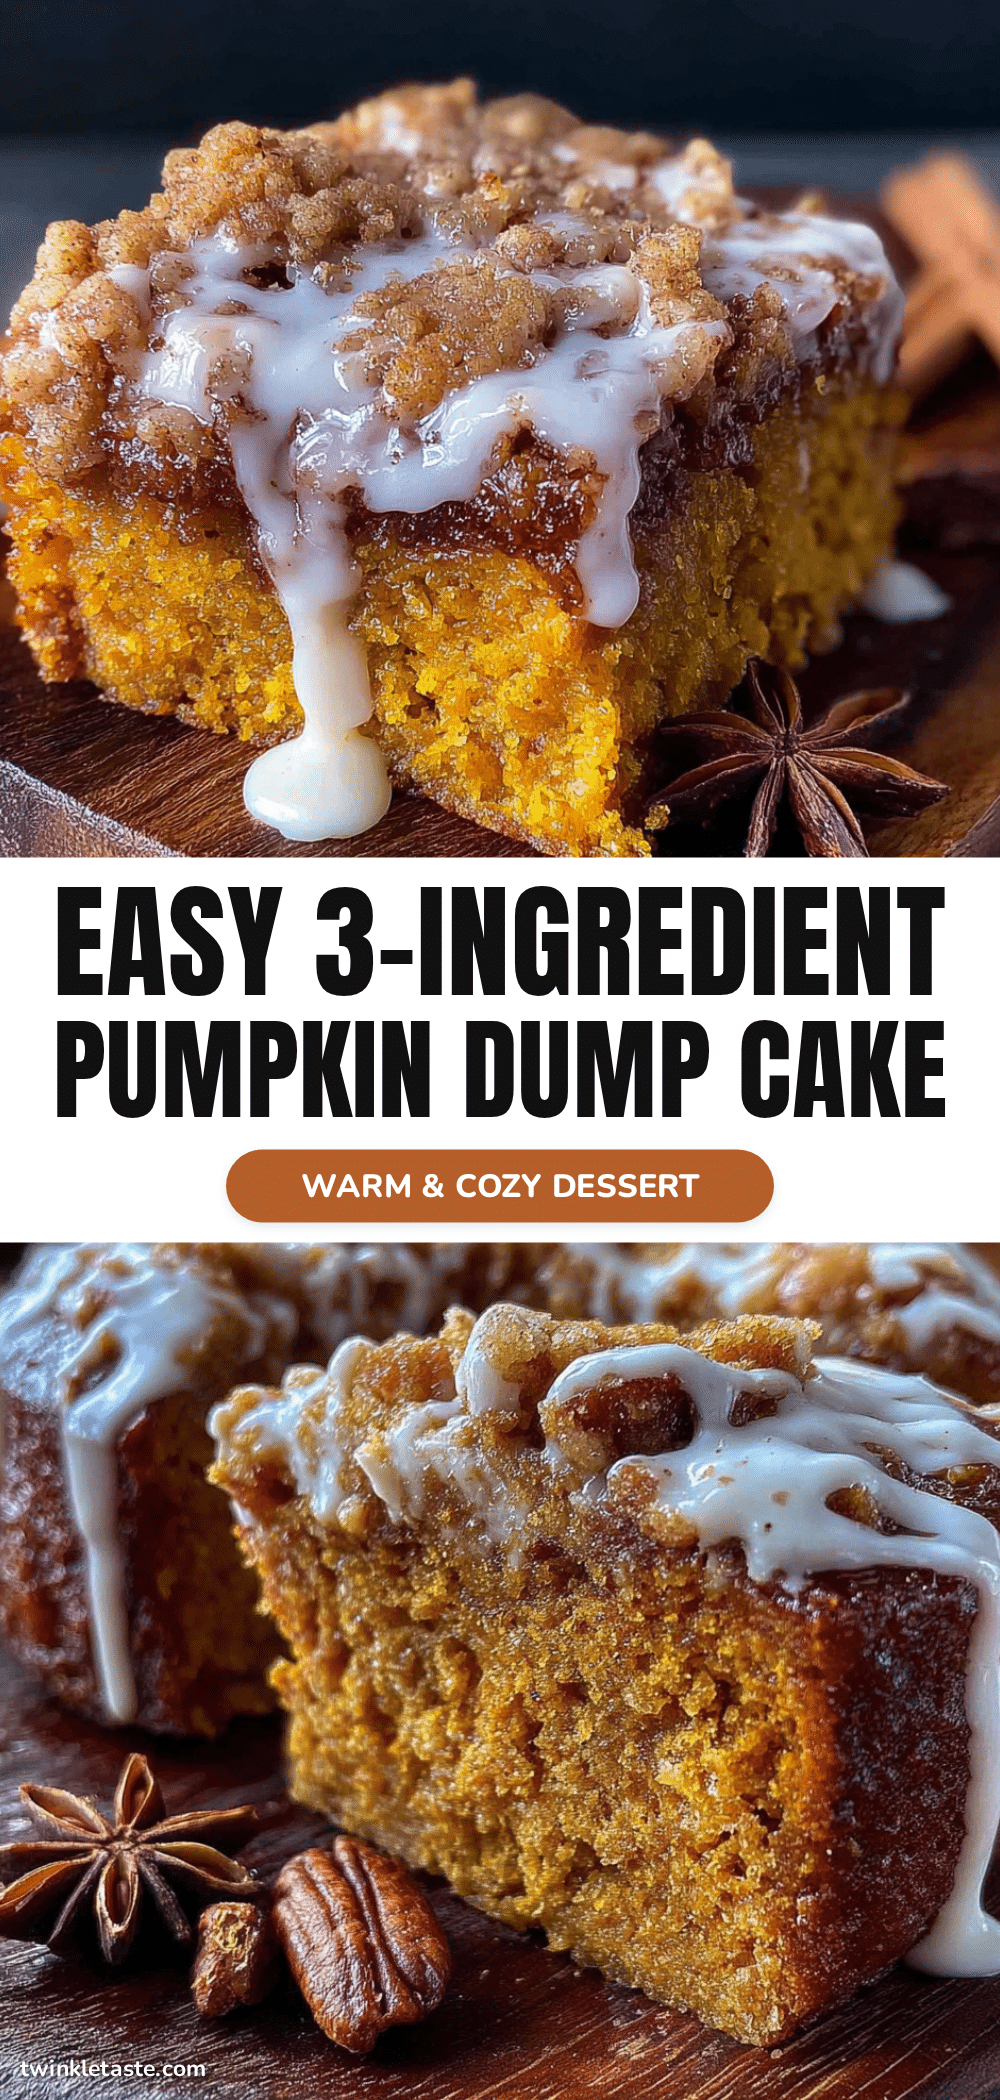
Easy Pumpkin Dump Cake: Best 4-Ingredient Dessert
This easy pumpkin dump cake is a warm, spiced dessert made with just four main ingredients. It features a creamy pumpkin layer and a buttery, crumbly cake topping, perfect for fall gatherings or a quick weeknight treat.
- Prep Time: 5 minutes
- Cook Time: 45 minutes
- Total Time: 50 minutes
- Yield: 12 servings 1x
- Category: Dessert
- Cuisine: American
Ingredients
- 1 can (15 oz) pumpkin puree
- 1 can (12 oz) evaporated milk
- 1/2 cup granulated sugar
- 1 teaspoon pumpkin pie spice
- 1/2 teaspoon cinnamon
- 1/4 teaspoon salt
- 1 box (15.25 oz) yellow cake mix
- 3/4 cup unsalted butter, melted
- 1/2 cup chopped pecans or walnuts (optional)
- 1/4 cup brown sugar (optional)
- Vanilla ice cream or whipped cream (for serving, optional)
Instructions
- Preheat your oven to 350°F (175°C). Lightly grease a 9×13-inch baking dish with butter or nonstick spray.
- Make the pumpkin filling: In a large mixing bowl, combine the pumpkin puree, evaporated milk, granulated sugar, pumpkin pie spice, cinnamon, and salt. Whisk until completely smooth. Pour into the prepared baking dish and spread evenly.
- Add the cake mix layer: Open the box of yellow cake mix and sprinkle the dry powder evenly over the pumpkin mixture. Do not stir. Cover the entire surface, breaking up any clumps with your fingers.
- Drizzle the melted butter: Pour the melted butter evenly over the cake mix. Do not stir. If adding nuts or brown sugar, sprinkle them on now.
- Bake: Place the dish in the preheated oven and bake for 45-50 minutes, or until the top is golden brown and the edges are bubbly. The center should be set but still slightly jiggly.
- Cool slightly: Let the dump cake cool on a wire rack for at least 15-20 minutes before serving.
- Serve warm: Scoop into bowls and top with vanilla ice cream, whipped cream, or a drizzle of caramel sauce.
Notes
If the top is browning too quickly but the center isn’t set, tent loosely with aluminum foil for the last 10 minutes. For a crunchier topping, use cold butter cubed instead of melted. Let the cake rest before serving to allow the pumpkin layer to set. Leftovers can be stored in the refrigerator for up to 5 days or frozen for up to 3 months.
Nutrition
- Serving Size: 1 serving
- Calories: 320
- Sugar: 28
- Sodium: 380
- Fat: 14
- Saturated Fat: 8
- Carbohydrates: 47
- Fiber: 2
- Protein: 4
Keywords: pumpkin dump cake, easy pumpkin dessert, 4-ingredient dessert, fall dessert, pumpkin cake


