I have burned my hand on a hot bowl of oatmeal more times than I care to admit. Honestly, it was a weekly occurrence for years. I would be rushing around, trying to get the kids out the door, and there I was, juggling a steaming pot and a screaming toddler, inevitably spilling scalding milk on my wrist. It wasn’t a cute morning routine; it was a minor kitchen hazard that happened on repeat. The breaking point came on a Tuesday when I dumped an entire batch of perfectly good steel-cut oats onto the floor because the pot handle was slick with butter. Standing in a puddle of milky mush, I had a quiet, desperate realization. There had to be a better way—a breakfast that didn’t require me to stand over a stove, that my kids could grab themselves, and that didn’t leave me with second-degree burns. That’s when I finally gave these easy overnight oats jars a real shot. I wish I could say it was love at first bite, but honestly, my first few attempts were soupy disasters. I finally cracked the code, and now, these jars are the only thing saving our school mornings from total chaos. They’ve become my little secret weapon for a calm start to the day.
Why You’ll Love This Recipe
Look, I’ve tested a lot of breakfast recipes over the years, and I’ve learned that what works for a lazy Sunday doesn’t always cut it for a Tuesday morning rush. This recipe for easy overnight oats is different. It’s not just another bowl of mushy grains. It’s a tested, family-approved system that actually makes your life easier.
- Truly Grab-and-Go: This isn’t a recipe you need to think about at 7 a.m. You make it the night before, or even a few days ahead, and it’s ready when you are. The kids can literally pull a jar from the fridge and head out the door. No bowls, no spoons, no waiting.
- Made with Simple Pantry Staples: You don’t need a specialty grocery store or a list of obscure superfoods. Rolled oats, milk, yogurt, and a little sweetener are all you really need. I bet you have most of these ingredients in your kitchen right now.
- Perfect for Hectic School Mornings: This recipe was born out of the chaos of getting kids ready for school. It’s designed to eliminate the morning cooking stress, giving you back those precious ten minutes to find a lost shoe or pack a lunch.
- A Total Crowd-Pleaser: My kids are picky eaters, and even they love these. The texture is creamy and cool, not hot and gloopy. We’ve made versions with chocolate chips, berries, and peanut butter, and they disappear every time.
- Unbelievably Customizable: This is the blueprint, not the final painting. You can switch up the flavors every single day without learning a new recipe. It’s the kind of breakfast that keeps you from getting bored.
This isn’t just breakfast; it’s a peace treaty for your morning. It’s the feeling of being prepared, of having one less thing to worry about. That first bite is cold, creamy, and sweet—a quiet moment of calm before the day really starts. It’s comfort food that works with your schedule, not against it.
What Ingredients You Will Need
This recipe uses simple, wholesome ingredients to create a creamy, satisfying breakfast without any fuss. Most of these are pantry staples you probably already have on hand.
- Rolled Oats (Old-Fashioned): This is the most important ingredient. Do not use steel-cut oats (they will be crunchy) or instant oats (they turn to mush). Rolled oats have the perfect texture for soaking overnight, becoming tender but still holding their shape. I always use Quaker Old-Fashioned Oats for consistent results.
- Milk of Your Choice: You can use dairy milk (whole milk makes it extra creamy) or any plant-based milk like almond, oat, or soy. Oat milk gives a naturally sweeter flavor. Just avoid anything too watery, like unsweetened rice milk, or the final texture will be thin.
- Plain Greek Yogurt: This is the secret to that thick, almost pudding-like texture. It also adds a boost of protein and a pleasant tang that balances the sweetness. I prefer full-fat or 2% Greek yogurt for the creamiest result. For a dairy-free option, use a thick coconut or soy yogurt.
- Chia Seeds: These tiny seeds are magical. They absorb liquid and create a gel-like consistency, which helps thicken the oats perfectly. They also add fiber, omega-3s, and a little protein. Don’t skip them—they are the key to the right texture.
- Pure Maple Syrup or Honey: For sweetness. Maple syrup adds a warm, caramelly flavor that I love, while honey is a classic choice. You can also use agave nectar or a mashed ripe banana for natural sweetness. Start with one tablespoon and adjust to your taste.
- Vanilla Extract: Just a splash elevates the entire flavor profile, making the oats taste like a dessert. It rounds out the flavors and adds warmth. Use pure vanilla extract if you can, not imitation.
- Pinch of Salt: Don’t skip this! A tiny pinch of salt enhances all the other flavors and prevents the oats from tasting flat. It’s a small step that makes a big difference.
Optional Mix-Ins for Flavor:
- Fresh or Frozen Berries: Blueberries, strawberries, raspberries—they all work beautifully. Frozen berries are great because they thaw overnight and release their juices into the oats.
- Peanut Butter or Almond Butter: Adds protein, healthy fats, and a rich, nutty flavor. Swirl a tablespoon into the jar before adding the milk.
- Chocolate Chips or Cacao Nibs: For a little indulgence. Mini chocolate chips are perfect for kids.
- Sliced Bananas or Apples: Add these in the morning to keep them fresh and prevent them from browning overnight.
- Shredded Coconut or Chopped Nuts: For texture and crunch. Add them as a topping just before serving.
Equipment Needed
The beauty of this recipe is that you don’t need any fancy equipment. You probably already have everything you need in your kitchen.
- Mason Jars or Airtight Containers: Wide-mouth pint-sized (16 oz) mason jars are perfect. They are easy to fill, easy to eat from, and the lids seal tightly. You can also use any glass or plastic container with a tight-fitting lid. I’ve used old jam jars and even small Pyrex bowls with plastic wrap.
- Measuring Cups and Spoons: For accuracy. A liquid measuring cup for the milk and a set of dry measuring spoons for the chia seeds and maple syrup.
- A Spoon or Small Whisk: For stirring everything together right in the jar. A long-handled iced tea spoon works great for reaching the bottom of a mason jar.
- A Cutting Board and Knife: If you are adding any fresh fruit like strawberries or bananas.
I’ve made these with nothing but a jar and a fork before, and it worked fine. The key is a good seal to keep the oats from drying out and absorbing any fridge odors. I personally love using Weck jars because the glass lids are easy to clean and don’t retain smells like plastic sometimes does.
Preparation Method
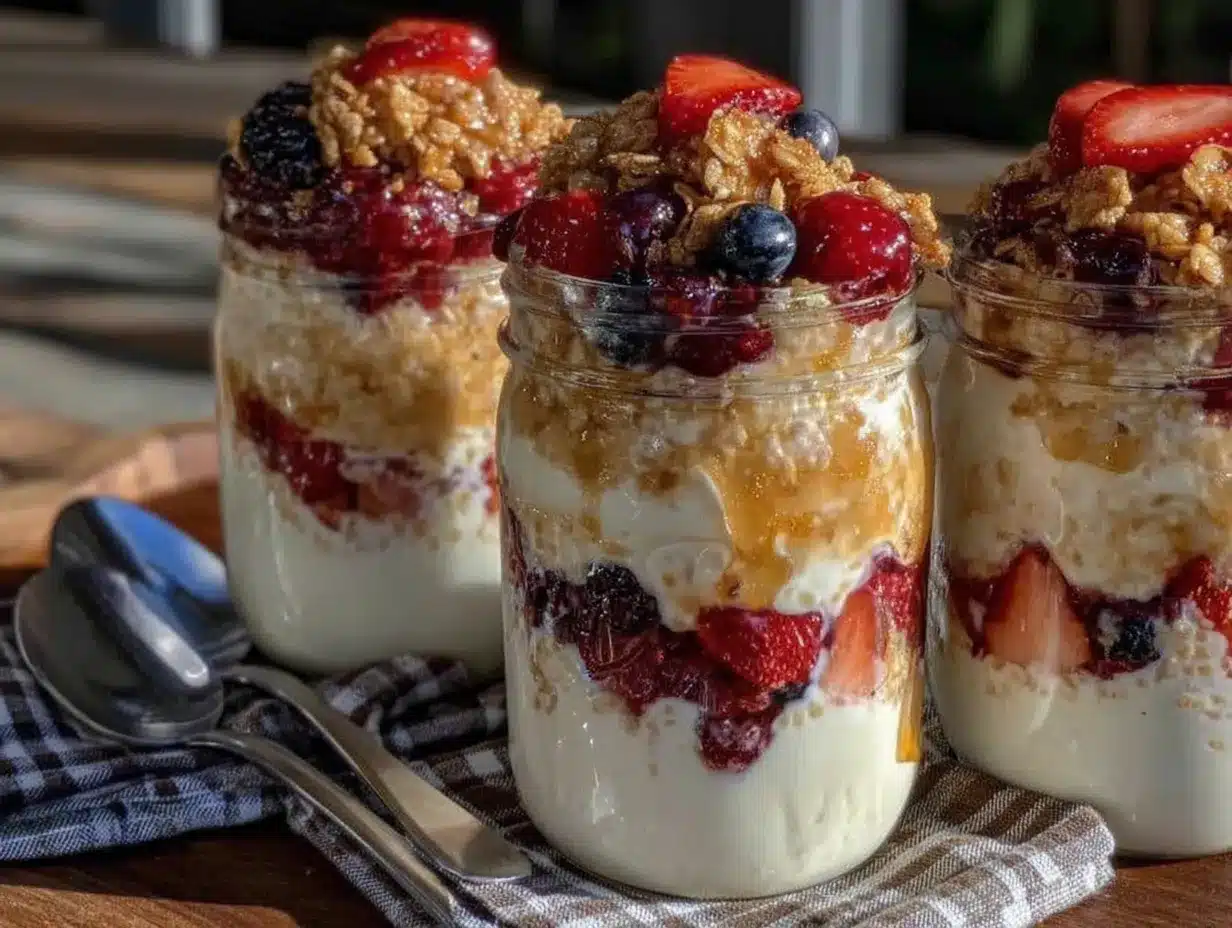
Making these easy overnight oats jars is almost too simple. It’s more about assembly than cooking. Here is the foolproof method I use every single time.
- Start with Your Jar: Grab a clean mason jar or container. A 16-ounce pint jar is the perfect size for a single serving. Make sure it’s completely dry inside.
- Add the Dry Ingredients: Pour in 1/2 cup of rolled oats. Then add 1 tablespoon of chia seeds. Give the jar a little shake to distribute them. This is also where you would add any dry mix-ins, like a pinch of salt or a teaspoon of cinnamon.
- Add the Sweetener and Flavor: Drizzle in 1 tablespoon of pure maple syrup or honey. Then add 1/2 teaspoon of vanilla extract. Don’t worry if it all pools at the bottom—it will mix in when you add the liquid.
- Add the Yogurt: Spoon in 1/4 cup of plain Greek yogurt. I like to plop it right in the center. This is the step that gives you that thick, creamy texture.
- Pour in the Milk: Pour 1/2 cup of your chosen milk over everything. I use whole milk for the creamiest result, but oat milk works beautifully too. Don’t stir yet.
- The Secret Stir: This is the most important step. Use a small spoon or a fork and stir everything together vigorously for a full 30 seconds. You want to make sure the chia seeds are evenly distributed and not clumped together at the bottom. The yogurt and maple syrup need to be fully incorporated into the milk. If you don’t stir enough, you’ll end up with a dry top and a soupy bottom.
- Add Your Mix-Ins (Optional): If you are using berries, chocolate chips, or nut butter, stir them in now. For nut butter, it’s easier to swirl it in gently so it creates ribbons throughout the oats. If you are adding sliced fruit like bananas or apples, wait until the morning to add them so they stay fresh.
- Seal and Refrigerate: Put the lid on tightly and place the jar in the refrigerator. Let it sit for at least 6 hours, but overnight (8-12 hours) is ideal. The oats need this time to soften and absorb the liquid. You can make a batch of up to 5 jars at once for the whole week.
- Serve Cold or at Room Temperature: In the morning, grab a jar from the fridge. The oats will be thick and creamy. If it’s too thick for your liking, stir in an extra splash of milk to loosen it up. You can eat it straight from the jar cold, or let it sit on the counter for 10 minutes to take the chill off. Top with fresh fruit, a sprinkle of granola, or a drizzle of extra maple syrup.
Pro-Tip: If you are making a big batch for the week, leave the fruit and crunchy toppings out until the morning you eat them. Berries can get mushy, and granola will lose its crunch if it sits in the fridge for days.
Cooking Tips & Techniques
I’ve made more than my fair share of soupy, bland, or just plain sad overnight oats. Here are the lessons I learned the hard way so you don’t have to.
- The Ratio is Everything: The perfect ratio is 1 part oats to 1 part milk. So, for 1/2 cup of oats, use 1/2 cup of milk. The yogurt adds extra creaminess but doesn’t count towards the liquid ratio. Too much milk and you get soup; too little and you get a dry, chewy mess.
- Don’t Skip the Chia Seeds: I know they are a little weird-looking, but they are non-negotiable for the best texture. They act as a natural thickener. Without them, your oats will be much looser. If you don’t have chia seeds, you can use 1 tablespoon of ground flaxseed, but the texture will be slightly different.
- Stir, Stir, and Stir Again: I cannot stress this enough. The chia seeds will clump if you don’t stir them in well. I stir my jars for a solid 30-45 seconds. Then, about 15 minutes after I put them in the fridge, I give them one more quick shake. This prevents the seeds from settling at the bottom.
- Use Cold Milk: Don’t warm the milk before adding it. The whole point is that the oats soak and soften in the fridge. Using cold milk helps the process start correctly.
- Patience is a Virtue: Don’t eat them after 2 hours. They need at least 6 hours to properly soften. I’ve made the mistake of being impatient, and the oats were still crunchy in the middle. Overnight is truly best for the perfect texture.
I once forgot to add the chia seeds entirely. I ended up with a jar of oat-flavored milk. It was not good. Learn from my mistakes!
Variations & Adaptations
This base recipe is just a starting point. The real fun is customizing it to your family’s taste. Here are some of our favorite variations.
- Peanut Butter & Jelly: Add 1 tablespoon of peanut butter and 1 tablespoon of your favorite jam or jelly. Swirl them in with the milk. It tastes just like the classic sandwich but for breakfast.
- Chocolate Banana: Mash 1/2 a ripe banana into the bottom of the jar before adding the oats. Then add 1 tablespoon of cocoa powder with the dry ingredients. It’s like a healthy chocolate pudding.
- Apple Cinnamon: Add 1/4 cup of unsweetened applesauce and 1/2 teaspoon of ground cinnamon to the mix. In the morning, top with some chopped fresh apple for crunch. This is a cozy fall favorite.
- Tropical Mango & Coconut: Use coconut milk instead of regular milk. Add 1/4 cup of frozen mango chunks and 1 tablespoon of shredded coconut. It tastes like a vacation in a jar.
- High-Protein Version: Add 1 scoop of your favorite vanilla or unflavored protein powder. You may need to add an extra 2-3 tablespoons of milk to keep the texture creamy, as protein powder absorbs liquid. This is perfect for growing teenagers or active adults. If you like this kind of easy, healthy meal prep, you might also enjoy these easy chewy 4-ingredient peanut butter protein balls for another quick energy boost.
- Dairy-Free & Vegan: Use a plant-based milk (oat or coconut is best) and a dairy-free yogurt. Use maple syrup instead of honey to keep it vegan. It works perfectly every time.
Serving & Storage Suggestions
These jars are designed for convenience, but a little attention to serving and storage makes them even better.
Serving: These are best enjoyed cold, straight from the fridge. The texture is creamy and refreshing, like a chilled pudding. On cold winter mornings, you can microwave them for 30-45 seconds to take the chill off, but I prefer them cold. For a pretty presentation, top with a sprinkle of granola for crunch, a few fresh berries, and a light drizzle of maple syrup. They are perfect for a quick breakfast at the kitchen counter, in the car on the way to school, or even as a healthy afternoon snack.
Storage: Store the sealed jars in the refrigerator for up to 5 days. This makes them perfect for Sunday meal prep. Make a batch of 5 jars on Sunday night, and you have breakfast ready for the entire school week. Do not freeze them, as the texture of the dairy and chia seeds will become watery and grainy upon thawing.
Reheating: I do not recommend reheating these in the microwave for more than 30 seconds, as the yogurt can curdle. If you want a warm breakfast, I suggest making a batch of fluffy cottage cheese pancakes instead. For the overnight oats, if you need to take the edge off, just let the jar sit on the counter for 15 minutes before eating. The flavors actually meld together and get better after a day or two in the fridge, so day-old oats are often even tastier than fresh ones.
Nutritional Information & Benefits
This isn’t just a convenient breakfast; it’s a genuinely good-for-you one. Here is an estimated nutritional breakdown for the base recipe (without mix-ins).
| Nutrient | Amount Per Serving |
|---|---|
| Calories | ~350 |
| Protein | ~18g |
| Fat | ~10g |
| Carbohydrates | ~50g |
| Fiber | ~8g |
| Sugar | ~15g (naturally occurring + 1 tbsp maple syrup) |
Pin This Recipe!
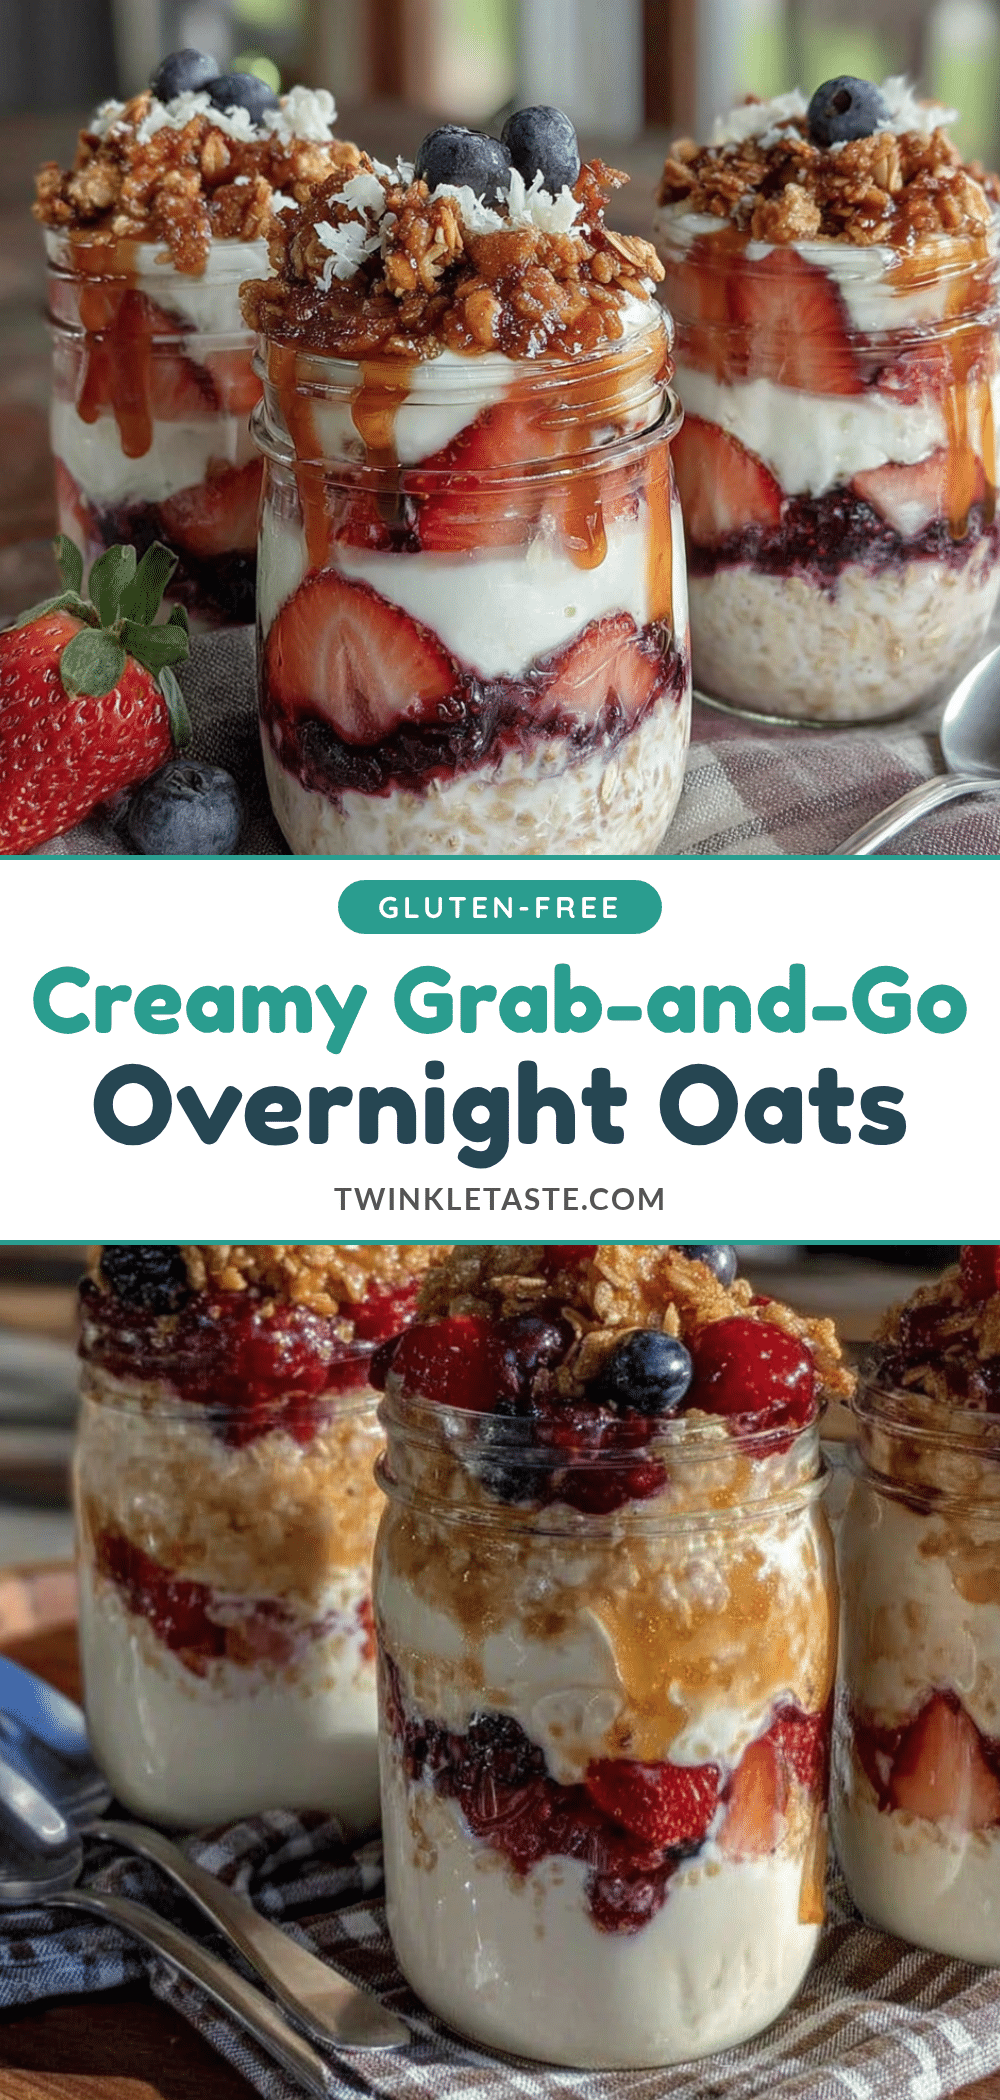
Easy Overnight Oats: Best Grab-and-Go School Breakfast

These easy overnight oats are a creamy, no-cook breakfast that you can make ahead for busy school mornings. With simple pantry staples and endless customization options, they’re a family-friendly, grab-and-go solution.
- Prep Time: 10 minutes
- Cook Time: 0 minutes
- Total Time: 6 hours 10 minutes (includes refrigeration time)
- Yield: 1 serving 1x
- Category: Breakfast
- Cuisine: American
Ingredients
- 1/2 cup rolled oats (old-fashioned)
- 1/2 cup milk of your choice (dairy or plant-based)
- 1/4 cup plain Greek yogurt
- 1 tablespoon chia seeds
- 1 tablespoon pure maple syrup or honey
- 1/2 teaspoon vanilla extract
- Pinch of salt
- Optional mix-ins: fresh or frozen berries, peanut butter or almond butter, chocolate chips or cacao nibs, sliced bananas or apples, shredded coconut or chopped nuts
Instructions
- Grab a clean mason jar or airtight container (16-ounce pint jar works well).
- Add 1/2 cup rolled oats and 1 tablespoon chia seeds to the jar. Shake to distribute.
- Drizzle in 1 tablespoon maple syrup or honey and 1/2 teaspoon vanilla extract.
- Spoon in 1/4 cup plain Greek yogurt.
- Pour 1/2 cup milk over everything. Do not stir yet.
- Stir vigorously for 30 seconds to fully incorporate chia seeds, yogurt, and sweetener.
- If using mix-ins like berries, chocolate chips, or nut butter, stir them in now. For sliced fruit, add in the morning.
- Seal the jar tightly and refrigerate for at least 6 hours, preferably overnight (8-12 hours).
- Serve cold or at room temperature. If too thick, stir in an extra splash of milk. Top with fresh fruit, granola, or extra maple syrup if desired.
Notes
For best texture, use rolled oats (not steel-cut or instant). Chia seeds are key for thickening; do not skip them. Stir well to prevent clumping. Store in the fridge for up to 5 days. Add crunchy toppings like granola or nuts just before serving to keep them crisp. To reheat, microwave for 30-45 seconds or warm gently on the stovetop.
Nutrition
- Serving Size: 1 jar (about 1 cup)
- Calories: 350
- Sugar: 15
- Sodium: 150
- Fat: 10
- Saturated Fat: 3
- Carbohydrates: 50
- Fiber: 8
- Protein: 18
Keywords: overnight oats, easy breakfast, grab-and-go, school breakfast, healthy breakfast, meal prep, no-cook breakfast


