The shatter of the first bite—that’s the whole reason I keep coming back to these crispy baked chicken nuggets. Not the dipping sauce, not the nostalgia, not even the fact that my kids actually eat them without complaint. It’s that sound. That thin, golden crust that gives way with a clean snap before you hit the tender chicken underneath. Everything else is just bonus.
I stumbled onto this method by accident, honestly. I was trying to recreate that fast-food nugget texture without the deep fryer—you know, the kind that makes you forget you’re eating something baked. After a few sad attempts that turned out more like sad, soggy breadcrumb blankets, I finally figured out the trick. It’s not about the coating alone. It’s about how you treat the chicken before it ever sees the oven.
These aren’t your average homemade chicken nuggets. They’re the kind that hold up in a lunchbox, stay crispy even after sitting for a bit, and pair perfectly with a tangy honey mustard that takes about thirty seconds to whisk together. I’ve been making them for school lunches, easy dinners, and even lazy weekend snacking. And honestly? They’ve ruined fast-food nuggets for me.
Why You’ll Love This Recipe
Let me tell you why these crispy baked chicken nuggets have become a staple in my kitchen. I’ve tested this recipe more times than I care to admit, tweaking the coating, adjusting the bake time, and even experimenting with different cuts of chicken. What I landed on is something special.
- Actually Crispy Without Frying: The coating stays crunchy for hours, not minutes. No sad, soggy nuggets here.
- Simple Pantry Ingredients: You probably have everything in your kitchen right now. No weird specialty flours or hard-to-find seasonings.
- Perfect for Meal Prep: These reheat beautifully, making them ideal for lunchbox trays or quick dinners throughout the week.
- Kid-Approved and Adult-Friendly: My kids devour them, but I’ve also served them at casual get-togethers and watched adults go back for seconds.
- Healthier Than Takeout: Baked, not fried, with way less oil and no mystery ingredients.
What makes these different from every other baked nugget recipe out there? It’s the double-coating technique and the secret ingredient in the breading that gives you that shatter-crisp texture. I spent weeks testing ratios, and this version wins every single time. It’s the kind of recipe that makes you close your eyes after the first bite—not because it’s fancy, but because it’s exactly what you wanted.
What Ingredients You Will Need
This recipe uses simple, wholesome ingredients to deliver that irresistible crunch and juicy interior. Most of these are pantry staples, which makes these nuggets perfect for last-minute cravings or busy weeknights.
For the Chicken Nuggets:
- Boneless, skinless chicken breasts (1.5 lbs / 680g) — Cut into bite-sized pieces, about 1-inch chunks. You can also use chicken thighs for extra juiciness.
- Buttermilk (1 cup / 240ml) — This is the secret to tender, juicy nuggets. The acidity helps break down the chicken slightly, keeping it moist during baking. No buttermilk? Use regular milk with 1 tablespoon of lemon juice or vinegar, let it sit for 5 minutes.
- Panko breadcrumbs (1.5 cups / 150g) — These give you that light, airy crunch. Regular breadcrumbs won’t work the same way—they’re too fine and dense. I prefer Kikkoman or Ian’s brand for consistent texture.
- Grated Parmesan cheese (1/2 cup / 50g) — Adds savory depth and helps the coating brown beautifully. Use the real stuff, not the green can.
- All-purpose flour (1/2 cup / 60g) — Creates the base layer for the coating to stick.
- Garlic powder (1 teaspoon) — Don’t skip this. It adds that savory backbone.
- Onion powder (1 teaspoon) — Rounds out the flavor profile.
- Paprika (1 teaspoon) — For color and a subtle smoky sweetness.
- Salt (1 teaspoon) — Essential for seasoning the chicken and the coating.
- Black pepper (1/2 teaspoon) — Freshly ground if you have it.
- Olive oil spray or melted butter (2-3 tablespoons) — This is crucial for browning. A light spray before baking makes all the difference.
For the Easy Honey Mustard:
- Dijon mustard (1/4 cup / 60g) — I recommend Grey Poupon for that sharp, tangy bite.
- Honey (3 tablespoons / 60ml) — Use a runny, mild honey like clover or orange blossom.
- Mayonnaise (2 tablespoons / 30g) — Adds creaminess and balances the tang. Duke’s or Hellmann’s work great.
- Lemon juice (1 teaspoon) — A tiny squeeze brightens everything up.
- Salt (a pinch) — Just enough to bring the flavors together.
Ingredient Selection Tips: For the best texture, look for chicken breasts that are evenly thick so they cook uniformly. If you’re using frozen chicken, thaw it completely in the fridge overnight and pat it very dry before cutting. Wet chicken = soggy coating, and we don’t want that.
Equipment Needed
You don’t need a lot of fancy gear for this recipe, which is part of why I love it. Here’s what you’ll need:
- Baking sheet (half-sheet pan, 18×13 inches) — A rimmed baking sheet is ideal. The rim keeps any rogue breadcrumbs from ending up on your oven floor.
- Wire rack (fits inside the baking sheet) — This is the game-changer. Elevating the nuggets allows hot air to circulate underneath, keeping the bottoms crispy instead of soggy. If you don’t have one, you can flip the nuggets halfway through baking.
- Three shallow bowls — For the buttermilk soak, the flour mixture, and the panko coating. Pie plates or wide soup bowls work perfectly.
- Tongs or a fork — For moving the chicken through the coating stations without making a mess.
- Spray bottle for oil — A simple Misto or any spray bottle works. You want a fine mist, not a heavy drizzle.
- Small whisk or fork — For the honey mustard. Honestly, a fork works just fine.
If you don’t have a wire rack, don’t worry. I’ve made these without one plenty of times. Just flip the nuggets carefully at the halfway mark and they’ll still come out crispy. A little less perfect, but still delicious.
Preparation Method
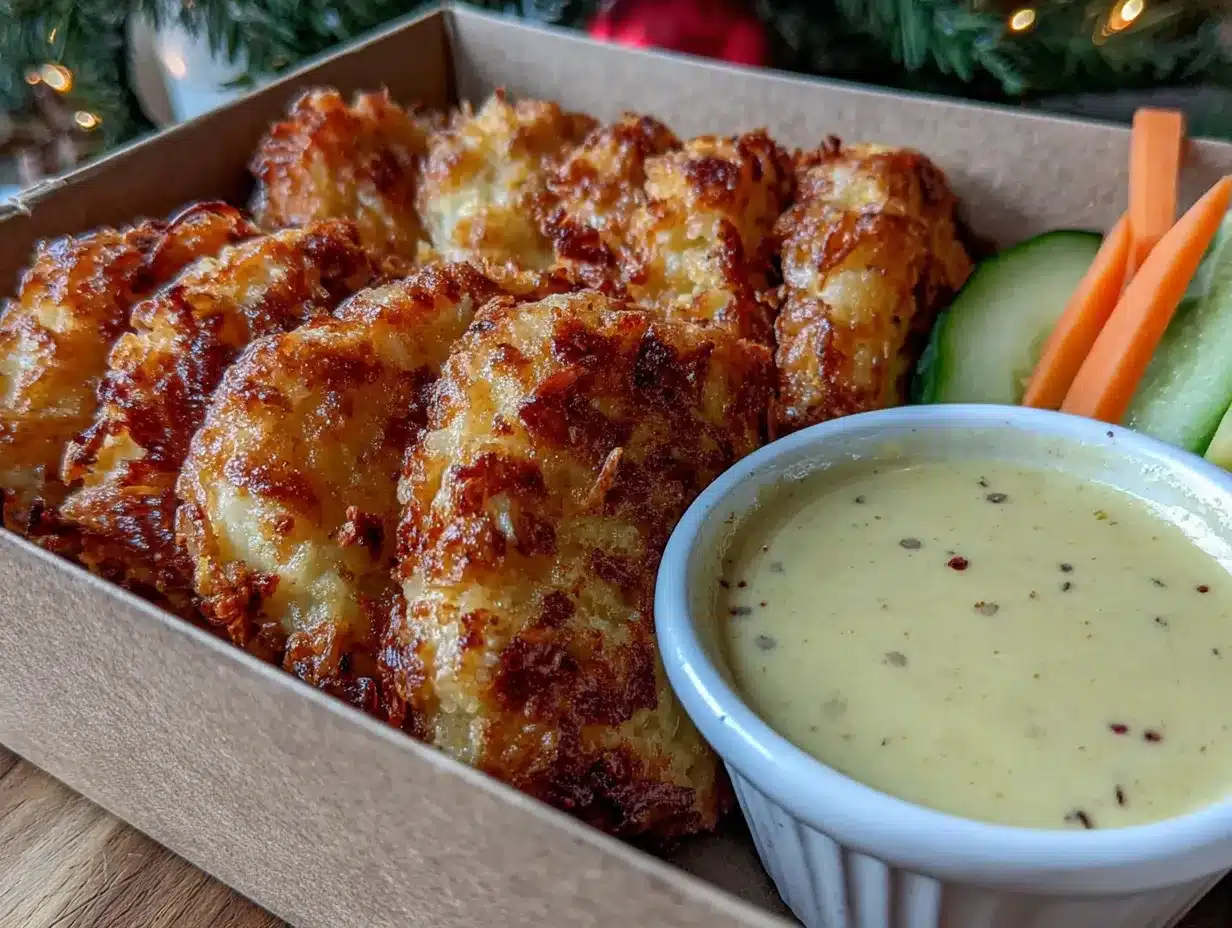
Alright, let’s get cooking. This method might look like a few steps, but I promise it moves fast once you get going. The key is setting up your stations before you start—trust me, it makes everything smoother.
- Prep the chicken (10 minutes): Cut your chicken breasts into uniform 1-inch pieces. Try to keep them similar in size so they cook evenly. Place the chunks in a bowl and pour the buttermilk over them. Give it a stir, cover, and let it sit in the fridge for at least 30 minutes (or up to 4 hours). This step is non-negotiable if you want juicy nuggets.
- Set up your coating stations (5 minutes): Grab three shallow bowls. In the first bowl, whisk together the flour, garlic powder, onion powder, paprika, salt, and pepper. In the second bowl, place the panko breadcrumbs and grated Parmesan. Mix them together with your fingers. The third bowl is empty—this is where your coated nuggets will rest before baking.
- Preheat the oven (5 minutes): Set your oven to 400°F (200°C). Place your wire rack on the baking sheet and give it a light spray of olive oil. This prevents sticking and helps the bottoms crisp up.
- Coat the chicken (15 minutes): Working in batches, take a piece of chicken from the buttermilk, letting the excess drip off. Drop it into the flour mixture and coat it completely. Shake off any excess flour, then dip it back into the buttermilk for a quick second dip. Finally, press it into the panko-Parmesan mixture, making sure every surface is covered. Place it on the wire rack. Repeat with all the chicken pieces.
- Spray and bake (20-25 minutes): Once all the nuggets are on the rack, give them a generous spray with olive oil. This is what creates that golden, crispy crust. Bake for 12 minutes, then flip each nugget carefully with tongs and spray the other side. Bake for another 8-12 minutes, until the nuggets are golden brown and the internal temperature reaches 165°F (74°C).
- Make the honey mustard (5 minutes): While the nuggets bake, whisk together the Dijon mustard, honey, mayonnaise, lemon juice, and a pinch of salt in a small bowl. Taste it and adjust—more honey for sweetness, more mustard for tang. Set aside.
- Rest and serve (5 minutes): Let the nuggets rest on the rack for 3-5 minutes after baking. This helps the coating set and keeps it from falling off when you bite into it. Serve warm with the honey mustard on the side.
Sensory Cues: When you flip the nuggets at the 12-minute mark, the bottom should be a light golden brown. The coating should feel firm to the touch, not soft or doughy. When they’re done, the kitchen will smell like a warm, savory hug—that’s how you know you’re close.
Cooking Tips & Techniques
I’ve made enough batches of these nuggets to fill a small freezer, and I’ve learned a few things along the way. Here are the tips that make the biggest difference:
- Don’t skip the buttermilk soak. I know it’s tempting to rush, but that soak is what keeps the chicken tender and juicy. Without it, you’ll end up with dry, sad nuggets. I learned this the hard way when I was in a hurry and skipped it—never again.
- Use a light hand with the flour. You want a thin, even coating, not a thick, pasty layer. Shake off the excess before the second buttermilk dip. Too much flour creates a gummy texture that never crisps up.
- Press the panko on firmly. Don’t just roll the chicken in the breadcrumbs—press them in with your fingers. This ensures the coating sticks and creates that shatter-crisp texture we’re after.
- Spray, don’t brush. A spray bottle gives you an even, fine mist of oil. Brushing can knock off the coating or apply too much oil, making the nuggets greasy instead of crispy.
- Flip halfway through. Even with a wire rack, flipping ensures both sides get equally golden and crispy. Set a timer so you don’t forget.
- Let them rest. This is the hardest part, I know. But letting the nuggets sit for a few minutes after baking allows the coating to set. If you cut into them immediately, the crust might slide right off.
One time, I forgot to spray the nuggets before baking. The result? Pale, sad-looking nuggets with a dry, crumbly coating. It was a reminder that oil isn’t just for flavor—it’s essential for browning and texture. Don’t skip it.
Variations & Adaptations
This recipe is incredibly flexible, and I’ve tried quite a few variations over the months. Here are some of my favorites:
- Spicy Buffalo Nuggets: Add 1 teaspoon of cayenne pepper and 1/2 teaspoon of chili powder to the flour mixture. Serve with ranch or blue cheese dressing instead of honey mustard. My husband loves this version.
- Gluten-Free Option: Swap the all-purpose flour for a gluten-free all-purpose blend (I like Bob’s Red Mill 1-to-1) and use gluten-free panko breadcrumbs. The texture is slightly different but still deliciously crispy.
- Parmesan-Herb Nuggets: Add 1 teaspoon of dried oregano and 1 teaspoon of dried basil to the panko mixture. The herbs add a lovely aromatic quality that pairs beautifully with the Parmesan.
- Air Fryer Method: Preheat your air fryer to 375°F (190°C). Cook the nuggets in a single layer for 8-10 minutes, flipping halfway through. No need to flip if you have a basket-style air fryer—just shake it once. They come out even crispier than the oven version.
- Lighter Version: Use skinless chicken breast and skip the Parmesan. The coating won’t be as golden, but it’ll still be tasty. Pair with a Greek yogurt-based dip instead of the honey mustard for a lower-calorie option.
I once tried a version with almond flour instead of panko for a keto-friendly option. It worked okay, but the texture was more like a crunchy crust than a shatter-crisp coating. Not bad, just different. If you’re experimenting, keep notes—you might stumble onto something amazing.
Serving & Storage Suggestions
These nuggets are versatile enough for lunchboxes, weeknight dinners, or even party platters. Here’s how I like to serve and store them:
Serving: Serve the nuggets warm, straight from the oven, with the honey mustard on the side for dipping. They also pair beautifully with a cucumber ranch snack plate for a fun, balanced meal. For lunchbox trays, let them cool completely before packing to prevent steam from softening the coating. Add some carrot sticks, apple slices, and a small container of honey mustard for a complete lunch.
Storage: Store leftover nuggets in an airtight container in the refrigerator for up to 4 days. The honey mustard keeps for up to a week in a sealed jar. I don’t recommend freezing the nuggets after baking—the coating can become soggy when thawed. Instead, freeze them before baking: arrange the coated nuggets on a baking sheet, freeze until solid, then transfer to a freezer bag. Bake from frozen, adding 5-7 minutes to the cooking time.
Reheating: The best way to reheat these nuggets is in the oven or air fryer. Pop them in a 375°F (190°C) oven for 5-7 minutes, or in the air fryer at 350°F (175°C) for 3-4 minutes. The microwave works in a pinch, but you’ll lose that crispy texture. Trust me, the extra few minutes are worth it.
Flavor Development: These nuggets are best fresh, but the honey mustard actually gets better after a day in the fridge—the flavors meld together beautifully. If you’re making the nuggets ahead, keep the coating and the chicken separate until you’re ready to bake. The coating stays crispier that way.
Nutritional Information & Benefits
Here’s an approximate nutritional breakdown per serving (about 4-5 nuggets with 2 tablespoons of honey mustard):
- Calories: 380-420
- Protein: 35g
- Carbohydrates: 28g
- Fat: 14g
- Fiber: 2g
- Sugar: 10g
These nuggets are a great source of lean protein, thanks to the chicken breast. The buttermilk adds a touch of calcium and probiotics, while the Parmesan provides a small amount of calcium and protein. Compared to fast-food nuggets, this version has significantly less fat and sodium—and no preservatives or artificial ingredients.
If you’re watching your carb intake, you can reduce the breadcrumb amount or use almond flour as a substitute. For a lower-sugar option, swap the honey in the mustard for a sugar-free honey alternative or use a touch of stevia. This recipe is also naturally nut-free (as written) and can be made gluten-free with the swaps mentioned above.
As someone who tries to balance indulgence with nutrition, I feel good about serving these to my family. They’re not health food, but they’re a much better choice than the drive-through version—and they taste way better too.
Conclusion
These crispy baked chicken nuggets with easy honey mustard have become a staple in my kitchen for good reason. They deliver that satisfying crunch without the mess and guilt of deep frying, they’re simple enough for a busy weeknight, and they make everyone at the table happy—kids, adults, picky eaters, everyone.
I love that this recipe is forgiving enough for beginners but rewarding enough for experienced cooks. You can tweak the seasonings, swap the dipping sauce, or change up the cooking method, and it still works. That’s the mark of a great recipe, if you ask me.
I’d love to hear how these turn out for you. Did you try a fun variation? Did your kids devour them? Drop a comment below and let me know—I read every single one and I always appreciate hearing about your kitchen adventures. And if you loved this recipe, share it with a friend who needs a little crispy comfort in their life.
Happy cooking, friend. You’ve got this.
Frequently Asked Questions
Can I use chicken thighs instead of breasts?
Absolutely. Chicken thighs are actually more forgiving because they have a higher fat content, which means they stay juicier during baking. Just make sure to cut them into uniform pieces so they cook evenly. The cooking time might be slightly shorter, so start checking for doneness at the 18-minute mark.
Why did my coating fall off?
This usually happens for one of three reasons: the chicken was too wet when you added the flour, you didn’t press the panko on firmly enough, or you skipped the buttermilk soak. Make sure to let the excess buttermilk drip off before the flour, and really press that panko into the chicken. The double-dip method (flour, buttermilk, panko) also helps the coating stick better.
Can I make these ahead of time for a party?
Yes! You can coat the nuggets up to 24 hours in advance and keep them in the refrigerator on the wire rack, uncovered. This actually helps the coating dry out slightly, which makes it even crispier when baked. Just add an extra 2-3 minutes to the baking time since they’ll be cold from the fridge.
How do I make the honey mustard spicier?
Easy. Use a spicy brown mustard instead of Dijon, or add a pinch of cayenne pepper to the honey mustard mixture. You can also stir in a teaspoon of prepared horseradish for an extra kick. Taste as you go—you can always add more heat, but you can’t take it away.
Can I freeze the uncooked nuggets?
Definitely. Arrange the coated nuggets on a baking sheet in a single layer and freeze until solid (about 2 hours). Transfer them to a freezer-safe bag or container. They’ll keep for up to 3 months. When you’re ready to bake, there’s no need to thaw—just add 5-7 minutes to the baking time and spray them well with oil before baking.
Pin This Recipe!
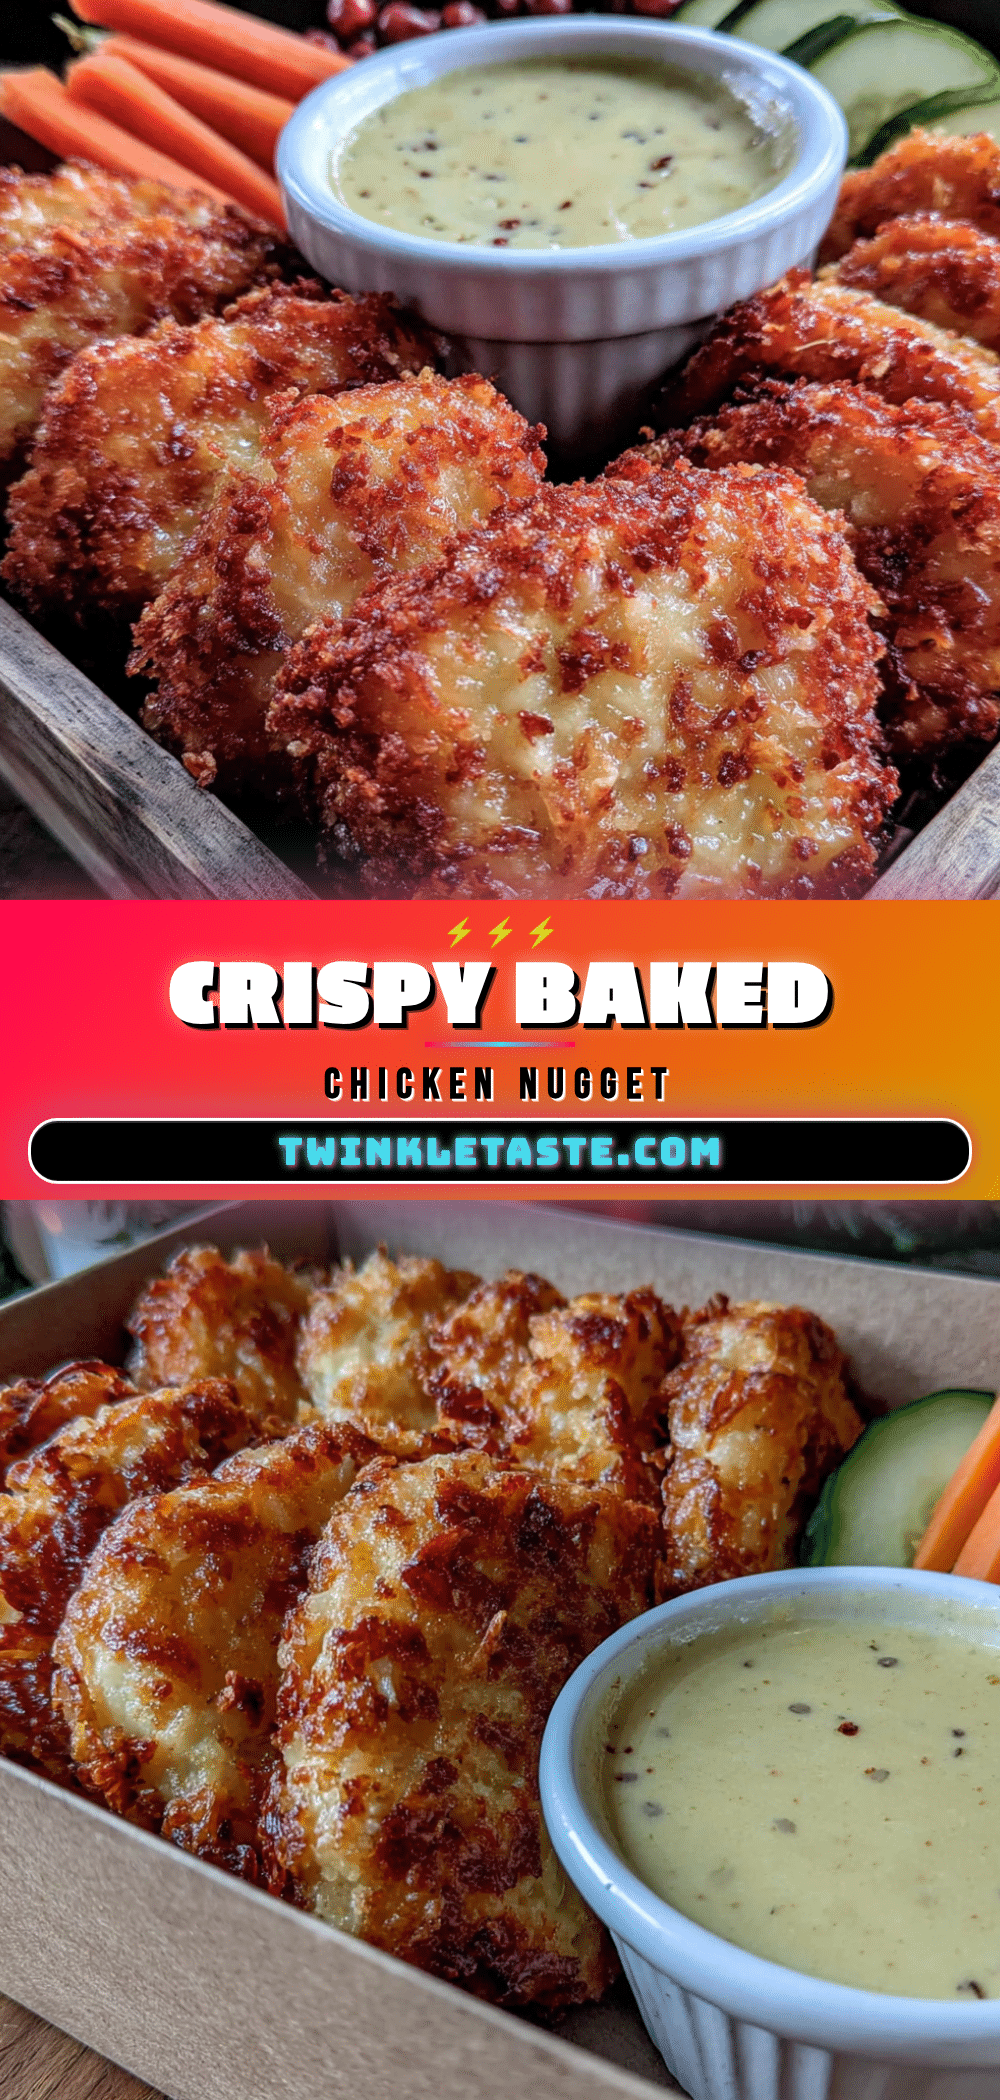
Crispy Baked Chicken Nuggets with Easy Honey Mustard
These crispy baked chicken nuggets deliver a shatter-crisp crust and tender, juicy chicken without deep frying. Paired with a tangy honey mustard, they’re perfect for lunchboxes, weeknight dinners, or party platters.
- Prep Time: 15 minutes
- Cook Time: 20 minutes
- Total Time: 35 minutes
- Yield: 4 servings 1x
- Category: Main Course
- Cuisine: American
Ingredients
- 1.5 lbs (680g) boneless, skinless chicken breasts, cut into 1-inch pieces
- 1 cup (240ml) buttermilk
- 1.5 cups (150g) panko breadcrumbs
- 1/2 cup (50g) grated Parmesan cheese
- 1/2 cup (60g) all-purpose flour
- 1 teaspoon garlic powder
- 1 teaspoon onion powder
- 1 teaspoon paprika
- 1 teaspoon salt
- 1/2 teaspoon black pepper
- 2–3 tablespoons olive oil spray or melted butter
- 1/4 cup (60g) Dijon mustard
- 3 tablespoons (60ml) honey
- 2 tablespoons (30g) mayonnaise
- 1 teaspoon lemon juice
- Pinch of salt
Instructions
- Cut chicken breasts into uniform 1-inch pieces. Place in a bowl, pour buttermilk over, stir, cover, and refrigerate for at least 30 minutes (up to 4 hours).
- Set up three shallow bowls: first bowl with flour, garlic powder, onion powder, paprika, salt, and pepper; second bowl with panko and Parmesan mixed together; third bowl empty for coated nuggets.
- Preheat oven to 400°F (200°C). Place a wire rack on a baking sheet and spray lightly with olive oil.
- Working in batches, take a piece of chicken from buttermilk, let excess drip off. Coat in flour mixture, shake off excess, dip back into buttermilk, then press into panko-Parmesan mixture until fully covered. Place on wire rack. Repeat.
- Spray nuggets generously with olive oil. Bake for 12 minutes, flip, spray other side, and bake for another 8-12 minutes until golden brown and internal temperature reaches 165°F (74°C).
- While nuggets bake, whisk together Dijon mustard, honey, mayonnaise, lemon juice, and a pinch of salt in a small bowl. Adjust to taste.
- Let nuggets rest on rack for 3-5 minutes before serving. Serve warm with honey mustard.
Notes
Don’t skip the buttermilk soak for juicy nuggets. Use a light hand with flour and press panko on firmly. Spray oil evenly for best browning. Let nuggets rest after baking to set coating. For gluten-free, use gluten-free flour and panko. For air fryer, cook at 375°F (190°C) for 8-10 minutes, flipping halfway.
Nutrition
- Serving Size: 4-5 nuggets with 2 t
- Calories: 400
- Sugar: 10
- Sodium: 800
- Fat: 14
- Saturated Fat: 4
- Carbohydrates: 28
- Fiber: 2
- Protein: 35
Keywords: crispy baked chicken nuggets, honey mustard, baked chicken nuggets, homemade chicken nuggets, easy chicken nuggets


