The last bar disappeared from the tin before I’d even wiped down the counter. My neighbor, who’d only stopped by to borrow a whisk, stood there holding the final corner piece with this look of pure betrayal that I hadn’t hidden a second batch. “You can’t just make something like that and not warn people,” she said, brushing crumbs off her shirt. I shrugged, but honestly? I was a little shocked myself.
I’d been chasing the perfect pecan pie bar for years—something that had all the sticky, nutty, caramelized glory of the classic Thanksgiving pie but without the hassle of rolling out a finicky crust or worrying about a wobbly center. The maple brown butter thing happened by accident. I was testing a shortbread base one rainy Sunday, browned the butter out of pure impatience (didn’t feel like waiting for it to soften), and then figured, well, I’ve already come this far. Might as well toss some maple syrup in too.
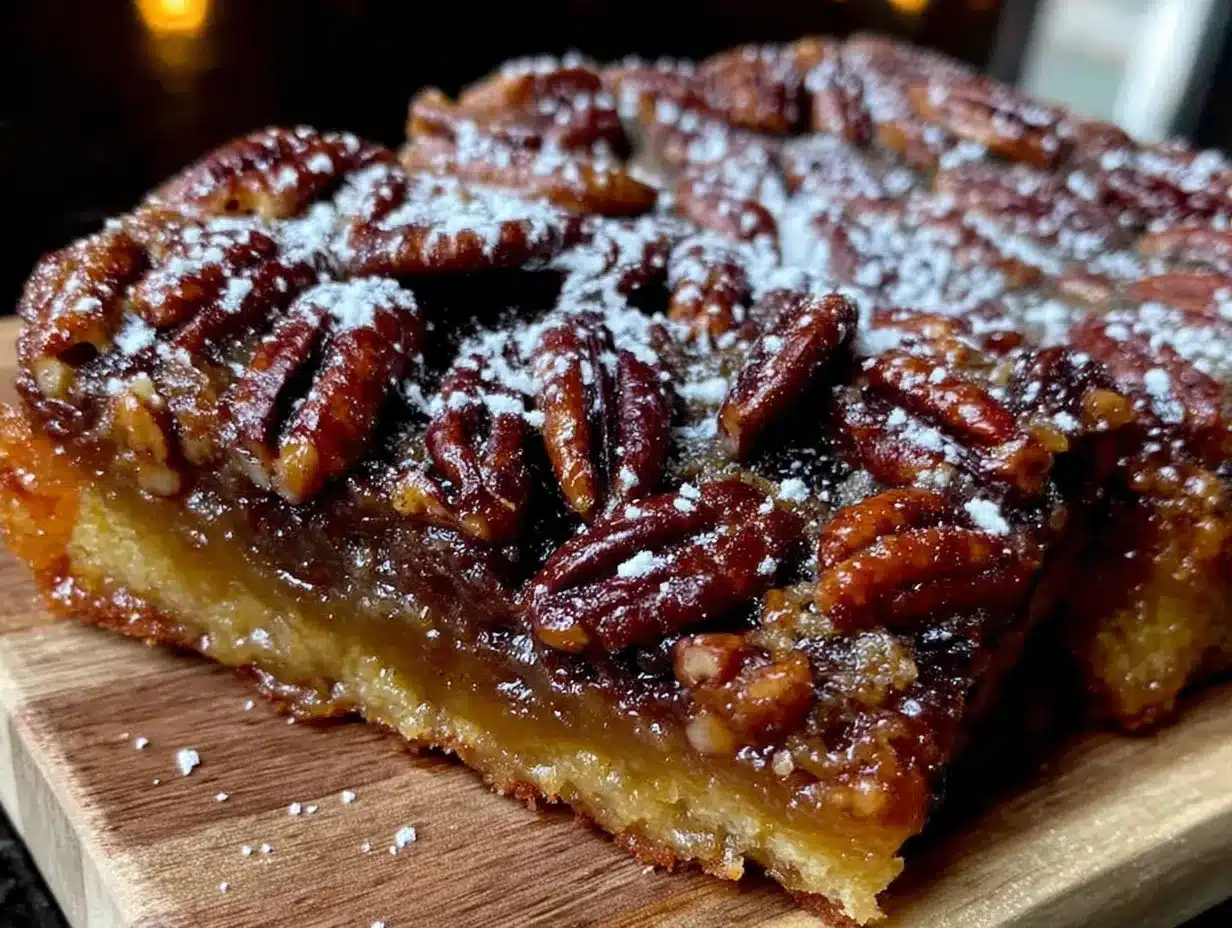
That first bite stopped me mid-dish-drying. The nuttiness from the brown butter had wrapped itself around the maple like they’d been best friends their whole lives. The crust was this buttery, crumbly situation that held up to the filling without getting soggy. And the pecans? They got all toasty and candied on top, exactly the way you want them to.
These bars aren’t fancy. They’re not trying to reinvent dessert. They’re just really, really good at being exactly what you’re craving—especially when you want something that tastes like you spent hours in the kitchen but actually came together while you were folding laundry.
Why You’ll Love This Recipe
I’ve tested this recipe more times than I care to admit. There was a batch where the filling slid right off the crust (too much butter in the base), one where the pecans turned chewy instead of crisp (wrong oven temp), and one where I accidentally used salted butter for both the crust and the filling and my blood pressure went up just looking at it. But this version? This one works every single time.
- No Pie Crust Stress : That buttery shortbread base presses into the pan in five minutes flat. No chilling, no rolling, no crying over cracked dough.
- Brown Butter Magic : It adds this deep, almost nutty richness that regular melted butter just can’t touch. One extra step, huge payoff.
- Perfectly Portable : Bars travel better than pie. You can stack them, pack them, bring them to a potluck without a pie carrier the size of a small suitcase.
- Make-Ahead Friendly : They actually get better after a day or two. The flavors settle, the texture firms up, and they slice like a dream.
- That Maple Factor : Real maple syrup brings a complexity that corn syrup just doesn’t have. It’s less sweet, more interesting, and pairs beautifully with the toasted pecans.
These bars have become my go-to for everything from Thanksgiving dessert tables to random Tuesday night cravings. They’re the kind of treat that makes people close their eyes after the first bite. And honestly? That never gets old.
What Ingredients You Will Need
This recipe keeps things simple. Most of these are pantry staples, and the ones that aren’t are easy to find. The quality of your maple syrup and butter matters here—you’ll taste the difference.
For the Shortbread Crust
- Unsalted butter, 1 cup (2 sticks), cut into tablespoons (browning it first adds that signature nutty flavor)
- All-purpose flour, 1 ¾ cups (spooned and leveled)
- Powdered sugar, ¼ cup (it makes the crust tender, not gritty)
- Vanilla extract, 1 teaspoon
- Salt, ¼ teaspoon (fine sea salt works best)
For the Maple Pecan Filling
- Unsalted butter, ¼ cup (you’ll brown this separately from the crust butter)
- Pure maple syrup, ¾ cup (Grade A dark amber is my favorite—more flavor, less watery)
- Light brown sugar, ½ cup, packed
- Heavy cream, ¼ cup (adds richness and helps the filling set properly)
- Large eggs, 2, room temperature
- Vanilla extract, 1 teaspoon
- Salt, ½ teaspoon (don’t skip it—it balances the sweetness)
- Pecan halves, 2 cups (toasted lightly before using for extra depth)
I’ve tried this with both regular supermarket pecans and the fancy ones from the farmers market. Both work fine, but the fresher your pecans, the better they taste. If your pecans have been sitting in the pantry for six months, give them a quick toast in a dry skillet to wake them back up.
For the maple syrup, please don’t use pancake syrup. It’s not the same thing. Real maple syrup has a thinner consistency and a more complex flavor that doesn’t make the filling cloying. I like using Coombs Family Farms or just whatever local brand I can find at the farmers market.
Equipment Needed
- 9×13-inch baking pan (metal works better than glass for even browning)
- Parchment paper (for easy lifting—don’t skip this)
- Saucepan (light-colored so you can see the butter browning)
- Mixing bowls (one medium, one large)
- Whisk
- Spatula
- Measuring cups and spoons
- Cooling rack
If you don’t have a light-colored saucepan, you can still brown butter in a dark one—just keep a closer eye on it. The color change is harder to spot. I’ve ruined a batch by looking away for thirty seconds, and let me tell you, burnt butter smells sad.
A good offset spatula helps with pressing the crust evenly into the pan, but the back of a measuring cup works just fine too.
Preparation Method
Step 1: Brown the Butter for the Crust
Place 1 cup of butter in your saucepan over medium heat. Let it melt completely, then keep cooking. Swirl the pan occasionally. You’ll see it foam up, then settle down, then foam again. Small brown specks will start appearing at the bottom. The moment it smells nutty and turns a golden amber color, pull it off the heat. Pour it into a heatproof bowl to stop the cooking. Let it cool for about 10 minutes—you don’t want it hot enough to cook the powdered sugar.
Step 2: Make the Crust
Preheat your oven to 350°F. Line your 9×13 pan with parchment paper, leaving some overhang on the long sides. In a medium bowl, whisk together the flour, powdered sugar, and salt. Pour in the cooled browned butter and vanilla. Stir with a spatula until a soft dough forms. It’ll look a little crumbly at first, but keep pressing it together. Transfer the dough to your prepared pan and press it into an even layer. Use the bottom of a measuring cup to really pack it down. Bake for 18-20 minutes, until the edges are lightly golden. Set aside to cool while you make the filling.
Step 3: Brown the Butter for the Filling
In the same saucepan (no need to wash it), melt the remaining ¼ cup of butter over medium heat. Brown it the same way you did before. This smaller amount goes faster, so watch it closely. Once it’s amber and smells nutty, pour it into a large mixing bowl.
Step 4: Make the Filling
To the bowl with the browned butter, add the maple syrup, brown sugar, heavy cream, eggs, vanilla, and salt. Whisk until everything is smooth and well combined. Don’t overwhisk—you don’t want to incorporate too much air. Just until it looks uniform.
Step 5: Add the Pecans
Spread the toasted pecan halves evenly over the pre-baked crust. Pour the filling over the top, making sure it covers all the pecans. Some will float to the surface—that’s fine. You want a mix of pecans throughout the bars.
Step 6: Bake
Bake at 350°F for 28-32 minutes. The filling should be set around the edges but still have a slight jiggle in the center. It will continue to set as it cools. If the top is browning too quickly, tent loosely with foil for the last 10 minutes.
Let the bars cool completely in the pan on a wire rack. This is important—if you try to cut them warm, the filling will ooze everywhere. I learned this the hard way. Once cool, refrigerate for at least 2 hours before slicing. This makes clean cuts so much easier.
Use the parchment overhang to lift the whole slab out of the pan. Slice into squares with a sharp knife, wiping the blade clean between cuts.
Cooking Tips & Techniques
Browning butter seems intimidating the first time, but it’s really just about paying attention. Use a light-colored pan so you can actually see what’s happening. The butter will go through stages: melt, foam, sizzle, foam again, then finally those brown bits appear. The whole process takes about 5-7 minutes. Take it off the heat the second it smells nutty—it continues cooking in the hot pan.
I once got distracted by a phone call and let my butter go too far. It went from beautifully browned to acrid and burnt in about twenty seconds. Trust your nose on this one.
For the crust, really press it into the pan firmly. Loose spots will let the filling seep underneath and make the bottom soggy. I use the bottom of a glass to smooth it out and pack it tight.
Room temperature eggs matter here. Cold eggs can seize the browned butter and make the filling lumpy. If you forgot to take them out ahead of time, place them in a bowl of warm water for five minutes.
If your bars come out with the filling too runny, you probably underbaked them. The center should still jiggle slightly, but the edges should be fully set. Next time, give them an extra 2-3 minutes.
Letting them chill overnight before slicing is the pro move. The flavors meld together, the texture firms up perfectly, and you get those gorgeous clean edges that make people think you bought them from a bakery.
Variations & Adaptations
Chocolate Maple Pecan Bars
Melt ½ cup of dark chocolate chips with a tablespoon of coconut oil and drizzle it over the cooled bars. The chocolate and maple combo is ridiculous. I did this for a holiday party once and didn’t bring a single crumb home.
Bourbon Maple Version
Add 2 tablespoons of bourbon to the filling along with the vanilla. It adds a warm, smoky depth that pairs beautifully with the pecans. Just know that the alcohol won’t fully cook out, so this one’s for adults only.
Gluten-Free Option
Swap the all-purpose flour with a 1:1 gluten-free baking blend. I’ve tested this with Bob’s Red Mill and King Arthur Measure for Measure, and both worked perfectly. The crust might be slightly more delicate, so handle it gently when pressing into the pan.
Maple Pecan Bars with Coconut
Toss ½ cup of toasted shredded coconut into the filling along with the pecans. It adds a chewy texture and a subtle tropical note that’s surprisingly good. Try it alongside creamy fresh peach icebox cake for a summer dessert spread.
Less Sweet Version
Reduce the brown sugar to ⅓ cup and use a maple syrup that’s labeled Grade A Amber (it’s less sweet than the dark stuff). The bars will still be plenty sweet, just more balanced.
Serving & Storage Suggestions
These bars are best served at room temperature or slightly chilled. If you’ve refrigerated them, let them sit out for about 15 minutes before serving. The texture softens just enough to make each bite feel luxurious.
For presentation, I like to dust them lightly with flaky sea salt right before serving. It sounds fancy but takes two seconds, and that salty-sweet contrast is everything.
They pair beautifully with a dollop of lightly sweetened whipped cream or a scoop of vanilla bean ice cream. If you’re feeling extra, drizzle a little warm caramel sauce over the top.
For drinks, try them with a hot cup of black coffee, a spicy chai latte, or even a cold glass of milk. The black sesame latte with caramel drip is another unexpected pairing that works surprisingly well.
Store leftover bars in an airtight container in the refrigerator for up to 5 days. They actually taste better on day two or three as the flavors continue to develop.
To freeze, wrap individual bars tightly in plastic wrap, then place them in a freezer-safe bag. They’ll keep for up to 3 months. Thaw in the refrigerator overnight or at room temperature for about an hour.
I don’t recommend microwaving these to reheat—it makes the crust soggy. If you want them warm, pop them in a 300°F oven for 5-7 minutes.
Nutritional Information & Benefits
Per bar (based on 16 servings): approximately 320 calories, 22g fat, 30g carbohydrates, 4g protein, 2g fiber, 18g sugar.
Pecans are a solid source of healthy fats, magnesium, and zinc. They’re one of those nuts that actually makes you feel satisfied rather than just full. The maple syrup provides trace amounts of manganese and zinc, which is more than you can say for corn syrup.
These bars aren’t health food, and I’m not pretending they are. But they’re made with real ingredients, no weird additives, and you can feel good about serving them to people you love. That counts for something.
If you’re watching your sugar intake, cut them smaller. They’re rich enough that a 2-inch square feels plenty satisfying.
Conclusion
These maple brown butter pecan pie bars have become my most-requested dessert, and I totally get why. They’ve got that familiar pecan pie flavor everyone loves, but in a format that’s easier to make and easier to share. The brown butter adds a layer of complexity that makes people pause and say, “Wait, what’s in this?” in the best way possible.
I love that I can make them a day ahead, slice them cleanly, and walk into any gathering feeling like I’ve got it together. No pie crust drama, no last-minute panic, just really good bars that disappear fast.
Try them once, and I think you’ll understand why I keep a stash of pecans in my pantry at all times now. If you make these, let me know how they turn out. Tag me in your photos, leave a comment, tell me if you added your own twist. I genuinely love hearing about it.
Happy baking, friends. You’ve got this.
Frequently Asked Questions
Can I use light corn syrup instead of maple syrup?
You can, but the flavor will be different. Maple syrup brings a unique depth that corn syrup just doesn’t have. If you swap it, add an extra teaspoon of vanilla to compensate for the lost flavor complexity.
Why did my filling separate from the crust?
This usually happens when the crust isn’t pressed firmly enough into the pan. The filling seeps underneath and creates a gap. Next time, really pack that crust down tight. Letting the bars cool completely before cutting also helps.
Can I make these bars nut-free?
You can swap the pecans for sunflower seeds or pumpkin seeds, but the texture and flavor will change significantly. The no-bake chocolate peanut butter energy balls might be a better option if you’re serving a nut-free crowd.
How do I know when the bars are done baking?
The edges should be set and slightly puffed, while the center still has a gentle jiggle. Think of it like a cheesecake—it firms up as it cools. If the center looks liquidy, give it another 3-5 minutes.
Can I toast the pecans in advance?
Absolutely. Toast them up to a week ahead and store them in an airtight container at room temperature. Just make sure they’re completely cool before storing, or they’ll lose their crunch.
Pin This Recipe!
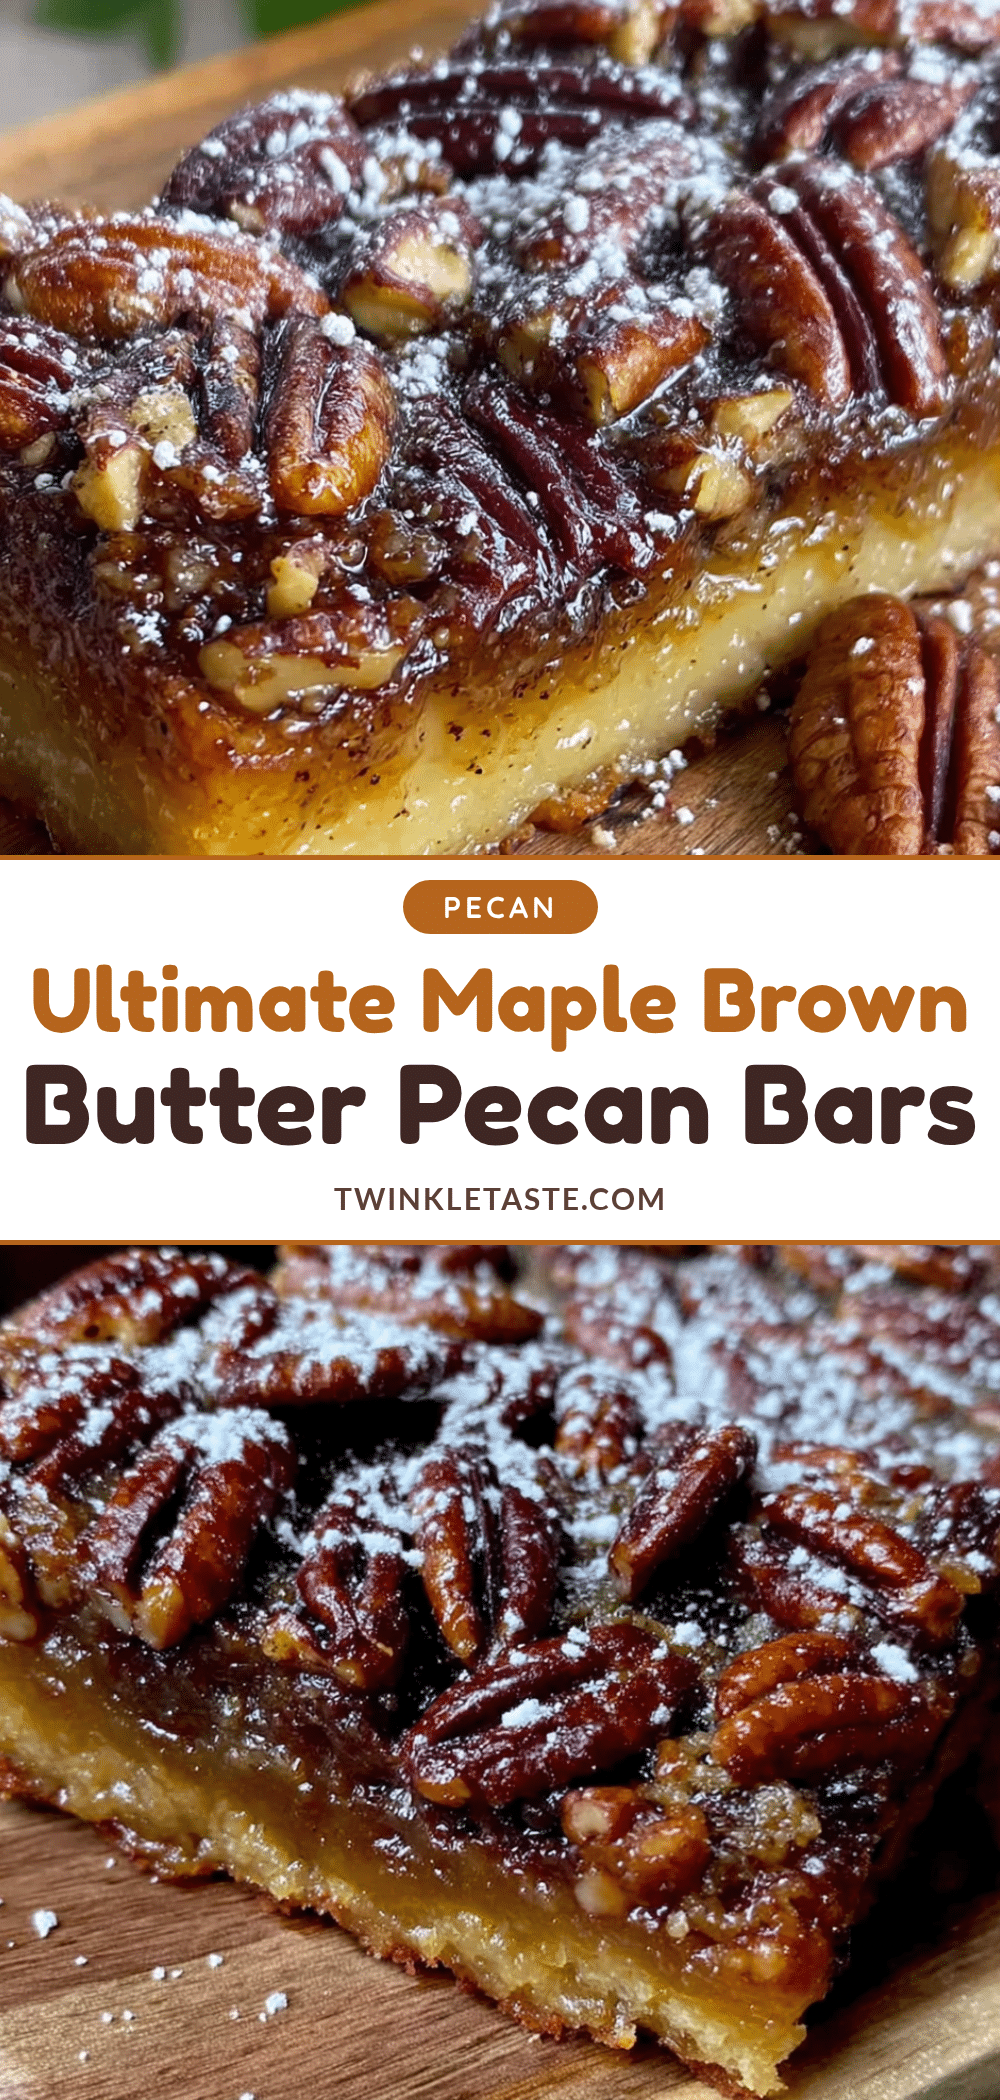
Best Maple Brown Butter Pecan Pie Bars (Easy Dessert)
These maple brown butter pecan pie bars have all the sticky, nutty, caramelized glory of classic pecan pie without the hassle of rolling out a crust. A buttery shortbread base is topped with a rich maple-pecan filling, making for an easy, portable dessert that’s perfect for holidays or any occasion.
- Prep Time: 20 minutes
- Cook Time: 50 minutes
- Total Time: 1 hour 10 minutes (plus cooling and chilling time)
- Yield: 16 servings 1x
- Category: Dessert
- Cuisine: American
Ingredients
- 1 cup (2 sticks) unsalted butter, cut into tablespoons (for crust)
- 1 ¾ cups all-purpose flour, spooned and leveled
- ¼ cup powdered sugar
- 1 teaspoon vanilla extract
- ¼ teaspoon fine sea salt
- ¼ cup unsalted butter (for filling)
- ¾ cup pure maple syrup (Grade A dark amber preferred)
- ½ cup light brown sugar, packed
- ¼ cup heavy cream
- 2 large eggs, room temperature
- 1 teaspoon vanilla extract
- ½ teaspoon salt
- 2 cups pecan halves, lightly toasted
Instructions
- Brown the butter for the crust: Place 1 cup butter in a saucepan over medium heat. Melt completely, then continue cooking, swirling occasionally, until it foams, settles, foams again, and small brown specks appear. When it smells nutty and turns golden amber, remove from heat and pour into a heatproof bowl. Let cool for about 10 minutes.
- Make the crust: Preheat oven to 350°F. Line a 9×13-inch baking pan with parchment paper, leaving overhang on the long sides. In a medium bowl, whisk together flour, powdered sugar, and salt. Pour in cooled browned butter and vanilla. Stir with a spatula until a soft dough forms. Press dough evenly into the prepared pan, packing it firmly with the bottom of a measuring cup. Bake for 18-20 minutes until edges are lightly golden. Set aside to cool.
- Brown the butter for the filling: In the same saucepan, melt the remaining ¼ cup butter over medium heat. Brown as before (this smaller amount goes faster). Once amber and nutty, pour into a large mixing bowl.
- Make the filling: To the bowl with browned butter, add maple syrup, brown sugar, heavy cream, eggs, vanilla, and salt. Whisk until smooth and well combined. Do not overwhisk.
- Add the pecans: Spread toasted pecan halves evenly over the pre-baked crust. Pour the filling over the top, covering all pecans. Some pecans will float to the surface.
- Bake: Bake at 350°F for 28-32 minutes. The filling should be set around the edges but still have a slight jiggle in the center. If top browns too quickly, tent loosely with foil for the last 10 minutes. Cool completely in the pan on a wire rack, then refrigerate for at least 2 hours before slicing. Use parchment overhang to lift the slab out. Slice into squares with a sharp knife, wiping blade clean between cuts.
Notes
Let bars cool completely before slicing to prevent filling from oozing. Chilling overnight before slicing yields the cleanest cuts. For best flavor, use real maple syrup (not pancake syrup) and fresh pecans. If bars are underbaked, the filling may be runny; give them an extra 2-3 minutes next time. Store in an airtight container in the refrigerator for up to 5 days. Freeze individual bars wrapped in plastic wrap and placed in a freezer-safe bag for up to 3 months. To reheat, place in a 300°F oven for 5-7 minutes (do not microwave).
Nutrition
- Serving Size: 1 bar
- Calories: 320
- Sugar: 18
- Sodium: 180
- Fat: 22
- Saturated Fat: 10
- Carbohydrates: 30
- Fiber: 2
- Protein: 4
Keywords: pecan pie bars, maple pecan bars, brown butter pecan bars, easy pecan dessert, Thanksgiving dessert, pecan pie bars recipe


