Third time in as many days I found myself standing over the cutting board, pressing the tines of a fork into the damp edges of bread, and I still hadn’t quite figured out why this particular iteration of a childhood staple had me in such a chokehold. It wasn’t the peanut butter—I’ve been loyal to the same chunky, salted brand for years. It wasn’t the jam, though the blackberry seed situation was admittedly perfect. It was the crustlessness. The sheer, almost absurd convenience of a sandwich that required zero chewing resistance, zero negotiation with that dry, sad bread edge. I’d made them for my niece’s lunch, a quick afterthought, and then I made them for my own lunch, and then again for a late-night snack that I absolutely did not need but absolutely devoured. There is something deeply satisfying about a food that asks nothing of you except that you enjoy it. These little pockets are that. They are the culinary equivalent of a deep breath.
Why You’ll Love This Recipe
Let’s be honest—some recipes are about impressing people. This one is about impressing you. It’s the kind of thing you make when you need a win in the kitchen without any of the drama. I’ve tested this method more times than I care to admit, tweaking the seal, the filling ratio, the toasting time, until it felt less like a hack and more like a legitimate, repeatable recipe. Here is why this version works so well:
- 5-Minute Magic: From fridge to plate in under five minutes. No joke. No exaggeration. This is real life.
- Zero Waste: You use the whole slice of bread. No crusts to toss, no awkward scraps. Just pure, soft, sandwich goodness.
- Perfect for Kids (and Adults Who Refuse to Grow Up): My niece calls them “secret sandwiches.” I call them the best thing since, well, sliced bread.
- Completely Customizable: Swap the jam, change the nut butter, add a sprinkle of cinnamon—this recipe is a template, not a rulebook.
- No Fancy Equipment: You don’t need a sandwich press, a sealer, or any gadget taking up drawer space. Just a rolling pin and a fork.
What makes these pockets different from just squishing bread together? It’s the technique. The rolling, the crimping, the quick sear in a hot pan. It transforms a simple sandwich into something that feels intentional. It’s the kind of thing you make for a lunchbox and then find yourself stealing from the lunchbox. I speak from experience.
What Ingredients You Will Need
This recipe uses the simplest of simple ingredients. You probably have everything in your kitchen right now. That’s the whole point. No special trips to the store, no hunting for obscure items. Just pantry staples that come together in a way that feels surprisingly satisfying.
- 4 slices of soft white bread: (or whole wheat, brioche, or sourdough—just make sure it’s fresh and pliable. Stale bread will crack when you roll it.) I prefer a standard store-bought white bread for the softest, most pliable result.
- 2 tablespoons creamy peanut butter: (or crunchy, if that’s your jam—literally. I like a good salted peanut butter for balance.)
- 2 tablespoons strawberry jam: (or grape jelly, raspberry preserves, fig butter—go wild. Just avoid anything with huge fruit chunks that might poke through the bread.)
- 1 tablespoon unsalted butter, softened: (for toasting. You can use salted butter, just watch the salt level. Coconut oil or ghee also work beautifully.)
Ingredient Notes & Swaps: If you are avoiding peanuts, swap in almond butter, sunflower seed butter, or even cookie butter for a dessert-like twist. For a lower sugar option, use a no-sugar-added fruit spread or mashed berries. The key is to keep the filling thick enough that it doesn’t turn the bread into a soggy mess. If you are feeling fancy, a tiny pinch of flaky sea salt on the warm pocket is a game-changer. I also love adding a small sprinkle of cinnamon to the peanut butter before sealing—it gives it a subtle warmth that pairs perfectly with the jam.
Equipment Needed
You don’t need much here. This is a low-equipment recipe, which is exactly why I keep coming back to it. Here is what you’ll need:
- Rolling pin: (or a clean wine bottle, a water glass, or even your hands if you are patient.)
- Fork: (for crimping the edges. A standard dinner fork works perfectly.)
- Non-stick skillet or griddle: (cast iron works too, just watch the heat.)
- Spatula: (for flipping. A thin, flexible spatula is best.)
- Cutting board or clean work surface: (for rolling and assembling.)
I have made these with a mason jar as a rolling pin in a pinch, and honestly, it worked fine. Do not let the lack of a dedicated gadget stop you. The only thing I would not skip is the non-stick skillet—it makes the golden-brown crust so much easier to achieve without sticking.
Preparation Method
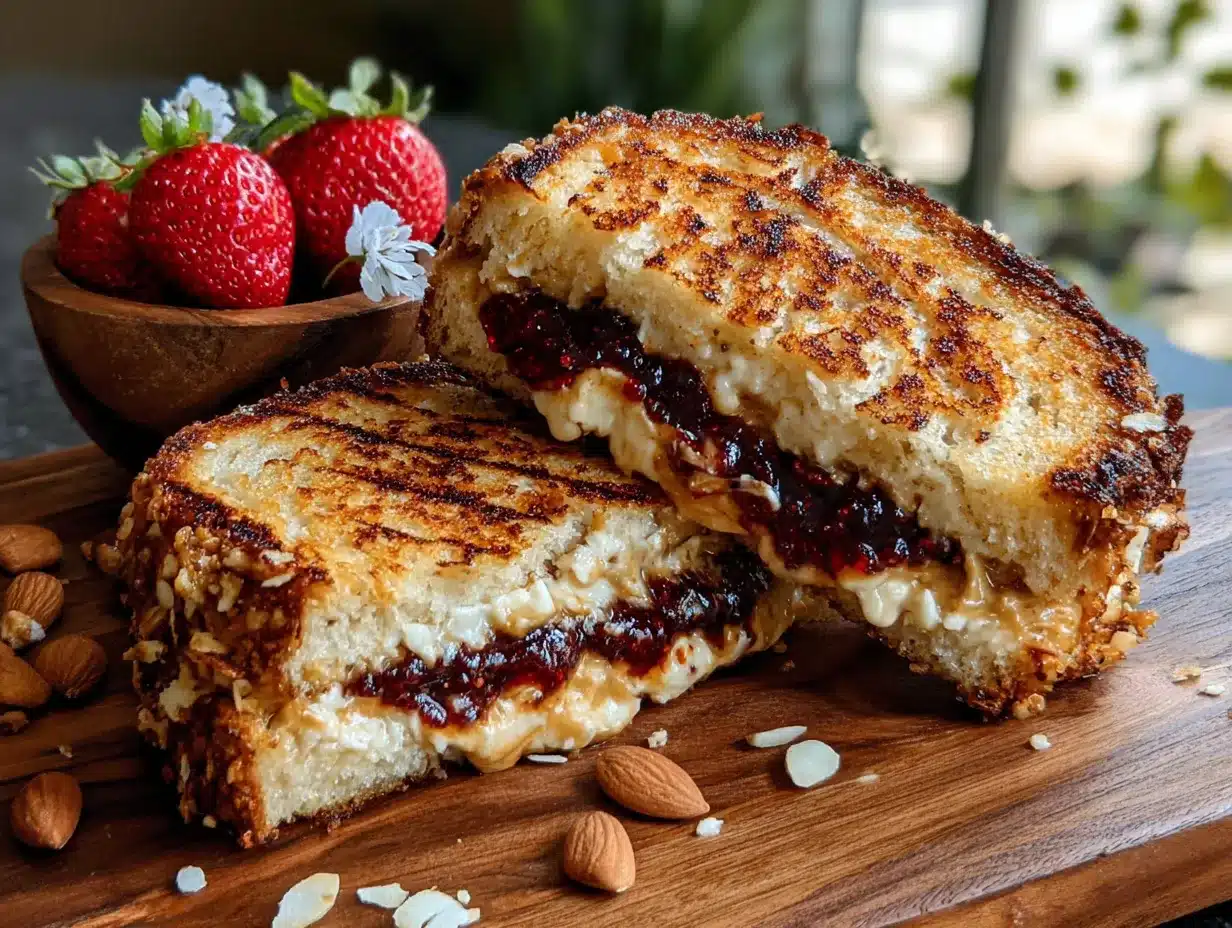
This is where the magic happens. The process is simple, but the details matter. Follow these steps, and you will have perfect little pockets every single time.
- Flatten the bread. Take your four slices of bread and, using a rolling pin, gently roll each slice until it is about half its original thickness. You want it flat and pliable, not torn. If the bread cracks, it is too dry. (This happens with older bread, so fresh is best.)
- Add the filling. Spread one tablespoon of peanut butter onto two of the flattened slices. Spread one tablespoon of jam onto the other two flattened slices. Leave a small border around the edges—about half an inch—so you can seal them later. (I learned this the hard way. The first batch leaked jam everywhere. It was still delicious, but messy.)
- Seal the pocket. Carefully place a peanut butter slice on top of a jam slice, filling sides facing each other. Press the edges together gently. Then, using a fork, crimp the edges all the way around. Press firmly to create a tight seal. (This is the most important step. A good crimp means no leaks.)
- Preheat the pan. Place your non-stick skillet over medium heat. Add the softened butter and let it melt, swirling to coat the bottom of the pan. The butter should sizzle gently when you add the sandwiches.
- Toast the pockets. Carefully place the sealed pockets into the hot pan. Cook for 1-2 minutes per side, or until golden brown and crispy. You will see the bread puff up slightly as the filling warms. (Resist the urge to press down with the spatula—you might squeeze the filling out.)
- Cool slightly. Transfer the pockets to a cutting board and let them rest for 1-2 minutes. The filling inside will be molten hot, so do not skip this step. (I speak from experience. Burnt tongue is not a good look.)
- Serve and enjoy. Slice in half diagonally if you want to be fancy, or leave whole. Eat warm. Repeat as necessary.
Sensory Cues: When the bread hits the butter, you should hear a gentle sizzle. The bottom should turn a deep, even golden brown after about 90 seconds. When you flip it, the cooked side should feel firm and slightly crisp. The pocket should feel warm and slightly puffed when it is done. If it feels heavy or wet, it needs more time.
Cooking Tips & Techniques
I have made these pockets more times than I can count, and I have made every mistake in the book. Here is what I learned so you do not have to repeat my errors.
- Do not overfill. I know it is tempting to load up on peanut butter and jam, but too much filling will cause the pocket to burst open during cooking. A thin, even layer is all you need. Trust me, the flavor is still there.
- Seal it tight. The fork crimp is not just for looks. It creates a mechanical seal that keeps the filling inside. Press firmly and make sure the edges are fully closed. If you see a gap, press it again. No shame in double-crimping.
- Watch the heat. Medium heat is your friend. Too high, and the bread will burn before the filling warms through. Too low, and the bread will dry out before it gets golden. If your first pocket comes out pale, turn the heat up a notch. If it comes out blackened, turn it down.
- Use room-temperature butter. Cold butter will not spread evenly on the bread, and it can cause hot spots in the pan. Let it sit out for 10 minutes before you start. Or, if you are impatient like me, microwave it for 5 seconds. Just 5, though.
- Let them rest. The filling inside these pockets is essentially molten sugar. It will burn your mouth if you bite in immediately. I know it is hard to wait, but those two minutes of resting time are crucial. Use them to pour yourself a glass of milk.
Variations & Adaptations
This recipe is a canvas. Here are some of my favorite ways to change it up, depending on my mood or what is in the pantry.
- Nut-Free School Lunch Version: Swap the peanut butter for sunflower seed butter or WowButter. Just note that sunflower seed butter can turn green when heated (it is a chemical reaction, totally safe, but surprising the first time).
- Dessert Pocket: Use Nutella or cookie butter instead of peanut butter, and swap the jam for sliced bananas or strawberries. Dust with powdered sugar after cooking. This is dangerous. You have been warned.
- Savory-Sweet Twist: Use a thin layer of cream cheese mixed with a little honey instead of jam, and keep the peanut butter. It tastes like a fancy peanut butter and honey sandwich, and it is incredible.
- Gluten-Free Option: Use your favorite gluten-free bread. Look for a soft, pliable brand—some gluten-free breads are too crumbly to roll. Canyon Bakehouse works well in my experience.
- Air Fryer Version: Skip the skillet and cook these in an air fryer at 350°F for 3-4 minutes, flipping halfway through. They come out extra crispy and perfectly golden. Just spray the basket lightly with oil first.
Serving & Storage Suggestions
These pockets are best eaten warm, fresh from the pan. That is when the bread is crispy, the filling is gooey, and everything is just right. But I understand that life happens, and sometimes you need to plan ahead.
For Serving: Serve these warm with a cold glass of milk, a hot cup of coffee, or a scoop of vanilla ice cream for dessert. They are also fantastic dipped in yogurt for a quick breakfast. For a lunchbox, let them cool completely before packing, and they will stay soft and delicious for hours. I have even served them at a brunch party, cut into quarters, and they disappeared faster than the quiche.
For Storage: Store leftover pockets in an airtight container at room temperature for up to 24 hours. Do not refrigerate them—the bread will get stale and tough. To reheat, pop them in a toaster oven at 300°F for 3-4 minutes, or in a dry skillet over low heat. The microwave will work in a pinch, but the bread will be soft, not crispy. (I do not recommend it, but I have done it. We all have our moments.)
For Freezing: You can freeze the uncooked, sealed pockets on a baking sheet until solid, then transfer them to a freezer bag. Cook from frozen, adding 1-2 minutes to the cooking time. This is a great meal prep hack for busy mornings.
Nutritional Information & Benefits
Let me be real with you—these are not health food. They are comfort food. But they are comfort food made with simple, recognizable ingredients, and that counts for something. Here is a rough estimate per pocket (using standard ingredients):
- Calories: Approximately 280-320 per pocket
- Protein: 8-10g (thanks to the peanut butter)
- Healthy Fats: 14-16g (from the peanut butter and butter)
- Carbohydrates: 32-36g
- Fiber: 2-3g
The peanut butter provides protein and healthy monounsaturated fats, which help keep you full and satisfied. The bread provides quick energy. The jam? Well, it provides joy. And joy is an important part of a balanced diet. If you want to boost the nutrition, use whole wheat bread for extra fiber and a no-sugar-added jam to cut down on added sugars. I have also made these with a thin layer of ground flaxseed mixed into the peanut butter for an omega-3 boost. It works, and you cannot taste it.
Conclusion
These crustless PB&J pocket sandwiches are not going to win any culinary awards, and that is exactly why I love them. They are humble, practical, and deeply satisfying. They remind me that cooking does not have to be complicated to be good. Sometimes, the best things in life are the simplest things you make with your own two hands. I hope you make these for yourself, for your kids, for your inner child who still loves a good peanut butter and jelly sandwich. And when you do, I would love to hear about it. Leave a comment below and tell me your favorite filling combination. Did you add banana? Did you try the Nutella version? Did you eat three in one sitting? (No judgment. I have been there.) Let’s talk sandwiches. Let’s talk comfort. Let’s talk about the little things that make life a little sweeter.
Frequently Asked Questions
Can I use any type of bread for these pockets?
Soft, fresh bread works best. White bread, whole wheat, brioche, and sourdough all work, as long as they are pliable enough to roll without cracking. Avoid dense, crusty breads like rye or artisan loaves.
Why did my pocket burst open while cooking?
This usually happens for one of two reasons: too much filling, or a weak seal. Use a thin, even layer of filling and press the fork crimp firmly all the way around. If you see any gaps, press them again before cooking.
Can I make these ahead of time for meal prep?
Yes! You can assemble the uncooked pockets and store them in the refrigerator for up to 24 hours, or freeze them for up to 3 months. Cook directly from frozen, adding a minute or two to the cooking time.
Are these suitable for school lunches?
Absolutely. They hold up well in a lunchbox and are still delicious at room temperature. Just make sure to check your school’s nut policy before using peanut butter, and swap in a nut-free alternative if needed.
Can I make these in an air fryer instead of a skillet?
Yes! Air fry at 350°F for 3-4 minutes, flipping halfway through. Lightly spray the basket with oil to prevent sticking. They come out extra crispy and perfectly golden.
Pin This Recipe!
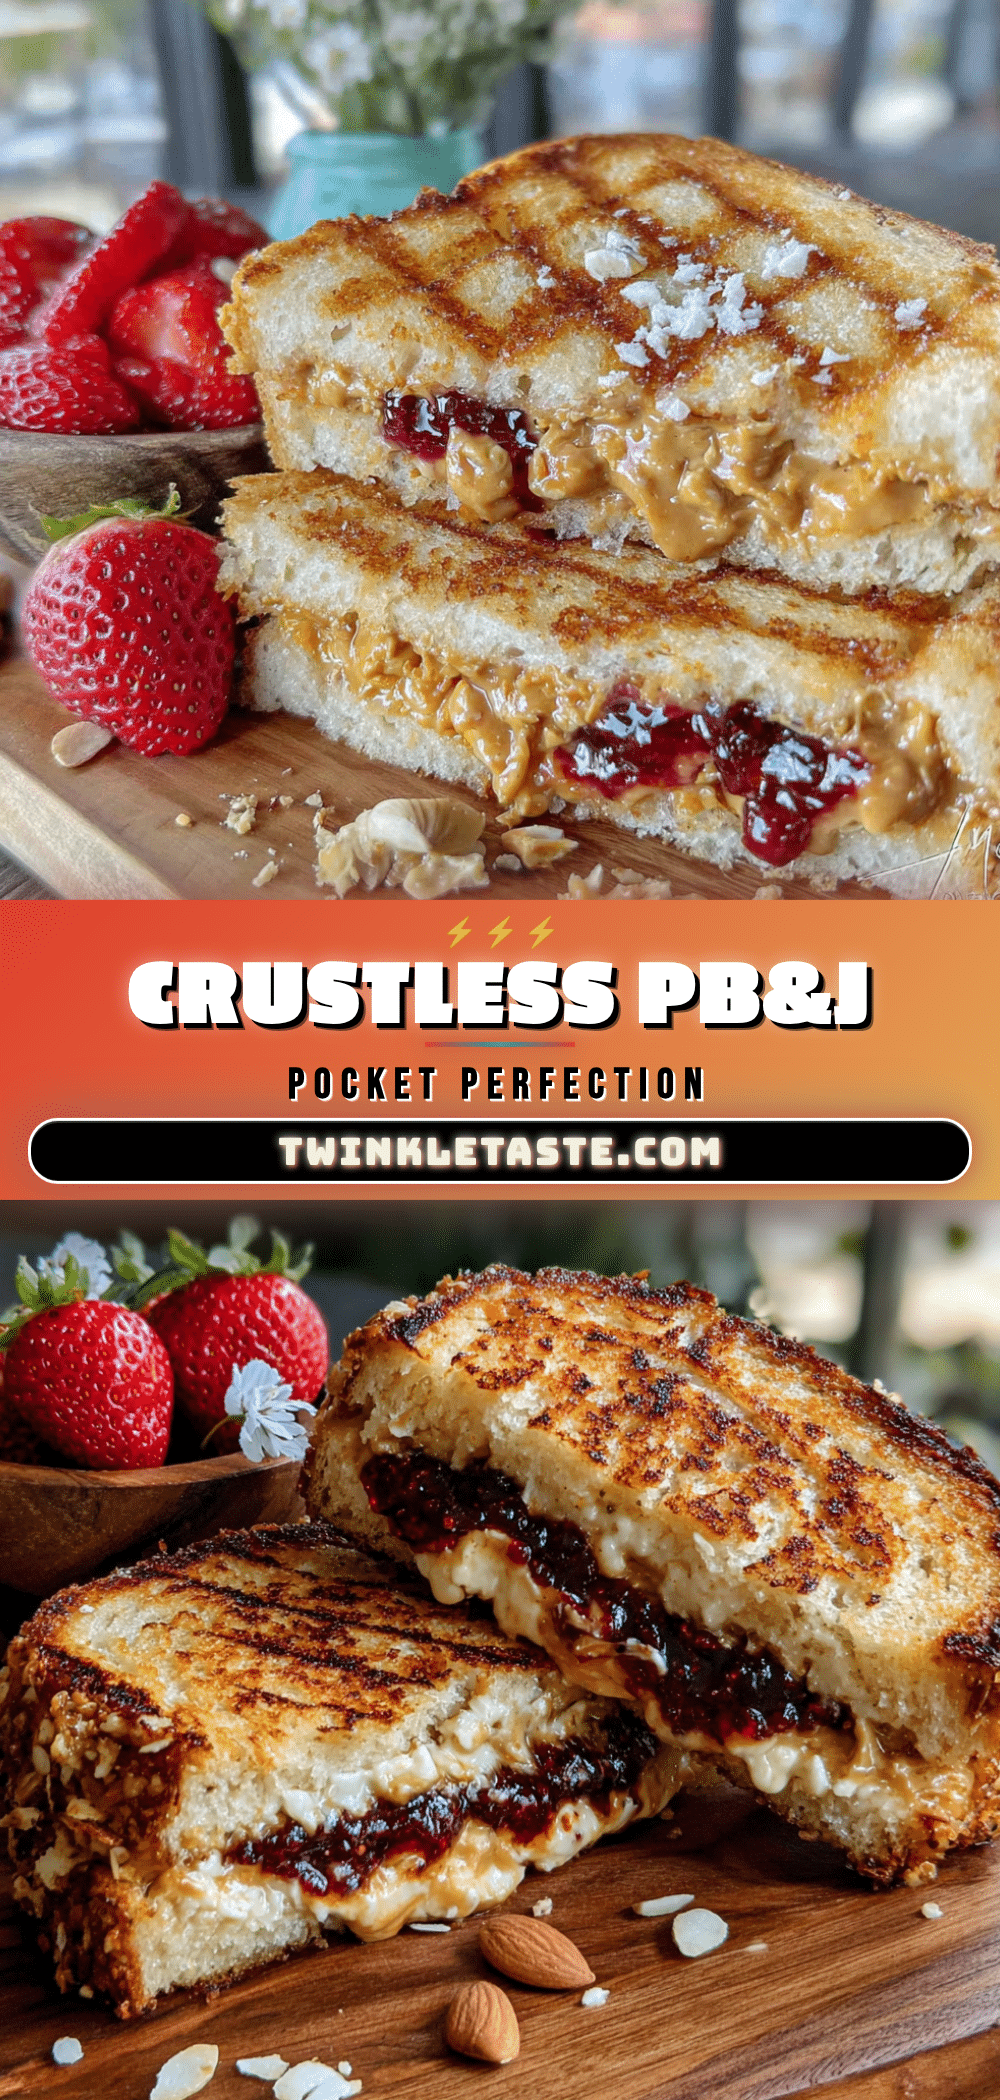
Best Easy Crustless PB&J Pocket Sandwiches (5-Minute Recipe)
These crustless PB&J pocket sandwiches are a quick, 5-minute recipe that transforms a childhood classic into a warm, gooey, and perfectly sealed treat. Made with simple pantry staples, they are ideal for kids, adults, and anyone craving a no-fuss comfort food.
- Prep Time: 2 minutes
- Cook Time: 3 minutes
- Total Time: 5 minutes
- Yield: 2 servings 1x
- Category: Snack
- Cuisine: American
Ingredients
- 4 slices soft white bread (or whole wheat, brioche, or sourdough)
- 2 tablespoons creamy peanut butter (or crunchy)
- 2 tablespoons strawberry jam (or grape jelly, raspberry preserves, fig butter)
- 1 tablespoon unsalted butter, softened (for toasting)
Instructions
- Flatten the bread: Using a rolling pin, gently roll each slice of bread until it is about half its original thickness, flat and pliable.
- Add the filling: Spread 1 tablespoon of peanut butter onto two of the flattened slices and 1 tablespoon of jam onto the other two, leaving a half-inch border around the edges.
- Seal the pocket: Place a peanut butter slice on top of a jam slice, filling sides facing each other. Press the edges together gently, then use a fork to crimp the edges all the way around, pressing firmly to create a tight seal.
- Preheat the pan: Place a non-stick skillet over medium heat. Add the softened butter and let it melt, swirling to coat the bottom.
- Toast the pockets: Carefully place the sealed pockets into the hot pan. Cook for 1-2 minutes per side, or until golden brown and crispy. Do not press down with the spatula.
- Cool slightly: Transfer the pockets to a cutting board and let them rest for 1-2 minutes before serving.
- Serve and enjoy: Slice in half diagonally if desired. Eat warm.
Notes
Use fresh, soft bread to prevent cracking when rolling. Do not overfill to avoid bursting. Let the pockets rest after cooking to prevent burns from molten filling. For a nut-free version, use sunflower seed butter. For an air fryer version, cook at 350°F for 3-4 minutes, flipping halfway.
Nutrition
- Serving Size: 1 pocket
- Calories: 300
- Sugar: 12
- Sodium: 250
- Fat: 15
- Saturated Fat: 5
- Carbohydrates: 34
- Fiber: 2.5
- Protein: 9
Keywords: crustless PB&J, pocket sandwiches, 5-minute recipe, easy snack, kid-friendly, peanut butter and jelly, no crust


