Third batch in three days, and I finally stopped timing myself. The first two were experiments—one too chewy, one borderline burnt in spots but somehow still not crisp enough. By the third, I stopped hovering over the air fryer basket like a hawk and just let the heat do its thing. That’s when these crispy air fryer football wings with buffalo glaze finally clicked. Not just good for air fryer wings. Good, period. The kind where you pull one out, let it cool for exactly four seconds, and immediately burn your tongue because patience isn’t real during game day.
I’d been chasing that specific texture for weeks. You know the one—crackly skin that shatters when you bite, tender meat underneath, and a buffalo glaze that clings instead of sliding off like it’s afraid of commitment. Turns out, the secret wasn’t a fancy rub or some complicated brining process. It was simpler than that. And honestly? I almost missed it because I was overthinking everything.
These aren’t fussy wings. They’re the kind you make when the game starts in an hour and you forgot to thaw anything. The kind that disappears before halftime, leaving nothing but a stack of bones and a collective groan when someone realizes the bowl is empty. That’s the energy we’re working with here.
Why You’ll Love This Recipe
Let me be real with you—I’ve tested a lot of wing methods over the years. Baked, fried, grilled, smoked, even that weird microwave-steam-then-crisp hack that someone swore by on Reddit. (Spoiler: it was not good.) These air fryer wings beat them all for one simple reason: they deliver that fried-level crunch without the oil splatter or the lingering smell in your kitchen for three days.
- Incredibly crispy skin — The air fryer circulates hot air so efficiently that the skin renders perfectly, giving you that shatter texture without deep frying.
- No complicated steps — No brining, no flipping every five minutes, no special equipment beyond your air fryer and a bowl.
- Perfect for game day — Whether it’s football, basketball, or just a Tuesday that needs some excitement, these wings deliver.
- Buffalo glaze that actually sticks — We’re not just tossing wings in sauce and hoping for the best. This glaze clings to every ridge and crevice.
- Ready in under 40 minutes — From fridge to table faster than you can argue about whether that catch was actually a catch.
What makes these different from every other air fryer wing recipe out there? Two things: the drying method and the glaze technique. Most recipes skip the crucial step of really drying the wings, which is the difference between okay wings and wings that make people text you the next day asking for the recipe. And the glaze? We’re building it in layers, not drowning them all at once. Trust me on this one.
These wings have become my go-to for every gathering. They’re the kind of recipe that makes you look like you know what you’re doing, even if you’re just a regular home cook who really, really likes wings. And honestly? That’s the best kind of recipe to have in your back pocket.
What Ingredients You Will Need
This recipe keeps things simple—no long grocery list, no obscure ingredients you’ll use once and forget about. These are all pantry and fridge staples, with a couple of game-day essentials thrown in. The magic happens in how you treat them, not in how fancy they are.
- Chicken wings — 2 pounds (about 900g), separated into drumettes and flats. You can buy them pre-separated or do it yourself with a sharp knife. I usually grab the family pack when they’re on sale and freeze half.
- Baking powder — 2 teaspoons. This is the secret to crispy skin. Not baking soda—baking powder. They’re different, and using the wrong one will make your wings taste metallic. Trust me, I learned this the hard way.
- Cornstarch — 1 tablespoon. Adds an extra layer of crunch and helps the glaze adhere better.
- Salt — 1 teaspoon kosher salt. I prefer Diamond Crystal for its even distribution, but any kosher salt works.
- Black pepper — ½ teaspoon, freshly ground.
- Garlic powder — ½ teaspoon. Not granulated garlic—powder. It distributes more evenly.
- Onion powder — ½ teaspoon. Adds that savory depth without being onion-forward.
- Paprika — ½ teaspoon. I use sweet paprika, but smoked works beautifully if you want a deeper flavor.
- Cayenne pepper — ¼ teaspoon (optional). For those who want a little heat in the dry rub itself.
For the Buffalo Glaze:
- Frank’s RedHot Original — ½ cup. I don’t say this lightly: don’t substitute. Frank’s has the perfect balance of heat and vinegar that makes buffalo sauce what it is. Other hot sauces work in a pinch, but they won’t taste like classic buffalo wings.
- Unsalted butter — 4 tablespoons (half a stick), melted. Butter mellows the heat and gives the glaze that silky texture.
- Worcestershire sauce — 1 teaspoon. Adds umami depth you won’t even notice until it’s missing.
- Honey — 1 tablespoon. Just enough sweetness to round out the heat. Not enough to make them sweet—just enough to make you wonder what that little something extra is.
- Garlic powder — ¼ teaspoon. Because more garlic is never a bad idea.
For Serving (optional but recommended):
- Celery sticks and carrot sticks — for that classic crunch contrast.
- Blue cheese or ranch dressing — I’m a blue cheese person myself, but no judgment here.
Equipment Needed
You don’t need a professional kitchen to make these wings—just a few basics that most home cooks already have. If you’re missing something, I’ve included workarounds.
- Air fryer — Any basket-style or oven-style air fryer works. I use a 5.8-quart Cosori, which fits about 2 pounds of wings in a single layer. If yours is smaller, cook in batches.
- Large mixing bowl — For tossing the wings with the dry rub. Glass or stainless steel works best.
- Paper towels — The most important tool you didn’t think about. You need these to dry the wings thoroughly.
- Tongs — For flipping and transferring hot wings. Silicone-tipped ones won’t scratch your air fryer basket.
- Small saucepan or microwave-safe bowl — For making the buffalo glaze.
- Whisk — To emulsify the glaze ingredients.
- Pastry brush — For applying the glaze in layers. A silicone brush works best and is easy to clean.
- Wire rack — Optional, but helpful if you want to let the wings rest after glazing without getting soggy on the bottom.
If you don’t have an air fryer, you can bake these wings at 425°F on a wire rack set over a baking sheet. They’ll take about 45-50 minutes, and you’ll need to flip them halfway. The texture won’t be quite as crispy, but they’ll still be delicious.
Preparation Method
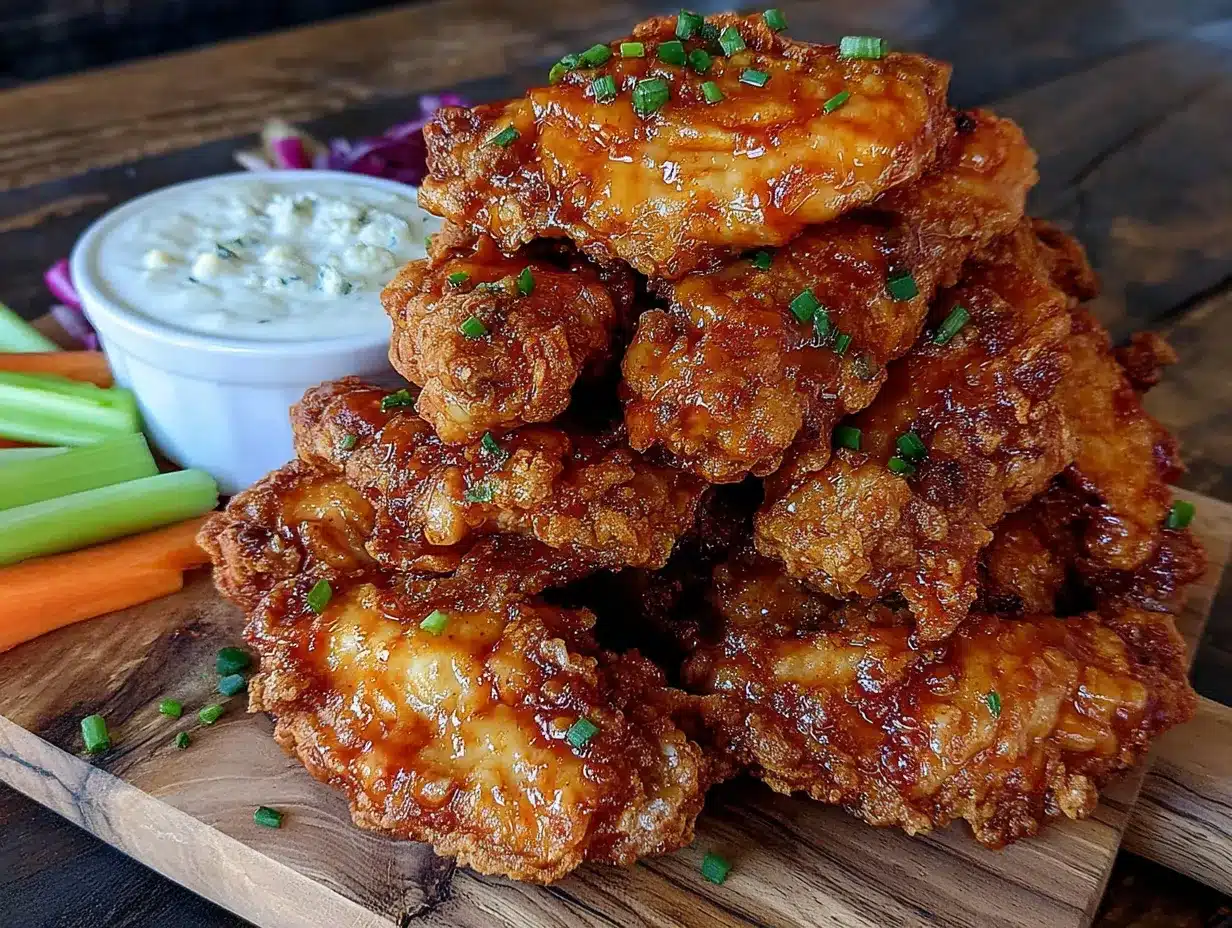
This is where the magic happens. Follow these steps closely, and you’ll have wings that rival any sports bar—without the wait or the markup.
- Dry the wings thoroughly. This is not optional. Pat each wing with paper towels until they feel almost tacky to the touch. Any moisture on the surface will steam instead of crisp, and we’re not making steamed wings here. I go through about 6-8 paper towels for 2 pounds of wings. Yes, really.
- Make the dry rub. In a small bowl, combine the baking powder, cornstarch, salt, black pepper, garlic powder, onion powder, paprika, and cayenne (if using). Whisk until evenly distributed. The baking powder and cornstarch should look fully incorporated—no white clumps.
- Toss the wings. Place the dried wings in a large mixing bowl. Sprinkle the dry rub over them and toss with your hands until every wing is evenly coated. Don’t just dump and stir—really work the rub into the skin. You should see a thin, powdery coating on each piece.
- Preheat the air fryer. Set it to 380°F (193°C) and let it run for 3-5 minutes. A preheated air fryer gives you better initial crispiness.
- Arrange the wings. Place the wings in the air fryer basket in a single layer. They should not be touching or overlapping—steam needs room to escape. If they’re crowded, cook in batches. I usually do two batches for 2 pounds.
- Cook for 12 minutes. Set the timer and walk away. Don’t open the basket to check every two minutes—you’ll let out all the hot air.
- Flip and cook again. After 12 minutes, use tongs to flip each wing. Cook for another 10-12 minutes, until the skin is golden brown and crispy. The internal temperature should reach 165°F (74°C), but honestly, with wings, I go by look and feel more than temp.
- Make the glaze while the wings cook. In a small saucepan over low heat, combine the Frank’s RedHot, melted butter, Worcestershire sauce, honey, and garlic powder. Whisk until smooth and warmed through—about 2-3 minutes. Don’t let it boil, or the butter will separate. If using a microwave, heat in 20-second bursts, whisking between each.
- Glaze in layers. This is the technique that sets these wings apart. Transfer the cooked wings to a bowl. Using a pastry brush, brush a thin layer of glaze onto each wing. Let them rest for 2 minutes, then brush another layer. Repeat once more. Three thin layers stick better than one thick drowning.
- Rest before serving. Let the glazed wings rest on a wire rack for 3-5 minutes. This lets the glaze set slightly and keeps them from getting soggy on the bottom.
A few things to watch for: If your wings are browning too fast, your air fryer runs hot—drop the temperature by 10 degrees next time. If they’re not crispy enough after the full cooking time, give them another 2-3 minutes. Every air fryer is a little different, and you’ll learn yours after a batch or two.
Cooking Tips & Techniques
I’ve made a lot of mistakes so you don’t have to. Here’s what I’ve learned the hard way:
The drying step is everything. I know I said it already, but I’m saying it again because I once thought “pretty dry” was good enough. It wasn’t. Those wings came out with leathery skin that no amount of sauce could save. Spend the extra 90 seconds drying them properly. Your future self will thank you.
Don’t skip the baking powder. I tried making wings without it once because I was out and thought, “How different could it be?” Very different. The baking powder raises the skin’s pH, which helps it brown faster and get crispier. It’s not a suggestion—it’s the backbone of the recipe.
Let the wings come to room temperature. If you’re cooking straight from the fridge, add 2-3 minutes to the initial cooking time. Cold wings take longer to cook through, and the skin can burn before the inside is done. Let them sit on the counter for 15-20 minutes while you prep everything else.
Batch cooking is better than overcrowding. I know it’s tempting to cram every wing in at once to save time. Don’t. Overcrowding drops the air fryer’s temperature and traps steam, which means soggy wings. It’s better to cook two perfect batches than one mediocre one.
Glaze temperature matters. If your glaze is too hot, it’ll slide right off the wings. If it’s too cold, it won’t spread evenly. Aim for warm—like a comfortable bath temperature. That’s the sweet spot where it clings without pooling.
Multitask strategically. While the first batch of wings cooks, prep your glaze and cut your celery and carrots. While the second batch cooks, glaze the first batch. By the time everything’s done, you’ll have a full platter of wings ready to go.
Variations & Adaptations
One of the best things about this recipe is how adaptable it is. Here are some variations I’ve tried and loved:
Spicy Honey Garlic Wings: Swap the buffalo glaze for a mix of ¼ cup honey, 3 tablespoons soy sauce, 2 minced garlic cloves, and 1 teaspoon sriracha. Simmer until thickened, then glaze the same way. These are sweeter, stickier, and dangerously addictive.
Lemon Pepper Wings: Skip the buffalo glaze entirely. Instead, toss the cooked wings with a mixture of 2 tablespoons melted butter, 1 tablespoon lemon zest, 1 teaspoon black pepper, and ½ teaspoon salt. Simple, bright, and perfect for people who don’t do spicy.
Smoky BBQ Wings: Replace the buffalo glaze with your favorite BBQ sauce mixed with 1 teaspoon smoked paprika and ½ teaspoon chipotle powder. Brush and cook for an additional 2 minutes in the air fryer to caramelize the sauce.
For a gluten-free version: This recipe is naturally gluten-free as written—just double-check your hot sauce and Worcestershire sauce labels. Some brands contain gluten, but most don’t.
For a dairy-free version: Replace the butter in the glaze with a plant-based butter or coconut oil. The texture will be slightly different, but the flavor still works beautifully.
For extra heat: Add 1-2 tablespoons of your favorite hot sauce (I like using a habanero-based one) to the glaze, or sprinkle cayenne over the finished wings. Just warn your guests—some people don’t expect that level of heat.
I once made a batch with a miso-ginger glaze on a whim, and honestly? It was weirdly amazing. Don’t be afraid to experiment—wings are forgiving, and the worst that happens is you learn something.
Serving & Storage Suggestions
These wings are best served hot, right after glazing. That’s when the skin is at its crispiest and the glaze is still warm and glossy. Arrange them on a platter with celery and carrot sticks, and serve with blue cheese or ranch dressing on the side. If you’re feeding a crowd, keep a second batch warming in a low oven (200°F) while you finish cooking.
For drinks, I love these with a cold beer—something light and crisp like a pilsner or lager that cuts through the richness. If you’re not drinking, a sparkling water with lime works just as well. The acidity helps balance the heat.
Storing leftovers: If you have any (which, let’s be honest, is rare), store them in an airtight container in the refrigerator for up to 3 days. The glaze will soften the skin over time, so they won’t be as crispy as fresh ones.
Reheating: The air fryer is your best friend here. Reheat at 350°F for 3-4 minutes, or until warmed through and the skin crisps back up. The microwave will make them rubbery—avoid it if you can. If you’re reheating a large batch, spread them on a baking sheet and heat in a 375°F oven for 8-10 minutes.
One thing I’ve noticed: the flavors actually deepen overnight. The next day, the buffalo glaze has settled into every crevice, and the wings taste even more intense. They won’t be as crispy, but they’ll be just as delicious—perfect for chopping up and tossing over a salad or into a wrap.
Nutritional Information & Benefits
Per serving (about 5-6 wings, based on 2 pounds total):
- Calories: approximately 380-420
- Protein: 28-32g
- Fat: 26-30g (mostly from the skin and butter)
- Carbohydrates: 6-8g
- Fiber: 0g
- Sugar: 3-4g (from honey)
- Sodium: 800-1000mg (varies by hot sauce brand)
Chicken wings are a good source of protein, selenium, and B vitamins, especially niacin and B6. The skin contains collagen, which supports joint health—though I’m not saying wings are health food. They’re a treat, and that’s okay.
If you’re watching your sodium, use a low-sodium hot sauce and reduce the salt in the dry rub. For lower fat, you can remove the skin before cooking, but honestly, that defeats the purpose of crispy wings. Moderation is the better approach here.
These wings are naturally gluten-free and can be made dairy-free with a simple butter swap. They’re not suitable for low-fat or low-calorie diets, but for an occasional indulgence, they’re hard to beat.
Conclusion
These crispy air fryer football wings with buffalo glaze have become my go-to for game day, lazy Sundays, and any time I need a crowd-pleaser that doesn’t require hours in the kitchen. They’re proof that you don’t need a deep fryer or a restaurant kitchen to make wings that rival the best sports bars in town.
What I love most about this recipe is how forgiving it is. You can tweak the heat level, swap the glaze, experiment with different dry rubs—and every version works. It’s a foundation, not a cage. Make it your own.
If you try these wings, I’d love to hear how they turn out. Drop a comment below and let me know your favorite glaze variation, or tag me in your photos if you share them online. And if you’re looking for more game-day inspiration, you might also love these buffalo chicken dip stuffed mini peppers or this creamy crockpot white chicken chili—both perfect for feeding a crowd.
Now go make some wings. The game’s about to start.
Frequently Asked Questions
Can I use frozen wings for this recipe?
Yes, but you need to thaw them completely first and dry them very thoroughly. Frozen wings release a lot of moisture as they cook, which will steam the skin instead of crisping it. Thaw in the refrigerator overnight, then pat dry before seasoning.
Why are my air fryer wings not crispy?
Most likely, they weren’t dried well enough before seasoning, or the basket was overcrowded. Make sure each wing is thoroughly patted dry, and cook in a single layer with space between each piece. Also check that your baking powder is fresh—old baking powder loses its effectiveness.
Can I make these wings ahead of time?
You can cook the wings ahead and reheat them, but they’re best fresh. If you need to prep in advance, cook the wings without the glaze, let them cool, and store them in the refrigerator. When you’re ready to serve, reheat in the air fryer at 350°F for 3-4 minutes, then glaze and serve.
What’s the best hot sauce for buffalo wings?
Frank’s RedHot Original is the gold standard for buffalo wings. It has the right balance of heat, vinegar, and flavor. Crystal Hot Sauce and Texas Pete are good alternatives, but they’ll give you a slightly different flavor profile. Avoid thick, sweet hot sauces—they won’t create that classic buffalo texture.
How do I make the wings extra spicy?
Add cayenne pepper to the dry rub, mix extra hot sauce into the glaze, or drizzle a spicy finishing sauce over the glazed wings. I sometimes add a teaspoon of ghost pepper powder to the glaze for people who really love heat—but I always label those wings clearly so no one gets a surprise.
Pin This Recipe!
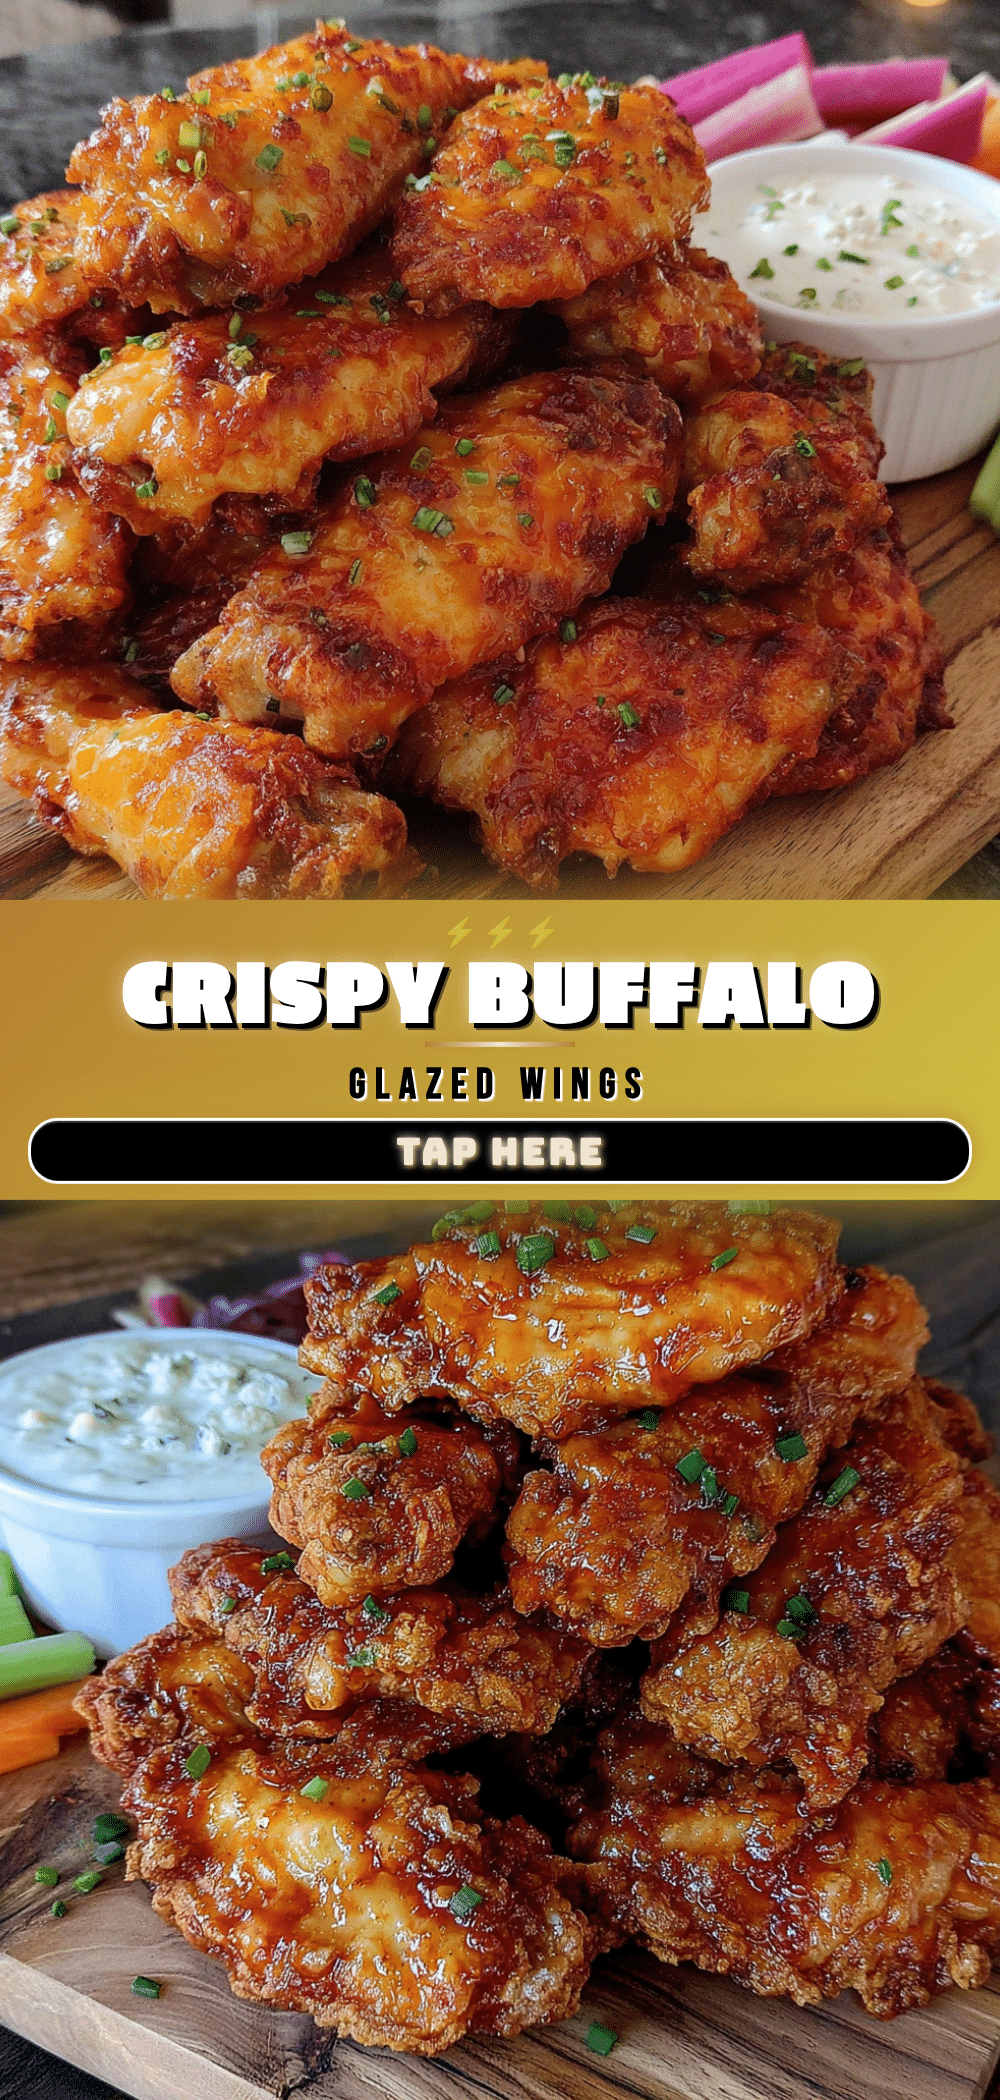
Best Crispy Air Fryer Football Wings with Buffalo Glaze

Crispy air fryer chicken wings with a buffalo glaze that actually sticks. Ready in under 40 minutes, these wings deliver fried-level crunch without the oil splatter, perfect for game day or any gathering.
- Prep Time: 15 minutes
- Cook Time: 24 minutes
- Total Time: 39 minutes
- Yield: 4 servings 1x
- Category: Appetizer
- Cuisine: American
Ingredients
- 2 pounds chicken wings, separated into drumettes and flats
- 2 teaspoons baking powder
- 1 tablespoon cornstarch
- 1 teaspoon kosher salt
- ½ teaspoon freshly ground black pepper
- ½ teaspoon garlic powder
- ½ teaspoon onion powder
- ½ teaspoon paprika (sweet or smoked)
- ¼ teaspoon cayenne pepper (optional)
- ½ cup Frank’s RedHot Original hot sauce
- 4 tablespoons unsalted butter, melted
- 1 teaspoon Worcestershire sauce
- 1 tablespoon honey
- ¼ teaspoon garlic powder
- Celery sticks and carrot sticks (for serving, optional)
- Blue cheese or ranch dressing (for serving, optional)
Instructions
- Dry the wings thoroughly with paper towels until they feel almost tacky to the touch.
- In a small bowl, combine baking powder, cornstarch, salt, black pepper, garlic powder, onion powder, paprika, and cayenne (if using). Whisk until evenly distributed.
- Place dried wings in a large mixing bowl. Sprinkle dry rub over them and toss with your hands until every wing is evenly coated.
- Preheat air fryer to 380°F (193°C) for 3-5 minutes.
- Arrange wings in air fryer basket in a single layer without touching or overlapping. Cook in batches if needed.
- Cook for 12 minutes. Do not open the basket during this time.
- Flip each wing with tongs and cook for another 10-12 minutes until skin is golden brown and crispy. Internal temperature should reach 165°F (74°C).
- While wings cook, make the glaze: In a small saucepan over low heat, combine Frank’s RedHot, melted butter, Worcestershire sauce, honey, and garlic powder. Whisk until smooth and warmed through, about 2-3 minutes. Do not let it boil.
- Transfer cooked wings to a bowl. Using a pastry brush, brush a thin layer of glaze onto each wing. Let rest for 2 minutes, then brush another layer. Repeat once more for three thin layers total.
- Let glazed wings rest on a wire rack for 3-5 minutes before serving.
Notes
The drying step is crucial for crispy skin. Don’t skip the baking powder—it helps the skin brown faster and get crispier. Let wings come to room temperature for 15-20 minutes before cooking for even results. Cook in batches if needed to avoid overcrowding. Glaze temperature should be warm (like bath water) for best adherence. For reheating, use air fryer at 350°F for 3-4 minutes or oven at 375°F for 8-10 minutes.
Nutrition
- Serving Size: 5-6 wings
- Calories: 400
- Sugar: 3.5
- Sodium: 900
- Fat: 28
- Saturated Fat: 12
- Carbohydrates: 7
- Protein: 30
Keywords: air fryer wings, buffalo wings, crispy wings, game day wings, chicken wings, buffalo glaze, football wings


