My friend Jen asked why I couldn’t just toss the pumpkin seeds in butter and sugar before roasting them, instead of my usual method of boiling them first. I started to explain why that wouldn’t work — something about moisture and texture, the science of it all. Then I stopped. Honestly, I had no good reason. I’d just always done it that way because some blog told me to, years ago. So I shrugged, handed her the bowl, and said, “You know what? You’re in charge.”
That November afternoon, with the kitchen counters covered in pumpkin guts and the radio playing old Christmas songs, I watched her dump raw, wet seeds straight into a bowl of melted butter, brown sugar, and cinnamon. I winced internally. I was sure we were about to create a sticky, burnt mess. But I kept my mouth shut and let her do her thing. She spread them on a baking sheet in a single layer, and into the oven they went.
Twenty minutes later, the whole apartment smelled like a bakery and a harvest festival had a baby. The seeds came out glossy, caramelized, and absolutely perfect. They had this incredible crunch — not the jaw-breaking kind you get from boiled seeds, but a delicate, shattery snap. And the flavor? The cinnamon sugar had baked right into every crevice, creating little pockets of warm, buttery sweetness. I grabbed a handful while they were still warm, and I actually let out a little laugh. I had been so wrong. Jen just gave me this look, you know? That “I told you so” look that only a good friend can get away with. And she was right. This is the only way I make them now.
Why You’ll Love This Recipe
These Cozy Baked Cinnamon Sugar Pumpkin Seeds are the snack you didn’t know you needed. They hit that perfect spot between a crunchy granola cluster and a warm, spiced cookie. Let me tell you why they’re about to become your new fall obsession.
- Quick & Easy: From pumpkin to plate in under 30 minutes. No boiling, no drying overnight — just rinse, toss, and bake.
- Simple Ingredients: You probably have everything in your pantry right now. Butter, sugar, cinnamon, and salt. That’s it.
- Perfect for Cozy Evenings: This is the snack for movie nights, chilly afternoons with a book, or that moment after carving pumpkins when you need something warm and rewarding.
- Crowd-Pleaser: I’ve brought these to potlucks and watch parties, and they disappear faster than anything else on the table. Kids and adults both go crazy for them.
- Unbelievably Delicious: The combination of crunchy seeds, buttery coating, and warm cinnamon sugar is pure comfort food. It’s like eating the best part of a cinnamon roll, but in snack form.
What makes this recipe different from the rest is the method. Most recipes tell you to boil the seeds first to get them clean. But skipping that step — going straight from rinsing to coating — is what creates that incredible caramelized crust. The natural moisture from the seeds helps the butter and sugar cling to every nook and cranny, creating a glaze that bakes into pure magic. This isn’t just another version of roasted pumpkin seeds. It’s the best version. And it came from a friend who didn’t know any better — which is honestly the best kind of cooking lesson.
What Ingredients You Will Need
This recipe uses simple, wholesome ingredients to create a snack that feels indulgent without being complicated. You likely have everything you need already, which makes this perfect for spontaneous fall baking sessions.
- Fresh Pumpkin Seeds – about 1 ½ cups, straight from the pumpkin. You want them rinsed and patted dry, but still slightly damp. The little bit of moisture helps the coating stick. If you’re using store-bought raw pumpkin seeds, that works too — just give them a quick spritz with water before coating.
- Unsalted Butter – 3 tablespoons, melted. I prefer unsalted so I can control the salt level. If you only have salted butter, just skip the added salt in the recipe. I recommend Kerrygold or Land O’Lakes for the best flavor.
- Brown Sugar – 2 tablespoons, packed. Light or dark brown sugar both work. Dark brown sugar gives a deeper, almost molasses-like flavor that’s amazing with the cinnamon. Light brown sugar keeps it lighter and sweeter.
- Granulated Sugar – 1 tablespoon. This adds a bit of extra sweetness and helps create that crunchy, crystallized texture on the outside of the seeds.
- Ground Cinnamon – 1 teaspoon. Use a good quality cinnamon here — it makes a difference. I love Saigon cinnamon for its bold, warm flavor. If you’re feeling fancy, you can add a pinch of nutmeg or cardamom too.
- Salt – ¼ teaspoon, plus more for sprinkling. The salt is crucial — it balances the sweetness and makes the cinnamon flavor pop. I use fine sea salt for the best distribution.
- Vanilla Extract – ½ teaspoon (optional). This is my little secret addition. It rounds out the sweetness and adds a warm, cozy depth that makes these seeds taste even more like a baked good.
For ingredient selection, look for seeds that are plump and clean. If you’re carving a pumpkin, try to separate the seeds from the stringy pulp as much as possible — it makes rinsing easier. If you’re buying pre-packaged seeds, check the expiration date and make sure they’re raw, not roasted or salted.
For substitutions, you can use coconut oil instead of butter for a dairy-free version. It won’t be quite as rich, but it still works beautifully. If you’re watching your sugar intake, you can reduce the brown sugar to 1 tablespoon, but the seeds won’t be as caramelized. And if you don’t have pumpkin seeds, this same method works great with sunflower seeds or even raw almonds — just adjust the baking time slightly.
Equipment Needed
You don’t need any fancy gadgets for this recipe, which is part of its charm. Here’s what you’ll need:
- Baking Sheet – A standard half-sheet pan works perfectly. Line it with parchment paper for easy cleanup. If you don’t have parchment, you can use a silicone baking mat or just grease the pan well with butter.
- Mixing Bowl – Any medium-sized bowl will do. I use a glass mixing bowl because it’s easy to see when everything is evenly coated.
- Spatula or Wooden Spoon – For tossing the seeds with the butter mixture. A rubber spatula works great for scraping every last bit of that cinnamon sugar goodness onto the seeds.
- Colander – For rinsing the seeds. A fine-mesh strainer is even better because it catches all the little bits of pulp.
- Paper Towels – For patting the seeds dry. You don’t need them bone-dry, just not dripping wet.
- Measuring Spoons – For accuracy. I know eyeballing is tempting, but with sugar and cinnamon, a little precision goes a long way.
If you don’t have parchment paper, don’t worry. I’ve made these on a greased pan many times, and they turn out just fine. The cleanup is a bit more involved, but worth it for the flavor. And if you’re using a dark non-stick pan, keep an eye on the seeds — they can brown faster than on a light-colored pan.
Preparation Method
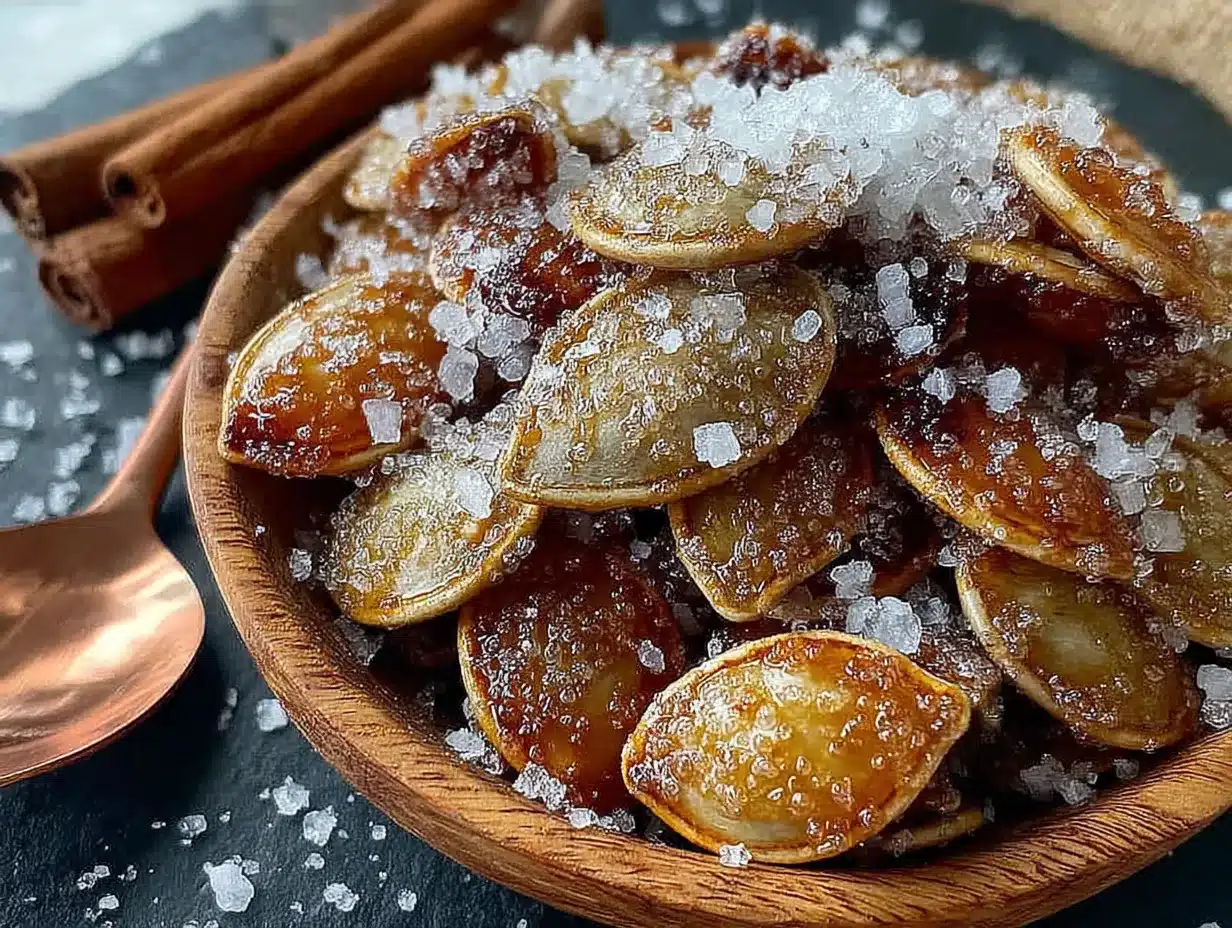
Alright, let’s make these Cozy Baked Cinnamon Sugar Pumpkin Seeds. Trust me — once you try this method, you’ll never go back to boiled seeds again.
- Preheat your oven to 350°F (175°C). Line a baking sheet with parchment paper. Getting the oven hot before you start is key — you want those seeds to hit the heat immediately for the best crunch.
- Rinse the pumpkin seeds. Place them in a colander and run cold water over them, using your fingers to separate any clinging pumpkin guts. Don’t worry about getting every last string — a little bit of pulp adds flavor. Shake off the excess water, then pat them gently with a paper towel. They should be damp, not soaking wet.
- Melt the butter. In a microwave-safe bowl, melt 3 tablespoons of unsalted butter. About 30 seconds on high should do it. Let it cool for a minute — you don’t want it hot enough to cook the seeds before they hit the oven.
- Mix the coating. To the melted butter, add 2 tablespoons packed brown sugar, 1 tablespoon granulated sugar, 1 teaspoon ground cinnamon, ¼ teaspoon salt, and ½ teaspoon vanilla extract if using. Whisk until everything is combined and the sugar is mostly dissolved. It will look like a thick, grainy syrup — that’s perfect.
- Combine seeds and coating. Add the damp pumpkin seeds to the bowl. Use a spatula to toss them until every seed is coated in that buttery, cinnamon-sugar mixture. Don’t rush this step — take your time to make sure there are no dry spots. I like to use my hands for the last few tosses to really work the coating into every crevice.
- Spread on the baking sheet. Pour the coated seeds onto the prepared baking sheet. Spread them into a single, even layer. Try to keep them from clumping too much, though a few clusters are fine — those become the crunchy, caramelized bits that everyone fights over.
- Bake for 12-15 minutes. Place the sheet in the preheated oven. Bake for 12 minutes, then check on them. The seeds should be golden brown and the coating should be bubbly and caramelized. If they need more time, give them another 2-3 minutes. Watch carefully — they can go from perfect to burnt very quickly.
- Cool completely. Remove the baking sheet from the oven and let the seeds cool on the pan for at least 10 minutes. As they cool, the coating will harden into a crispy, candy-like shell. Don’t try to move them while they’re hot — they’ll be soft and sticky. Patience here pays off.
- Break apart and enjoy. Once cool, break apart any large clusters with your hands. The seeds should be crunchy, caramelized, and absolutely irresistible. Sprinkle with a tiny pinch of flaky sea salt if you’re feeling fancy — it really makes the sweetness pop.
A few notes from my kitchen to yours: If your seeds are on the smaller side, check them at the 10-minute mark. If they’re huge pumpkin seeds from a giant pumpkin, they might need closer to 18 minutes. The key is to look for that deep golden color and listen for a slight crackling sound — that’s the sugar caramelizing. And if you see a few seeds that look a little dark, don’t panic. They’re probably the most flavorful ones.
Cooking Tips & Techniques
I’ve made this recipe more times than I can count, and I’ve learned a few things the hard way. Let me save you some trouble.
The biggest mistake people make is boiling the seeds first. I know, I know — every other recipe tells you to do it. But boiling adds moisture that dilutes the coating and makes the seeds tough. The dampness from rinsing is all you need. Trust the process.
Don’t skip the parchment paper. The first time I made these without it, I spent 20 minutes scrubbing caramelized sugar off my baking sheet. Parchment makes cleanup a breeze and prevents the seeds from sticking. If you’re out of parchment, a silicone baking mat is a great alternative.
Watch your oven like a hawk. Every oven runs differently. My old apartment oven would burn these in 11 minutes flat. My current oven takes a full 15 minutes. Get to know your oven’s quirks, and set a timer for 10 minutes to start checking. The difference between perfectly caramelized and burnt is about 30 seconds.
Let them cool completely. I know it’s hard — the smell is intoxicating, and you want to grab a handful right away. But hot seeds are soft seeds. As they cool, the sugar hardens into that incredible crunchy coating. If you eat them warm, you’ll get a sticky, chewy texture instead of a crispy one. Give them at least 10 minutes. I promise it’s worth the wait.
Double the batch. Seriously. These disappear fast. I’ve learned to make at least two baking sheets at a time because one batch is gone before the oven even cools down. They’re perfect for snacking, but they also make amazing toppings for yogurt, oatmeal, or even salads.
Variations & Adaptations
One of the best things about this recipe is how easy it is to customize. Here are a few of my favorite variations:
Spiced Chai Version: Replace the cinnamon with 1 teaspoon of chai spice blend (a mix of cinnamon, cardamom, ginger, cloves, and nutmeg). The warm, aromatic spices make these seeds taste like a cozy chai latte. I made these for a fall brunch, and everyone asked for the recipe.
Maple Pecan Twist: Swap the brown sugar for 2 tablespoons of pure maple syrup and add ¼ cup of chopped pecans to the baking sheet. The maple flavor pairs beautifully with the cinnamon, and the pecans add an extra layer of crunch. This version is amazing sprinkled over vanilla ice cream.
Savory-Sweet Combo: Reduce the brown sugar to 1 tablespoon and add ½ teaspoon of smoked paprika and a pinch of cayenne pepper. The smoky heat balances the sweetness perfectly. I love this version for snacking with a cold beer or adding to a cheese board.
Vegan Option: Replace the butter with melted coconut oil or vegan butter. The texture will be slightly different — a bit less rich — but the flavor is still incredible. I’ve tested this with coconut oil, and it works beautifully. Just make sure your sugar is vegan-friendly if that matters to you.
Extra Crunchy Version: After coating the seeds, toss them with 2 tablespoons of almond flour or finely crushed graham crackers. This creates an even thicker, crunchier coating that’s almost like a candy shell. It’s a bit more indulgent, but absolutely worth it for special occasions.
Serving & Storage Suggestions
These Cozy Baked Cinnamon Sugar Pumpkin Seeds are best served at room temperature, straight from the baking sheet. The texture is perfectly crunchy, and the flavor is at its peak. But they’re also wonderful in so many other ways.
How to serve them: Pile them into a bowl for snacking, or use them as a topping for yogurt, oatmeal, or smoothie bowls. They’re incredible sprinkled over a simple green salad with apple slices and goat cheese — the sweet crunch adds a whole new dimension. I’ve also used them as a crust for baked brie, and let me tell you, that’s a game-changer for holiday parties.
What to serve with them: These seeds pair beautifully with a warm mug of spiced apple cider or a cozy chai latte. For a fall snack board, serve them alongside sharp cheddar cheese, dried cranberries, and apple slices. They also make a fantastic gift — just put them in a pretty jar with a ribbon.
Storage instructions: Store the cooled seeds in an airtight container at room temperature. They’ll stay fresh and crunchy for up to 2 weeks. If they start to lose their crunch, you can refresh them in a 300°F oven for 3-4 minutes. Just watch them carefully — they can burn quickly.
Can you freeze them? Absolutely. Place the cooled seeds in a freezer-safe bag or container and freeze for up to 3 months. To serve, let them come to room temperature on the counter. They might lose a tiny bit of crunch, but they’re still delicious. I like to freeze a batch around Halloween so I can enjoy them through the whole fall season.
How flavors develop: Honestly, these seeds are best the day they’re made. The coating is at its crispiest, and the cinnamon flavor is brightest. But they’re still fantastic for days afterward. The flavor actually mellows and deepens after a day or two, becoming more caramel-like. It’s a different kind of delicious, but still wonderful.
Nutritional Information & Benefits
While these Cozy Baked Cinnamon Sugar Pumpkin Seeds are definitely a treat, they also bring some surprising nutritional benefits to the table. Pumpkin seeds are packed with good stuff — they’re a great source of magnesium, zinc, and healthy fats. The magnesium helps with sleep and muscle relaxation, which makes these a perfect evening snack. And the zinc is great for your immune system, especially during cold and flu season.
Here’s the estimated nutritional breakdown for a ¼-cup serving:
| Nutrient | Amount |
|---|---|
| Calories | 180 |
| Total Fat | 14g |
| Saturated Fat | 5g |
| Carbohydrates | 12g |
| Sugar | 9g |
| Protein | 5g |
| Fiber | 2g |
| Sodium | 95mg |
For dietary considerations, this recipe is naturally gluten-free and can be made vegan with a simple butter swap. It does contain dairy in the butter version, so keep that in mind for guests with allergies. The seeds themselves are a great source of plant-based protein and healthy fats, making this a more satisfying snack than your typical sugary treat. I love that I can indulge in something sweet and still feel good about what I’m eating.
Conclusion
These Cozy Baked Cinnamon Sugar Pumpkin Seeds have become a fall tradition in my kitchen, all because I let my friend take the lead and try something different. They’re proof that sometimes the best recipes come from breaking the rules — or in this case, not knowing the rules in the first place. The combination of buttery richness, warm cinnamon, and that incredible caramelized crunch is pure comfort in a bowl.
I hope you give this recipe a try, whether you’re carving pumpkins with your family or just craving something warm and cozy. Play around with the variations, make them your own, and don’t be afraid to experiment. That’s how the best recipes are born. And if you make a batch, I’d love to hear about it — drop a comment below and tell me how they turned out. Did you try a fun twist? Burn a batch and learn something? Share it all. That’s what makes this community so special.
Until next time, happy snacking. And remember — sometimes the best thing you can do in the kitchen is just let someone else take the reins.
Frequently Asked Questions
Do I have to use fresh pumpkin seeds, or can I use store-bought raw seeds?
You can absolutely use store-bought raw pumpkin seeds! Just give them a quick rinse with water before coating them, so the butter mixture has something to cling to. Don’t skip this step — dry seeds won’t hold the coating as well.
Can I use this recipe with other types of seeds?
Yes! This method works beautifully with sunflower seeds, pepitas, or even raw almonds. Just keep an eye on the baking time — smaller seeds may cook faster, and larger nuts may need a few extra minutes.
My seeds came out chewy instead of crunchy. What went wrong?
This usually happens if the seeds weren’t baked long enough or if they were too wet when they went into the oven. Make sure you pat them dry after rinsing, and don’t be afraid to let them bake until they’re deep golden brown. Also, let them cool completely before eating — the crunch develops as they cool.
Can I make these in an air fryer?
Absolutely! Preheat your air fryer to 325°F (160°C). Spread the coated seeds in a single layer in the basket and cook for 8-10 minutes, shaking the basket halfway through. Check them at the 8-minute mark — air fryers run hot and can burn seeds quickly.
How do I prevent the seeds from sticking to the pan?
Parchment paper is your best friend here. It creates a non-stick surface that makes cleanup a breeze. If you don’t have parchment, a silicone baking mat works well too. Just avoid using a greased pan alone — the sugar can stick and burn, making a mess.
Pin This Recipe!
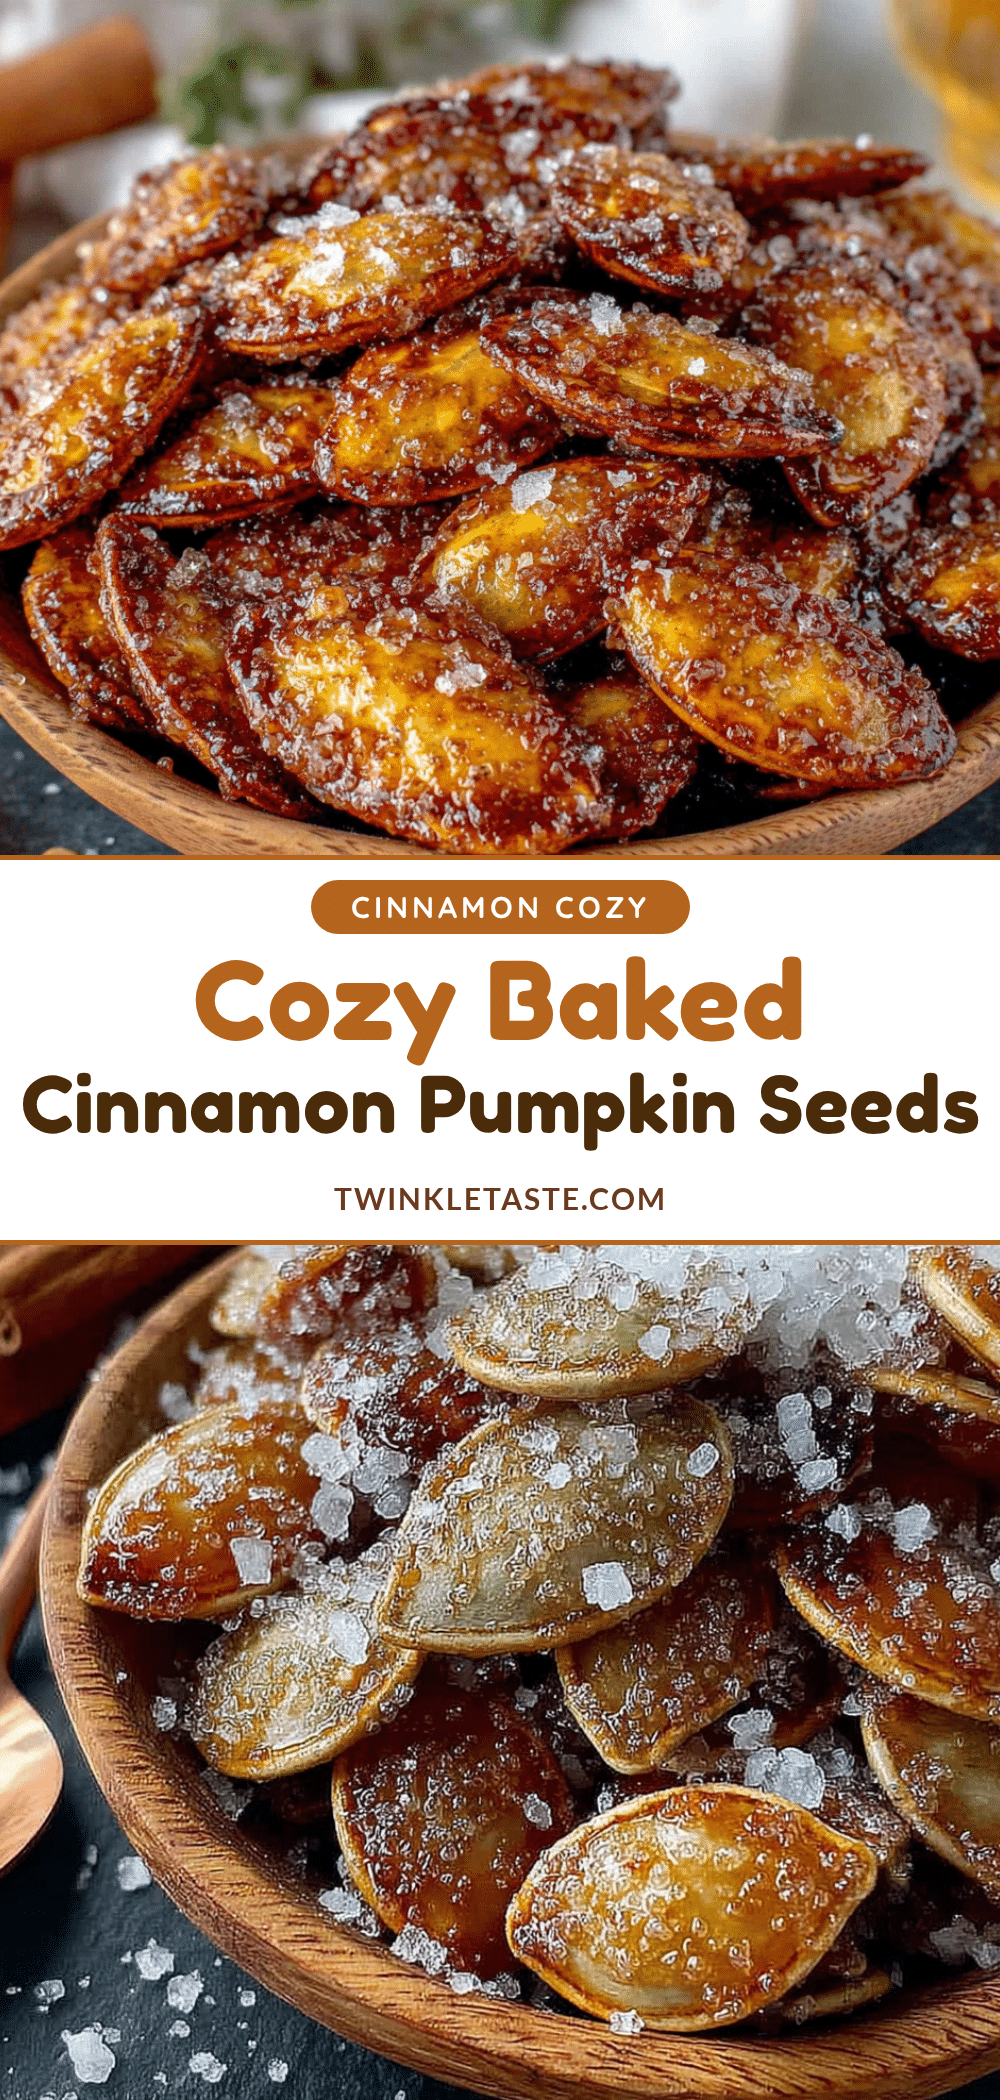
Cozy Baked Cinnamon Sugar Pumpkin Seeds

These Cozy Baked Cinnamon Sugar Pumpkin Seeds are the snack you didn’t know you needed. They hit that perfect spot between a crunchy granola cluster and a warm, spiced cookie.
- Prep Time: 10 minutes
- Cook Time: 15 minutes
- Total Time: 25 minutes
- Yield: 4 servings 1x
- Category: Snack
- Cuisine: American
Ingredients
- 1 ½ cups fresh pumpkin seeds (rinsed and patted dry, still slightly damp)
- 3 tablespoons unsalted butter, melted
- 2 tablespoons packed brown sugar (light or dark)
- 1 tablespoon granulated sugar
- 1 teaspoon ground cinnamon
- ¼ teaspoon salt, plus more for sprinkling
- ½ teaspoon vanilla extract (optional)
Instructions
- Preheat your oven to 350°F (175°C). Line a baking sheet with parchment paper.
- Rinse the pumpkin seeds in a colander under cold water, separating any clinging pumpkin guts. Shake off excess water, then pat gently with a paper towel until damp, not soaking wet.
- In a microwave-safe bowl, melt 3 tablespoons of unsalted butter (about 30 seconds on high). Let cool for a minute.
- To the melted butter, add 2 tablespoons packed brown sugar, 1 tablespoon granulated sugar, 1 teaspoon ground cinnamon, ¼ teaspoon salt, and ½ teaspoon vanilla extract if using. Whisk until combined and sugar is mostly dissolved.
- Add the damp pumpkin seeds to the bowl. Use a spatula to toss until every seed is coated. Use your hands for the last few tosses to work the coating into every crevice.
- Pour the coated seeds onto the prepared baking sheet. Spread into a single, even layer, keeping some small clusters for crunch.
- Bake for 12-15 minutes. Check at 12 minutes; seeds should be golden brown and coating bubbly and caramelized. If needed, bake another 2-3 minutes. Watch carefully to avoid burning.
- Remove from oven and let cool on the pan for at least 10 minutes. The coating will harden into a crispy shell as it cools.
- Once cool, break apart any large clusters with your hands. Sprinkle with a tiny pinch of flaky sea salt if desired.
Notes
Don’t boil the seeds first—the dampness from rinsing is enough. Watch the oven closely; seeds can burn quickly. Let cool completely for crunchiest texture. Double the batch as they disappear fast.
Nutrition
- Serving Size: ¼ cup
- Calories: 180
- Sugar: 9
- Sodium: 95
- Fat: 14
- Saturated Fat: 5
- Carbohydrates: 12
- Fiber: 2
- Protein: 5
Keywords: pumpkin seeds, cinnamon sugar, fall snack, baked pumpkin seeds, easy recipe, caramelized seeds


