I was folding laundry last Tuesday—a truly thrilling activity, I know—when a wave of something sweet and smoky hit me from the open window. My neighbor was grilling, and that familiar smell of caramelizing sugar and bacon fat cut through the mundane like a time machine. Suddenly, I was eight years old, standing on a plastic lawn chair in my Aunt Carol’s tiny backyard, watching her lay strip after strip of bacon on a cookie sheet like she was building a delicious, salty mosaic. She wasn’t grilling, though. She was making her famous green bean bundles, and that smell? That was the promise of dinner. I honestly hadn’t thought about those bundles in years. My aunt passed away a while back, and with her went the secret to getting my picky cousins to eat their vegetables without a single complaint. I’ve been chasing that specific memory ever since, trying to recreate the exact moment the sweet glaze hit the salty bacon. This is my best attempt, and let me tell you, it’s pretty close. Maybe you’ve had a similar experience—a dish from your past that feels impossible to get right. This one is for us.
Why You’ll Love This Recipe
Let’s be real—getting kids to eat green beans can feel like a negotiation you’re destined to lose. But wrap them in bacon and drizzle them with a sticky, sweet glaze? Suddenly, you’re a kitchen magician. This recipe isn’t just about tricking the family into eating veggies; it’s about turning a simple side dish into the star of the plate. I’ve tested this more times than I care to admit, tweaking the glaze ratio and the bacon crispness until it was just right. It’s family-approved and picky-eater-tested.
- Kid-Approved & Family-Friendly: The sweet-salty combo is a universal win, even for the toughest critics. My own kids went from pushing green beans around their plate to asking for seconds.
- Incredibly Easy: With just a few ingredients and minimal prep, these come together faster than you’d think. Perfect for a busy weeknight or a holiday feast.
- Made with Simple Ingredients: No need for a special grocery trip. You probably have everything in your kitchen right now, minus the fresh beans.
- A Total Crowd-Pleaser: I’ve brought these to potlucks and family dinners, and the baking sheet is always the first one empty. They look fancy but taste like comfort food.
- Unbelievably Delicious: The texture is what gets me—the crisp-tender bite of the bean, the chewy bacon, and that crackly, caramelized glaze. It’s next-level.
This isn’t just another green bean recipe. The secret is in the balance: a touch of garlic powder in the glaze cuts through the sweetness, and broiling at the end gives you that perfect, sticky crunch. It’s comfort food that makes you feel a little bit proud of yourself for getting everyone to eat their greens.
What Ingredients You Will Need
This recipe relies on a handful of pantry staples and fresh produce to deliver maximum flavor with minimum fuss. Each ingredient plays a specific role in building that perfect sweet-savory profile.
- Fresh Green Beans (1 lb / 450g): Look for firm, bright green beans with no blemishes. I prefer standard green beans over haricots verts for this recipe because they hold up better to the heat. Trim the tough ends but leave them whole—no need to chop.
- Bacon (12-16 slices): You’ll want thin-cut bacon here. Thick-cut takes too long to render and can end up chewy. I find that standard hickory-smoked bacon gives the best flavor, but a maple-flavored bacon would also be amazing. Don’t use turkey bacon; it won’t crisp up the same way.
- Brown Sugar (1/2 cup / 100g): Packed light or dark brown sugar works beautifully. Dark brown sugar will give a deeper, more molasses-like flavor. This is the backbone of the glaze.
- Butter (2 tbsp / 28g): Unsalted is best so you can control the salt level. It adds richness and helps the glaze stick to the bacon.
- Garlic Powder (1/2 tsp): This is my little secret. It cuts the sweetness and adds a savory depth that makes the whole thing addictive. Don’t skip it.
- Salt & Black Pepper (to taste): Go easy on the salt since the bacon is already salty. A good crack of fresh black pepper is perfect.
- Optional: Red Pepper Flakes (1/4 tsp): If you want a tiny kick of heat to balance the sweet, this is a great addition. My kids don’t mind it, but you can leave it out.
Ingredient Tip: I’ve tried this with frozen green beans in a pinch, and it works okay, but the texture is softer. For the best result, stick with fresh. And for the bacon, I’ve had great luck with the store brand—you don’t need a fancy artisan bacon for this to be a hit.
Equipment Needed
You don’t need a lot of fancy gadgets for this one, which is part of the beauty. Here’s what you’ll need to get the job done.
- Large Baking Sheet (13×18 inches): A rimmed baking sheet is essential to catch any drips from the bacon fat and glaze. A half-sheet pan is perfect.
- Wire Rack: Placing a wire rack on the baking sheet allows air to circulate around the bundles, ensuring the bacon gets crispy on all sides. If you don’t have one, you can place the bundles directly on the pan, but the bottoms might be a little softer.
- Small Saucepan: For making the glaze. A small saucepan is perfect for melting the butter and sugar together without burning.
- Pastry Brush (or Spoon): For brushing the glaze onto the bundles. A spoon works just fine if you don’t have a brush.
- Kitchen Shears: For snipping the bacon in half. A knife works too, but shears are faster and less messy.
- Parchment Paper or Aluminum Foil: For lining the baking sheet to make cleanup a breeze. Trust me, you’ll want this.
Budget-Friendly Tip: If you don’t have a wire rack, you can crumple up pieces of aluminum foil and place the bundles on top of them. It’s not perfect, but it helps with air circulation.
Preparation Method
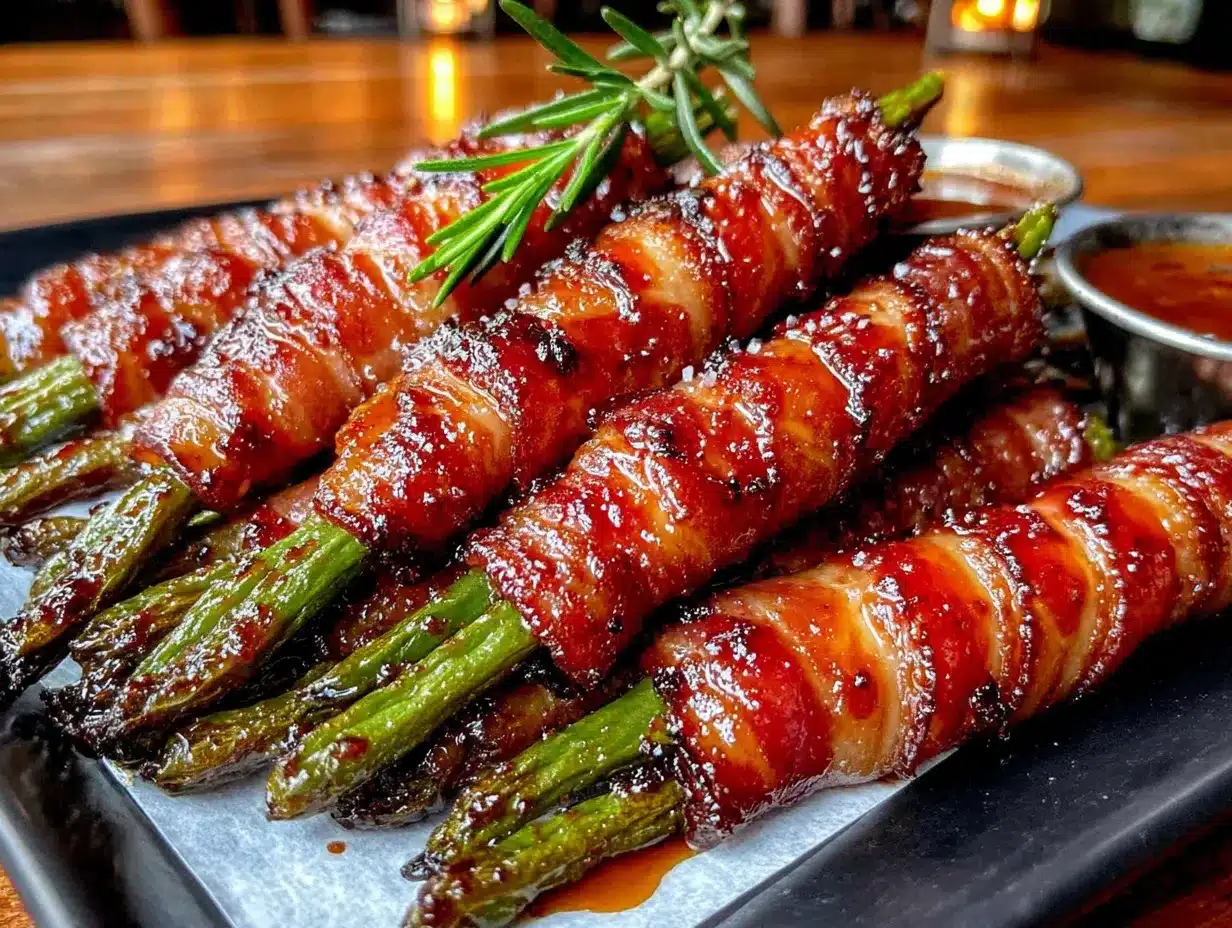
Let’s get cooking! This recipe comes together in about 30 minutes, with most of the time being hands-off in the oven. Here’s how to do it.
- Preheat & Prep: Preheat your oven to 400°F (200°C). Line a large baking sheet with parchment paper or aluminum foil for easy cleanup. Place a wire rack on top of the baking sheet if you have one. This step is crucial for crispy bacon.
- Blanch the Green Beans (Optional but Recommended): Bring a large pot of salted water to a boil. Add the trimmed green beans and cook for 2-3 minutes, until they are bright green and just tender-crisp. Immediately transfer them to a bowl of ice water to stop the cooking. Drain and pat them completely dry with a clean kitchen towel. This step ensures the beans are perfectly cooked without being mushy, and it helps them stand up to the heat. If you’re short on time, you can skip this, but the texture won’t be as nice.
- Make the Glaze: In a small saucepan over medium-low heat, combine the brown sugar, butter, garlic powder, and a pinch of salt and pepper. Stir constantly until the butter is melted and the sugar is dissolved, about 2-3 minutes. The mixture should be smooth and bubbly. Remove from heat and set aside. If you’re using red pepper flakes, stir them in now.
- Assemble the Bundles: Gather 4-5 green beans together and wrap them with one half-slice of bacon, starting at one end and spiraling up to the other. The bacon should overlap slightly. Place the bundle seam-side down on the prepared wire rack. Repeat with the remaining beans and bacon. You should get about 12-16 bundles depending on the size of your beans.
- Glaze the Bundles: Using a pastry brush or a spoon, generously brush each bundle with the brown sugar glaze. Don’t be shy—you want a nice coating on the bacon. Reserve a little bit of the glaze for brushing on after baking.
- Bake: Place the baking sheet in the preheated oven and bake for 20-25 minutes, or until the bacon is starting to crisp and the glaze is bubbly. The bacon should be cooked through but not yet super crunchy.
- Broil for the Finish (The Secret Step): Switch your oven to the broil setting. Brush the bundles with the remaining glaze. Broil for 2-4 minutes, watching them very carefully. The sugar can burn quickly. You want the bacon to be crispy and the glaze to be caramelized and sticky. Remove from the oven as soon as it’s done.
- Rest & Serve: Let the bundles rest on the baking sheet for 2-3 minutes before serving. The glaze will set slightly, making them easier to handle. Serve warm.
Pro Tip: If you notice the bacon isn’t crisping up after the initial bake, you can increase the oven temperature to 425°F (220°C) for the last 5 minutes. Every oven is a little different.
Cooking Tips & Techniques
I’ve made these bundles more times than I can count, and I’ve learned a few things the hard way. Here are my best tips for success.
- Don’t Overcrowd the Pan: Make sure the bundles have a little space between them on the wire rack. If they’re touching, they’ll steam instead of crisp up. Use two baking sheets if you need to.
- Pat the Beans Dry: If you blanch the beans, make sure they are completely dry before wrapping them with bacon. Any excess water will create steam and prevent the bacon from getting crispy. I’ve made this mistake more than once.
- Watch the Broiler: This is the most important tip. The broiler is your best friend for getting that perfect caramelized finish, but it’s also your worst enemy if you walk away. The sugar can go from golden to burnt in seconds. Stand by the oven and watch it like a hawk.
- Use Thin-Cut Bacon: I know I said it before, but it bears repeating. Thick-cut bacon takes too long to cook through, and by the time it’s done, the green beans will be overcooked and the glaze will be burnt. Thin-cut is the way to go.
- Make Ahead: You can assemble the bundles up to a day in advance. Just place them on the baking sheet, cover with plastic wrap, and store in the fridge. Add the glaze right before baking. This is a lifesaver for holiday dinners.
Variations & Adaptations
This recipe is a great base for experimentation. Here are a few ways to switch it up based on what you have on hand or who you’re feeding.
- Spicy Maple Version: Swap the brown sugar for 1/3 cup of pure maple syrup and add 1/4 teaspoon of cayenne pepper to the glaze. The maple flavor pairs beautifully with the bacon, and the heat is a nice surprise.
- Balsamic Glaze: For a more sophisticated twist, replace the brown sugar with 1/4 cup of balsamic vinegar and 2 tablespoons of honey. Simmer the mixture until it thickens slightly before brushing it on. This is fantastic for a dinner party.
- Dietary Adaptations: For a lower-sugar option, you can use a sugar-free brown sugar substitute like Swerve. The texture will be slightly different, but it still works well. To make it gluten-free, just ensure your bacon is labeled gluten-free (most are, but it’s worth checking).
- Add Some Crunch: After brushing on the final glaze, sprinkle the bundles with toasted sesame seeds or crushed pecans before broiling. It adds a lovely texture and extra flavor.
- Personal Variation: One time, I had some leftover maple breakfast sausage, so I crumbled it up and sprinkled it over the bundles before the final broil. It was a little over the top, but honestly, it was incredible. Don’t be afraid to get creative.
Serving & Storage Suggestions
These bundles are best served warm, right out of the oven, when the bacon is at its crispiest and the glaze is still sticky. Here’s how to serve and store them.
- Serving Temperature: Serve them immediately after the 2-3 minute rest. They are fantastic alongside a juicy steak, roasted chicken, or even as a topping for a holiday turkey. I love them with a simple mashed potato and a side of roasted carrots.
- Presentation: Arrange the bundles on a platter and drizzle any remaining glaze from the pan over the top. A sprinkle of fresh chopped parsley or chives adds a nice pop of color, though it’s not necessary.
- Complementary Dishes: These bundles are the perfect side for any protein. They pair wonderfully with a creamy pasta dish or a hearty grain bowl. For a holiday table, they sit right alongside the stuffing and cranberry sauce.
- Storage: Leftovers can be stored in an airtight container in the refrigerator for up to 3 days. The bacon will lose its crispness, but the flavor will still be great.
- Reheating: The best way to reheat them is in the oven or an air fryer. Place them on a baking sheet and reheat at 350°F (175°C) for 5-8 minutes, or until warmed through and the bacon crisps up again. The microwave will make them soggy, so I’d avoid it.
- Flavor Development: Honestly, these are best fresh. The magic is in that contrast between the hot, crispy bacon and the tender bean. They don’t improve with time, so make only what you’ll eat in one sitting.
Nutritional Information & Benefits
While these are a treat, they aren’t completely devoid of nutritional value. Here’s a rough breakdown per serving (about 3 bundles).
- Estimated Nutritional Values (per serving): Calories: 220, Fat: 14g, Carbohydrates: 18g, Protein: 8g, Fiber: 2g, Sugar: 14g. These are estimates and will vary based on the specific ingredients you use.
- Health Benefits: Green beans are a good source of vitamins A, C, and K, as well as fiber. So you’re getting some good stuff in there, even with the bacon and sugar. The fiber helps with digestion, and the vitamins support your immune system.
- Dietary Considerations: This recipe is naturally gluten-free (check your bacon label) and can be made lower in sugar with a substitute. It is not suitable for a vegetarian or low-fat diet.
- Potential Allergens: This recipe contains dairy (butter) and pork (bacon). For a dairy-free version, use a plant-based butter substitute.
- Personal Wellness Perspective: Look, this isn’t a health food. It’s a celebration dish. But I feel good about serving it because it gets my family eating a vegetable they might otherwise skip. It’s about balance, not perfection.
Conclusion
These bacon-wrapped green bean bundles are more than just a side dish. They’re a little piece of nostalgia, a way to turn a simple vegetable into something everyone fights over. They’re the kind of recipe that makes you look like a hero at the dinner table without spending hours in the kitchen. I love that they’re both easy enough for a Tuesday and impressive enough for a holiday feast. So go ahead, give them a try. Wrap those beans, brush on that glaze, and watch them disappear. And when you do, I’d love to hear about it. Leave a comment below and tell me how your family liked them, or share your own little twist on the recipe. Happy cooking, friends!
Frequently Asked Questions
Can I use frozen green beans for this recipe?
Yes, you can, but the texture will be softer. Thaw them completely and pat them very dry before wrapping them in bacon. The result won’t be as crisp-tender, but it will still taste great.
How do I keep the bacon from getting soggy?
The key is the wire rack and the high heat. The rack allows air to circulate, and the high oven temperature helps the fat render out. Broiling at the end is also crucial for getting that final crisp.
Can I make these ahead of time for a party?
Absolutely! You can assemble the bundles up to 24 hours in advance. Keep them covered in the fridge, and add the glaze just before baking. You can also bake them completely and reheat them in the oven at 350°F for 5-8 minutes.
What’s the best way to reheat leftovers?
The oven or an air fryer is your best bet. Reheat at 350°F (175°C) for about 5-8 minutes until the bacon crisps up again. The microwave will make them soggy, so I’d avoid it.
Can I use turkey bacon or a plant-based bacon?
You can, but the results will be different. Turkey bacon doesn’t have as much fat, so it won’t crisp up as well and can become dry. Plant-based bacon also behaves differently. If you try it, watch the cooking time closely.
Pin This Recipe!
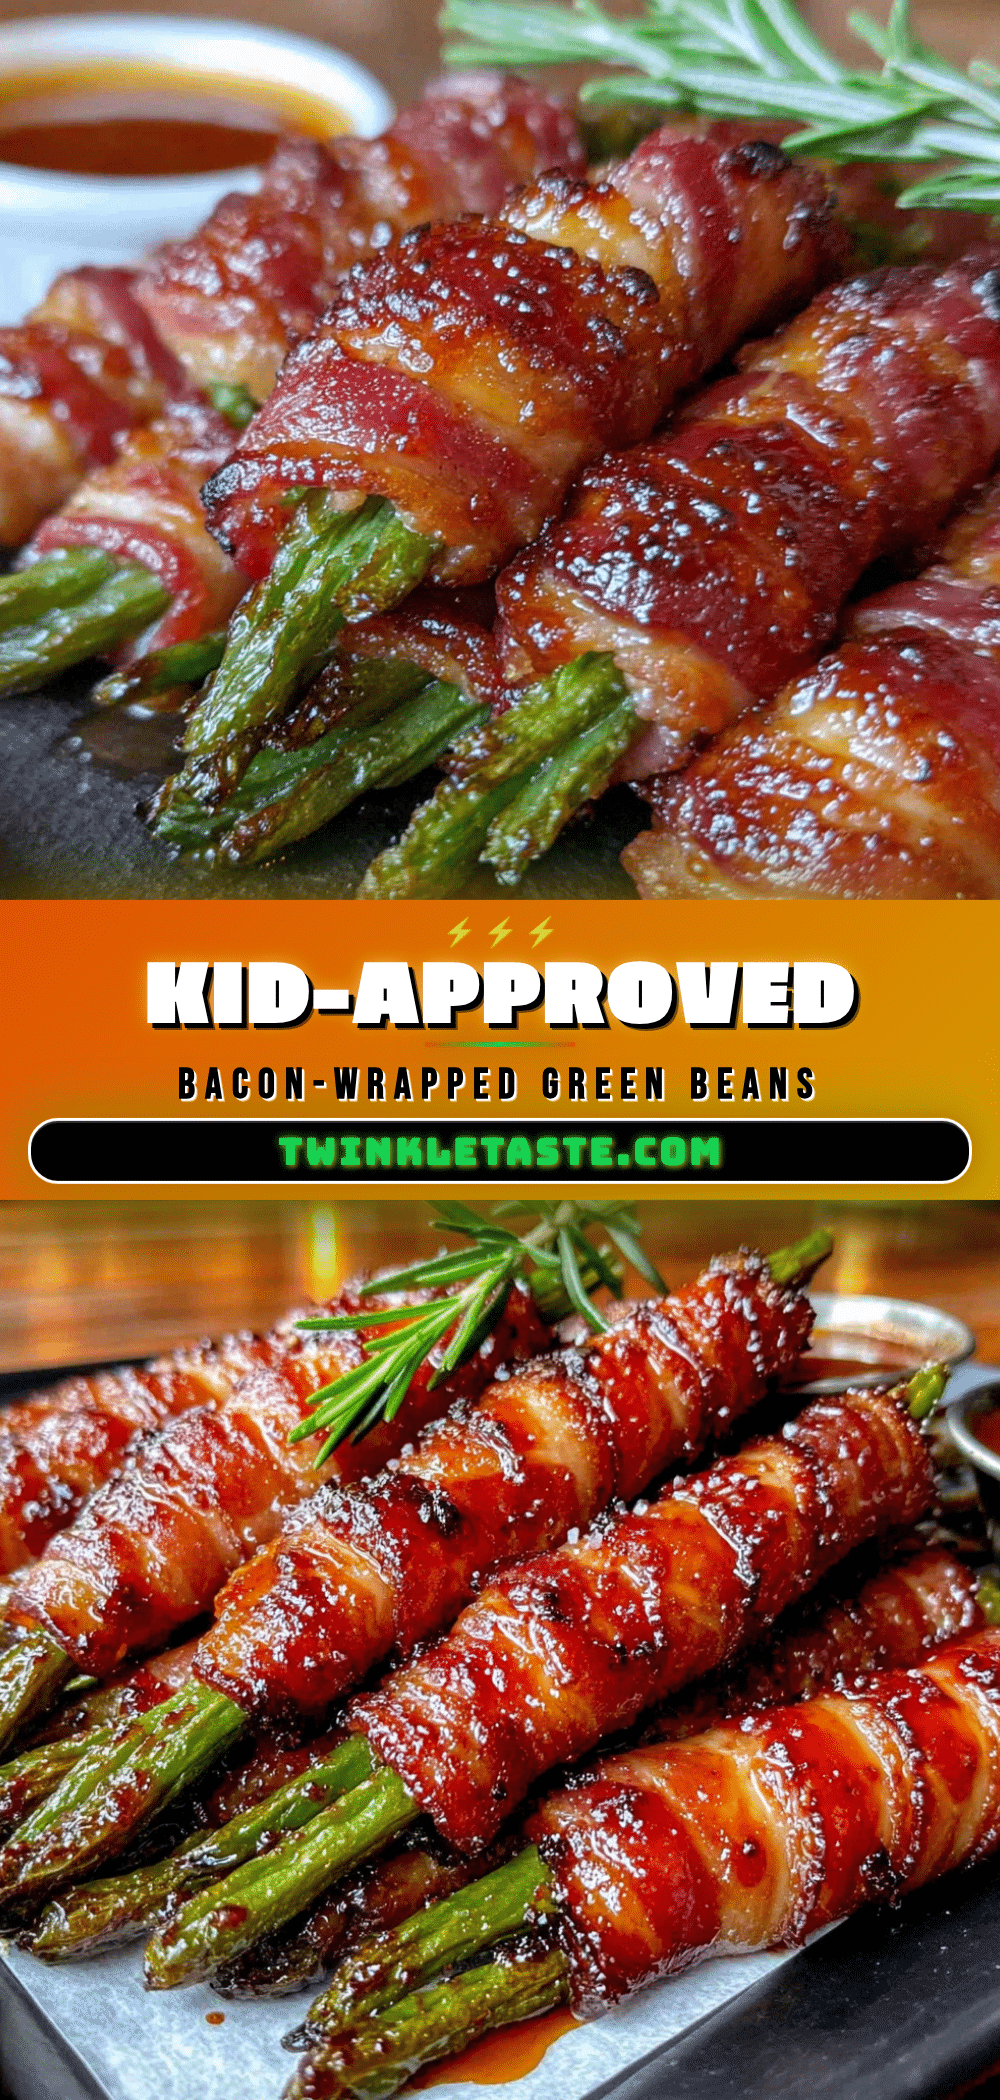
Easy Bacon-Wrapped Green Beans with Brown Sugar Glaze
These bacon-wrapped green bean bundles are a sweet and savory side dish that turns a simple vegetable into the star of the plate. With a sticky brown sugar glaze and crispy bacon, they’re kid-approved and perfect for any occasion.
- Prep Time: 15 minutes
- Cook Time: 25 minutes
- Total Time: 40 minutes
- Yield: 4 servings 1x
- Category: Side Dish
- Cuisine: American
Ingredients
- 1 lb (450g) fresh green beans, trimmed
- 12–16 slices thin-cut bacon, halved crosswise
- 1/2 cup (100g) packed brown sugar (light or dark)
- 2 tbsp (28g) unsalted butter
- 1/2 tsp garlic powder
- Salt and black pepper to taste
- 1/4 tsp red pepper flakes (optional)
Instructions
- Preheat oven to 400°F (200°C). Line a large baking sheet with parchment paper or aluminum foil and place a wire rack on top.
- Blanch the green beans (optional but recommended): Bring a large pot of salted water to a boil. Add green beans and cook for 2-3 minutes until bright green and tender-crisp. Transfer to a bowl of ice water to stop cooking. Drain and pat completely dry.
- Make the glaze: In a small saucepan over medium-low heat, combine brown sugar, butter, garlic powder, and a pinch of salt and pepper. Stir constantly until butter is melted and sugar is dissolved, about 2-3 minutes. Remove from heat. Stir in red pepper flakes if using.
- Assemble the bundles: Gather 4-5 green beans together and wrap with one half-slice of bacon, spiraling from one end to the other. Place seam-side down on the prepared wire rack. Repeat with remaining beans and bacon (about 12-16 bundles).
- Brush each bundle generously with the brown sugar glaze. Reserve a little glaze for later.
- Bake for 20-25 minutes, until bacon is starting to crisp and glaze is bubbly.
- Switch oven to broil. Brush bundles with remaining glaze. Broil for 2-4 minutes, watching carefully, until bacon is crispy and glaze is caramelized.
- Let rest on baking sheet for 2-3 minutes before serving. Serve warm.
Notes
For best results, use thin-cut bacon and pat green beans completely dry after blanching. Watch the broiler closely to prevent burning. Bundles can be assembled up to 24 hours in advance and stored covered in the fridge; add glaze just before baking.
Nutrition
- Serving Size: 3 bundles
- Calories: 220
- Sugar: 14
- Sodium: 480
- Fat: 14
- Saturated Fat: 5
- Carbohydrates: 18
- Fiber: 2
- Protein: 8
Keywords: bacon wrapped green beans, brown sugar glaze, green bean bundles, easy side dish, holiday side dish, bacon appetizer


