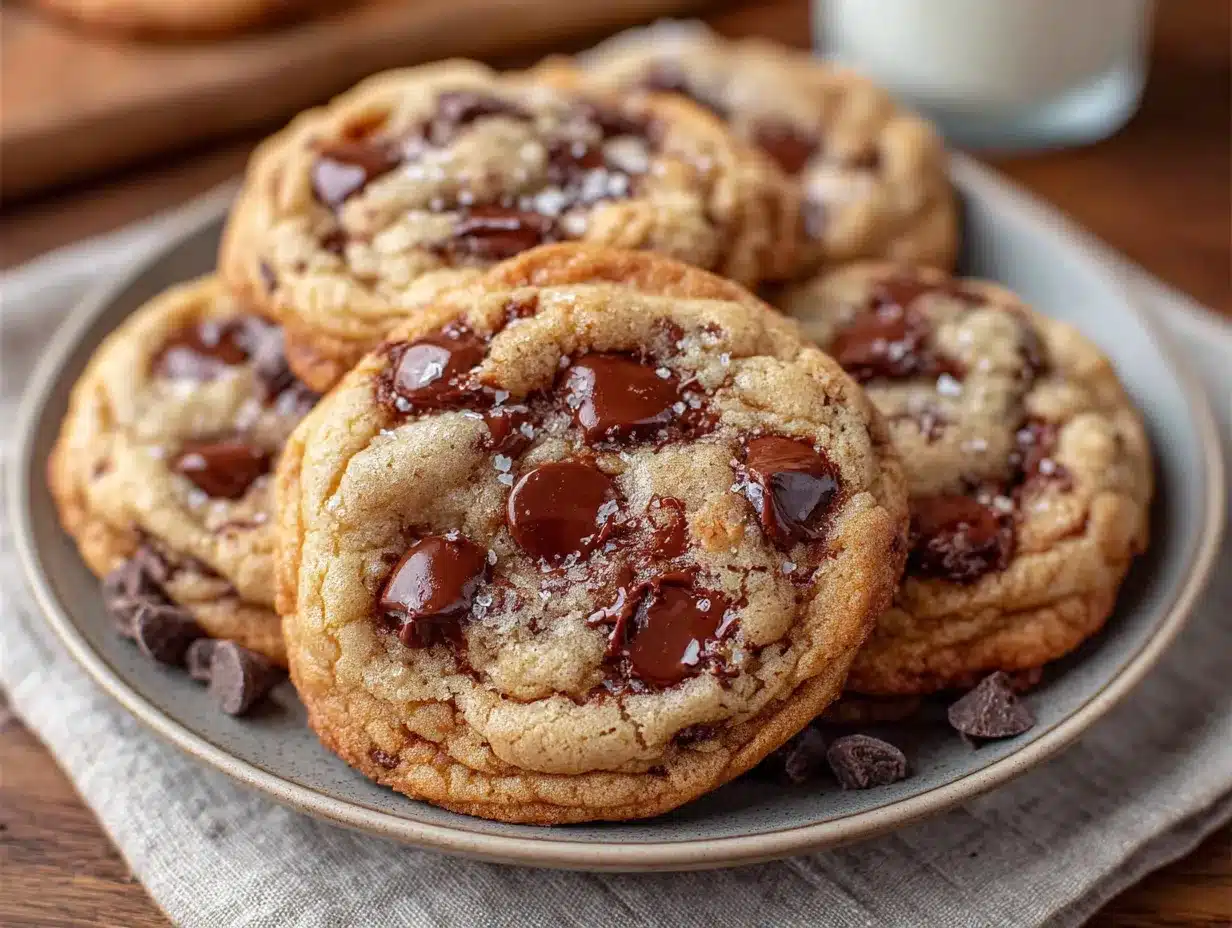
The crackly top, and that’s the whole point. Not the gooey center, not the browned butter flavor, not even the pools of melted chocolate. I wanted the top of a perfect small batch chocolate chip cookie to shatter under my teeth before anything else happened. Everything else is secondary to that first audible crunch that gives way to softness beneath.
I was standing in my kitchen at 10pm on a Tuesday, staring at a half-empty bag of chocolate chips and wondering if I had the energy to make a whole batch of cookies. The answer was no. But I wanted one. Just one warm cookie with a glass of milk before bed. That’s when this whole no-chilling situation started.
Most cookie recipes will tell you to chill the dough for at least 30 minutes, sometimes overnight. They’ll swear it’s the only way to get that perfect texture. And honestly, they’re not wrong for big batches. But when you only want six cookies and you want them now, waiting for dough to chill feels like a personal insult. So I started testing. And failing. And testing again until I landed on a method that gives you that bakery-style crackly top without a single minute in the fridge.
I’m not saying this is the only way to make cookies. But it’s the way I make them when I want something good without the wait. And that feels honest enough to share.
Why You’ll Love This Recipe
These perfect small batch chocolate chip cookies solve a very specific problem: you want fresh, warm cookies but you don’t want to commit to a full batch or wait around for dough to chill. I’ve tested this recipe more times than I care to admit, and each time I learned something new about how ingredients behave when you skip the resting step.
- No Chilling Required : From bowl to oven in under 15 minutes. No waiting, no planning ahead, just cookies when you want them.
- Small Batch Magic : Makes exactly 6 generous cookies. No leftover dough staring at you from the fridge for a week.
- Crackly Tops Every Time : That signature bakery look happens naturally with the right technique, no chilling needed.
- Simple Pantry Ingredients : Butter, sugar, flour, egg, chocolate chips. You probably have everything right now.
- Perfect Texture : Crispy edges, soft centers, and that satisfying shatter on top. It’s the cookie you’d pay $4 for at a bakery.
What makes these different from every other no-chill cookie recipe out there is the specific ratio of melted butter to sugar and the way I handle the dough before baking. After dozens of batches, I figured out that using melted butter at the right temperature and letting the dough rest for just 5 minutes on the baking sheet before going in the oven makes all the difference. It’s not about skipping steps, it’s about working smarter.
I’ve made these for late-night cravings, for unexpected guests, and for those days when you just need a cookie to make everything feel a little better. They’ve never let me down. And honestly, the first time I bit into one and heard that crackly top give way, I closed my eyes and knew I’d never make a big batch of cookies again without keeping this method in my back pocket.
What Ingredients You Will Need
This recipe uses simple, everyday ingredients to create something special. The magic is in how they come together, not in fancy additions or hard-to-find items. Here’s what you’ll need and why each one matters.
- Unsalted Butter , 4 tablespoons (57g), melted and slightly cooled. I use Land O’Lakes because it has a consistent fat content. Melting the butter gives these cookies that chewy texture and helps create the crackly top without chilling.
- Granulated Sugar , ¼ cup (50g). This is what creates that crispy edge and helps with the spread. Don’t reduce it or the texture won’t be right.
- Light Brown Sugar , ¼ cup (50g), packed. Adds moisture and that slight molasses flavor that makes chocolate chip cookies taste like chocolate chip cookies. I prefer Domino brand for consistent results.
- Large Egg Yolk , 1 (about 18g). Just the yolk, not the whole egg. This gives richness and tenderness without making the dough too wet. Save the white for scrambled eggs tomorrow.
- Vanilla Extract , ½ teaspoon. Pure vanilla, not imitation. It makes a difference in flavor depth, especially in a small batch where every ingredient stands out.
- All-Purpose Flour , ½ cup plus 1 tablespoon (72g). Spoon and level it, don’t scoop directly from the bag. Too much flour makes dense cookies.
- Baking Soda , ¼ teaspoon. Helps the cookies spread and brown. Make sure it’s fresh or your cookies won’t have that nice rise.
- Salt , ¼ teaspoon. I use fine sea salt. It balances the sweetness and makes the chocolate pop. Don’t skip it.
- Semi-Sweet Chocolate Chips , ⅓ cup (60g). I like Ghirardelli for the best melt and flavor. You can use dark or milk chocolate if you prefer, but semi-sweet gives the most balanced taste.
- Flaky Sea Salt , for finishing (optional but highly recommended). A sprinkle right when they come out of the oven takes these from good to unforgettable.
If you’re out of brown sugar, you can substitute ¼ cup granulated sugar plus 1 teaspoon molasses. For a dairy-free version, use vegan butter sticks, not margarine. And if you only have salted butter, just reduce the added salt to a pinch.
Equipment Needed
You don’t need a stand mixer or any fancy equipment for these cookies. That’s part of the beauty. Here’s what you’ll actually use.
- Medium Mixing Bowl : Any bowl works, but I prefer a ceramic one because it doesn’t conduct heat and keeps the dough at the right temperature.
- Whisk : For combining the wet ingredients smoothly. A fork works in a pinch but a whisk is better.
- Rubber Spatula : For folding in the flour and chocolate chips without overmixing.
- Baking Sheet : A light-colored aluminum sheet works best. Dark sheets cause cookies to brown too quickly on the bottom.
- Parchment Paper : Non-negotiable. It prevents sticking and helps with even browning. Silpat mats work too but can affect spread.
- Cookie Scoop : A 1.5-tablespoon scoop gives consistent sizes. If you don’t have one, use two spoons to portion the dough.
- Cooling Rack : Lets air circulate around the cookies so they cool evenly without getting soggy bottoms.
- Kitchen Scale : Not required, but if you have one, use it for the flour. It’s the most accurate way to measure and ensures consistent results every time.
I’ve made these cookies with a cheap baking sheet from the grocery store and they turned out fine. The parchment paper and the scale make the biggest difference if you’re looking to invest in something.
Preparation Method
Preheat your oven to 350°F (175°C). Line a baking sheet with parchment paper and set it aside. This recipe moves fast, so having everything ready before you start makes the process smoother.
- Melt the butter in a small microwave-safe bowl for about 30 seconds, or in a small saucepan over low heat. Let it cool for 2-3 minutes until it’s warm but not hot. You should be able to touch it comfortably. If it’s too hot, it will cook the egg yolk when you add it.
- Combine the sugars and butter in your medium mixing bowl. Whisk them together vigorously for about 30 seconds until the mixture looks like wet sand and has lightened slightly in color. This is where you start building that crackly top.
- Add the egg yolk and vanilla to the butter-sugar mixture. Whisk until everything is fully combined and the mixture looks glossy and smooth, about 20 seconds. Scrape down the sides of the bowl with your spatula.
- Add the flour, baking soda, and salt all at once. Switch to your rubber spatula and fold gently until just combined. You should see a few streaks of flour remaining. Do not overmix at this stage or your cookies will be tough.
- Fold in the chocolate chips with a few more strokes of the spatula. The dough will be soft and slightly greasy looking, that’s normal. It should hold together when pressed but be softer than traditional cookie dough.
- Let the dough rest on the counter for exactly 5 minutes. This is the secret step. During this time, the flour absorbs some of the moisture and the dough firms up just enough to prevent flat cookies. Set a timer, don’t guess.
- Portion the dough into 6 equal balls, about 2 tablespoons each. Place them on the prepared baking sheet, spacing them at least 3 inches apart. These cookies spread, so give them room. I only bake 4 at a time on a standard sheet and save 2 for the next batch.
- Bake for 10-12 minutes , rotating the pan halfway through. The cookies are done when the edges are golden brown and the centers look slightly underdone and puffy. They will continue to bake on the hot pan after you take them out.
- Remove from the oven and immediately sprinkle with flaky sea salt if using. Let the cookies cool on the baking sheet for 5 minutes. This is crucial, moving them too early will break them apart.
- Transfer to a cooling rack using a thin spatula. Let them cool for another 5 minutes if you can wait that long. The centers will set as they cool, giving you that perfect soft texture.
If your cookies spread too much, your butter was too warm or you didn’t let the dough rest long enough. If they’re too puffy, your flour measurement was heavy or your baking soda is old. Adjust next time and you’ll nail it.
Cooking Tips & Techniques
After making these cookies more times than I can count, I’ve learned a few things that make the difference between good cookies and cookies that make people ask for the recipe.
First, the temperature of your melted butter matters more than you think. I learned this the hard way when I used butter straight from the microwave without letting it cool. The cookies spread into flat, greasy discs that looked nothing like the picture I had in my head. Let it cool for those 2-3 minutes. It feels like wasted time but it’s not.
Second, don’t overmix the dough once the flour goes in. I know it’s tempting to keep stirring until everything looks perfectly uniform, but that develops gluten and makes your cookies tough. Stop when you still see a few flour streaks. The folding action of adding chocolate chips will finish the job.
Third, use a cookie scoop for consistent sizing. When I first started making these, I used two spoons and ended up with one giant cookie and two tiny ones that burned. A scoop gives you even baking and makes the batch look professional. If you don’t have one, use a measuring spoon to portion the dough.
Fourth, rotate your pan halfway through baking. My oven has a hot spot in the back right corner and I learned this after burning three batches in a row. Just a quick spin halfway through ensures even browning.
Fifth, trust the visual cues over the timer. Ovens run differently. Your cookies are done when the edges are golden and the centers look slightly underdone. If you wait until the centers look fully baked, they’ll be overdone after cooling. The carryover cooking is real.
I once made these for a friend who was having a terrible week. She took one bite, looked at me, and said, “This is exactly what I needed.” That’s the thing about cookies. They’re not just food, they’re a moment. And these cookies deliver that moment every single time.
Variations & Adaptations
One of the best things about this recipe is how flexible it is. I’ve played around with different versions and they’ve all been delicious in their own way.
- Double Chocolate Chip : Replace 1 tablespoon of flour with unsweetened cocoa powder. Use dark chocolate chips instead of semi-sweet. The result is a rich, fudgy cookie that tastes like a brownie and a cookie had a baby.
- Chocolate Chip Pecan : Reduce chocolate chips to ¼ cup and add ¼ cup chopped toasted pecans. Toast them first in a dry pan for 3-4 minutes until fragrant. The nutty crunch adds a whole new dimension.
- Gluten-Free Version : Substitute the all-purpose flour with a 1:1 gluten-free baking flour blend that contains xanthan gum. I’ve tested this with Bob’s Red Mill and it works perfectly. Add an extra tablespoon of flour if the dough seems too sticky.
- Vegan Adaptation : Use vegan butter sticks and replace the egg yolk with 1 tablespoon of aquafaba (the liquid from a can of chickpeas) plus 1 teaspoon of cornstarch. The texture is slightly different but still delicious.
- White Chocolate Macadamia : Swap the semi-sweet chips for white chocolate chips and add ¼ cup chopped macadamia nuts. This version feels more indulgent and is perfect when you want something different.
I tried the double chocolate version on a rainy Sunday afternoon when I was craving something deeply chocolatey. It hit the spot so perfectly that I’ve made it three more times since. The key is not to overbake it, the cocoa powder makes the cookies look done before they actually are.
Serving & Storage Suggestions
These cookies are best served warm, about 10 minutes after they come out of the oven. That’s when the edges are still slightly crispy, the center is soft and gooey, and the chocolate is melted but not runny. Pair them with a cold glass of milk, a hot cup of coffee, or a mug of tea for the perfect snack.
For a more indulgent experience, serve them warm with a scoop of vanilla ice cream on top. The contrast between the warm cookie and cold ice cream is hard to beat. I’ve also crumbled them over yogurt for a dessert parfait that feels fancy but takes zero effort.
If you have leftovers (which honestly, doesn’t happen often in my house), store them in an airtight container at room temperature for up to 3 days. Place a slice of bread in the container to keep them soft, the cookies will absorb the moisture from the bread. Replace the bread slice every day if you’re keeping them longer.
For longer storage, freeze the baked cookies in a single layer on a baking sheet, then transfer to a freezer bag for up to 3 months. Thaw at room temperature for 15 minutes or microwave for 10 seconds for that just-baked warmth. You can also freeze the raw dough balls on a sheet pan, then store in a freezer bag. Bake from frozen, adding 2 minutes to the baking time.
These cookies actually taste better the next day in my opinion. The flavors meld together and the texture evens out. If you can resist eating them all on day one, you’re in for a treat on day two.
Nutritional Information & Benefits
Each cookie (based on 6 cookies per batch) contains approximately 245 calories, 13g fat, 31g carbohydrates, 1g fiber, 18g sugar, and 3g protein. These are estimates and will vary based on specific ingredients and brands used.
While these aren’t health food, they do offer some redeeming qualities. Dark chocolate contains antioxidants and flavonoids that support heart health. The small batch size naturally limits portions, which is helpful for mindful eating. And because you’re making them from scratch, you control exactly what goes in, no preservatives or artificial ingredients.
For those watching their sugar intake, you can reduce the granulated sugar to 3 tablespoons, though the texture will be slightly less crispy. If you’re counting carbs, the gluten-free version with almond flour blend reduces the carb count significantly. And if you’re avoiding dairy, the vegan version with coconut oil-based butter works beautifully.
I personally love that this recipe lets me enjoy a cookie without having a whole batch sitting around tempting me. It’s portion control disguised as convenience, and I’m here for it.
Conclusion
These perfect small batch chocolate chip cookies are proof that you don’t need a complicated recipe or hours of chilling time to make something truly special. They’re born from a real need, a late-night craving, and a stubborn refusal to wait longer than necessary for a warm cookie.
What I love most about this recipe is how reliable it is. Every single time I make it, I get that crackly top, that soft center, that perfect balance of sweet and salty. It’s become my go-to for those moments when only a cookie will do. And honestly, that happens more often than I’d like to admit.
I’d love to hear how these turn out for you. Did you try a variation? Did you add something unexpected? Drop a comment below and let me know. And if you’re looking for more easy desserts, check out my easy peach cobbler bars or these cozy pumpkin scones with maple glaze for when you want something different but equally satisfying.
Go ahead, preheat that oven. You deserve a cookie.
Frequently Asked Questions
Can I double this recipe for more cookies?
Absolutely. Simply double all the ingredients and follow the same instructions. You may need to bake in batches depending on your oven size. The dough doesn’t need to be chilled even when doubled.
Why did my cookies turn out flat?
Flat cookies usually mean the butter was too warm or the dough didn’t rest long enough. Make sure your melted butter has cooled for 2-3 minutes and let the dough rest for the full 5 minutes before scooping.
Can I use a whole egg instead of just the yolk?
You can, but the cookies will be more cake-like and less chewy. The yolk provides richness and tenderness while the white would add too much moisture and structure. Stick with just the yolk for the best texture.
How do I know when the cookies are done baking?
Look for golden brown edges with centers that still look slightly underdone and puffy. The centers will continue to bake on the hot pan after you remove them from the oven. If the centers look fully set, they’ll be overbaked after cooling.
Can I make the dough ahead of time?
Yes, you can prepare the dough and refrigerate it for up to 48 hours. If you do this, let it sit at room temperature for 10 minutes before scooping and baking, as cold dough won’t spread properly. Add 1 minute to the baking time if baking from chilled.
Pin This Recipe!
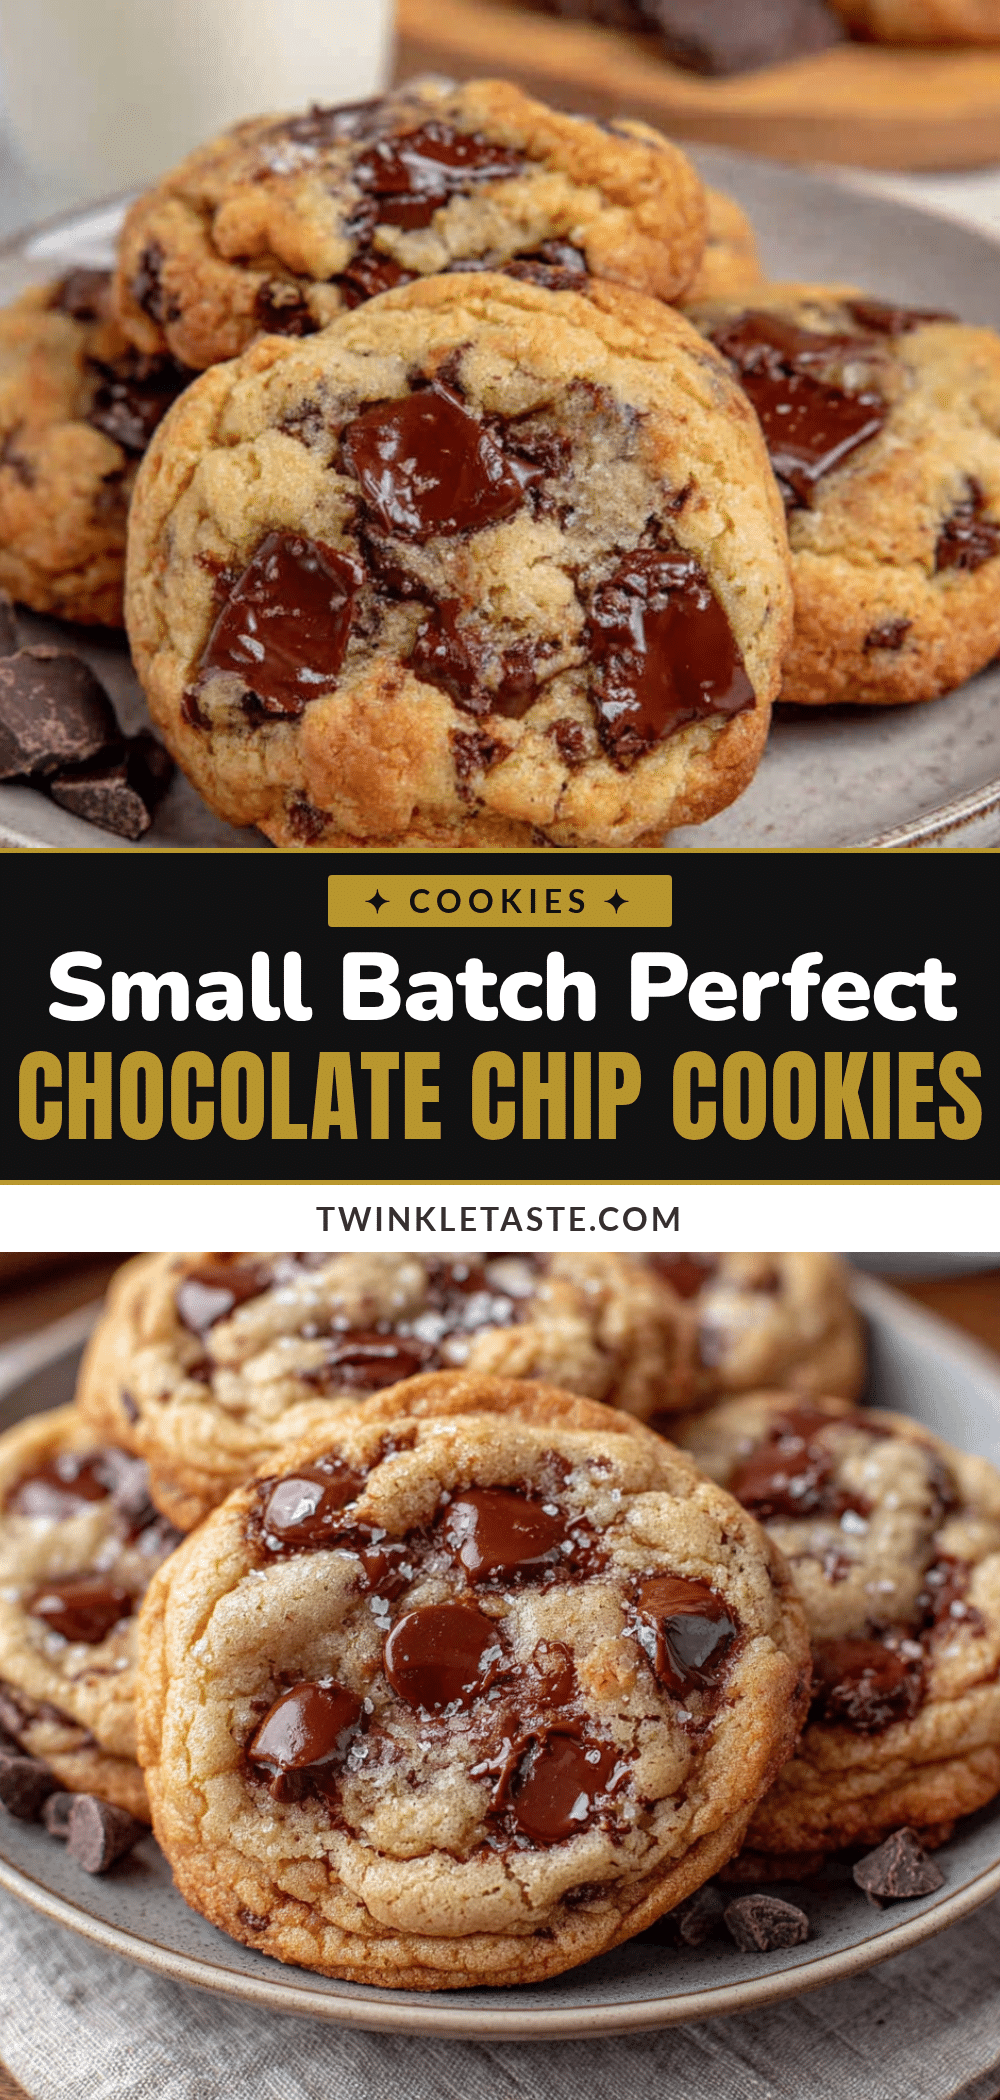
Perfect Small Batch Chocolate Chip Cookies Recipe

These perfect small batch chocolate chip cookies solve a very specific problem: you want fresh, warm cookies but you don’t want to commit to a full batch or wait around for dough to chill. With no chilling required, you get crackly tops, crispy edges, and soft centers every time.
- Prep Time: 15 minutes
- Cook Time: 12 minutes
- Total Time: 27 minutes
- Yield: 6 cookies 1x
- Category: Dessert
- Cuisine: American
Ingredients
- 4 tablespoons (57g) unsalted butter, melted and slightly cooled
- ¼ cup (50g) granulated sugar
- ¼ cup (50g) light brown sugar, packed
- 1 large egg yolk (about 18g)
- ½ teaspoon vanilla extract
- ½ cup plus 1 tablespoon (72g) all-purpose flour
- ¼ teaspoon baking soda
- ¼ teaspoon fine sea salt
- ⅓ cup (60g) semi-sweet chocolate chips
- Flaky sea salt for finishing (optional)
Instructions
- Preheat your oven to 350°F (175°C). Line a baking sheet with parchment paper and set aside.
- Melt the butter in a small microwave-safe bowl for about 30 seconds, or in a small saucepan over low heat. Let it cool for 2-3 minutes until warm but not hot.
- Combine the sugars and melted butter in a medium mixing bowl. Whisk vigorously for about 30 seconds until the mixture looks like wet sand and has lightened slightly in color.
- Add the egg yolk and vanilla to the butter-sugar mixture. Whisk until fully combined and glossy, about 20 seconds. Scrape down the sides of the bowl.
- Add the flour, baking soda, and salt all at once. Fold gently with a rubber spatula until just combined, with a few streaks of flour remaining.
- Fold in the chocolate chips with a few more strokes. The dough will be soft and slightly greasy.
- Let the dough rest on the counter for exactly 5 minutes.
- Portion the dough into 6 equal balls, about 2 tablespoons each. Place on the prepared baking sheet, spacing at least 3 inches apart.
- Bake for 10-12 minutes, rotating the pan halfway through. Cookies are done when edges are golden brown and centers look slightly underdone and puffy.
- Remove from oven and immediately sprinkle with flaky sea salt if using. Let cool on the baking sheet for 5 minutes.
- Transfer to a cooling rack using a thin spatula. Let cool for another 5 minutes before serving.
Notes
For best results, let melted butter cool for 2-3 minutes before using. Do not overmix once flour is added. The 5-minute dough rest is crucial for preventing flat cookies. Cookies continue to bake on the hot pan after removal, so take them out when centers look slightly underdone.
Nutrition
- Serving Size: 1 cookie
- Calories: 245
- Sugar: 18
- Sodium: 150
- Fat: 13
- Saturated Fat: 8
- Carbohydrates: 31
- Fiber: 1
- Protein: 3
Keywords: small batch chocolate chip cookies, no chill cookies, easy cookie recipe, crackly top cookies, late night cookies


