There used to be a tiny bakery tucked between a vintage bookstore and a laundromat on the edge of downtown that made the most incredible pumpkin cheesecake bars I had ever tasted. It was called The Wicked Whisk, and every October, they’d transform their display case into a spooky wonderland of Halloween treats. When they closed their doors two years ago—the landlord raised the rent, the owner moved to Portland—I honestly felt a little lost. Their pumpkin cheesecake bar with that perfect spiderweb design was my go-to for every Halloween party, every cozy night in, every moment I needed a taste of the season. After twelve tries—twelve, let me tell you, with some batches ending up in the trash and one that my neighbor’s dog happily ate off the kitchen floor—I finally got it. These Spiderweb Pumpkin Cheesecake Bars are the exact recreation of that unforgettable bakery treat, and they’re going to be the star of your Halloween spread.
The thing about this recipe is that it looks like you spent hours in the kitchen, but honestly, the hardest part is waiting for them to chill. You get a buttery graham cracker crust, a layer of creamy pumpkin cheesecake, and that iconic spiderweb design swirled right on top. It’s the kind of dessert that makes people stop and say, “Wait, you made that?” The first time I pulled these out of the fridge, I actually squealed a little. The web came out perfect, and I texted a photo to my sister who immediately demanded I bring a batch to her Halloween party. Maybe you’ve been there—you find a recipe that just clicks, and suddenly you’re the person everyone asks to bring dessert. That’s what these bars are for me now.
I keep making them because they capture everything I love about fall baking. The warm spice of the pumpkin, the tangy richness of the cream cheese, and that playful Halloween touch that makes adults feel like kids again. They’re not fussy or complicated, but they feel special. And honestly, after that bakery closed, I needed to know I could still have that taste whenever I wanted. Now I can, and you can too.
Why You’ll Love These Spiderweb Pumpkin Cheesecake Bars
Let me tell you why these bars have become my most-requested Halloween dessert. I’ve tested this recipe more times than I care to admit, and every single batch has taught me something new.
- Quick & Easy : These come together in about 30 minutes of active prep time. The oven does most of the work, and then you just let them chill. Perfect for busy Halloween weeknights when you’re juggling costumes and candy.
- Simple Ingredients : No fancy grocery trips needed. You probably have most of this in your pantry right now—pumpkin puree, cream cheese, graham crackers, sugar, and eggs. The spiderweb effect uses just a bit of melted chocolate.
- Perfect for Halloween Parties : These bars are made for spooky gatherings. They slice cleanly, travel well, and the spiderweb design gets oohs and ahhs every single time.
- Crowd-Pleaser : I’ve brought these to Halloween parties, work potlucks, and family dinners. Kids love the fun design, and adults appreciate the sophisticated pumpkin cheesecake flavor. They disappear fast.
- Unbelievably Delicious : The texture is what gets me every time. The crust stays crisp, the cheesecake layer is silky smooth, and the pumpkin spice hits that perfect cozy note. It’s next-level comfort food.
What makes these different from other pumpkin cheesecake bars is the technique. Instead of just dumping everything together, we layer the flavors—a buttery crust, a creamy cheesecake base, then a pumpkin layer on top. The spiderweb is created by dragging melted chocolate through the batter, which sounds fancy but is actually incredibly simple. I learned the hard way that the temperature of your ingredients matters here; cold cream cheese leads to lumpy batter, and trust me, I’ve been there.
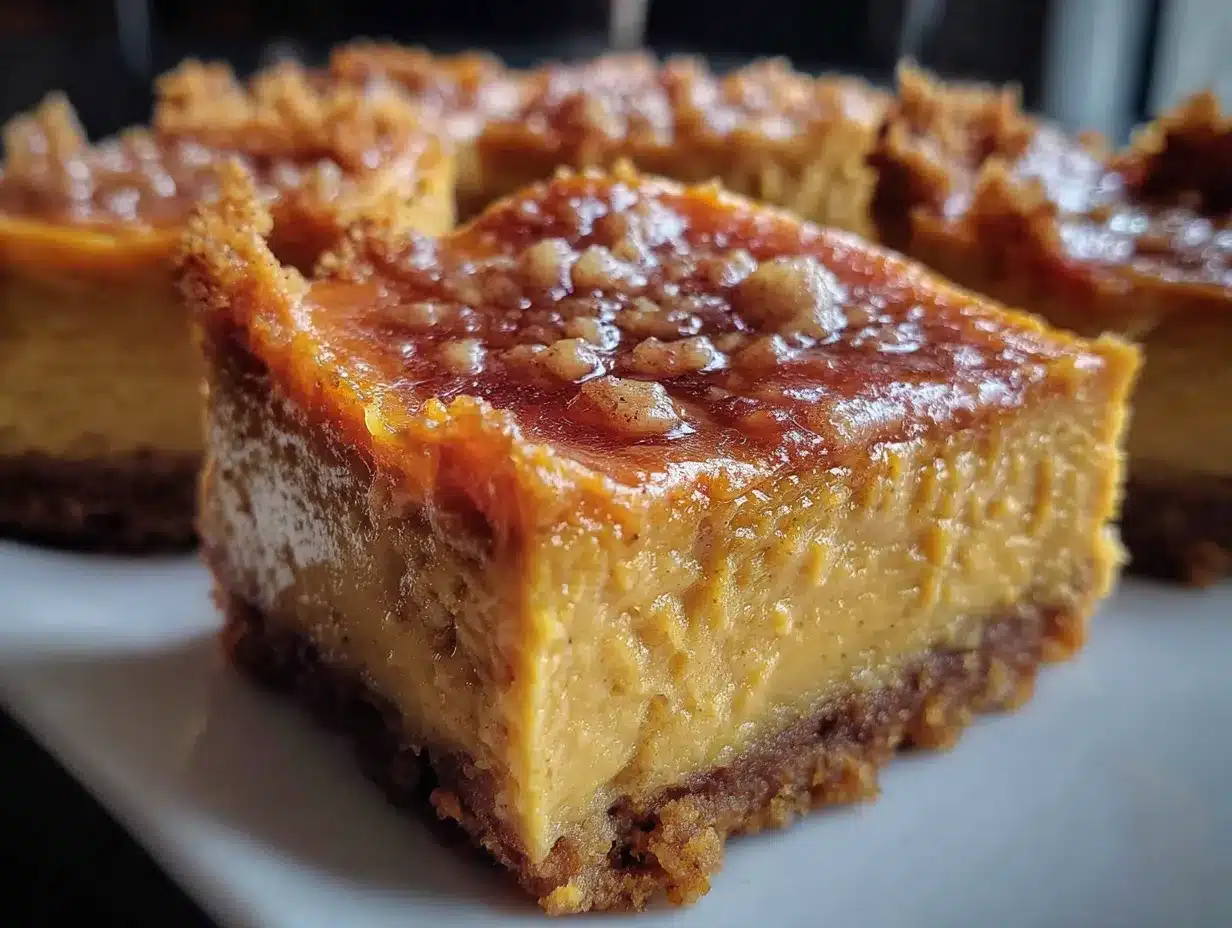
These bars aren’t just good—they’re the kind of dessert that makes you close your eyes after the first bite. The pumpkin and cream cheese are a match made in heaven, and the chocolate web adds just a hint of richness that ties everything together. It’s comfort food reimagined for Halloween, and it’s the perfect way to impress guests without spending all day in the kitchen.
What Ingredients You Will Need
This recipe uses simple, wholesome ingredients to deliver bold flavor and satisfying texture without the fuss. Most of these are pantry staples, especially if you do any fall baking.
For the Crust
- 1 ½ cups graham cracker crumbs (about 12 full sheets, crushed finely—I use a food processor for consistency)
- ¼ cup granulated sugar (adds just enough sweetness to balance the tangy cheesecake)
- 6 tablespoons unsalted butter, melted (I prefer salted butter in a pinch, just reduce the added salt elsewhere)
- Pinch of salt (optional, but it really brings out the buttery flavor)
For the Cheesecake Layer
- 16 ounces cream cheese, softened to room temperature (this is non-negotiable—cold cream cheese creates lumps that won’t go away)
- ¾ cup granulated sugar
- 2 large eggs, room temperature (cold eggs can seize the batter, so let them sit out for 30 minutes)
- 1 teaspoon vanilla extract (I use pure vanilla extract, but imitation works fine)
- 1 cup pumpkin puree (not pumpkin pie filling—make sure it’s 100% pumpkin)
- 1 teaspoon pumpkin pie spice (or make your own with cinnamon, nutmeg, ginger, and cloves)
- ½ teaspoon ground cinnamon (for extra warmth)
For the Spiderweb
- 2 tablespoons melted chocolate (I use semi-sweet chocolate chips melted with a teaspoon of coconut oil for smooth drizzling)
A few notes from my many trials: I recommend using Philadelphia cream cheese for the best texture—it’s consistently smooth and reliable. For the pumpkin puree, Libby’s is my go-to brand because it’s thick and not watery. If your pumpkin puree seems runny, pat it dry with paper towels before mixing. Seasonal variations? In the fall, I sometimes add a tablespoon of bourbon to the cheesecake batter for a grown-up twist. For substitutions, you can use a gluten-free graham cracker crust if needed, or swap the cream cheese with a dairy-free alternative, though the texture will be slightly different.
Equipment Needed
You don’t need a professional bakery setup for these bars, but a few tools make the process much smoother.
- 9×9-inch baking pan (an 8×8 works too, but the bars will be slightly thicker and may need a few extra minutes of baking time)
- Parchment paper (for easy lifting—I learned this one the hard way after a stuck-bar disaster)
- Food processor or zip-top bag and rolling pin (for crushing graham crackers)
- Electric hand mixer or stand mixer (a whisk works but takes more elbow grease)
- Small piping bag or zip-top bag (for the chocolate spiderweb)
- Toothpick or skewer (for dragging the web pattern)
- Mixing bowls (at least two—one for crust, one for cheesecake)
- Rubber spatula (for scraping every last bit of batter)
If you don’t have a food processor, just put the graham crackers in a zip-top bag and crush them with a rolling pin. It’s a little more work, but it’s also oddly satisfying. For the piping bag, a simple zip-top bag with the corner snipped off works perfectly. I’ve used the same method for years and it never fails.
Preparation Method
Let me walk you through this step by step. I’ve made every mistake possible, so you don’t have to.
- Preheat your oven to 325°F (160°C). Line your 9×9-inch baking pan with parchment paper, leaving some overhang on two sides. This makes lifting the bars out so much easier later. Trust me on this one.
- Make the crust. In a medium bowl, combine the graham cracker crumbs, sugar, and salt. Pour in the melted butter and stir until the mixture looks like wet sand. Press it firmly into the bottom of your prepared pan. I use the bottom of a measuring cup to really pack it down—this prevents a crumbly crust later. Bake for 10 minutes, then set aside to cool slightly.
- Start the cheesecake batter. In a large bowl, beat the softened cream cheese with an electric mixer until smooth and creamy, about 2 minutes. Scrape down the sides of the bowl. Add the sugar and beat for another minute until well combined. This is where patience pays off—lumpy cream cheese means lumpy cheesecake.
- Add the eggs one at a time. Beat in the first egg on low speed until just combined, then add the second. Overmixing at this stage can incorporate too much air, which leads to cracks in the cheesecake. I learned this after my third batch looked like the surface of the moon.
- Divide the batter. Remove about ¾ cup of the plain cheesecake batter and set it aside in a small bowl. To the remaining batter in the large bowl, add the pumpkin puree, pumpkin pie spice, and cinnamon. Mix on low until just combined. You should have a beautiful orange, spiced batter.
- Layer the batters. Pour the pumpkin cheesecake batter over the pre-baked crust and spread it evenly. Then, drop spoonfuls of the reserved plain cheesecake batter on top in a random pattern. Don’t worry about making it perfect—the spiderweb will cover it.
- Create the spiderweb. Melt your chocolate chips with the coconut oil in the microwave in 30-second intervals, stirring between each. Transfer the melted chocolate to a small piping bag or zip-top bag with a tiny corner snipped off. Pipe concentric circles of chocolate over the top of the batter, starting from the center and working outward. You want about 4-5 circles total.
- Drag the web. Here’s the fun part. Take a toothpick or skewer and starting from the center, drag it outward through the chocolate circles toward the edge of the pan. Wipe the toothpick clean, then repeat every inch or so around the pan. You’ll see the spiderweb pattern emerge as the chocolate drags through the batter. It’s honestly magical the first time you do it.
- Bake. Place the pan in the preheated oven and bake for 35-40 minutes, or until the edges are set and the center jiggles slightly when you shake the pan. The center will continue to set as it cools. If the top starts browning too quickly, tent it loosely with foil.
- Cool completely. Let the bars cool in the pan on a wire rack for about an hour, then transfer to the refrigerator to chill for at least 4 hours, preferably overnight. This is the hardest part, I know, but it’s essential for clean slices and the best texture.
- Slice and serve. Use the parchment overhang to lift the bars out of the pan. Slice into 16 squares using a sharp knife, wiping the blade clean between cuts for neat edges.
Cooking Tips & Techniques
After twelve attempts, I’ve gathered some wisdom that’ll save you from my mistakes.
Room temperature ingredients are everything. I cannot stress this enough. Cold cream cheese creates lumps that no amount of mixing will fix. Cold eggs can make the batter seize up. Let everything sit on the counter for at least 30 minutes before you start. I once tried to speed things up by microwaving the cream cheese, and it ended up partially melted and grainy. Don’t do that.
Don’t overmix the batter. When you add the eggs, mix on low speed and stop as soon as they’re incorporated. Overmixing whips air into the batter, which expands during baking and then collapses, leaving cracks on the surface. My second batch looked like a dried-up riverbed. The spiderweb will hide small cracks, but it’s better to avoid them altogether.
Watch your baking time. Every oven runs a little differently. Start checking at 30 minutes. The edges should be set and slightly puffed, but the center should still have a slight jiggle. If you wait until the center is completely firm, you’ll end up with dry, overbaked cheesecake. The residual heat will finish the cooking as it cools.
Patience with chilling is key. I know you want to dig in right away, but warm cheesecake is a mess. It won’t slice cleanly, and the flavors haven’t had time to meld. Overnight chilling gives you that perfect, creamy texture that makes these bars so addictive. I usually make them the day before a party and just pull them out before guests arrive.
For the spiderweb, less is more. You don’t need thick chocolate circles. A thin, steady stream is all you need. If the chocolate is too thick, it won’t drag properly. Adding a teaspoon of coconut oil or vegetable oil to the melted chocolate makes it the perfect consistency for piping.
Variations & Adaptations
One of the best things about this recipe is how adaptable it is. Here are some variations I’ve tried and loved.
Gluten-Free Version: Use gluten-free graham crackers or crushed gluten-free cookies for the crust. I’ve used gluten-free vanilla wafers with great results. The filling is naturally gluten-free, so this is an easy swap.
Dairy-Free Adaptation: Substitute the cream cheese with a dairy-free alternative like Kite Hill or Violife. Use coconut oil or vegan butter for the crust. The texture will be slightly less creamy, but the flavor is still fantastic. I tested this for a friend with dairy allergies, and she couldn’t tell the difference.
Chocolate Lover’s Twist: Add ¼ cup of cocoa powder to the crust mixture for a chocolatey base. You can also drizzle extra chocolate over the top after baking for a more decadent finish. My nephew requests this version every year.
Spice It Up: If you like a stronger pumpkin spice flavor, add an extra ½ teaspoon of pumpkin pie spice or a pinch of cloves and nutmeg. I sometimes add a dash of cayenne pepper for a subtle heat that pairs beautifully with the chocolate web.
Mini Version: Make these in a muffin tin for individual servings. Press the crust into greased muffin cups, add the batters, and bake for about 18-20 minutes. They’re perfect for Halloween parties where people want to grab and go.
Serving & Storage Suggestions
These bars are best served cold, straight from the refrigerator. The texture is firm and creamy, and the spiderweb design really pops against the pale pumpkin background. I like to arrange them on a black platter for Halloween—the contrast is stunning.
Presentation ideas: Dust the tops with a little cocoa powder or cinnamon before serving. Add a dollop of whipped cream and a sprinkle of orange zest for extra flair. For Halloween parties, I sometimes add a few candy eyeballs or a small plastic spider on the platter for a fun touch.
Complementary dishes: These bars pair beautifully with a hot cup of apple cider or a pumpkin spice latte. For a dessert spread, serve them alongside halloween candy bark or pumpkin spice cookies for a full fall-themed table.
Storage instructions: Store leftover bars in an airtight container in the refrigerator for up to 5 days. The flavor actually improves after a day or two as the spices meld with the cream cheese. To freeze, wrap individual bars tightly in plastic wrap and place them in a freezer-safe bag. They’ll keep for up to 3 months. Thaw in the refrigerator overnight before serving.
Reheating tips: These are meant to be served cold, but if you prefer a slightly softer texture, let them sit at room temperature for 10-15 minutes before serving. Don’t microwave them—it ruins the texture and makes the crust soggy.
One thing I love about these bars is how the flavors develop over time. The first day, the pumpkin and spice are bright and forward. By day three, everything has mellowed and blended together into a smooth, cohesive flavor. I actually prefer them on day two or three, if I can resist eating them all.
Nutritional Information & Benefits
Per bar (based on 16 servings), here are the approximate nutritional values:
- Calories: 285
- Total Fat: 18g
- Saturated Fat: 10g
- Cholesterol: 75mg
- Sodium: 210mg
- Total Carbohydrates: 28g
- Dietary Fiber: 1g
- Sugars: 20g
- Protein: 5g
These bars offer some surprising health benefits. Pumpkin is rich in vitamin A, which supports eye health and immune function. The cream cheese provides calcium and protein, though it’s best enjoyed in moderation. The graham cracker crust adds a bit of whole grain fiber, especially if you use whole wheat graham crackers.
For dietary considerations, this recipe contains gluten (from the graham crackers) and dairy (from the cream cheese and butter). It’s not suitable for vegans, but the dairy-free and gluten-free variations I mentioned earlier work well. If you’re watching your sugar intake, you can reduce the sugar in the cheesecake layer by a quarter cup without significantly affecting the texture.
I personally love that this dessert feels indulgent but isn’t over-the-top. One bar is satisfying enough to curb a sweet craving without sending you into a sugar coma. It’s the kind of treat you can enjoy without guilt, especially during the Halloween season when everything seems to be coated in candy.
Conclusion
These Spiderweb Pumpkin Cheesecake Bars are everything I hoped they would be when I started my quest to recreate that bakery treat. They’re creamy, spiced, and just the right amount of spooky for Halloween. The spiderweb design is surprisingly easy to achieve, and the flavor combination of pumpkin and cream cheese is timeless. After twelve tries, I finally have a recipe that rivals—dare I say, surpasses—the original from The Wicked Whisk.
I encourage you to make these your own. Add extra spice, swap the chocolate for caramel, or make them mini for a party. The beauty of this recipe is its flexibility. And when you pull that pan out of the fridge and see the perfect web pattern, you’ll feel a little burst of pride. I know I do every single time.
If you give these a try, I’d love to hear how they turn out. Drop a comment below and let me know if you added any twists, or share a photo on Pinterest and tag me. Your feedback helps me keep improving these recipes, and honestly, I just love seeing your creations. Happy Halloween, and happy baking!
Frequently Asked Questions
Can I use pumpkin pie filling instead of pumpkin puree?
No, I wouldn’t recommend it. Pumpkin pie filling is already sweetened and spiced, which will throw off the balance of the recipe. Stick with 100% pumpkin puree for the best results. If you only have pie filling, reduce the sugar and spices in the recipe, but the texture may still be off.
How do I prevent my cheesecake from cracking?
The biggest culprits are overmixing and overbaking. Mix on low speed and stop as soon as the ingredients are combined. Bake until the edges are set but the center still jiggles slightly. Cooling slowly—first on the counter, then in the fridge—also helps prevent cracks. If cracks do appear, the spiderweb design will cover them beautifully.
Can I make these bars ahead of time?
Absolutely! In fact, they’re better made a day ahead. The flavors meld and the texture becomes creamier after chilling overnight. You can make them up to 3 days in advance and store them in the refrigerator. They’re perfect for stress-free Halloween entertaining.
What if I don’t have a piping bag for the chocolate?
No problem at all. Use a zip-top bag with a tiny corner snipped off. You can also use a small spoon to drizzle the chocolate in circles, though it won’t be as precise. The toothpick drag will still create a beautiful web pattern regardless of how perfect the circles are.
Can I freeze these bars?
Yes, they freeze beautifully. Wrap individual bars tightly in plastic wrap, then place them in a freezer-safe bag or container. They’ll keep for up to 3 months. Thaw in the refrigerator overnight before serving. I often make a double batch and freeze half for later—they’re a lifesaver when unexpected guests show up.
Pin This Recipe!
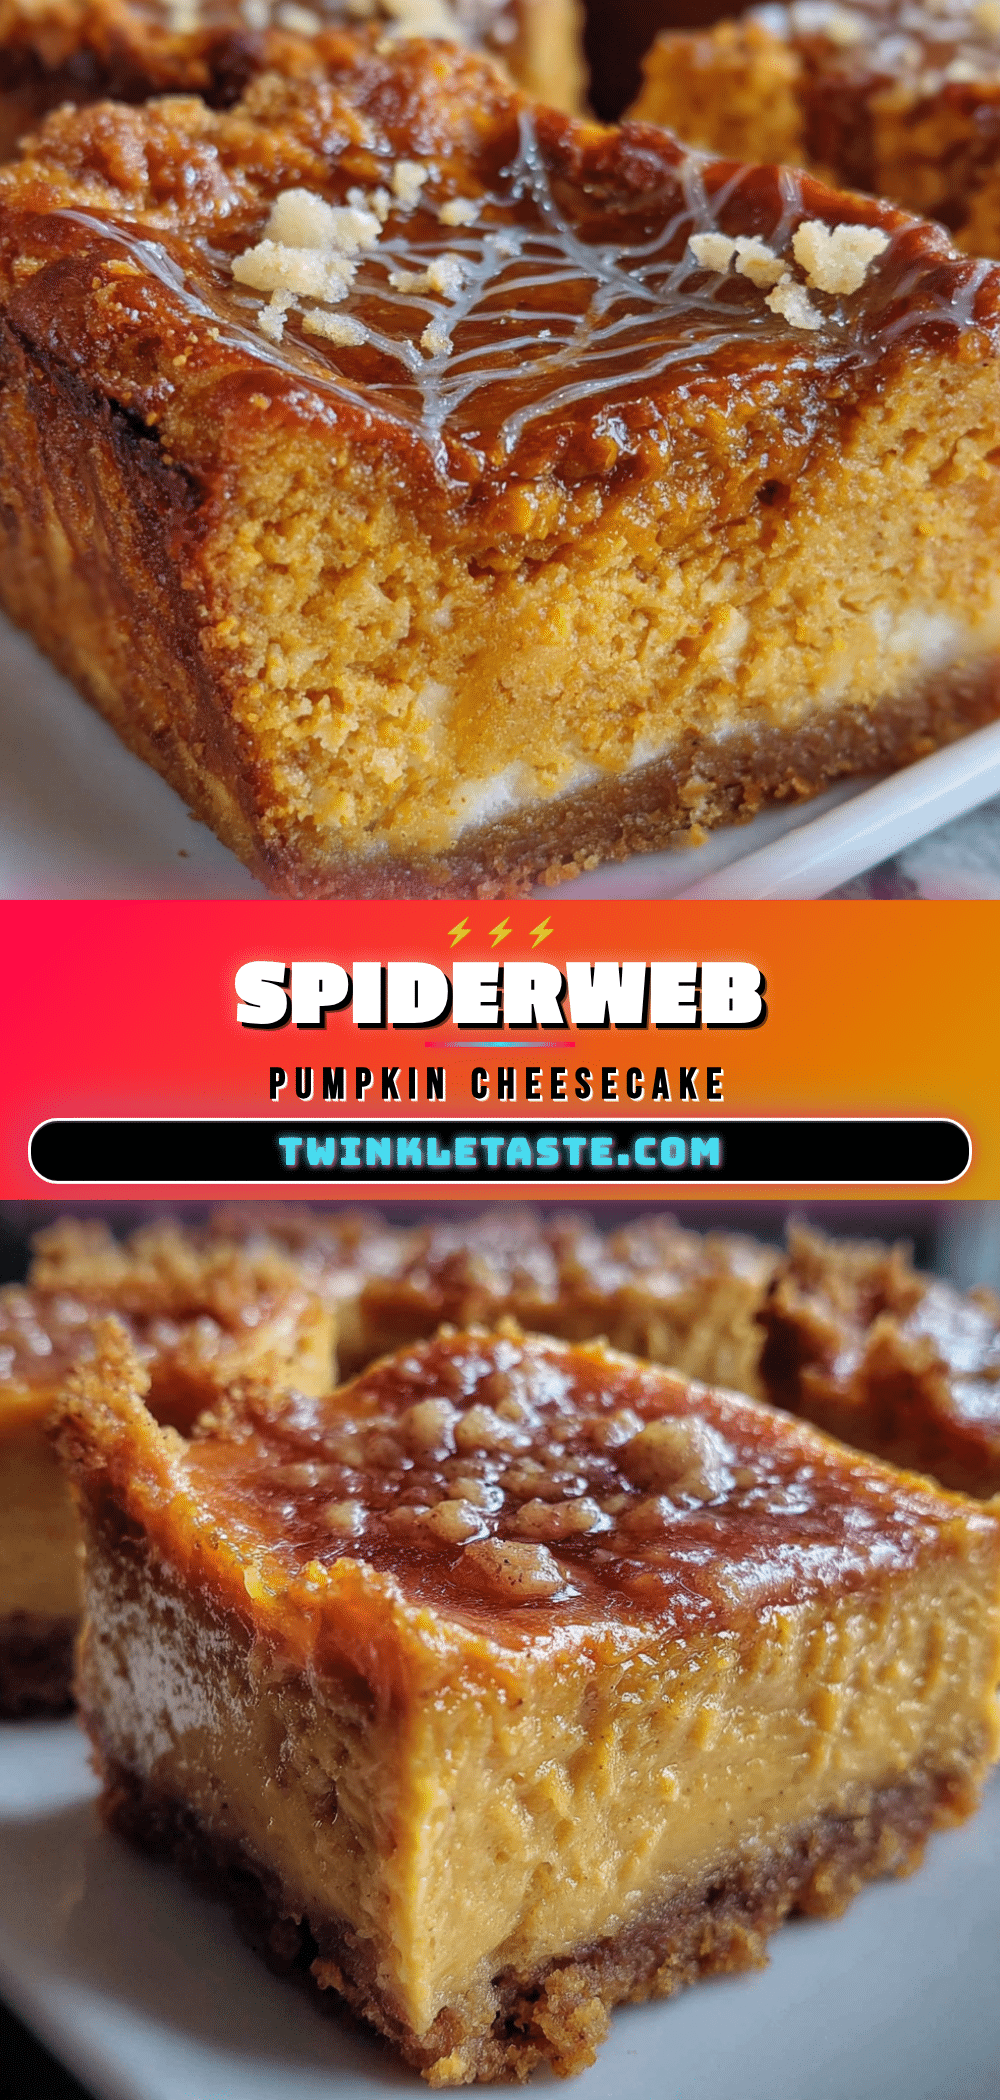
Spiderweb Pumpkin Cheesecake Bars: Best Halloween Dessert
These Spiderweb Pumpkin Cheesecake Bars are a recreation of a beloved bakery treat, featuring a buttery graham cracker crust, creamy pumpkin cheesecake, and an iconic spiderweb design swirled on top. They’re the perfect Halloween dessert that looks impressive but is surprisingly easy to make.
- Prep Time: 30 minutes
- Cook Time: 35-40 minutes
- Total Time: 5 hours (including chilling time)
- Yield: 16 servings 1x
- Category: Dessert
- Cuisine: American
Ingredients
- 1 ½ cups graham cracker crumbs (about 12 full sheets, crushed finely)
- ¼ cup granulated sugar
- 6 tablespoons unsalted butter, melted
- Pinch of salt (optional)
- 16 ounces cream cheese, softened to room temperature
- ¾ cup granulated sugar
- 2 large eggs, room temperature
- 1 teaspoon vanilla extract
- 1 cup pumpkin puree (not pumpkin pie filling)
- 1 teaspoon pumpkin pie spice
- ½ teaspoon ground cinnamon
- 2 tablespoons semi-sweet chocolate chips
- 1 teaspoon coconut oil (for melting chocolate)
Instructions
- Preheat your oven to 325°F (160°C). Line a 9×9-inch baking pan with parchment paper, leaving overhang on two sides.
- Make the crust: In a medium bowl, combine graham cracker crumbs, ¼ cup sugar, and salt. Pour in melted butter and stir until mixture resembles wet sand. Press firmly into the bottom of the prepared pan. Bake for 10 minutes, then set aside to cool slightly.
- Start the cheesecake batter: In a large bowl, beat softened cream cheese with an electric mixer until smooth and creamy, about 2 minutes. Scrape down sides. Add ¾ cup sugar and beat for another minute until well combined.
- Add eggs one at a time: Beat in the first egg on low speed until just combined, then add the second. Do not overmix.
- Divide the batter: Remove about ¾ cup of plain cheesecake batter and set aside. To the remaining batter, add pumpkin puree, pumpkin pie spice, and cinnamon. Mix on low until just combined.
- Layer the batters: Pour pumpkin cheesecake batter over the pre-baked crust and spread evenly. Drop spoonfuls of reserved plain cheesecake batter on top in a random pattern.
- Create the spiderweb: Melt chocolate chips with coconut oil in the microwave in 30-second intervals, stirring between each. Transfer to a small piping bag or zip-top bag with a tiny corner snipped off. Pipe concentric circles of chocolate over the top of the batter, starting from the center and working outward (about 4-5 circles).
- Drag the web: Take a toothpick or skewer and starting from the center, drag it outward through the chocolate circles toward the edge of the pan. Wipe the toothpick clean, then repeat every inch or so around the pan.
- Bake: Place pan in preheated oven and bake for 35-40 minutes, or until edges are set and center jiggles slightly. If top browns too quickly, tent loosely with foil.
- Cool completely: Let bars cool in pan on a wire rack for about 1 hour, then transfer to refrigerator to chill for at least 4 hours, preferably overnight.
- Slice and serve: Use parchment overhang to lift bars out of pan. Slice into 16 squares using a sharp knife, wiping blade clean between cuts.
Notes
Room temperature ingredients are crucial for a smooth batter. Do not overmix the batter to avoid cracks. Chill overnight for best texture and clean slices. For the spiderweb, use a thin stream of chocolate; adding coconut oil helps achieve the right consistency.
Nutrition
- Serving Size: 1 bar
- Calories: 285
- Sugar: 20
- Sodium: 210
- Fat: 18
- Saturated Fat: 10
- Carbohydrates: 28
- Fiber: 1
- Protein: 5
Keywords: pumpkin cheesecake bars, spiderweb dessert, Halloween dessert, pumpkin cheesecake, Halloween bars, fall dessert, pumpkin spice


