My neighbor Dave asked why I couldn’t just skip the ice cream maker and use a mixer instead. I was in the middle of explaining how ice cream needs constant churning to prevent ice crystals, how the machine aerates the mixture, how this was a whole science thing. Then I stopped. I had absolutely no good reason why it wouldn’t work. So I handed him the whisk and said, “Go for it.”
Twenty minutes later, we were eating the creamiest, most decadent salted caramel ice cream I’d ever made. No machine. No tempering eggs. No complicated steps. Just a bowl, a mixer, and Dave’s stubborn insistence that there had to be an easier way. Let me tell you, swallowing my pride has never tasted so good.
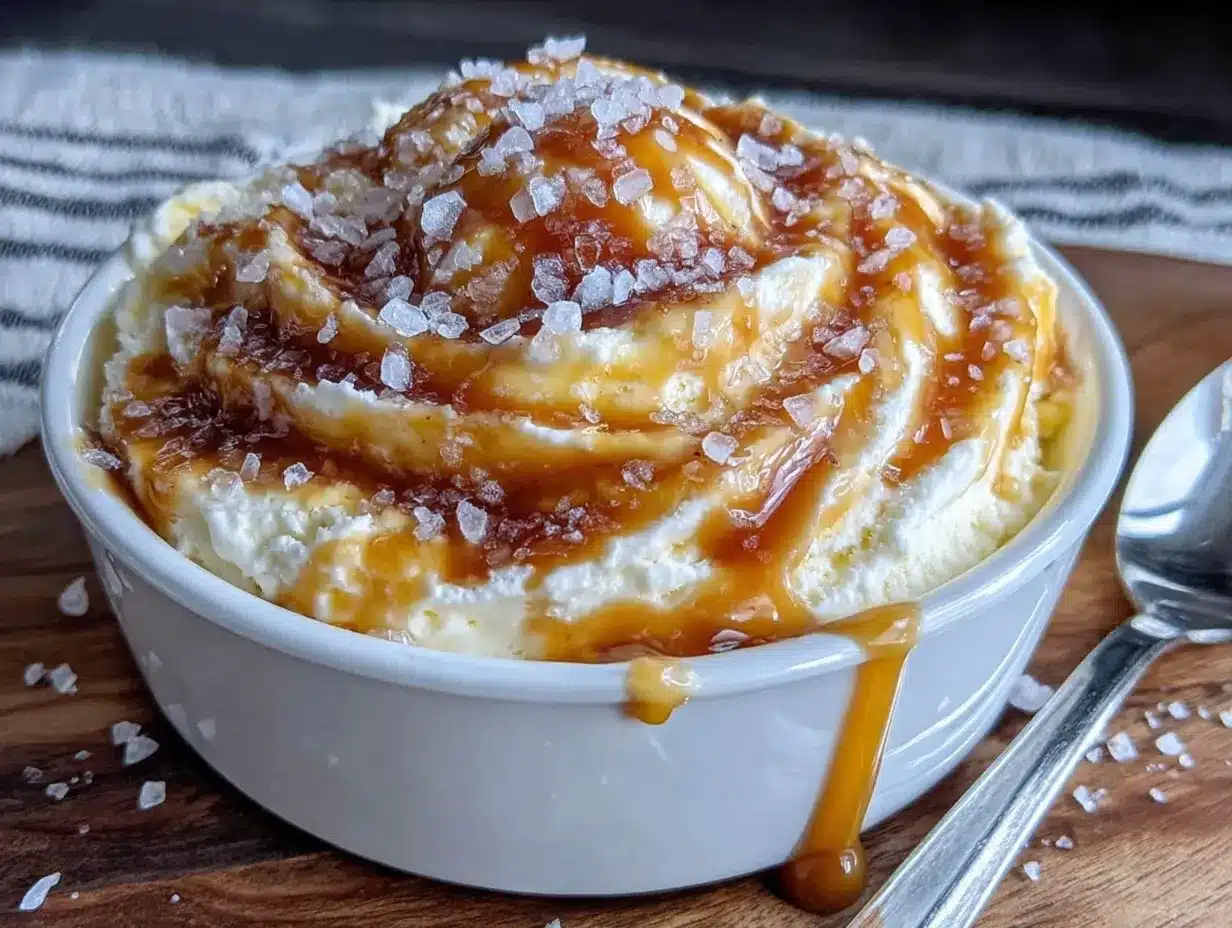
This easy no-churn salted caramel ice cream is now my go-to summer dessert. It’s the kind of recipe that makes you wonder why you ever bothered with the complicated stuff. The texture is ridiculously smooth, the caramel ribbons are perfectly swirled throughout, and that salt—just enough to make everything pop. Honestly, I’ve made this for three dinner parties in the past month, and every single person asked for the recipe. Maybe you’ve been there, standing in front of an ice cream maker thinking, “There has to be a better way.” Well, Dave found it.
Why You’ll Love This Recipe
This isn’t just another ice cream recipe. After testing this method at least a dozen times with different mix-ins and flavor combinations, I can confidently say this version is foolproof. Here’s why this easy no-churn salted caramel ice cream deserves a permanent spot in your freezer:
- No Ice Cream Maker Required: I mean it. You don’t need any fancy equipment. Just a hand mixer or stand mixer and a loaf pan.
- Ready in Under 15 Minutes of Prep: The hardest part is making the caramel, which takes about 10 minutes. The rest is just whipping and folding.
- Simple Pantry Ingredients: Heavy cream, sweetened condensed milk, sugar, butter, and salt. That’s it. No eggs, no custard base, no corn syrup.
- Perfect for Hot Summer Days: This is the dessert you pull out when the temperature hits 95 degrees and you need something cold, fast.
- Always a Crowd-Pleaser: The combination of sweet caramel and flaky salt hits that perfect salty-sweet spot that everyone loves.
What makes this recipe different from other no-churn versions is the caramel technique. Most recipes use store-bought caramel sauce, which can be watery and leaves you with icy ice cream. By making a proper caramel from scratch and cooling it down before folding it in, you get ribbons of rich, buttery caramel that stay soft even after freezing. Plus, the flaky sea salt on top creates little bursts of saltiness that make each bite interesting. It’s comfort food reimagined—faster, simpler, but with the same soul-soothing satisfaction.
What Ingredients You Will Need
This recipe uses simple, wholesome ingredients to deliver bold flavor and satisfying texture without the fuss. Most of these are pantry staples you probably already have on hand.
For the Salted Caramel
- Granulated sugar, 1 cup (200g) – Regular white sugar works best here. Don’t use brown sugar; it has too much moisture and won’t caramelize properly.
- Unsalted butter, 6 tablespoons (85g), cut into pieces – I use Kerrygold for its rich flavor, but any good unsalted butter will work. Salted butter can be used if you reduce the added salt later.
- Heavy cream, 1/2 cup (120ml), at room temperature – Cold cream will seize the caramel and create lumps. Let it sit out for 15 minutes before using.
- Flaky sea salt, 1 teaspoon – Maldon is my go-to brand. The delicate flakes dissolve beautifully into the caramel. Regular table salt will work in a pinch, but use half the amount.
- Vanilla extract, 1 teaspoon – Pure vanilla extract makes a difference here. The artificial stuff has an odd aftertaste that stands out in caramel.
For the Ice Cream Base
- Heavy cream, 2 cups (480ml), cold – This needs to be very cold for proper whipping. Stick it in the freezer for 10 minutes before starting if your kitchen is warm.
- Sweetened condensed milk, one 14-ounce can (396g) – This is the magic ingredient that makes no-churn ice cream work. Don’t substitute evaporated milk or regular milk. The sweetness and thickness are essential.
- Vanilla extract, 1 teaspoon – Adds depth to the overall flavor profile.
- Flaky sea salt, for sprinkling on top – That final touch that makes this recipe special.
Equipment Needed
You really don’t need much for this recipe, which is part of its beauty. Here’s what you’ll need:
- Medium saucepan – For making the caramel. A light-colored pan is helpful so you can see the color of the sugar as it caramelizes.
- Large mixing bowl – For whipping the cream. Make sure it’s clean and dry; any grease will prevent the cream from whipping properly.
- Hand mixer or stand mixer – A hand mixer works perfectly fine. If you’re using a stand mixer, use the whisk attachment.
- Loaf pan or freezer-safe container – A standard 9×5-inch loaf pan works great. You can also use a 2-quart freezer-safe container.
- Rubber spatula – For folding the caramel into the whipped cream without deflating it.
- Candy thermometer (optional but helpful) – If you’re nervous about making caramel, a thermometer takes the guesswork out. The caramel is ready at 350°F (177°C).
I’ve made this with both an expensive KitchenAid and a $20 hand mixer from the grocery store. Honestly, the results were identical. Don’t overthink the equipment.
Preparation Method
This easy no-churn salted caramel ice cream comes together in three simple stages. Take your time with the caramel, and the rest is a breeze.
Step 1: Make the Salted Caramel
Place the granulated sugar in an even layer in a medium saucepan over medium heat. Resist the urge to stir. Just let it sit and melt, swirling the pan occasionally once the edges start to turn amber. This takes about 5 to 7 minutes. The sugar will clump at first, then smooth out into a deep golden liquid. Watch it carefully—caramel can go from perfect to burnt in seconds.
Once the sugar is completely melted and the color of a copper penny, remove the pan from heat. Add the butter pieces one at a time, whisking constantly. The mixture will bubble up violently—this is normal. Keep whisking until the butter is fully incorporated and smooth.
Slowly pour in the room-temperature heavy cream while whisking continuously. Again, the mixture will bubble and steam. Keep going until the cream is fully incorporated and you have a smooth, glossy caramel sauce. Whisk in the flaky sea salt and vanilla extract. Let the caramel cool for about 20 minutes at room temperature, then transfer to the refrigerator to cool completely, about 30 minutes more. You want it thick but still pourable.
Step 2: Whip the Cream Base
In a large mixing bowl, combine the cold heavy cream and vanilla extract. Using a hand mixer or stand mixer fitted with the whisk attachment, beat the cream on medium-high speed until stiff peaks form. This takes about 3 to 4 minutes. You’re looking for peaks that stand straight up when you lift the beaters. Be careful not to over-whip, or you’ll end up with butter.
Pour the sweetened condensed milk over the whipped cream. Use a rubber spatula to gently fold it in. Start from the bottom of the bowl and work your way up, turning the bowl as you go. Fold until no white streaks remain. The mixture should be thick, airy, and slightly glossy.
Step 3: Layer and Freeze
Spread about one-third of the cream mixture into the bottom of your loaf pan. Drizzle about one-third of the cooled caramel over the top. Use a knife or skewer to swirl it gently—don’t overmix, or you’ll lose the distinct ribbons.
Repeat with another third of the cream mixture and another third of the caramel. Finish with the remaining cream mixture and the last of the caramel. Swirl gently once more. Sprinkle the top generously with flaky sea salt.
Cover the pan with plastic wrap or a lid and place it in the freezer. Freeze for at least 6 hours, preferably overnight. The ice cream needs time to set properly. After about 2 hours, you can add an extra swirl if you want more caramel distribution throughout.
Cooking Tips & Techniques
After making this recipe more times than I can count, I’ve learned a few things the hard way. Here are my best tips for perfect easy no-churn salted caramel ice cream every time.
Don’t rush the caramel. I ruined my first three batches by cranking up the heat. Low and slow is the way to go. If you see smoke, you’ve gone too far. The caramel should smell nutty and rich, not burnt. I once walked away to answer the phone and came back to a pan of black sugar. Learn from my mistakes.
Room temperature cream for the caramel is non-negotiable. I learned this one the hard way too. Cold cream makes the caramel seize into hard, grainy clumps. If you forget to take it out of the fridge, microwave it for 15 seconds. It doesn’t need to be warm, just not fridge-cold.
Whip the cream to stiff peaks, not soft peaks. Soft peaks will deflate when you fold in the condensed milk, giving you a denser, icier ice cream. Stiff peaks give you that light, airy texture that makes no-churn ice cream so impressive. You should be able to hold the bowl upside down over your head—though maybe don’t actually try that.
Let the ice cream sit at room temperature for 5 minutes before scooping. No-churn ice cream freezes harder than churned ice cream because it has less air incorporated. A few minutes on the counter makes it scoopable. If you forget, microwave the scoop for 10 seconds.
Variations & Adaptations
Once you master the basic easy no-churn salted caramel ice cream, the possibilities are endless. Here are a few variations I’ve tried and loved:
Chocolate Salted Caramel: Add 1/4 cup of unsweetened cocoa powder to the cream mixture before whipping. The chocolate pairs beautifully with the caramel. I made this for a friend’s birthday, and she said it was the best ice cream she’d ever had. High praise.
Vegan Version: Substitute the heavy cream with two cans of full-fat coconut cream (chilled overnight) and use a vegan sweetened condensed milk alternative. The caramel can be made with vegan butter and coconut cream. The texture is slightly different—a bit icier—but the flavor is still fantastic.
Spiced Caramel: Add 1/2 teaspoon of cinnamon and a pinch of cayenne pepper to the caramel while it’s cooling. The warmth of the spices complements the sweetness of the caramel and creates a cozy fall version. This is perfect for Thanksgiving or any chilly evening.
Mix-In Madness: Fold in 1/2 cup of crushed pretzels, 1/2 cup of chocolate chips, or 1/2 cup of toasted pecans after the last layer. The salty crunch takes this to another level. I once added broken-up shortbread cookies, and it was incredible.
Serving & Storage Suggestions
This easy no-churn salted caramel ice cream is best served slightly softened, straight from the freezer with a 5-minute rest on the counter. Scoop it into bowls or cones and sprinkle with an extra pinch of flaky sea salt for that final touch.
For a truly indulgent dessert, serve it warm with a drizzle of extra caramel sauce and a slice of apple pie or brownie. The contrast between the cold ice cream and warm dessert is unbeatable. I’ve also served it alongside chocolate lava cake, and it was a hit.
Store the ice cream in the freezer, tightly covered, for up to 2 weeks. After that, it starts to develop ice crystals and lose its creamy texture. If you’re making it ahead for a party, make it no more than 5 days in advance for the best texture.
To re-soften after freezing, let it sit at room temperature for 10 to 15 minutes. You can also microwave the entire container for 15 to 20 seconds on 50% power. Don’t microwave it longer, or you’ll melt the edges.
Flavors actually deepen after a day or two in the freezer. The caramel becomes more pronounced, and the salt mellows into the background. It’s even better on day two than on day one.
Nutritional Information & Benefits
Let’s be real—this is a treat. But it’s made with real ingredients, and that counts for something. Here are the approximate nutritional values per serving (based on 8 servings):
| Nutrient | Amount per Serving |
|---|---|
| Calories | 420 |
| Total Fat | 28g |
| Saturated Fat | 18g |
| Cholesterol | 95mg |
| Sodium | 310mg |
| Total Carbohydrates | 40g |
| Sugars | 38g |
| Protein | 4g |
The heavy cream provides calcium and vitamin A, while the butter adds a small amount of vitamin D. The caramel, while high in sugar, is made from scratch without preservatives or artificial ingredients. If you’re watching your sugar intake, you can reduce the caramel by half or use a sugar substitute in the caramel (though the texture will change slightly).
This recipe contains dairy and is not suitable for vegans (unless modified as suggested above). It is gluten-free and nut-free as written.
Conclusion
This easy no-churn salted caramel ice cream is proof that you don’t need fancy equipment or culinary school training to make incredible homemade ice cream. It’s creamy, it’s indulgent, and it comes together with ingredients you probably already have in your kitchen. The caramel is rich and buttery, the salt adds that perfect contrast, and the texture is surprisingly light for something with no eggs and no machine.
I love this recipe because it reminds me that sometimes the simplest methods produce the best results. Dave’s suggestion that day seemed so obvious in hindsight, but I needed someone to point it out. Now I can’t imagine making ice cream any other way. Try it once, and I think you’ll feel the same way.
If you make this, please come back and let me know how it turned out. Did you add any mix-ins? Did you try a variation? I’d love to hear about your creations. Share your photos and tag me—I’m always looking for new ideas. And if you have a neighbor like Dave who challenges your cooking assumptions, maybe listen to them. They might just change your life.
Frequently Asked Questions
Can I use store-bought caramel sauce instead of making my own?
You can, but I don’t recommend it. Store-bought caramel sauce is thinner and has more water content, which can make your ice cream icy. Homemade caramel gives you better texture and flavor. If you’re in a hurry, look for a thick, high-quality caramel sauce at the store and use about 3/4 cup.
How long does this ice cream need to freeze?
At least 6 hours, but overnight is best. The ice cream needs time to firm up completely. If you try to scoop it after 4 hours, it will be too soft. Patience pays off here.
Can I make this without a mixer?
Yes, but it takes some elbow grease. You can whip the cream by hand using a whisk, but it will take about 8 to 10 minutes of vigorous whisking. I’ve done it once when my mixer broke, and while my arm was sore, the ice cream was still perfect.
Why did my caramel turn out grainy?
Grainy caramel usually means the sugar crystallized. This happens when sugar crystals form on the sides of the pan and fall back into the melted sugar. To prevent this, use a clean pan and don’t stir the sugar while it’s melting. You can also brush down the sides of the pan with a wet pastry brush to prevent crystals.
Can I double this recipe?
Absolutely. Double all the ingredients and use a larger container for freezing. Just make sure your mixing bowl is big enough to hold the whipped cream. A 9×13-inch baking dish works well for a double batch. The freezing time will be slightly longer, so plan for 8 to 10 hours.
Pin This Recipe!
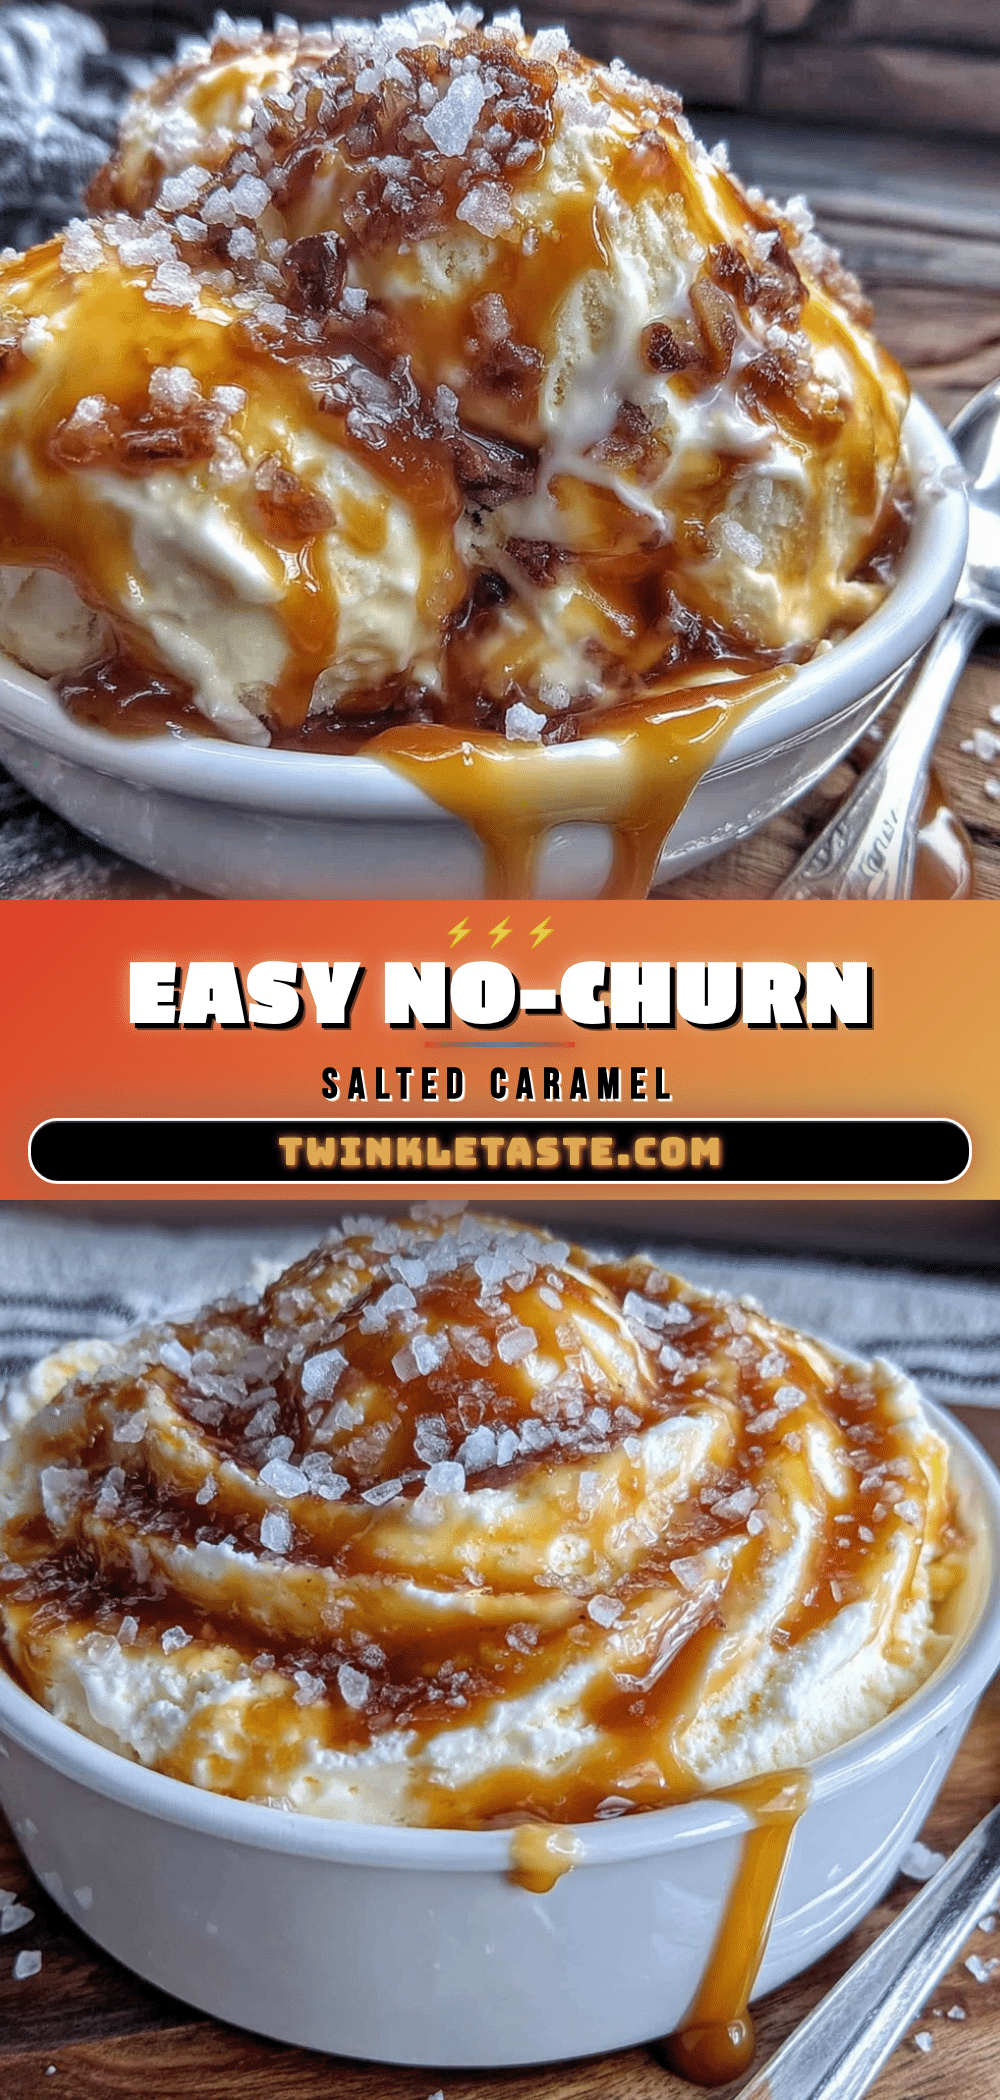
Easy No-Churn Salted Caramel Ice Cream: Best Homemade Recipe

This easy no-churn salted caramel ice cream is creamy, decadent, and requires no ice cream maker. With a rich homemade caramel swirled into a light whipped cream base, it’s the perfect summer dessert that comes together in under 15 minutes of prep.
- Prep Time: 15 minutes
- Cook Time: 10 minutes
- Total Time: 6 hours 25 minutes (includes freezing)
- Yield: 8 servings 1x
- Category: Dessert
- Cuisine: American
Ingredients
- 1 cup (200g) granulated sugar
- 6 tablespoons (85g) unsalted butter, cut into pieces
- 1/2 cup (120ml) heavy cream, at room temperature
- 1 teaspoon flaky sea salt
- 1 teaspoon vanilla extract
- 2 cups (480ml) cold heavy cream
- 1 (14-ounce/396g) can sweetened condensed milk
- 1 teaspoon vanilla extract
- Flaky sea salt, for sprinkling on top
Instructions
- Make the salted caramel: Place granulated sugar in an even layer in a medium saucepan over medium heat. Let it melt without stirring, swirling occasionally, until deep golden (about 5-7 minutes). Remove from heat, add butter pieces one at a time, whisking constantly. Slowly pour in room-temperature heavy cream while whisking continuously. Whisk in flaky sea salt and vanilla extract. Let cool at room temperature for 20 minutes, then refrigerate until cool but still pourable (about 30 minutes).
- Whip the cream base: In a large mixing bowl, combine cold heavy cream and vanilla extract. Beat with a hand mixer or stand mixer on medium-high speed until stiff peaks form (about 3-4 minutes). Pour sweetened condensed milk over whipped cream and gently fold with a rubber spatula until no white streaks remain.
- Layer and freeze: Spread one-third of the cream mixture into a loaf pan. Drizzle one-third of the cooled caramel over the top and swirl gently. Repeat layers with remaining cream and caramel. Sprinkle top with flaky sea salt. Cover and freeze for at least 6 hours, preferably overnight.
Notes
Let ice cream sit at room temperature for 5 minutes before scooping. Store tightly covered for up to 2 weeks. Flavors deepen after a day or two in the freezer.
Nutrition
- Serving Size: 1 serving
- Calories: 420
- Sugar: 38
- Sodium: 310
- Fat: 28
- Saturated Fat: 18
- Carbohydrates: 40
- Protein: 4
Keywords: no-churn ice cream, salted caramel, homemade ice cream, easy ice cream, no ice cream maker


