My brother-in-law Mark swore he hated hot cocoa. For years. “It’s just watery chocolate milk for kids,” he’d say, waving a dismissive hand at every mug I offered him during our family’s annual Christmas Eve gathering. Then last December, I made these peppermint hot cocoa bombs for the first time, mostly as a fun project to keep my niece entertained while the adults argued about board game rules. I placed a single bomb in a mug, poured steaming milk over it, and watched it bloom into this gorgeous, melty masterpiece. Not five minutes later, I found Mark standing alone in the kitchen, spoon in hand, scraping the last bits of melted chocolate from the bottom of his mug. He didn’t say a word. He just gave me this look—half sheepish, half triumphant—and grabbed another bomb off the tray. Honestly, that moment was better than any compliment. It was the quiet victory of proving that sometimes, even the most stubborn skeptic just hasn’t had the right version yet.
There’s something almost magical about watching a hot cocoa bomb dissolve, isn’t there? The way the hard chocolate shell cracks open, releasing a cloud of marshmallows and peppermint into the warm milk—it’s like a tiny science experiment you get to drink. And when you’re hosting a holiday gathering, that little bit of theater is exactly what you need to get people talking. I mean, let’s face it, we’ve all been to those parties where the food is good but nothing really stands out. These bombs change the energy of the room. People gather around the kettle, oohing and aahing as each bomb gets its moment in the spotlight. It’s simple, it’s stunning, and it makes you look like you put in way more effort than you actually did. Maybe you’ve been there—scrambling at the last minute, trying to find a dessert that feels special without requiring you to miss the entire party. This is that recipe.
Why You’ll Love This Recipe
Let me tell you why these peppermint hot cocoa bombs have earned a permanent spot on my holiday menu. I’ve tested this recipe through three different holiday seasons, tweaking the chocolate thickness and the peppermint ratio until it was just right. My sister-in-law, who’s a pastry chef, even gave it her stamp of approval after I brought a batch to her annual cookie exchange. So trust me when I say this version works.
- Quick & Easy: You can make a dozen bombs in about 45 minutes, and most of that time is just waiting for the chocolate to set. Perfect for those evenings when you suddenly remember you need hostess gifts for three different parties.
- Simple Ingredients: No exotic shopping trips. You probably already have most of what you need in your pantry—chocolate chips, cocoa powder, sugar, and marshmallows. The only specialty item is the silicone mold, and you can grab those at any craft store or online.
- Perfect for Holiday Gatherings: These are the ultimate party trick. Set up a hot cocoa bar with a kettle, some mugs, and a platter of bombs, and let your guests do the rest. It’s interactive, it’s Instagram-worthy, and it keeps people entertained while you finish the appetizers.
- Crowd-Pleaser: I’ve served these to kids, grandparents, and everyone in between. The peppermint adds just enough freshness without being overpowering, and the marshmallows make everyone feel like a kid again.
- Unbelievably Delicious: The combination of rich dark chocolate, creamy milk chocolate, and cool peppermint is next-level comfort. It’s like drinking a warm hug with a minty twist.
What makes this recipe different from all the others I’ve tried? It’s the double-layered chocolate shell. Most recipes use a single layer of chocolate, which can crack or leak when you pour the hot milk. I learned that the hard way after my first batch turned into a sad puddle of chocolate soup. By adding a second thin layer, you get a sturdy shell that holds its shape until you’re ready to serve. Plus, the peppermint is folded into the hot cocoa mix itself, not just sprinkled on top, so every sip is perfectly balanced.
This recipe isn’t just good—it’s the kind that makes you close your eyes after the first sip. It’s comfort food reimagined as a celebration, with all the nostalgia of childhood hot cocoa but dressed up for a grown-up party. Perfect for impressing guests without stress, or turning a simple evening into something memorable.
What Ingredients You Will Need
This recipe uses simple, wholesome ingredients to deliver bold flavor and satisfying texture without the fuss. Most of these are pantry staples, and the few specialty items are easy to find at any grocery store or online.
- For the Chocolate Shell:
- 12 ounces (340g) high-quality dark chocolate chips or bars, finely chopped (I recommend Ghirardelli or Guittard for the best melt and shine)
- 8 ounces (225g) white chocolate chips or bars, finely chopped (adds sweetness and helps the peppermint stick)
- 1 tablespoon (15ml) coconut oil or vegetable shortening (helps thin the chocolate for easier coating and gives a glossy finish)
- For the Hot Cocoa Filling:
- 1/2 cup (60g) unsweetened cocoa powder (Dutch-processed gives a deeper, richer flavor)
- 1/2 cup (100g) granulated sugar (adjust to taste, or use powdered sugar for a finer texture)
- 1/4 cup (30g) powdered milk (adds creaminess without needing fresh milk in the filling)
- 1/4 teaspoon salt (balances the sweetness and enhances the chocolate flavor)
- 1/2 cup (40g) mini marshmallows (the tiny ones fit best inside the bombs)
- 1/4 cup (50g) crushed peppermint candies or candy canes (about 4-5 large candy canes, crushed fine but not powdered)
- For Decoration (Optional but Recommended):
- Additional crushed peppermint candies for sprinkling on top
- Drizzled white or dark chocolate for a decorative finish
- Edible glitter or gold leaf for that extra festive touch (my niece loves this part)
Ingredient Tips: For the best texture, use chocolate that’s at least 60% cacao for the dark chocolate—it melts smoothly and doesn’t taste waxy. I’ve tried cheaper chocolate chips, and they just don’t set as cleanly. If you’re dairy-free, look for dark chocolate that’s certified dairy-free and use a plant-based milk powder. For the peppermint, I prefer crushing my own candy canes because the pre-crushed bags sometimes have a dusty texture. Just put them in a zip-top bag and whack them with a rolling pin—it’s oddly satisfying.
Substitution Guidance: No white chocolate? Use all dark chocolate and add an extra tablespoon of sugar to the filling. No candy canes? Use peppermint extract instead—add 1/4 teaspoon to the hot cocoa mix. You can also swap the mini marshmallows for dehydrated marshmallows, which hold up better if you’re storing the bombs for more than a week.
Equipment Needed
You don’t need a fancy kitchen to make these peppermint hot cocoa bombs, but a few specific tools will make your life much easier.
- Silicone Half-Sphere Mold: This is non-negotiable. You need a mold with cavities about 2.5 inches (6cm) in diameter. I use a 6-cavity mold, which lets me make a dozen bombs in two batches. They’re cheap—around $10 on Amazon—and reusable for truffles or frozen desserts.
- Small Microwave-Safe Bowls: You’ll need at least two for melting the dark and white chocolate separately. Glass or ceramic works best.
- Pastry Brush or Small Offset Spatula: For spreading the chocolate evenly inside the mold cavities. A silicone brush gives the smoothest finish.
- Baking Sheet: To hold the filled molds while they set in the fridge.
- Parchment Paper: For transferring the finished bombs without sticking.
- Rolling Pin or Meat Mallet: For crushing the candy canes. A food processor works too, but I find the manual method more controllable—you want chunks, not powder.
- Small Funnel or Pipette: For filling the bombs with the cocoa mixture without making a mess. A spoon works, but the funnel is neater.
- Sharp Knife or Bench Scraper: For cleaning the edges of the chocolate shells before sealing.
Alternative Options: No silicone mold? You can use a muffin tin lined with paper cups, though the shape won’t be as perfect. No microwave? Melt the chocolate in a double boiler on the stove—just be careful not to let any water touch the chocolate or it will seize up.
Preparation Method
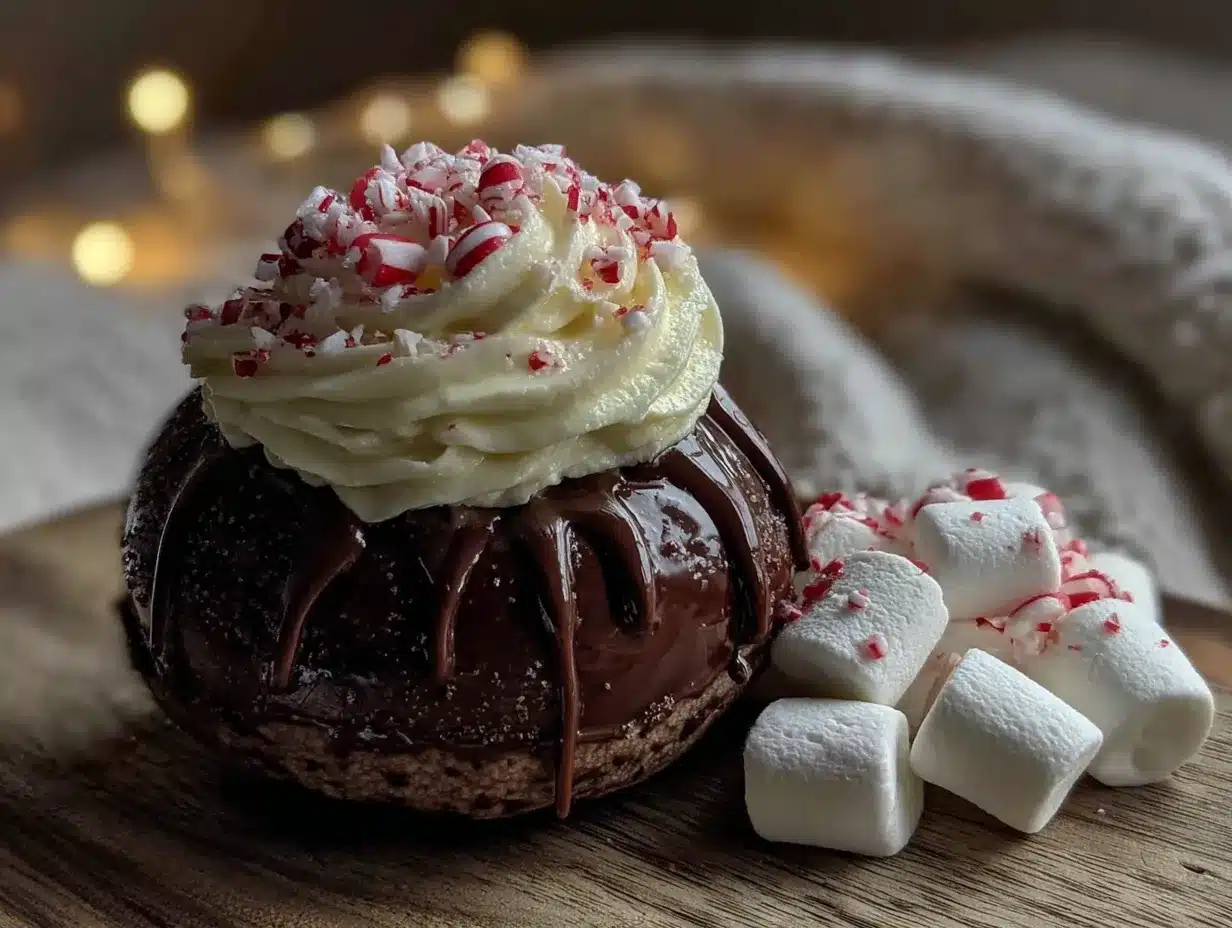
Let’s get to the fun part. Here’s how to make these crowd-pleasing peppermint hot cocoa bombs step by step.
- Melt the Dark Chocolate: Place 12 ounces (340g) of finely chopped dark chocolate and 1 tablespoon (15ml) of coconut oil in a microwave-safe bowl. Microwave in 30-second intervals, stirring after each, until completely smooth. Be careful not to overheat—chocolate burns easily and becomes grainy. It should take about 2 minutes total. Let it cool for 2-3 minutes so it’s warm but not hot to the touch.
- Coat the Mold: Using a pastry brush, paint a thin layer of melted dark chocolate inside each cavity of the silicone mold. Make sure you cover the entire surface, including the edges. Don’t worry if it’s not perfectly even—you’ll add a second layer later. Place the mold on a baking sheet and refrigerate for 10 minutes, or until the chocolate is firm and no longer shiny.
- Apply the Second Layer: Take the mold out of the fridge. Using the remaining melted dark chocolate (reheat it for 10 seconds if it’s too thick), apply a second layer over the first. This is the secret to sturdy bombs that don’t crack. Pay extra attention to the edges—that’s where most leaks happen. Refrigerate for another 15 minutes.
- Prepare the Filling: While the chocolate sets, mix together the cocoa powder, sugar, powdered milk, and salt in a small bowl. Stir until well combined. In a separate bowl, crush the candy canes into small pieces—you want some fine bits and some chunks for texture.
- Remove the Chocolate Shells: Once the chocolate is fully set, gently press the edges of the silicone mold to release the half-spheres. They should pop out easily. If they’re sticking, put the mold back in the fridge for 5 minutes. Work carefully—these are fragile until you seal them.
- Fill the Bombs: Place half of the chocolate shells (the ones that will be the bottom half) on a parchment-lined baking sheet. Using a small funnel or a spoon, fill each shell with about 1 tablespoon of the cocoa mixture. Add a few mini marshmallows and a pinch of crushed peppermint. Don’t overfill—you need room to seal the top.
- Seal the Bombs: Take the remaining empty shells (the top halves). Warm a small plate in the microwave for 30 seconds, then gently press the rim of each top shell onto the warm plate for about 5 seconds. This melts the edge just enough to act as glue. Carefully place the warmed top shell onto the filled bottom shell, pressing gently to seal. If there are gaps, use a fingertip dipped in melted chocolate to smooth them over.
- Decorate (Optional): Melt the white chocolate in a microwave-safe bowl (30-second intervals, stirring). Drizzle it over the sealed bombs using a fork or a piping bag. While the white chocolate is still wet, sprinkle crushed peppermint and maybe a little edible glitter on top. Return to the fridge for 10 minutes to set the decoration.
- Serve or Store: To serve, place one bomb in a mug and pour 8-10 ounces (240-300ml) of steaming hot milk over it. Watch it bloom! Stir until the chocolate is fully dissolved and the marshmallows have softened. Serve immediately.
Sensory Cues: When you brush the chocolate into the mold, it should feel thick but spreadable—like room-temperature frosting. When you press the top shell onto the warm plate, you’ll feel a slight softening at the rim. When you pour the milk over the bomb, you’ll hear a soft crack as the shell breaks, and the aroma of chocolate and peppermint will fill the air immediately.
Cooking Tips & Techniques
I’ve made about a hundred of these peppermint hot cocoa bombs over the past few years, and I’ve learned a few things the hard way. Here’s what I wish someone had told me.
Don’t Skip the Coconut Oil: That tablespoon of oil makes the chocolate flow more smoothly and gives it a beautiful shine. Without it, the chocolate can be too thick to brush evenly, and the shells might crack when you try to remove them. I once tried using butter instead, and the shells never fully set—they stayed soft and greasy. Stick with coconut oil or vegetable shortening.
Temperature is Everything: Chocolate is finicky. If it’s too hot when you brush it into the mold, it will slide right off the sides and pool at the bottom. If it’s too cold, it will be lumpy and hard to spread. Aim for about 90°F (32°C)—warm to the touch but not hot. A quick trick: dip your clean finger into the melted chocolate; it should feel like warm bath water, not like a hot drink.
The Warm Plate Trick: This was a game-changer for me. My first few batches had ugly seams because I tried to seal the halves by just pressing them together. The warm plate melts just the rim, creating a perfect bond without melting the whole shell. If you don’t have a microwave-safe plate, you can use the bottom of a warm mug or even a heated metal spatula.
Timing and Multitasking: While the first chocolate layer is setting in the fridge, prepare your filling and crush the candy canes. While the second layer sets, melt the white chocolate for drizzling. This recipe is all about overlapping tasks—you’ll finish in under an hour if you stay organized.
Common Mistakes: The biggest mistake I see is overfilling the shells. It’s tempting to pack in as much cocoa mix as possible, but that makes the bombs impossible to seal. Use about 1 tablespoon of filling per bomb. Another mistake is using low-quality chocolate—it doesn’t melt as smoothly and can have a waxy aftertaste. Spend a little extra on good chocolate; it makes a noticeable difference.
Variations & Adaptations
One of the best things about this recipe is how easy it is to customize. Here are a few variations I’ve tried and loved.
- Mint Chocolate Chip: Replace the crushed peppermint with mini chocolate chips in the filling. The combination of dark chocolate shell and chocolate chips inside creates a double-chocolate experience that’s absolutely decadent. My husband’s favorite version.
- Spiced Hot Cocoa: Add 1/2 teaspoon of cinnamon, 1/4 teaspoon of nutmeg, and a pinch of cayenne pepper to the cocoa mix. The warmth of the spices pairs beautifully with the cool peppermint. I made this for a winter solstice party, and it was a hit with the adults.
- Vegan and Dairy-Free: Use dairy-free dark chocolate (most high-quality dark chocolate is naturally dairy-free), coconut milk powder instead of powdered milk, and vegan mini marshmallows (Dandies brand works great). The coconut oil is already vegan-friendly, so no changes needed there.
- Peppermint White Chocolate: Swap the dark chocolate shell for white chocolate and add extra crushed peppermint to the filling. This version is sweeter and more festive-looking, perfect for a kid’s holiday party.
- Mocha Bombs: Add 1 teaspoon of instant espresso powder to the cocoa mix. The coffee flavor deepens the chocolate and cuts through the sweetness. I serve these at brunch gatherings, and they’re always gone first.
Personal Variation: My favorite twist is the “Salted Caramel Peppermint” bomb. I add 1/4 teaspoon of flaky sea salt to the cocoa mix and drizzle a little caramel sauce over the top before adding the white chocolate decoration. The salty-sweet-minty combination is absolutely addictive. I discovered this by accident when I ran out of white chocolate and used salted caramel chips instead. Sometimes the best recipes come from happy mistakes!
Serving & Storage Suggestions
These peppermint hot cocoa bombs are designed to be the star of your holiday gathering. Here’s how to serve and store them like a pro.
Serving Temperature: Heat your milk to just below boiling—about 180°F (82°C). If it’s too hot, it can melt the bomb too quickly and leave you with a lukewarm drink. If it’s not hot enough, the bomb won’t fully dissolve. I use a kettle with a temperature setting, but a microwave works too—heat the milk for 90 seconds, then check the temperature.
Presentation Tips: Set up a hot cocoa bar with a platter of bombs, a kettle of hot milk, and an assortment of toppings (whipped cream, extra crushed peppermint, chocolate shavings, cinnamon sticks). Let guests choose their own mug and bomb, then pour the milk themselves. It’s interactive and gives everyone a moment to shine. For a dinner party, I like to serve each bomb in a clear glass mug so guests can see the chocolate shell before it melts.
What to Serve Alongside: These bombs pair beautifully with shortbread cookies, gingerbread, or a simple cheese board. The richness of the hot cocoa balances the buttery sweetness of shortbread. If you’re serving them at a brunch, try them alongside fluffy holiday pancakes for a cozy morning treat.
Storage Instructions: Store the bombs in an airtight container at room temperature for up to 2 weeks. Do not refrigerate them once they’re sealed—the moisture in the fridge can cause the chocolate to bloom (develop white streaks). If you’re making them ahead for a party, you can freeze the unsealed shells for up to 3 months. Just fill and seal them after thawing.
Reheating Tips: These bombs are meant to be dissolved in hot milk, so there’s no reheating needed. However, if you’ve stored them for a while and the chocolate has softened slightly, you can pop them in the fridge for 10 minutes before serving to firm them up.
Flavor Development: The flavors actually get better after a day or two. The peppermint infuses into the cocoa mix, and the chocolate shell develops a deeper flavor. I usually make mine 2-3 days before a party for the best taste.
Nutritional Information & Benefits
Let’s be honest—these peppermint hot cocoa bombs are a treat, not a health food. But that doesn’t mean they can’t have some redeeming qualities.
Estimated Nutritional Values (per bomb, without milk):
- Calories: 280-320
- Fat: 18-22g (mostly from cocoa butter and coconut oil)
- Carbohydrates: 28-35g
- Protein: 3-5g
- Sugar: 22-28g
- Fiber: 3-4g
Health Benefits: Dark chocolate is rich in antioxidants, specifically flavonoids, which can help reduce inflammation and improve heart health. The peppermint can aid digestion and freshen breath. And hey, the warm milk you use to make the cocoa is a good source of calcium and vitamin D. So there’s that!
Dietary Considerations: This recipe can be made gluten-free (just check your chocolate and marshmallow labels). It’s also naturally vegetarian. For a lower-sugar version, use sugar-free dark chocolate and replace the sugar in the cocoa mix with a monk fruit sweetener. The peppermint adds flavor without extra calories.
Potential Allergens: Dairy (from the chocolate and milk powder), soy (often in chocolate chips), and tree nuts (some chocolate is processed in facilities that handle nuts). Always check labels if you’re serving guests with allergies.
My personal take? Everything in moderation. I make these bombs as a special holiday treat, not an everyday drink. They’re meant to be enjoyed, savored, and shared with people you love. And honestly, the joy they bring is worth every calorie.
Conclusion
So there you have it—my tried-and-true recipe for crowd-pleasing peppermint hot cocoa bombs. These little spheres of joy have become a staple at my holiday gatherings, and I honestly can’t imagine a December without them. They’re simple enough to make with kids, impressive enough to serve at a fancy party, and delicious enough to convert even the most stubborn hot cocoa skeptic (yes, Mark now asks for them by name).
I’d love to hear how yours turn out. Did you try one of the variations? Invent your own flavor combination? Drop a comment below and let me know—I read every single one, and your ideas might just inspire my next batch. And if you’re looking for more holiday inspiration, be sure to check out my easy Christmas desserts roundup for more crowd-pleasing treats.
Now go ahead—grab your silicone mold, crush some candy canes, and make some magic. Your holiday table is waiting.
Frequently Asked Questions
Can I use milk chocolate instead of dark chocolate for the shell?
Absolutely! Milk chocolate will give you a sweeter, creamier shell. Just keep in mind that milk chocolate is softer than dark chocolate, so the shells might be a bit more delicate. You may need to add an extra 5 minutes of chilling time between layers to ensure they’re firm enough to handle.
How far in advance can I make these bombs?
You can make them up to 2 weeks ahead if stored properly in an airtight container at room temperature. For longer storage, freeze the unsealed shells for up to 3 months, then fill and seal them the day before your event. I don’t recommend freezing the finished bombs—the marshmallows can get soggy when thawed.
Why did my chocolate shell crack when I poured the hot milk?
This usually happens when the chocolate shell is too thin or the milk is too hot. Make sure you apply two layers of chocolate to the mold, and heat your milk to just below boiling (around 180°F). If the milk is boiling, it can shock the chocolate and cause it to crack. Let the milk sit for 30 seconds after heating before pouring.
Can I make these without a silicone mold?
Yes, but the shape won’t be as uniform. You can use a mini muffin tin lined with paper cups, though the bombs will be smaller and flatter. Another option is to shape the chocolate over the back of a small spoon or a round cookie cutter—just be prepared for a more rustic look. The silicone mold really does make the process much easier.
What’s the best way to crush candy canes without making a mess?
Put the candy canes in a heavy-duty zip-top bag, remove as much air as possible, and seal it. Then place the bag on a cutting board and gently tap it with a rolling pin or meat mallet. Start with light taps and work your way up—you want a mix of fine pieces and small chunks, not powder. Pro tip: do this over the sink in case the bag leaks!
Pin This Recipe!
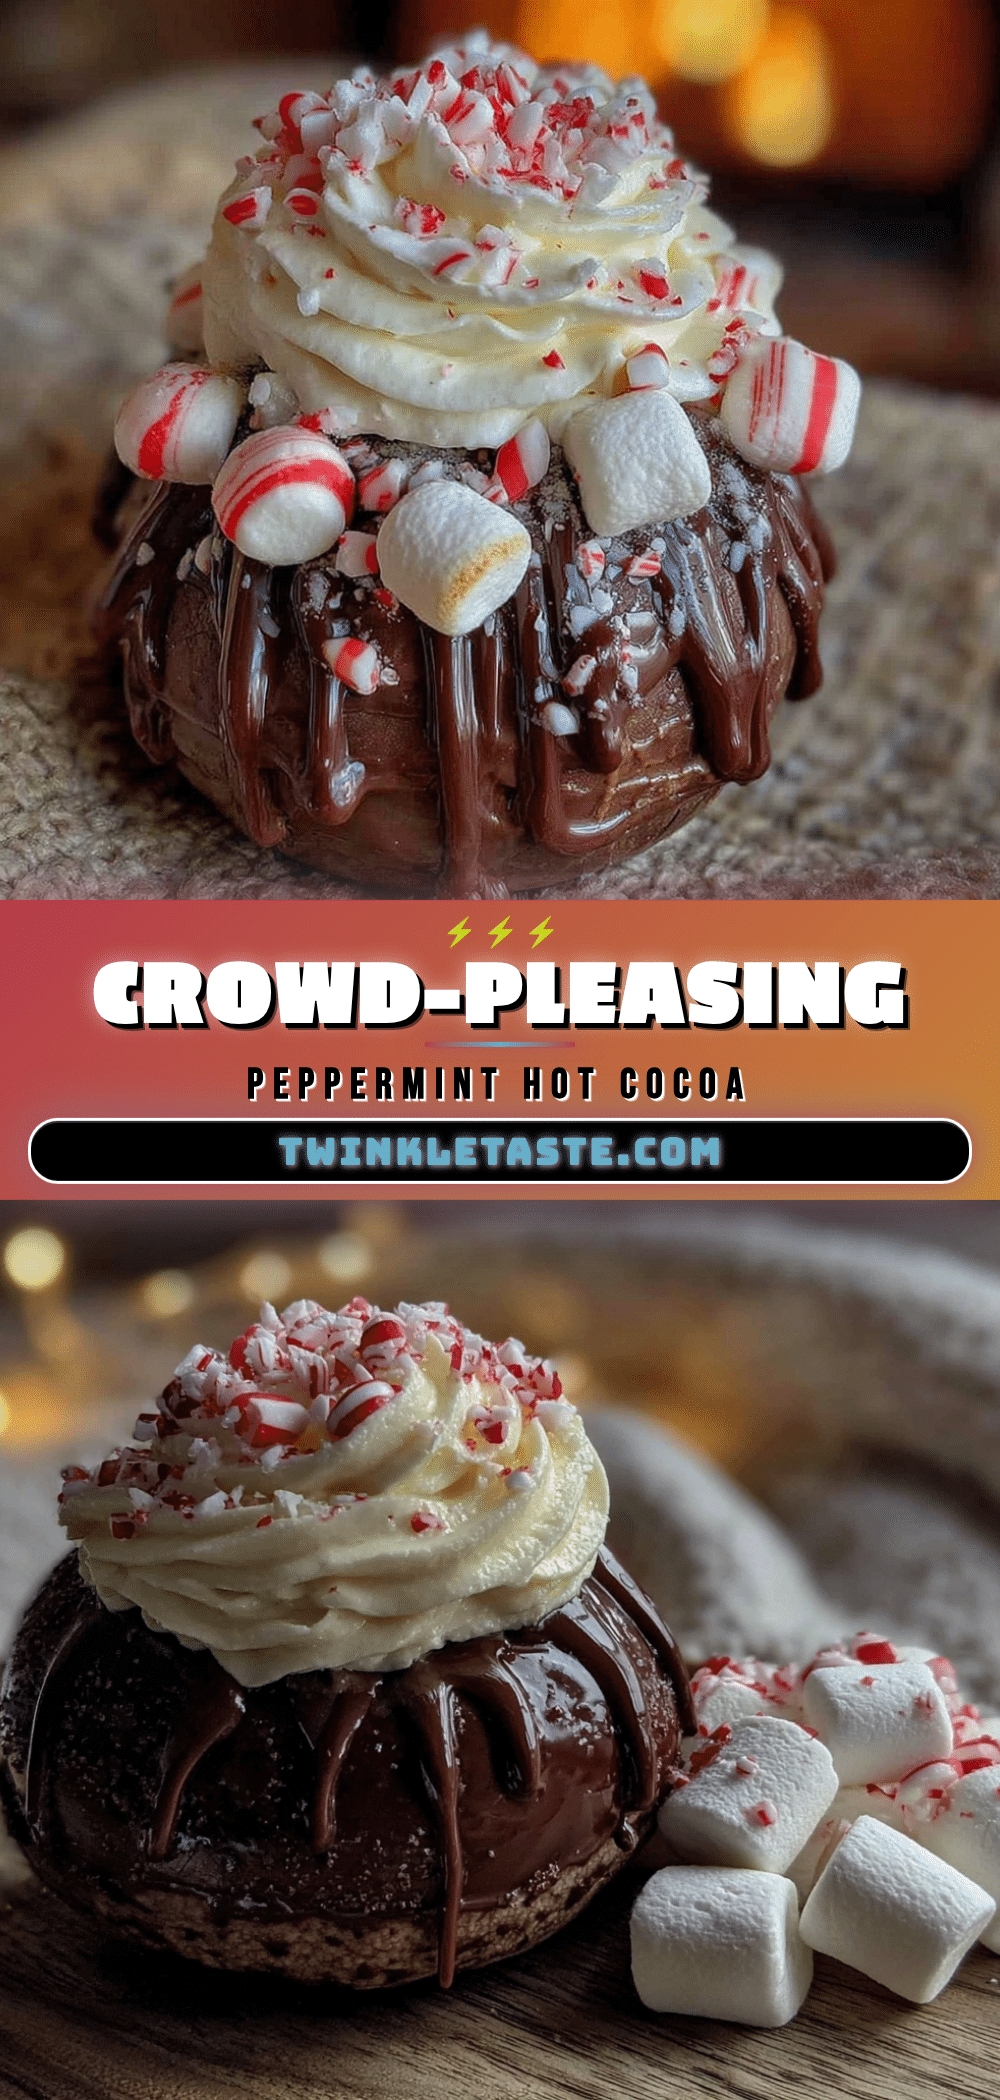
Crowd-Pleasing Peppermint Hot Cocoa Bombs: Best Easy Holiday Treat

These peppermint hot cocoa bombs are a magical holiday treat that transforms a simple cup of hot milk into a rich, minty, and visually stunning drink. Perfect for gatherings, they’re easy to make with simple ingredients and guaranteed to impress.
- Prep Time: 30 minutes
- Cook Time: 15 minutes
- Total Time: 45 minutes
- Yield: 12 servings 1x
- Category: Dessert
- Cuisine: American
Ingredients
- 12 ounces (340g) high-quality dark chocolate chips or bars, finely chopped
- 8 ounces (225g) white chocolate chips or bars, finely chopped
- 1 tablespoon (15ml) coconut oil or vegetable shortening
- 1/2 cup (60g) unsweetened cocoa powder (Dutch-processed preferred)
- 1/2 cup (100g) granulated sugar
- 1/4 cup (30g) powdered milk
- 1/4 teaspoon salt
- 1/2 cup (40g) mini marshmallows
- 1/4 cup (50g) crushed peppermint candies or candy canes (about 4–5 large candy canes)
- Additional crushed peppermint candies for decoration (optional)
- Drizzled white or dark chocolate for decoration (optional)
- Edible glitter or gold leaf for decoration (optional)
Instructions
- Melt the Dark Chocolate: Place 12 ounces (340g) of finely chopped dark chocolate and 1 tablespoon (15ml) of coconut oil in a microwave-safe bowl. Microwave in 30-second intervals, stirring after each, until completely smooth. Let cool for 2-3 minutes.
- Coat the Mold: Using a pastry brush, paint a thin layer of melted dark chocolate inside each cavity of a silicone half-sphere mold (2.5 inches/6cm diameter). Cover the entire surface, including edges. Refrigerate for 10 minutes until firm.
- Apply the Second Layer: Remove mold from fridge. Apply a second layer of melted dark chocolate over the first, paying extra attention to edges. Refrigerate for another 15 minutes.
- Prepare the Filling: In a small bowl, mix together cocoa powder, sugar, powdered milk, and salt. In a separate bowl, crush candy canes into small pieces (some fine, some chunky).
- Remove the Chocolate Shells: Gently press the edges of the silicone mold to release the half-spheres. If sticking, refrigerate for 5 more minutes.
- Fill the Bombs: Place half of the chocolate shells (bottom halves) on a parchment-lined baking sheet. Using a small funnel or spoon, fill each shell with about 1 tablespoon of the cocoa mixture. Add a few mini marshmallows and a pinch of crushed peppermint.
- Seal the Bombs: Warm a small plate in the microwave for 30 seconds. Gently press the rim of each top shell onto the warm plate for about 5 seconds to melt the edge. Carefully place the warmed top shell onto the filled bottom shell, pressing gently to seal. Smooth any gaps with a fingertip dipped in melted chocolate.
- Decorate (Optional): Melt white chocolate in a microwave-safe bowl (30-second intervals, stirring). Drizzle over sealed bombs using a fork or piping bag. While wet, sprinkle crushed peppermint and edible glitter. Refrigerate for 10 minutes to set.
- Serve or Store: To serve, place one bomb in a mug and pour 8-10 ounces (240-300ml) of steaming hot milk (about 180°F/82°C) over it. Stir until fully dissolved and marshmallows have softened. Serve immediately.
Notes
For best results, use high-quality chocolate (at least 60% cacao for dark). The double-layered chocolate shell prevents cracking. The warm plate trick helps seal the halves perfectly. Store in an airtight container at room temperature for up to 2 weeks. Do not refrigerate after sealing to avoid chocolate bloom.
Nutrition
- Serving Size: 1 bomb (without milk
- Calories: 300
- Sugar: 25
- Sodium: 80
- Fat: 20
- Saturated Fat: 12
- Carbohydrates: 32
- Fiber: 3.5
- Protein: 4
Keywords: peppermint hot cocoa bombs, holiday treats, hot chocolate bombs, easy Christmas dessert, peppermint cocoa bombs, homemade hot cocoa bombs


