Third time this week I’ve stood over a cutting board, slicing cheddar into strips while my six-year-old arranges pretzel sticks on a plate like they’re sacred artifacts. The first batch of mummy faces I made came out looking more like sad ghosts with dental problems. By round two, I figured out the cheese-to-cracker ratio—two strips per mummy, slightly overlapping, so the bandages actually look wrapped, not just dropped. By round three, I was using kitchen shears to cut the cheese into perfect ribbons, and my husband walked in and said, “Are you… taking this personally?” Yes. Absolutely I was.
There’s something about Halloween snacks that feels high-stakes, you know? You want them cute enough that the kids squeal, but simple enough that you’re not crying over a piping bag at 10 PM. This Easy Mummy Cheese and Crackers Halloween Snack Board hits that sweet spot. It’s ridiculous in the best way—little cheese mummies with candy eyes staring up at you from a board full of crackers, grapes, and salami roses. Honestly, it took me longer to arrange the board for a photo than it did to actually make the whole thing.
The best part? You don’t need special equipment or fancy ingredients. Just cheese, crackers, some candy eyes, and maybe a handful of pretzels for arms. The mummies themselves are basically just cheese strips with a tiny face, which is exactly the kind of low-effort, high-reward energy I need during the chaos of Halloween week. This board has become our go-to for Halloween parties, after-school spooky snacks, and honestly, random Tuesdays in October when I need a reason to smile. It’s not complicated. It’s just fun. And sometimes that’s exactly what a recipe needs to be.
Why You’ll Love This Recipe
I’ve tested this board about seven times now (yes, seven—I have the cheese wrappers to prove it), and every time, I find a new way to make it even easier. Here’s why this one sticks:
- Quick & Easy: This whole board comes together in under 15 minutes. No baking, no cooking, no waiting. Just slice, arrange, and serve.
- Simple Ingredients: You probably already have most of this in your fridge. Cheddar, cream cheese, crackers, pretzels—no weird specialty items required.
- Perfect for Halloween: Whether it’s a classroom party, a trunk-or-treat gathering, or just a spooky movie night at home, this board fits right in.
- Crowd-Pleaser: Kids go absolutely bonkers for the little mummy faces. Adults pretend they’re too mature for it, then eat three mummies in a row when no one’s looking.
- Unbelievably Cute: Let’s be honest—this is the kind of snack that makes people pull out their phones. It’s photogenic without being fussy.
What makes this different from other Halloween snack boards? First, the cheese-to-cracker ratio is dialed in. I’ve seen versions where the mummies are just a blob of cream cheese with eyes—and that’s fine, but it’s not satisfying. Using actual cheese strips gives you that nice salty bite and a real texture contrast. Plus, I add a thin layer of cream cheese under the eyes so they actually stick. Little details matter.
This recipe isn’t just cute—it’s the kind of snack that makes you feel like a Halloween hero without any of the stress. It’s comfort food for the holiday season, reimagined as something you can throw together in the time it takes to find your kid’s costume pieces.
What Ingredients You Will Need
This recipe uses simple, everyday ingredients to create something that looks way more impressive than it actually is. You don’t need to hunt down specialty stores—just grab these basics and you’re golden.
For the Mummies
- Cheddar cheese block (8 oz): Get a block, not pre-sliced. You want to cut your own strips so they’re the right width—about half an inch thick and three inches long. I prefer sharp cheddar for the bold flavor, but mild works just fine for kids.
- Cream cheese (2 oz), softened: This acts as the “glue” for the candy eyes. Without it, the eyes slide right off. Let it sit out for 10 minutes before you start so it’s spreadable.
- Candy eyes (about 24 pairs): You can find these at any craft store or grocery store in the baking aisle. I like the ones from Wilton—they stick better than the off-brand versions. Store any leftovers in a zip-top bag for next year.
For the Board
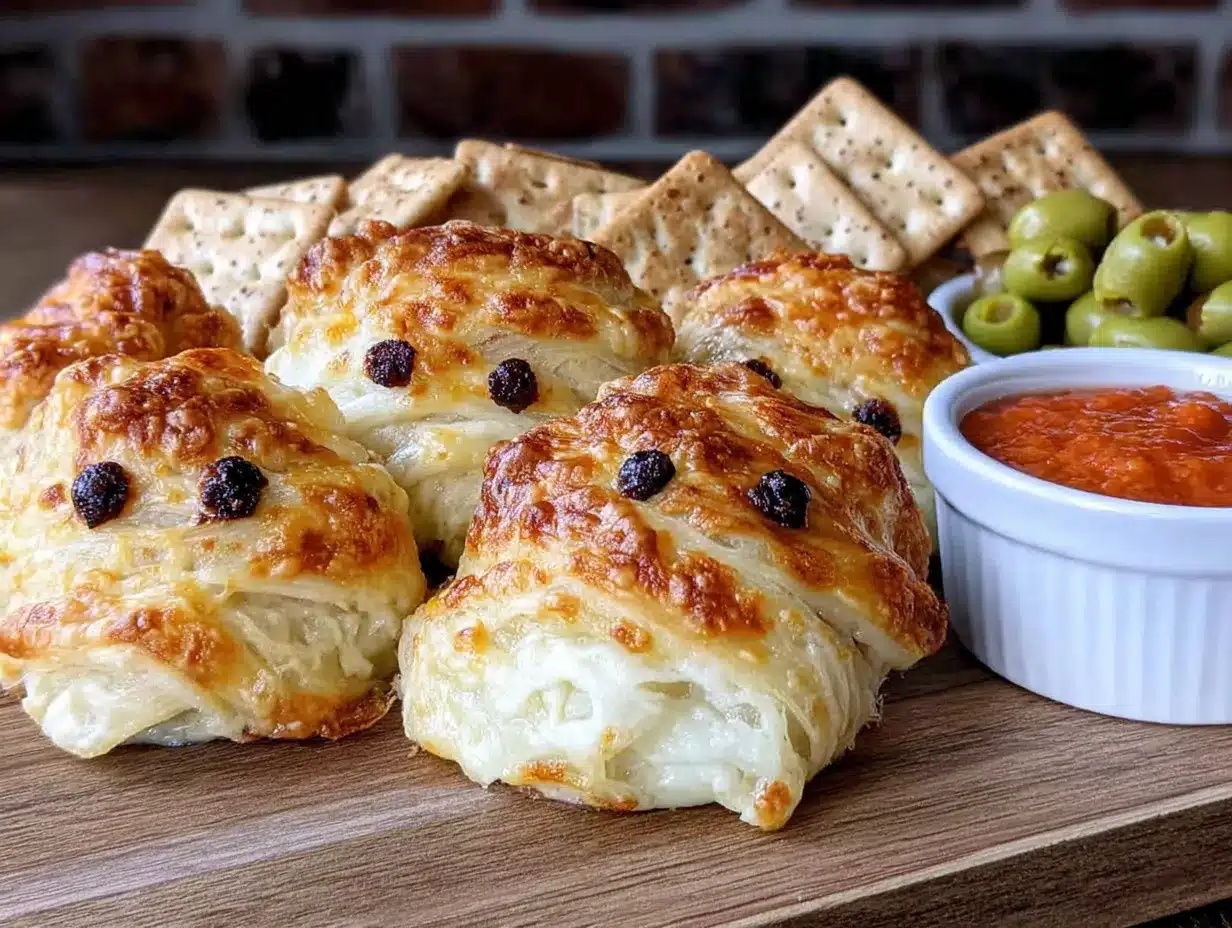
- Crackers (about 24): I use Ritz or Club crackers for the base—they’re sturdy enough to hold the cheese and have that buttery flavor that pairs perfectly with cheddar. You can also use square butter crackers for a cleaner look.
- Pretzel sticks (about 24): These become the mummy arms. Break them in half so they’re about two inches long. You want them to stick out from under the cheese strips on each side.
- Red grapes (1 cup): Adds a pop of color and a sweet counterpoint to the salty cheese. Plus, they look like little eyeballs if you’re feeling extra spooky.
- Salami or pepperoni (4 oz): I roll these into little roses for a fancy touch, but you can also just fold them into triangles. Genoa salami works best because it’s soft enough to roll.
- Baby carrots or cucumber slices (1 cup): For crunch and color. I like to alternate them around the board so it doesn’t look like a cheese-only zone.
Optional Add-Ons
- Black olives: For extra spider vibes. Slice them in half and arrange on the board like little creepy crawlers.
- String cheese: If you want to make bigger mummies, pull string cheese into strips and use those instead of cheddar. They’re milder but super fun to peel.
- Hummus or ranch dip: Place a small bowl in the center of the board for dipping. Kids love dunking the mummies (it feels wrong but tastes right).
I’ve found that the quality of the cheese really matters here. Cheap cheddar tends to crumble when you cut it, which makes your mummies look like they’ve been through a battle. I recommend Tillamook or Cabot—they slice clean and taste sharp enough to stand up to the crackers.
Equipment Needed
You don’t need a lot of fancy gear for this one, which is part of the charm. Here’s what I use:
- Cutting board: A large wooden or plastic board for assembling everything. I use a 12×16-inch bamboo board for the final presentation.
- Cheese knife or sharp chef’s knife: You need something sharp enough to cut clean strips of cheddar without shredding them. A serrated knife works too, but a straight edge is better.
- Kitchen shears: These are my secret weapon for cutting cheese strips quickly. Snip, snip, done. Way faster than trying to get even slices with a knife.
- Small offset spatula or butter knife: For spreading the cream cheese onto the crackers before adding the eyes. A butter knife works fine, but an offset spatula gives you more control.
- Serving platter or board: Any flat surface works—a wooden board, a large plate, even a baking sheet if you’re feeding a crowd. I like a white ceramic platter because it makes the colors pop.
- Small bowls: For dips, olives, or candy eyes. I use ramekins or small pinch bowls so things don’t roll around.
If you don’t have a cheese knife, don’t stress. I’ve used a regular paring knife and it worked fine—just go slow and keep your cuts even. And if you don’t have a serving board? A clean cookie sheet lined with parchment paper works beautifully. Halloween is about improvisation anyway.
Preparation Method
This comes together fast, so I like to set everything out on the counter before I start. Mise en place, but make it spooky.
Step 1: Prep the Cheese (5 minutes)
Unwrap your cheddar block and cut it into strips about half an inch wide and three inches long. You want them thin enough to look like bandages but thick enough that they don’t break when you pick them up. I usually get about 12 strips from an 8-ounce block. If your cheese starts to crumble, let it sit at room temperature for five minutes—cold cheese cuts cleaner, but if it’s too cold, it cracks.
Set the cream cheese out to soften while you work on the rest. You want it spreadable but not runny. If you’re in a hurry, microwave it for 5 seconds—no more, or it gets soupy.
Step 2: Assemble the Mummies (8 minutes)
Lay out your crackers on the cutting board. You’ll make one mummy per cracker, so count how many you want. I usually do 12 for a small board or 24 for a party.
Take two pretzel stick halves and place them on the cracker so they stick out on either side—these are the mummy arms. They should look like little stick figures before you add the cheese.
Now take two strips of cheddar and lay them across the cracker, overlapping slightly in the middle. The cheese should cover the center of the pretzel sticks so the arms poke out from underneath. Don’t worry if the cheese doesn’t cover the whole cracker—the bandage look is supposed to be uneven. That’s the charm.
Using your offset spatula or butter knife, dab a tiny bit of softened cream cheese in the center of the cheese strips. Press two candy eyes into the cream cheese. The cream cheese acts like edible glue—without it, the eyes slide right off. I learned this the hard way after a mummy massacre on my first attempt.
Repeat for all mummies. You’ll get faster as you go. By the fourth one, you’ll feel like a mummy-making machine.
Step 3: Build the Board (5 minutes)
Arrange the mummies on your serving platter in rows or a loose cluster. I like to group them in the center and surround them with the extras.
Add your red grapes in small bunches around the edges. Roll your salami slices into roses—just fold a slice in half, roll it up, and tuck the end underneath. Place those near the mummies for contrast.
Fill in any empty spaces with baby carrots, cucumber slices, or black olives. The goal is to make the board look full and inviting, not sparse. If you have gaps, add more grapes or extra crackers.
Place a small bowl of ranch dip or hummus in the center if you’re using it. I like to put it right in the middle so the mummies surround it like they’re guarding a treasure.
Step 4: Final Touches (2 minutes)
Give the board a once-over. Are the mummies facing different directions? Good. Are the eyes all stuck on? Press down any that look loose. Does the board look balanced? Add a few more crackers if it feels empty.
Serve immediately, or cover with plastic wrap and refrigerate for up to 2 hours. The crackers will soften slightly if you leave them too long, so this is best made fresh. But honestly, I’ve eaten leftovers the next day and they were still delicious—just a little less crunchy.
Cooking Tips & Techniques
I’ve made this board enough times to have a few hard-earned lessons. Here’s what I wish someone had told me before my first attempt:
Don’t overthink the cheese strips. They don’t have to be perfect. In fact, uneven strips look more like actual mummy bandages. I used to stress about getting each strip exactly the same width, and then I realized that the wonky ones looked way cuter. So embrace the imperfection.
Warm the cream cheese just slightly. Cold cream cheese won’t spread—it’ll just tear the cracker. Let it sit out for 10 minutes, or microwave it for 5 seconds. You want it soft enough to dab with a knife but not so soft that it runs down the sides of the cracker.
Use the candy eyes sparingly at first. I once put two eyes on every single mummy, then realized I only had enough for half of them. Space them out, and if you run out, you can cut the eyes apart (they usually come connected in strips). Or just make some mummies with one eye—zombie mummies are a thing.
Break the pretzel sticks before you start. Trying to snap them while you’re holding a cheese strip is a recipe for disaster. Break all your pretzel sticks in half and put them in a bowl before you begin assembly. It saves so much time.
Keep the board cold until serving. Cheese sweats at room temperature, and your mummies will start to look greasy after about 30 minutes. If you’re making this for a party, assemble it and keep it in the fridge until the last minute. Pull it out right when guests arrive.
One more thing—if you’re making this with kids, let them do the eyes. It’s the perfect job for little hands, and they get so proud of their mummy faces. Just be prepared for some mummies with three eyes or eyes placed on the forehead. That’s part of the fun.
Variations & Adaptations
This recipe is endlessly customizable, which is why I keep coming back to it. Here are some of my favorite twists:
Gluten-Free Version: Swap the crackers for gluten-free rice crackers or almond flour crackers. The pretzel sticks can be replaced with gluten-free pretzel sticks or carrot sticks. Everything else is naturally gluten-free.
Dairy-Free Version: Use vegan cheddar slices (I like Daiya or Violife) and vegan cream cheese. The texture will be slightly different—vegan cheese doesn’t cut as cleanly—but the flavor is still great. Skip the regular cheese and use hummus as the eye glue instead.
Low-Carb/Keto Version: Replace the crackers with cucumber rounds or bell pepper slices. Use full-fat cheddar and cream cheese. Skip the grapes and add more olives and salami. It’s a perfect keto-friendly snack that still looks festive.
Sweet Mummies: This is a fun one for dessert. Use graham crackers as the base, spread with Nutella or peanut butter, and use white chocolate melting wafers as the “bandages.” Melt the wafers, drizzle them over the cracker in strips, and add candy eyes before the chocolate sets. My kids went absolutely wild for these.
Mini Mummy Bites: Use small square crackers and cut the cheese into tiny strips. These are perfect for little hands or for packing in lunchboxes. I’ve made these for my daughter’s preschool Halloween party and they were gone in minutes. If you’re looking for more easy lunchbox ideas, check out this easy nut-free preschool snack box that pairs perfectly with these mini mummies.
I tried a version once where I used pepper jack cheese instead of cheddar, and it gave the mummies a nice little kick. My husband loved it; my kids said it was “too spicy for mummies.” So maybe save that one for an adult gathering.
Serving & Storage Suggestions
This board is best served cold or at room temperature, right after assembly. The crackers stay crunchy, the cheese is firm, and the eyes stay put. If you’re serving it at a party, put it out about 10 minutes before guests arrive so the cheese has time to soften just slightly.
For presentation, I like to arrange the mummies in a loose grid pattern, with the extras filling in the gaps. It looks intentional without being fussy. If you’re feeling extra, you can add a small sign that says “Mummy Snacks” or “Don’t Be Scared, Eat Me.”
When it comes to storage, this board doesn’t keep super well overnight. The crackers absorb moisture from the cheese and get soft. But if you have leftovers (unlikely, but possible), you can store the mummies in an airtight container in the fridge for up to 24 hours. The crackers won’t be crunchy anymore, but the flavor is still good.
To re-crisp the crackers, you can pop them in a 300°F oven for about 3 minutes. Remove the candy eyes first (they melt), then add fresh ones after reheating. It’s a bit of a hassle, but if you’re committed to crispy mummies, it works.
If you’re making this ahead of time, prep all the components separately. Cut the cheese strips, break the pretzels, wash the grapes, and store everything in separate containers in the fridge. Assemble the board right before serving. This is the best way to keep everything fresh and crunchy.
Flavors actually develop nicely over time. The cheese and crackers meld together, and the saltiness of the pretzels balances the sweetness of the grapes. I’ve found that the board tastes even better about 20 minutes after assembly—the cheese warms up just enough to release its flavor.
Nutritional Information & Benefits
This snack board is more balanced than you might think. Here’s an approximate breakdown per serving (about 3 mummies with crackers and extras):
- Calories: 320-380
- Protein: 12g
- Fat: 22g
- Carbohydrates: 24g
- Fiber: 2g
- Sugar: 8g
The cheddar cheese provides a good dose of calcium and protein, while the grapes add antioxidants and natural sweetness. The salami offers iron and B vitamins, and the crackers give you quick energy. It’s not a health food, but it’s a far cry from the candy-heavy alternatives that dominate Halloween.
If you’re watching your sodium, use low-sodium crackers and skip the pretzels. You can also swap the salami for turkey slices rolled into roses. The flavor will be milder, but the board will still look great.
This recipe is naturally nut-free (just check your cracker ingredients), which makes it a safe option for school parties and gatherings where allergies are a concern. If you’re looking for more nut-free snack ideas, this nut-free preschool snack box is a lifesaver for busy parents.
One thing I love about this board is that it encourages mindful eating. Kids pick up a mummy, eat it slowly, and then reach for a grape or a carrot. It’s not the kind of snack that gets inhaled in two seconds—it’s an experience. And honestly, that’s a win for any parent trying to get their kids to eat something other than candy on Halloween.
Conclusion
This Easy Mummy Cheese and Crackers Halloween Snack Board is the kind of recipe that makes you feel like a kitchen genius without any of the actual work. It’s cute enough to impress, simple enough to throw together in 15 minutes, and flexible enough to adapt to whatever you have in your fridge. Whether you’re hosting a Halloween party, packing a school lunch, or just trying to make a Tuesday night feel special, this board delivers.
I love this recipe because it reminds me that Halloween doesn’t have to be complicated. You don’t need elaborate costumes or fancy decorations to make the holiday fun. Sometimes all it takes is a block of cheese, some candy eyes, and a little bit of imagination. The joy on my daughter’s face when she saw the mummies for the first time? That’s the whole point.
So go ahead—make a batch. Make two. Experiment with different cheeses, try the sweet version, or just stick with the classic. And when you do, I’d love to hear about it. Drop a comment below and tell me how your mummies turned out, or share your own twist on the recipe. Did your kids love them? Did you try the pepper jack version? Let’s make Halloween snacking a thing. Happy haunting!
Frequently Asked Questions
Can I make these mummies ahead of time?
You can assemble them up to 2 hours ahead and keep them in the fridge. The crackers will soften slightly, but they’ll still be tasty. For best results, prep the components separately and assemble right before serving.
What if I can’t find candy eyes?
No problem! You can use black sesame seeds, small black beans, or even dots of black frosting from a tube. If you’re in a pinch, just skip the eyes—the cheese strips alone still look like little mummies.
Can I use string cheese instead of a cheese block?
Absolutely. Pull string cheese into thin strips and use those as the bandages. The texture is softer and milder, but it works great—especially for younger kids who prefer a milder flavor.
How do I keep the mummies from falling apart?
Make sure your cheese strips are thick enough to hold their shape—about half an inch wide. If they’re too thin, they’ll break when you pick them up. Also, press the pretzel sticks firmly onto the cracker before adding the cheese so they don’t slide out.
Can I make this into a main dish instead of a snack?
Sure! Use larger crackers or toast points as the base, add more cheese strips, and serve with a side of soup or chili. It’s a fun way to turn a snack into a light meal. Pair it with this one-pot football Sunday chili for the ultimate Halloween dinner.
Pin This Recipe!
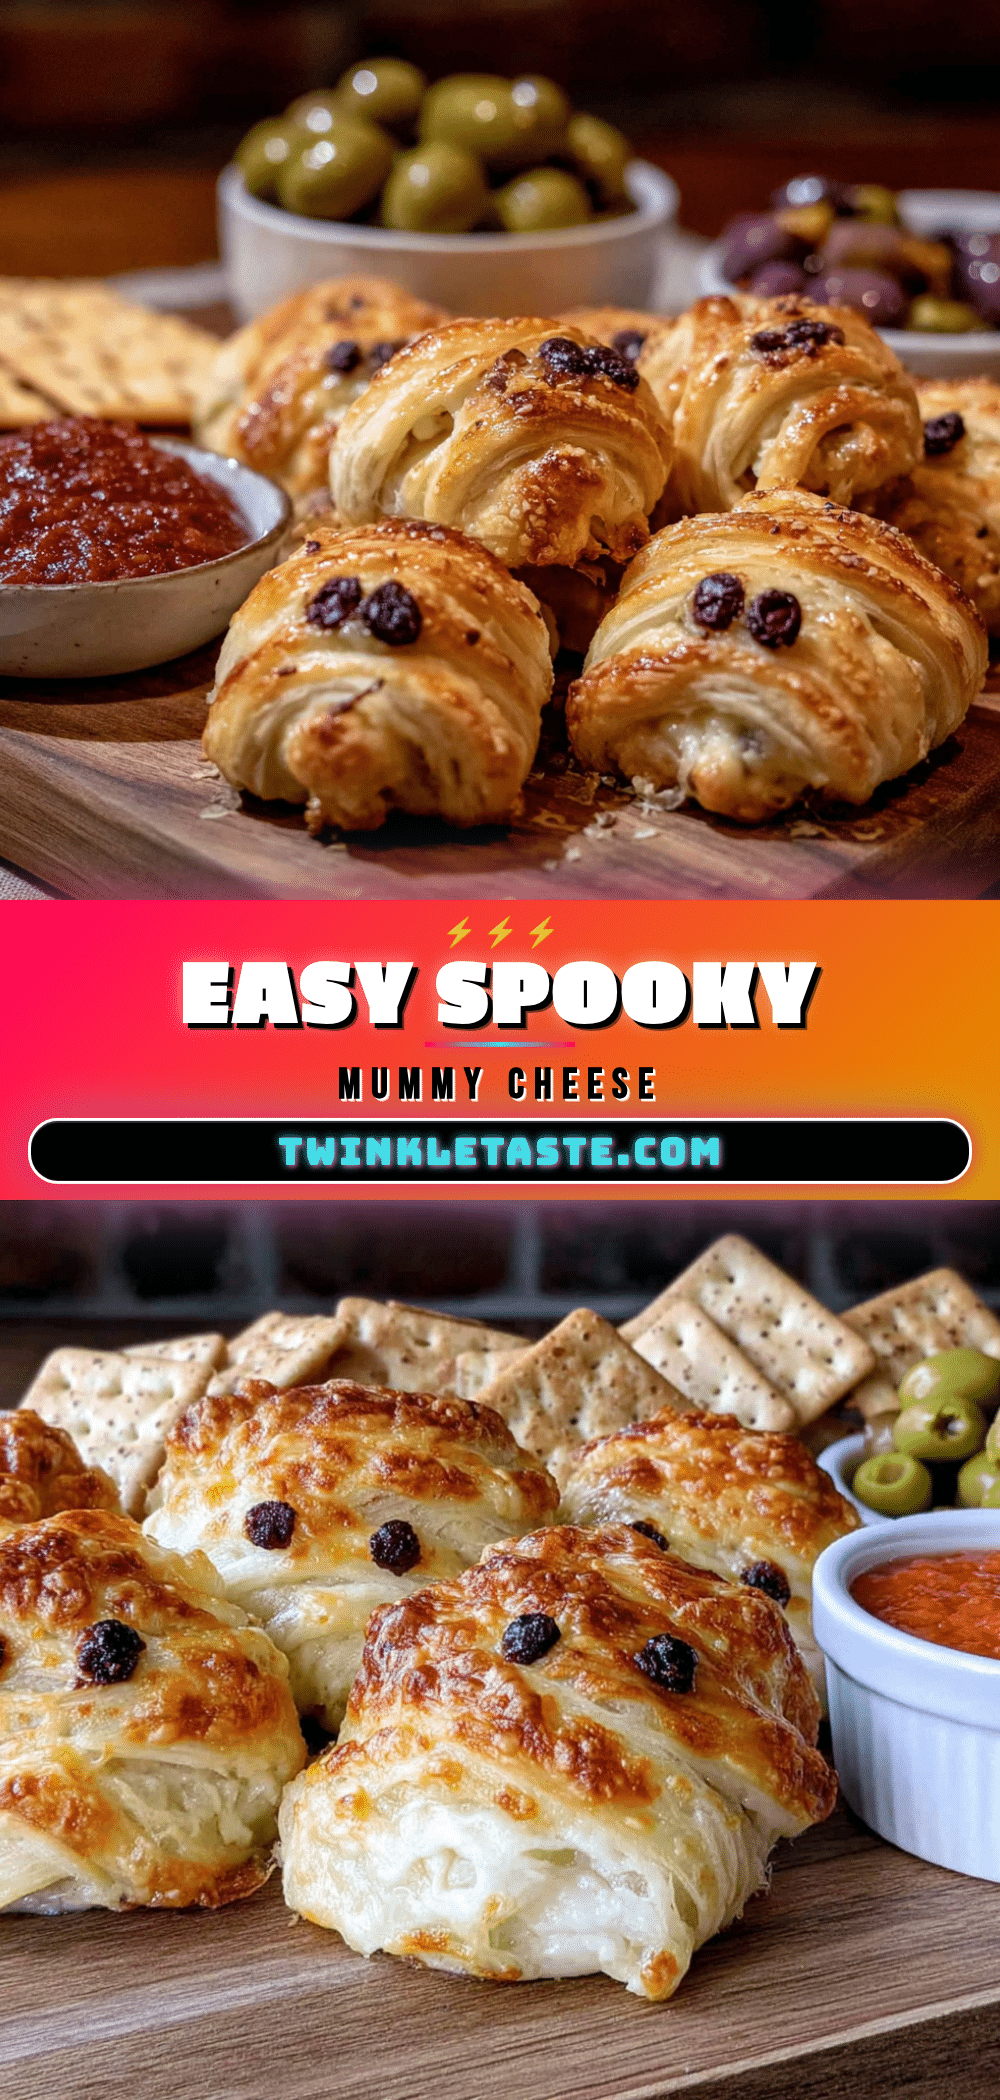
Easy Mummy Cheese and Crackers Halloween Snack Board

A quick and fun Halloween snack board featuring cheese mummies with candy eyes, crackers, pretzels, grapes, and salami roses. Perfect for parties or spooky movie nights.
- Prep Time: 15 minutes
- Cook Time: 0 minutes
- Total Time: 15 minutes
- Yield: 4 servings
- Category: Snack
- Cuisine: American
Ingredients
- Cheddar cheese block (8 oz)
- Cream cheese (2 oz), softened
- Candy eyes (about 24 pairs)
- Crackers (about 24), such as Ritz or Club
- Pretzel sticks (about 24), broken in half
- Red grapes (1 cup)
- Salami or pepperoni (4 oz)
- Baby carrots or cucumber slices (1 cup)
- Black olives (optional)
- String cheese (optional)
- Hummus or ranch dip (optional)
Instructions
- Prep the cheese: Cut cheddar block into strips about 1/2 inch wide and 3 inches long. Let cream cheese soften at room temperature for 10 minutes.
- Assemble the mummies: Place a cracker on the board. Add two pretzel stick halves on the cracker for arms. Lay two cheddar strips across the cracker, overlapping slightly in the middle. Dab a tiny bit of cream cheese in the center and press two candy eyes into it.
- Repeat for all mummies (12-24).
- Build the board: Arrange mummies on a serving platter. Add grapes, salami roses (folded and rolled), baby carrots, cucumber slices, and black olives around them. Place a small bowl of dip in the center if desired.
- Final touches: Check that eyes are secure and board looks balanced. Serve immediately or refrigerate for up to 2 hours.
Notes
For best results, keep the board cold until serving. Cheese strips don’t need to be perfect—uneven strips look more like bandages. If making ahead, prep components separately and assemble just before serving.
Nutrition
- Serving Size: 3 mummies with crack
- Calories: 350
- Sugar: 8
- Sodium: 480
- Fat: 22
- Saturated Fat: 12
- Carbohydrates: 24
- Fiber: 2
- Protein: 12
Keywords: Halloween snack, mummy cheese, snack board, easy Halloween recipe, cheese and crackers, spooky snack


