Third batch in as many weeks and I finally stopped hovering over the stove long enough to let the pears talk. That sounds ridiculous, I know. But there’s something about standing there with a wooden spoon, watching Bosc pears collapse into amber, that changes how you think about a jar of jam. The first batch came out too runny—I got impatient and pulled it early. The second batch? I walked away for “just a minute” and came back to something that tasted more like pear-flavored caramel than actual preserves. By the third time, I stopped treating it like a recipe to conquer and started treating it like a conversation. The fruit tells you when it’s done if you’re actually listening. This small batch of homemade spiced pear preserves isn’t complicated, and that’s exactly the point. It’s the kind of thing you make on a Sunday afternoon when the house smells like cinnamon and you’re not in a rush to go anywhere. Just three pounds of pears, some sugar, a handful of warm spices, and enough patience to let them do their thing. I’ve been making jam for years, but this particular combination of pears and star anise and vanilla hit different. It’s not too sweet, not too spicy—just exactly what you want spread on a warm piece of toast in the middle of a chilly November morning.
Why You’ll Love This Recipe
Let me tell you why this small batch spiced pear preserves recipe has earned a permanent spot in my fall rotation. First off, it’s genuinely foolproof once you know what to look for. I’ve tested this more times than I care to admit, and I’ve learned exactly where things can go wrong so you don’t have to.
- Small Batch Perfection: This recipe makes just about 3-4 half-pint jars. No massive canning operation required. You don’t need a water bath canner or special equipment unless you want to store them long-term.
- Simple Ingredients: Pears, sugar, lemon, and spices. That’s it. You probably have most of these in your pantry right now.
- Perfect for Gifting: Homemade preserves make the most thoughtful hostess gift or holiday present. Tie a ribbon around the jar and you’re done.
- Customizable Spice Level: Love clove? Add more. Not a fan of star anise? Leave it out. This recipe bends to your preferences.
- Incredible Flavor: The combination of warm spices with sweet, tender pears creates something that tastes like autumn in a jar. It’s not just jam—it’s an experience.
I’ve been developing recipes for over a decade, and what I love most about this one is how forgiving it is. You don’t need to be a master preserver to get gorgeous results. The pears do most of the work. You just have to show up and stir occasionally. This is the kind of recipe that makes you look like you spent hours in the kitchen when really, you were just hanging out with a pot and some fruit.
What Ingredients You Will Need
This recipe uses simple, wholesome ingredients that come together to create something truly special. The quality of your pears matters here, so choose wisely. Here’s what you’ll need:
- 3 pounds ripe but firm pears (Bosc or Anjou work beautifully—Bosc holds its shape slightly better, while Anjou breaks down more for a smoother texture). Peel, core, and dice them into ½-inch pieces. You want them ripe enough to be fragrant but still firm enough to hold some texture during cooking.
- 2 cups granulated sugar (regular white sugar works perfectly. Don’t substitute honey or maple syrup here—they change the set and the flavor balance).
- ¼ cup fresh lemon juice (from about 2 lemons). The acidity helps balance the sweetness and activates the pectin naturally present in the pears.
- 1 vanilla bean, split and scraped (or 2 teaspoons vanilla extract added at the end). Vanilla bean gives a more complex, floral note that extract just can’t replicate.
- 1 cinnamon stick (or 1 teaspoon ground cinnamon—but the stick infuses more gently).
- 3 whole star anise (these add a subtle licorice warmth that pairs beautifully with pears. Remove before jarring).
- 4 whole cloves (a little goes a long way. Cloves can overpower quickly, so stick to just four).
- 1 thin strip of lemon zest (removed with a vegetable peeler—no white pith, please). This adds brightness without bitterness.
- Pinch of salt (don’t skip this—it balances the sweetness and enhances all the other flavors).
I recommend using Bosc pears if you can find them. They have a naturally honeyed flavor and hold their shape better during cooking. If you’re using Anjou pears, expect a slightly softer final texture—still delicious, just different. For best results, avoid Bartlett pears as they can become mushy and release too much water.
Equipment Needed
You don’t need a fully stocked canning kitchen for this recipe, which is part of what makes it so approachable. Here’s what you’ll actually use:
- Large heavy-bottomed pot or Dutch oven (I use my 5.5-quart Le Creuset, but any heavy pot works. The key is even heat distribution to prevent scorching).
- Wooden spoon or heat-resistant spatula (metal can react with the acid in the preserves).
- Half-pint mason jars with lids (3-4 jars depending on how much the pears cook down).
- Canning funnel (not strictly necessary, but makes filling jars so much less messy).
- Small saucepan (for sterilizing jars and lids).
- Kitchen scale (weighing pears is more accurate than counting them).
- Chef’s knife and cutting board.
If you don’t have a Dutch oven, a thick-bottomed stainless steel pot works fine. Just keep the heat on medium-low and stir frequently. I learned the hard way that thin pots lead to scorched preserves and a very sad kitchen cleanup.
Preparation Method
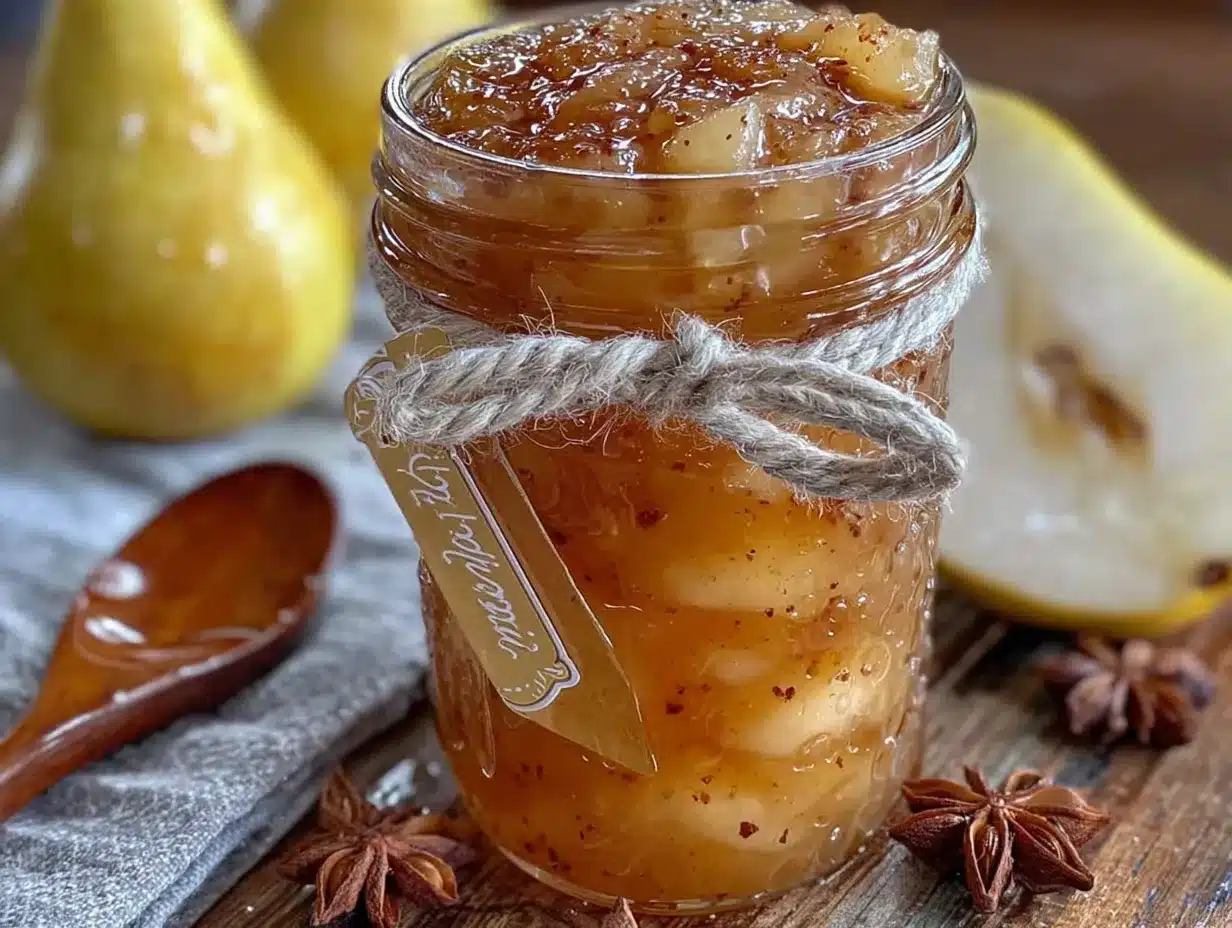
This process is straightforward, but timing and observation matter more than speed. Here’s how to make your own small batch spiced pear preserves:
- Prep your pears (15 minutes): Peel, core, and dice 3 pounds of pears into ½-inch pieces. Don’t stress about uniformity, but try to keep them roughly the same size so they cook evenly. Toss the diced pears with ¼ cup lemon juice in a large bowl to prevent browning.
- Maceration (30 minutes, hands-off): Add the 2 cups sugar to the pears and stir gently. Let this sit for 30 minutes at room temperature. The sugar will draw out the pears’ natural juices, creating a syrup before you even turn on the heat. This step is crucial—don’t skip it.
- Start cooking (5 minutes active): Transfer the pear-sugar mixture to your heavy-bottomed pot. Add the split vanilla bean (scraped seeds and pod), cinnamon stick, star anise, cloves, lemon zest strip, and a pinch of salt. Bring to a gentle boil over medium heat, stirring occasionally.
- Simmer and reduce (45-60 minutes): Once boiling, reduce heat to medium-low so the mixture is at a steady simmer. You want gentle bubbles, not a violent boil. Stir every 5-7 minutes to prevent sticking. As the preserves cook, you’ll notice the pears becoming translucent and the liquid thickening. This is where patience pays off.
- Test for doneness (1 minute): After about 45 minutes, start checking for set. Place a small plate in the freezer for a few minutes. Drop a spoonful of preserves onto the cold plate and let it sit for 30 seconds. Run your finger through the center—if the preserves hold their shape and don’t immediately run back together, they’re done. If they’re still runny, cook for another 5-10 minutes and test again.
- Remove spices (2 minutes): Once the preserves have reached the right consistency, remove the cinnamon stick, star anise, cloves, vanilla bean pod, and lemon zest strip. I use tongs for this—much easier than fishing around with a spoon.
- Add vanilla if using extract: If you’re using vanilla extract instead of a bean, stir it in now. Don’t add it earlier or the alcohol will cook off and you’ll lose the flavor.
- Jar the preserves (10 minutes): While the preserves are still hot, carefully ladle them into sterilized jars, leaving about ¼-inch headspace at the top. Wipe the rims clean with a damp paper towel, then screw on the lids until fingertip-tight. If you’re planning to refrigerate and use within a few weeks, you’re done. For long-term storage, process in a water bath canner for 10 minutes.
Visual cues to watch for: The preserves will darken from pale yellow to a deep amber as they cook. The pears will become translucent and slightly glassy-looking. The liquid should coat the back of your spoon and hold there briefly before sliding off.
Cooking Tips & Techniques
I’ve made enough mistakes with preserves to fill a cookbook, so let me save you some trouble. Here are the things I wish someone had told me:
Don’t walk away. I know this sounds dramatic, but preserves can go from perfect to scorched in about two minutes flat. Set a timer for every 5-7 minutes and use that as a reminder to stir. I learned this lesson when I tried to prep lunch while my second batch was cooking. The bottom of the pot was a disaster.
Low and slow wins. High heat might seem faster, but it breaks down the pears unevenly and can cause the sugar to caramelize before the fruit has released enough liquid. Keep it at a gentle simmer—you should see small bubbles breaking the surface, not a rolling boil.
Trust the cold plate test. The preserves will look thinner in the hot pot than they actually are. The cold plate test is your most reliable indicator. I’ve pulled batches too early because they looked runny, only to have them set up perfectly after cooling. Give it the full test before you decide.
Skim the foam. As the preserves cook, a frothy foam will rise to the surface. This is just air bubbles and impurities—skim it off with a spoon for a clearer, more attractive final product. I usually do this about halfway through cooking.
Use a timer, not your memory. I cannot tell you how many times I’ve thought “I’ll just check on it in a minute” and then gotten distracted. Set a timer. Your preserves will thank you.
Sterilize jars properly. Wash jars and lids in hot soapy water, then place them in a pot of boiling water for 10 minutes. Keep them hot until you’re ready to fill them—cold jars can cause hot preserves to crack the glass.
Variations & Adaptations
One of the best things about this recipe is how easily it adapts to different tastes and dietary needs. Here are some variations I’ve tried and loved:
Spiced Pear and Ginger Preserves: Add 2 tablespoons of finely grated fresh ginger along with the other spices. The ginger adds a bright, warming kick that pairs beautifully with the pears. I made this version last December and it was gone within two weeks.
Low-Sugar Option: Reduce the sugar to 1 cup and add 1 tablespoon of Pomona’s pectin (follow the package directions). The texture will be slightly softer, but the pear flavor shines through more clearly. This version works great for those watching their sugar intake.
Vanilla-Pear with Cardamom: Replace the star anise and cloves with 6 crushed cardamom pods. The floral, slightly citrusy notes of cardamom create a more delicate, elegant preserve. This is my go-to for holiday gift baskets.
Bourbon-Spiced Pear Preserves: Add 2 tablespoons of good bourbon during the last 5 minutes of cooking. The alcohol cooks off, leaving behind a subtle warmth that complements the spices perfectly. Just don’t tell the kids.
Apple-Pear Blend: Replace half the pears with firm apples like Granny Smith or Honeycrisp. The apples add natural pectin, which helps the preserves set more firmly. This is a great option if your pears are on the softer side.
Serving & Storage Suggestions
These preserves are incredibly versatile, and I’ve found about a dozen ways to use them beyond the obvious toast situation:
Serving temperature: Serve at room temperature for the best flavor and spreadability. If refrigerated, let the jar sit out for about 15 minutes before using.
Classic pairings: Spread on warm buttered toast, scones, or biscuits. It’s also incredible on a cheese board—try it with sharp cheddar, aged gouda, or creamy brie. The sweetness of the pears cuts through rich, salty cheeses beautifully.
Beyond breakfast: Spoon over vanilla ice cream, swirl into yogurt, or use as a topping for pancakes and waffles. I’ve even used it as a glaze for roasted pork chops—just brush it on during the last 10 minutes of cooking.
Storage instructions: Unopened jars stored in a cool, dark place will keep for up to a year. Once opened, refrigerate and use within 3-4 weeks. The preserves will thicken slightly as they cool, so don’t worry if they seem a bit loose when you first jar them.
Freezer option: You can freeze these preserves in freezer-safe containers for up to 6 months. Leave about ½ inch of headspace for expansion. Thaw in the refrigerator overnight before using.
Flavor development: The spices will continue to meld and deepen over the first week or two after jarring. If you can resist opening a jar right away, you’ll be rewarded with even more complex flavor. I always save one jar for at least a month—it’s worth the wait.
Nutritional Information & Benefits
While preserves are definitely a treat, they do offer some surprising nutritional benefits thanks to the pears. Here’s a rough breakdown per 2-tablespoon serving:
| Nutrient | Amount |
|---|---|
| Calories | 45 |
| Carbohydrates | 12g |
| Sugar | 10g |
| Fiber | 1g |
| Vitamin C | 2% DV |
| Potassium | 1% DV |
Pears are a good source of dietary fiber, particularly pectin, which supports digestive health and helps regulate blood sugar. They also contain antioxidants like vitamin C and copper, which support immune function. The spices in this recipe—cinnamon, cloves, and star anise—are known for their anti-inflammatory properties and can help with blood sugar regulation.
This recipe is naturally gluten-free, dairy-free, and vegan, making it accessible for most dietary needs. Just be mindful of portion sizes if you’re watching your sugar intake, as preserves are naturally sweet.
Conclusion
This small batch spiced pear preserves recipe has become a fall tradition in my kitchen, and I think it will become one in yours too. It’s the kind of recipe that rewards patience without demanding perfection—a rare combination in the cooking world. Whether you’re making it for yourself, gifting it to friends, or just looking for a way to use up a bounty of pears, this recipe delivers every time.
I love how this recipe captures the essence of autumn in a jar. The warmth of the spices, the sweetness of the pears, the way it makes your kitchen smell like a cozy afternoon—it’s comfort food in its purest form. And because it’s a small batch, there’s no pressure to get it perfect. You can experiment, make mistakes, and learn without committing to a massive canning operation.
If you’re looking for other cozy fall recipes, you might also enjoy this spiced brown butter pumpkin cream cheese muffins recipe for another warm, spiced treat. Or try this easy baked apple cider donut holes recipe for a perfect fall snack. And if you’re in the mood for something savory, this caramelized fig and goat cheese flatbread recipe pairs beautifully with a dollop of these preserves.
I’d love to hear how your preserves turn out! Leave a comment below and let me know what variations you tried. Did you add extra ginger? Swap in cardamom? Use a different type of pear? Share your experience—I read every comment and love learning from this amazing community.
Happy preserving, friends. Your kitchen is about to smell incredible.
Frequently Asked Questions
Can I use frozen pears for this recipe?
Yes, but there’s a catch. Frozen pears release more water during cooking, so you’ll need to cook the preserves about 10-15 minutes longer to evaporate the excess liquid. Thaw and drain the pears before using to reduce the extra moisture. The texture will be slightly softer than fresh pears, but the flavor is still wonderful.
How do I know when the preserves are done without a thermometer?
The cold plate test is your best friend here. Place a small plate in the freezer for 5 minutes, then drop a spoonful of preserves onto it. Let it sit for 30 seconds, then run your finger through the center. If the preserves hold their shape and don’t immediately run back together, they’re ready. You can also check by stirring—if the preserves leave a clean trail on the bottom of the pot for a second or two before filling back in, they’re close.
Why did my preserves turn out too runny?
This usually happens for one of three reasons: you pulled them off the heat too early, the pears were underripe (and therefore had less natural pectin), or there was too much water in the fruit. Next time, cook the preserves a bit longer and use the cold plate test before deciding they’re done. You can also add a tablespoon of lemon juice to help activate the pectin.
Can I use this recipe for water bath canning?
Absolutely. If you want to store these preserves at room temperature for up to a year, process the filled jars in a boiling water bath for 10 minutes (adjust for altitude if needed). Make sure to use proper canning jars with new lids, and always check the seals after cooling. If a lid doesn’t seal, just refrigerate that jar and use it within a few weeks.
What’s the best way to peel pears for preserves?
A sharp vegetable peeler works best for firm pears. If your pears are very ripe and soft, you can blanch them in boiling water for 30 seconds, then plunge them into ice water—the skins will slip right off. I prefer peeling with a peeler for Bosc pears since their skin is thin and easy to remove. For Anjou pears, blanching works better since their skin is slightly thicker.
Pin This Recipe!
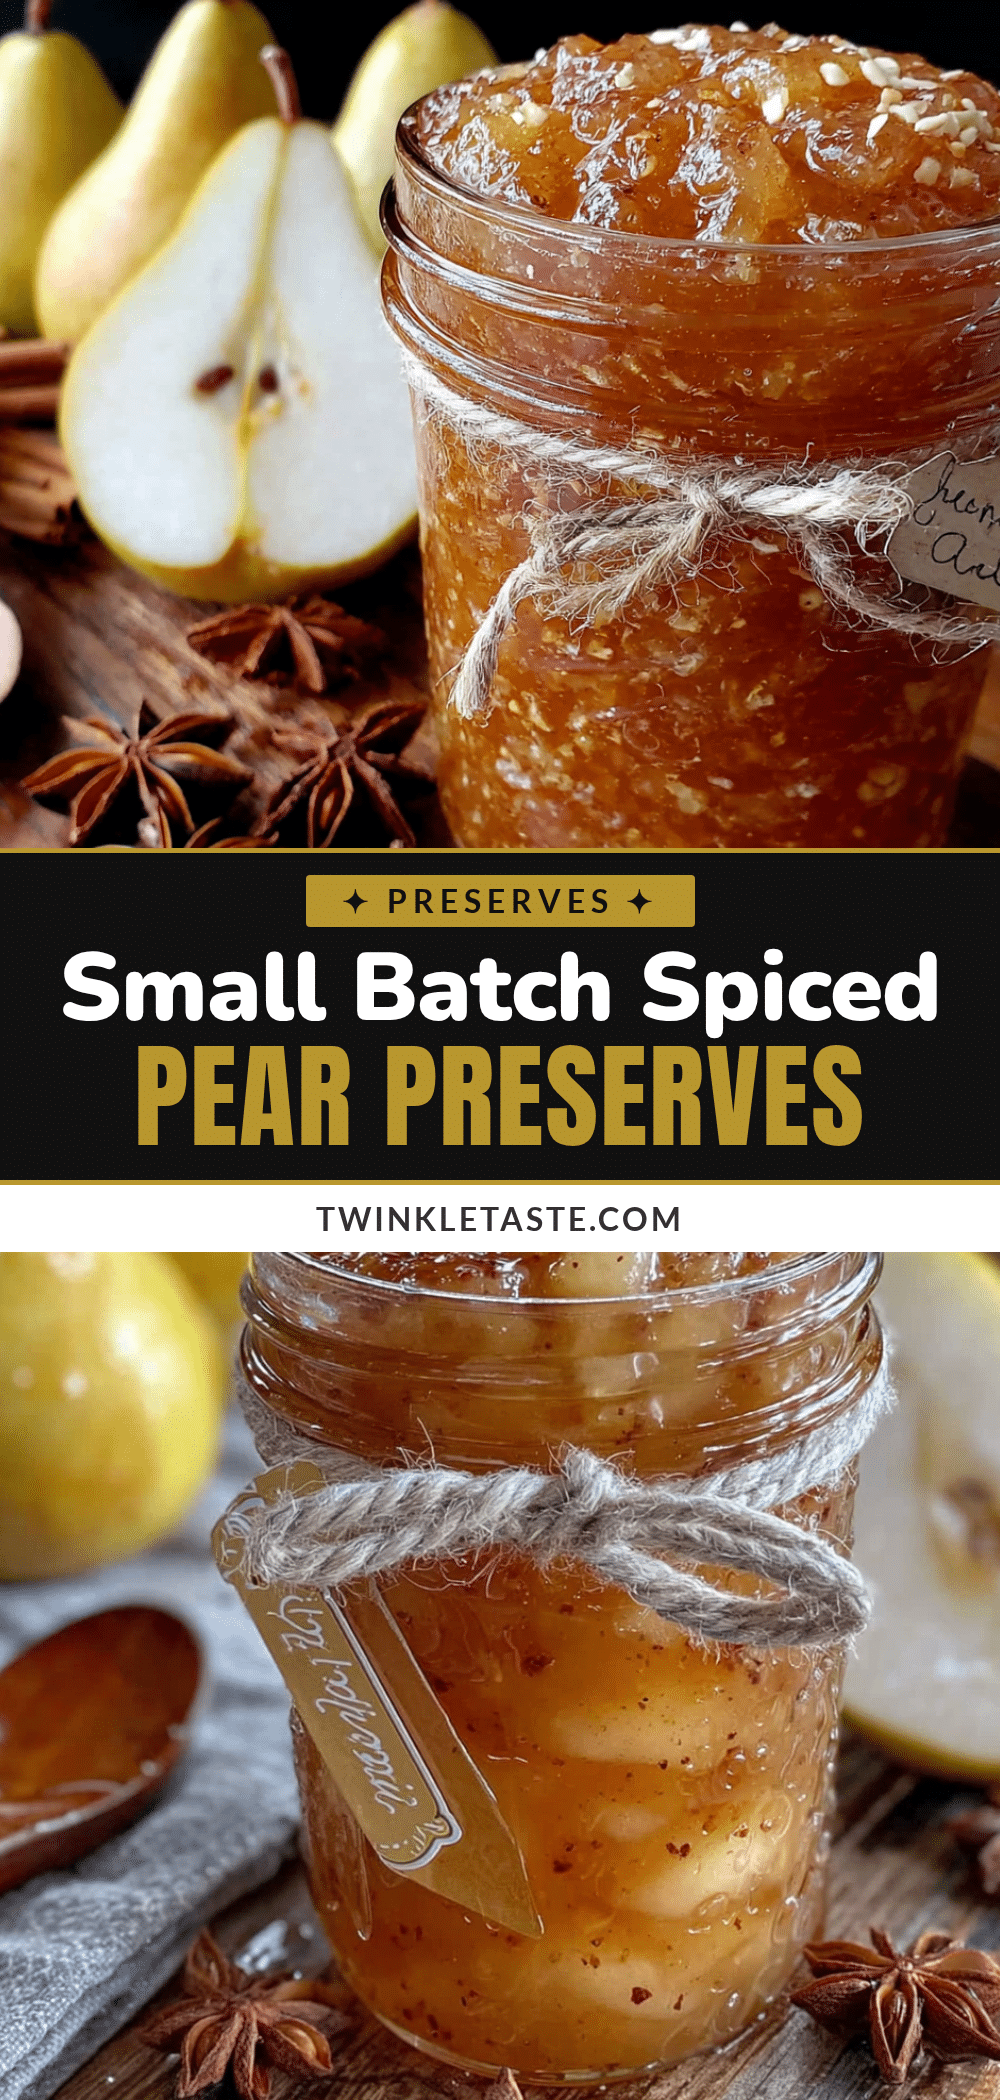
Homemade Spiced Pear Preserves (Small Batch, Easy Recipe)
This small batch spiced pear preserves recipe is a simple, foolproof way to capture the essence of autumn in a jar. Made with just pears, sugar, lemon, and warm spices, it’s perfect for gifting or enjoying on a cozy morning.
- Prep Time: 15 minutes
- Cook Time: 45 minutes
- Total Time: 1 hour 30 minutes
- Yield: 3-4 half-pint jars 1x
- Category: Preserves
- Cuisine: American
Ingredients
- 3 pounds ripe but firm pears (Bosc or Anjou), peeled, cored, and diced into ½-inch pieces
- 2 cups granulated sugar
- ¼ cup fresh lemon juice (from about 2 lemons)
- 1 vanilla bean, split and scraped (or 2 teaspoons vanilla extract added at the end)
- 1 cinnamon stick (or 1 teaspoon ground cinnamon)
- 3 whole star anise
- 4 whole cloves
- 1 thin strip of lemon zest (no white pith)
- Pinch of salt
Instructions
- Prep your pears (15 minutes): Peel, core, and dice 3 pounds of pears into ½-inch pieces. Toss with ¼ cup lemon juice in a large bowl to prevent browning.
- Maceration (30 minutes, hands-off): Add 2 cups sugar to the pears and stir gently. Let sit for 30 minutes at room temperature to draw out juices.
- Start cooking (5 minutes active): Transfer pear-sugar mixture to a heavy-bottomed pot. Add split vanilla bean (scraped seeds and pod), cinnamon stick, star anise, cloves, lemon zest strip, and a pinch of salt. Bring to a gentle boil over medium heat, stirring occasionally.
- Simmer and reduce (45-60 minutes): Reduce heat to medium-low for a steady simmer. Stir every 5-7 minutes. Cook until pears become translucent and liquid thickens.
- Test for doneness (1 minute): After about 45 minutes, place a small plate in the freezer for a few minutes. Drop a spoonful of preserves onto the cold plate and let sit for 30 seconds. Run your finger through the center—if it holds its shape, they’re done. If runny, cook 5-10 more minutes and test again.
- Remove spices (2 minutes): Once done, remove cinnamon stick, star anise, cloves, vanilla bean pod, and lemon zest strip using tongs.
- Add vanilla if using extract: Stir in vanilla extract now if using instead of a bean.
- Jar the preserves (10 minutes): While hot, ladle into sterilized jars, leaving ¼-inch headspace. Wipe rims, screw on lids fingertip-tight. Refrigerate for short-term use or process in a water bath canner for 10 minutes for long-term storage.
Notes
Don’t walk away from the pot; preserves can scorch quickly. Use the cold plate test for doneness. Skim foam that rises during cooking. Sterilize jars properly. For best flavor, let preserves sit for a week before using.
Nutrition
- Serving Size: 2 tablespoons
- Calories: 45
- Sugar: 10
- Carbohydrates: 12
- Fiber: 1
Keywords: spiced pear preserves, small batch preserves, homemade jam, pear jam, fall preserves, easy preserves recipe


