Three apples left in the bowl and a sudden craving that wouldn’t quit. That’s how this cozy small-batch apple crisp for two came to be. I’d just finished a late dinner, and the kitchen was finally quiet. The kids were in bed, the dishwasher was humming, and I wanted something warm and sweet without committing to a whole pie or a giant pan of cobbler that would sit around tempting me for days.
I grabbed those apples—a mix of Honeycrisp and Granny Smith, honestly whatever was hanging out in the fruit drawer—and started slicing. No plan, just a need for that buttery, cinnamon-spiced, bubble-up fruit situation with a crunchy oat topping. You know the feeling. The kind where you want dessert to feel like a hug, not a project.
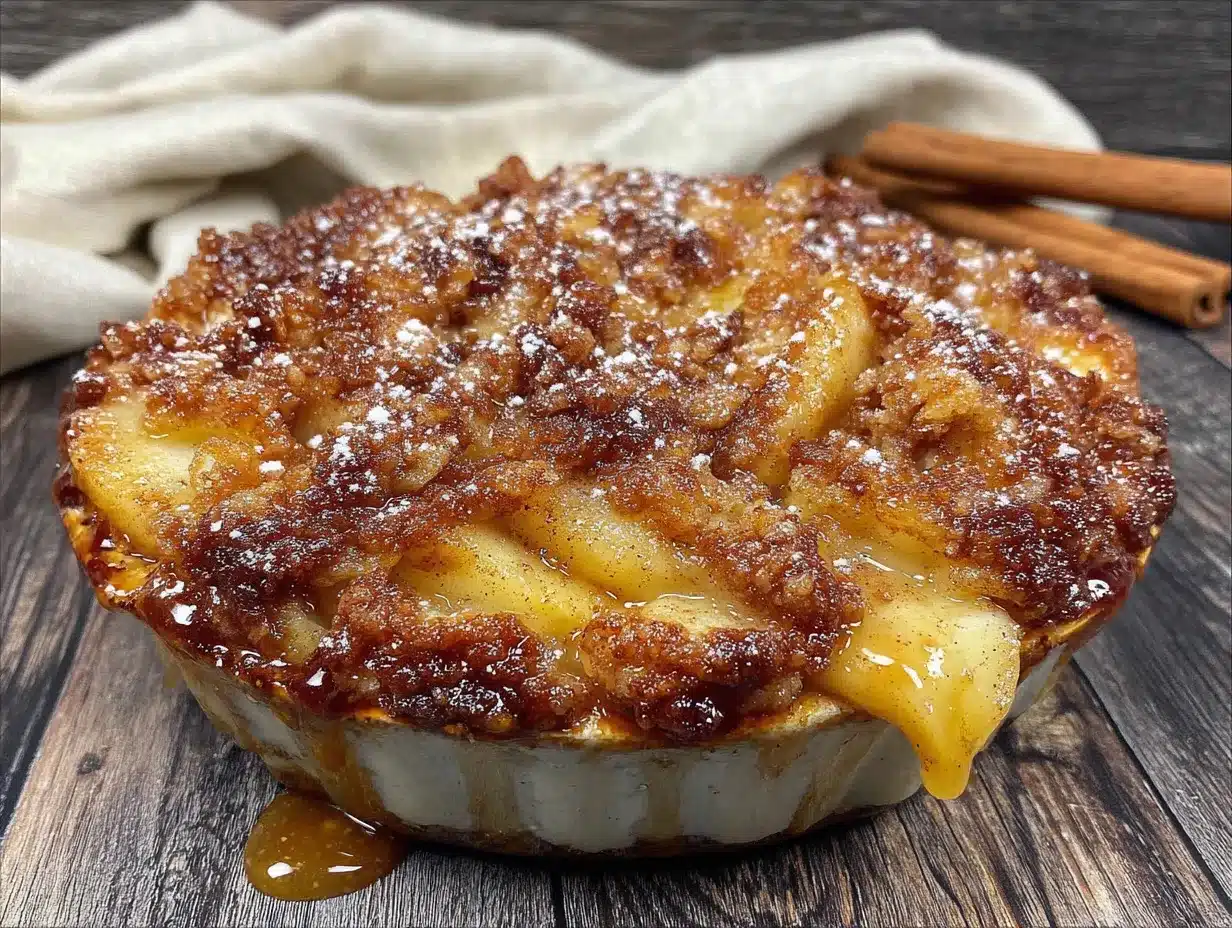
And honestly? This cozy small-batch apple crisp for two turned out better than any full-size version I’ve ever made. The ratio of topping to fruit is perfect. Every single bite has that golden, craggy crumble. No sad, naked apple pieces hiding underneath. It’s the kind of dessert that makes you feel like you treated yourself without going overboard. Just two ramekins of pure autumn comfort, made exactly when you need it.
Why You’ll Love This Recipe
This isn’t just another apple crisp recipe. I’ve tested this small-batch version more times than I care to admit, tweaking the topping-to-fruit ratio until it was absolutely spot-on. Here’s why it deserves a permanent spot in your recipe collection:
- Perfectly Portioned: No leftovers to tempt you at midnight. Just two generous servings that satisfy that cozy dessert craving without the waste.
- Quick & Easy: From start to warm, bubbly perfection in under 45 minutes. Most of that time is hands-off baking.
- Simple Ingredients: You probably have everything in your pantry right now. No fancy trips to the store required.
- Date-Night Worthy: It feels special enough for a romantic evening but simple enough for a random Tuesday.
- Customizable: Works with almost any apple variety you have on hand, and the topping adapts beautifully to what’s in your cupboard.
What makes this cozy small-batch apple crisp for two truly different is the texture. The apples cook down into this jammy, tender filling while the topping stays crispy and golden. I use a combination of melted butter and brown sugar in the topping that creates these little clusters of crunchy oat goodness. It’s not mushy. It’s not dry. It’s exactly what you want apple crisp to be.
I’ve made this for my husband on quiet Friday nights, for myself when I needed a little pick-me-up, and even for a small dinner party where everyone else ordered full-size desserts and I smugly enjoyed my perfect little portion. It’s the kind of recipe that feels like a secret weapon.
What Ingredients You Will Need
This recipe uses simple, wholesome ingredients that work together to create something truly special. The magic is in the proportions and the technique, not in complicated ingredients.
For the Apple Filling
- 2 medium apples (about 300g total) – I love using one Honeycrisp for sweetness and one Granny Smith for tartness. The combination gives you that perfect balance of flavors and textures. Peel them, core them, and slice them about ¼-inch thick. You want them thick enough to hold their shape but thin enough to soften during baking.
- 2 tablespoons granulated sugar (25g) – Regular white sugar works best here. It dissolves easily and helps create that syrupy goodness.
- 1 tablespoon brown sugar (12g) – Adds a touch of molasses flavor that pairs beautifully with the apples.
- 1 tablespoon all-purpose flour (8g) – This helps thicken the juices as the apples cook. Don’t skip it, or you’ll end up with a soupy mess.
- ½ teaspoon ground cinnamon – The star spice. I use Vietnamese cinnamon for its bold, sweet warmth.
- Pinch of nutmeg – Just a tiny bit. Freshly grated if you have it, but pre-ground works great too.
- Pinch of salt – Sounds weird, but salt makes everything taste more like itself. It balances the sweetness perfectly.
- 1 teaspoon lemon juice (about 5ml) – Keeps the apples from browning and adds a bright note that cuts through the sweetness.
For the Crisp Topping
- ¼ cup old-fashioned rolled oats (25g) – Not quick oats. The old-fashioned kind gives you that chewy, substantial texture that makes crisp topping so satisfying. I prefer Bob’s Red Mill or Quaker.
- ¼ cup all-purpose flour (30g) – Creates structure for the crumble.
- ¼ cup brown sugar (50g), packed – This is where most of the sweetness and that deep caramel flavor comes from.
- ¼ teaspoon cinnamon – Just a hint in the topping to tie everything together.
- Pinch of salt – Again, essential for balance.
- 3 tablespoons unsalted butter (42g), melted – Melted butter is the key to those gorgeous clusters. I use salted butter in a pinch and just reduce the added salt slightly.
- Optional: 2 tablespoons chopped pecans or walnuts – Adds a lovely crunch. I add them about half the time, depending on my mood.
Equipment Needed
- Two 8-ounce ramekins or small baking dishes – These are perfect for individual portions. You can also use a small 1-quart baking dish if you prefer one larger crisp to share.
- Mixing bowls – One medium bowl for the apples, one small bowl for the topping.
- Chef’s knife and cutting board – For prepping the apples.
- Measuring cups and spoons – Accuracy matters in small-batch baking.
- Vegetable peeler – Makes quick work of the apple skins.
- Baking sheet – Place your ramekins on a baking sheet to catch any bubbling juices. Trust me on this one.
I’ve made this with a set of $5 ramekins from Target and they work beautifully. You don’t need fancy equipment. If you don’t have ramekins, any small oven-safe dish will do—just adjust the baking time slightly if the dish is wider or shallower.
Preparation Method
Preheat your oven to 350°F (175°C). Place your two ramekins on a small baking sheet—this catches any overflow and makes transferring them in and out of the oven so much easier.
- Prep the apples: Peel, core, and slice your apples into ¼-inch thick pieces. I like to cut them in half-moon shapes, but honestly, any uniform size works. The key is consistency so they cook evenly. You should have about 2 cups of sliced apples total.
- Make the filling: In a medium bowl, toss the apple slices with the granulated sugar, brown sugar, flour, cinnamon, nutmeg, salt, and lemon juice. Use your hands or a spatula to make sure every slice is coated. Let this sit while you make the topping—about 5 minutes. This gives the apples time to release a little juice, which will create that lovely syrup as they bake.
- Make the topping: In a small bowl, combine the oats, flour, brown sugar, cinnamon, and salt. Stir with a fork to break up any clumps of brown sugar. Pour the melted butter over the dry ingredients and mix until everything is moistened and clumps form. You want some bigger clumps and some smaller ones for texture. If you’re adding nuts, stir them in now.
- Assemble the crisps: Divide the apple mixture evenly between your two ramekins. Don’t pack them down—just let them sit naturally. Spoon the topping over the apples, breaking up any really large clumps with your fingers. You want an even layer that covers the fruit completely. I usually use about ¼ cup of topping per ramekin.
- Bake: Place the baking sheet with the ramekins in the preheated oven. Bake for 25-30 minutes, or until the filling is bubbly and the topping is golden brown. The apples should be tender when pierced with a fork. If the topping is browning too quickly but the apples aren’t done yet, tent loosely with foil for the last 5-10 minutes.
- Rest: Let the crisps cool on the baking sheet for at least 10 minutes before serving. This is crucial—the filling needs time to set up. If you dig in immediately, you’ll get apple soup. Trust the process.
The filling will be bubbling and thick, the topping will be crisp and golden, and the smell in your kitchen will be absolutely intoxicating. You’ll know it’s ready when you see those syrupy bubbles around the edges of the ramekins.
Cooking Tips & Techniques
I learned most of these the hard way, through trial and error. Let me save you the trouble.
Don’t overmix the topping. I know it’s tempting to keep stirring until everything looks uniform, but stop while you still have clumps. Those clumps are what create the crispy, craggy texture that makes apple crisp so satisfying. Overmixed topping turns into a dense, pasty layer.
Use cold butter if you prefer a more crumbly topping. This recipe uses melted butter for ease and that cluster effect, but if you want a more traditional crumbly streusel, cut cold butter into the dry ingredients with a pastry blender or your fingertips until it resembles coarse meal.
Let the apples macerate. That 5-minute rest after tossing the apples with sugar and spices isn’t just for show. It draws out the natural juices, which combine with the flour to create a thick, glossy syrup during baking. Skip this step and you’ll end up with drier filling.
One time I forgot to put the baking sheet under the ramekins. The filling bubbled over and caramelized onto the oven floor, creating a smoky mess that set off the smoke detector. Learn from my mistake. Always use a baking sheet.
For extra-crispy topping, broil for the last 1-2 minutes. Watch it like a hawk—it goes from golden to burnt in seconds. I do this when I want that extra crunch, but it’s totally optional.
If you’re making this for a special occasion, consider tossing the apples with a tablespoon of bourbon or calvados. It adds a warmth that’s hard to describe but impossible to forget.
Variations & Adaptations
One of the best things about this cozy small-batch apple crisp for two is how adaptable it is. Here are some of my favorite variations:
- Gluten-Free Version: Swap the all-purpose flour in both the filling and topping for a good gluten-free flour blend. I’ve had great results with Bob’s Red Mill 1-to-1 Baking Flour. The oat topping is naturally gluten-free if you use certified gluten-free oats.
- Vegan Adaptation: Use melted coconut oil or vegan butter in place of the butter. The texture will be slightly different—a bit more tender and less crispy—but still delicious. Make sure your sugar is vegan-friendly as well.
- Mixed Fruit Crisp: Replace one apple with a pear, or add a handful of fresh or frozen cranberries. The tartness of cranberries pairs beautifully with sweet apples. In summer, try peaches and blueberries.
- Spice It Up: Add ¼ teaspoon of cardamom or ginger to the filling for a more complex flavor profile. A pinch of cloves works too, but go easy—it’s potent.
- Nut-Free Version: Simply omit the nuts in the topping. You can replace them with an extra tablespoon of oats or flour for the same volume.
I once made this with a mix of apples and ripe pears from my neighbor’s tree, and it was honestly one of the best versions I’ve ever had. Don’t be afraid to experiment with what’s in season.
Serving & Storage Suggestions
This cozy small-batch apple crisp for two is best served warm, straight from the oven. The contrast between the hot, jammy apples and cold topping is pure magic.
Topping Ideas: A scoop of vanilla ice cream is the classic choice, and for good reason. The cold creaminess against the warm crisp is unbeatable. But don’t stop there—try a dollop of whipped cream, a drizzle of heavy cream, or even a spoonful of Greek yogurt for a slightly tangier option. For an extra indulgence, add a caramel drizzle.
What to Serve With It: A cup of hot coffee or a mug of spiced cider makes this feel like a full experience. If you’re feeling fancy, a small glass of bourbon or a dessert wine like late-harvest riesling pairs beautifully with the apple flavors.
Storage: If you somehow have leftovers, cover the ramekins with plastic wrap or transfer the crisp to an airtight container. It will keep in the refrigerator for up to 3 days. The topping will lose some of its crunch, but the flavor will still be wonderful.
Reheating: The best way to reheat is in a 350°F oven for about 10 minutes. This helps restore some of the topping’s crispness. You can use the microwave in a pinch, but the topping will be soft. If you’re reheating in the microwave, try placing a paper towel under the ramekin to absorb excess moisture.
The flavors actually develop and deepen overnight. I’ve been known to make this the night before and just reheat it the next day. The apple filling becomes even more complex and syrupy.
Nutritional Information & Benefits
Per serving (one ramekin, without ice cream or toppings):
- Calories: Approximately 320
- Fat: 13g
- Carbohydrates: 52g
- Fiber: 5g
- Sugar: 34g
- Protein: 3g
Apples are a fantastic source of dietary fiber and vitamin C. The pectin in apples is great for gut health, and eating them with the skin on (if you choose to leave it) adds even more nutrients. Oats are packed with beta-glucan, a type of soluble fiber that’s excellent for heart health.
This dessert is naturally vegetarian and can easily be made gluten-free or vegan with simple substitutions. It’s also free from common allergens like eggs and soy. The portion control built into this recipe makes it a sensible choice for anyone watching their sugar intake—you get a satisfying dessert without the temptation of a whole pan.
I love that this cozy small-batch apple crisp for two feels indulgent but is made with real, whole ingredients. It’s the kind of dessert you can feel good about eating, even on a Tuesday night.
Conclusion
This cozy small-batch apple crisp for two has become my go-to dessert for those quiet evenings when I want something warm, sweet, and comforting without the hassle of a full-scale baking project. It’s proof that you don’t need a crowd or a complicated recipe to enjoy a truly satisfying homemade treat.
The beauty of this recipe is in its simplicity. With just a handful of pantry staples and about 45 minutes, you can create something that feels special and intentional. Whether you’re making it for a romantic date night, a solo self-care evening, or just because you had three apples that needed using up, this crisp delivers every single time.
I’d love to hear how yours turns out. Did you try any of the variations? Did you add a scoop of something delicious on top? Drop a comment below and let me know. And if you’re looking for more cozy dessert inspiration, you might enjoy these cozy spiced brown butter pumpkin cream cheese muffins or this easy baked apple cider donut holes recipe for more fall flavor. Happy baking!
Frequently Asked Questions
Can I use quick oats instead of old-fashioned oats?
You can, but the texture will be different. Quick oats are more finely ground and will absorb moisture faster, resulting in a softer, less crunchy topping. Old-fashioned oats give you that chewy, substantial texture that makes crisp topping so satisfying. If you only have quick oats, reduce the baking time by a few minutes and expect a more tender crumble.
What if I don’t have ramekins?
No problem at all. You can use any small oven-safe dish. A 1-quart baking dish works perfectly—just spread the apples evenly and top with the crumble. The baking time might be slightly shorter since the mixture is in a wider, shallower dish. Start checking at 20 minutes.
Can I make this ahead of time?
Absolutely. You can assemble the crisps completely (without baking) and store them in the refrigerator for up to 24 hours. When you’re ready to bake, add about 5-10 minutes to the baking time since you’re starting from cold. You can also bake them fully and reheat as directed above.
What are the best apples for apple crisp?
I recommend using a mix of sweet and tart apples. Honeycrisp, Fuji, or Gala for sweetness, and Granny Smith or Braeburn for tartness. The combination gives you the most complex flavor. Avoid Red Delicious—they turn mushy and don’t hold their shape well during baking.
Can I freeze this apple crisp?
Yes, but with a caveat. Baked apple crisp freezes well for up to 3 months. Wrap the ramekins tightly in plastic wrap and then foil. Thaw overnight in the refrigerator and reheat in a 350°F oven until warmed through. The topping won’t be quite as crispy as fresh, but the flavor will still be wonderful. I don’t recommend freezing unbaked crisps, as the texture of the apples can become watery upon thawing.
Pin This Recipe!
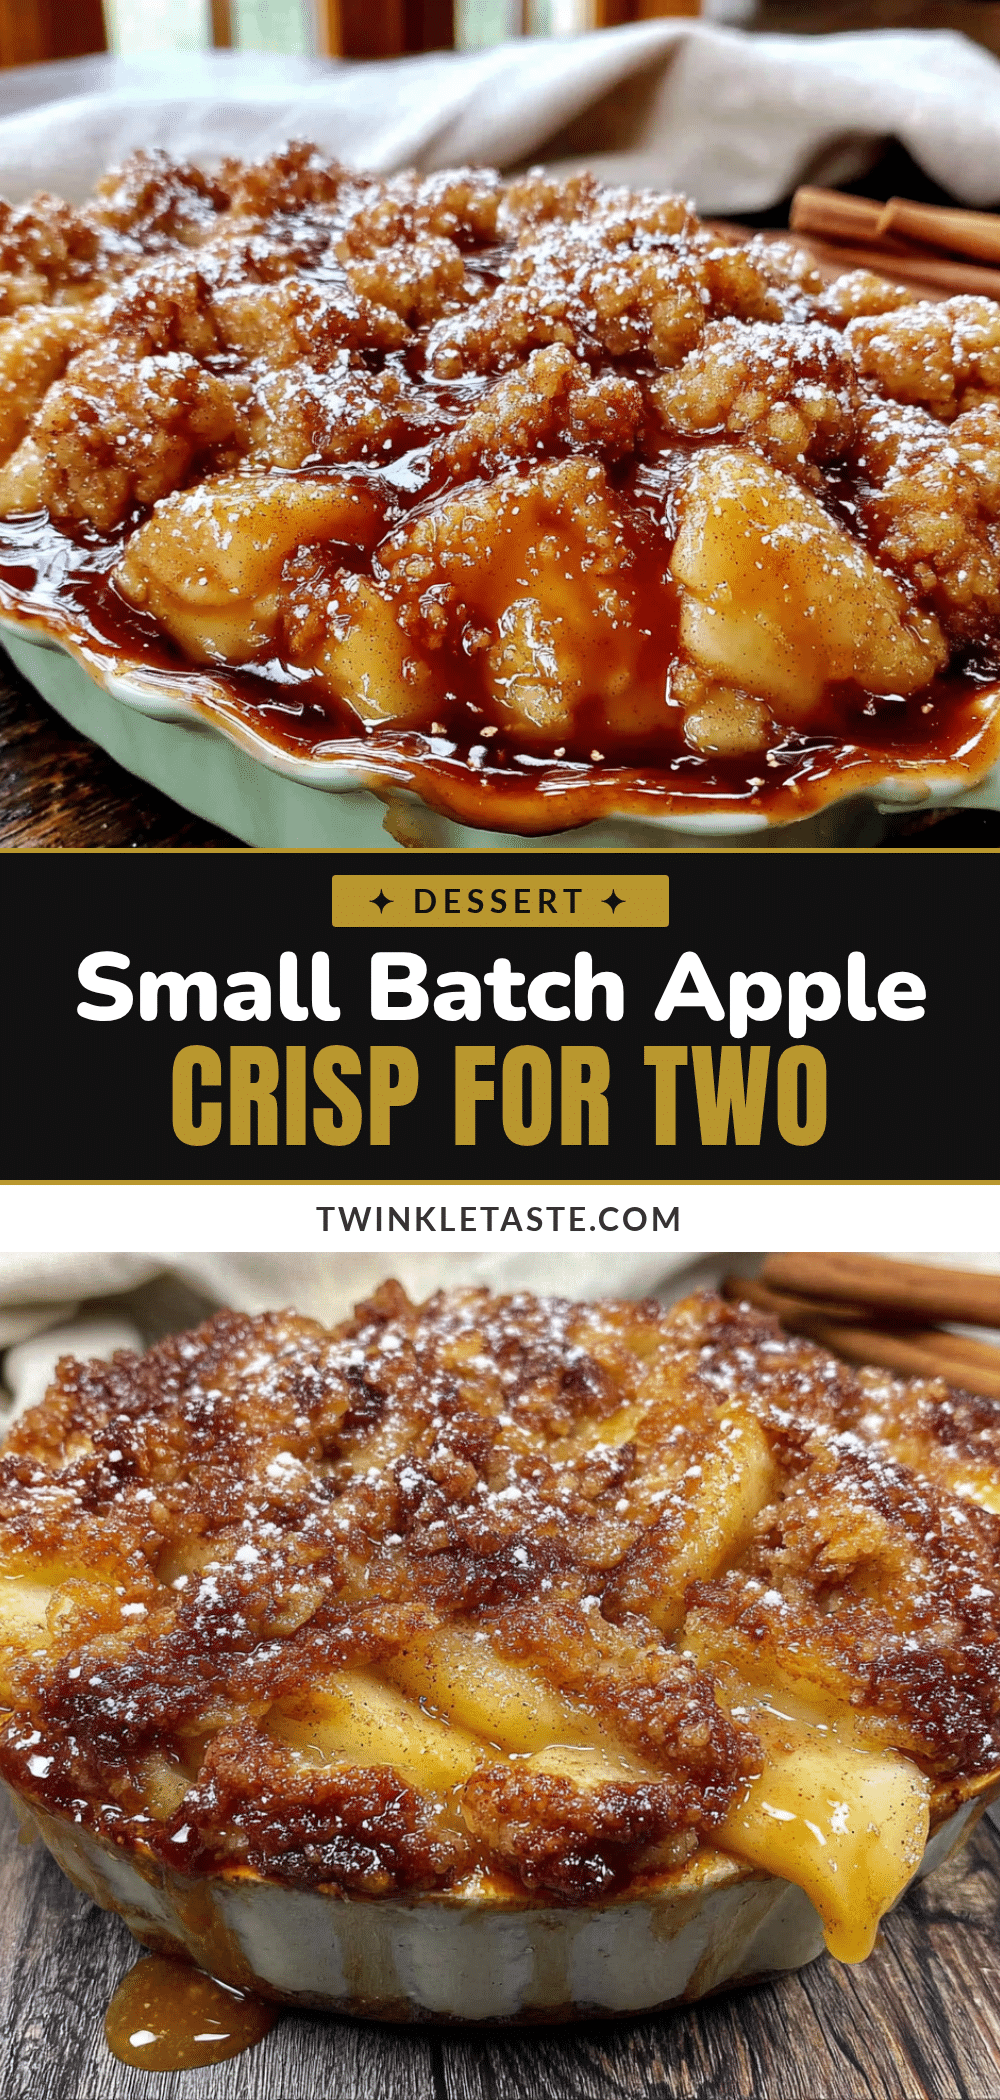
Cozy Small-Batch Apple Crisp for Two

A perfectly portioned apple crisp for two with a crunchy oat topping and jammy apple filling. Ready in under 45 minutes, this cozy dessert is ideal for date nights or quiet evenings.
- Prep Time: 15 minutes
- Cook Time: 30 minutes
- Total Time: 45 minutes
- Yield: 2 servings 1x
- Category: Dessert
- Cuisine: American
Ingredients
- 2 medium apples (about 300g total), peeled, cored, and sliced ¼-inch thick
- 2 tablespoons granulated sugar (25g)
- 1 tablespoon brown sugar (12g)
- 1 tablespoon all-purpose flour (8g)
- ½ teaspoon ground cinnamon
- Pinch of nutmeg
- Pinch of salt
- 1 teaspoon lemon juice (about 5ml)
- ¼ cup old-fashioned rolled oats (25g)
- ¼ cup all-purpose flour (30g)
- ¼ cup brown sugar (50g), packed
- ¼ teaspoon cinnamon
- Pinch of salt
- 3 tablespoons unsalted butter (42g), melted
- Optional: 2 tablespoons chopped pecans or walnuts
Instructions
- Preheat oven to 350°F (175°C). Place two 8-ounce ramekins on a small baking sheet.
- Peel, core, and slice apples into ¼-inch thick pieces (about 2 cups total).
- In a medium bowl, toss apple slices with granulated sugar, brown sugar, flour, cinnamon, nutmeg, salt, and lemon juice. Let sit for 5 minutes.
- In a small bowl, combine oats, flour, brown sugar, cinnamon, and salt. Stir with a fork. Pour melted butter over dry ingredients and mix until clumps form. Stir in nuts if using.
- Divide apple mixture evenly between ramekins. Spoon topping over apples, covering completely.
- Bake for 25-30 minutes, until filling is bubbly and topping is golden brown. If topping browns too quickly, tent with foil for last 5-10 minutes.
- Let cool on baking sheet for at least 10 minutes before serving.
Notes
Let apples macerate for 5 minutes to draw out juices. Use a baking sheet to catch overflow. For extra-crispy topping, broil for last 1-2 minutes. Can be assembled ahead and refrigerated for up to 24 hours before baking.
Nutrition
- Serving Size: 1 ramekin
- Calories: 320
- Sugar: 34
- Sodium: 150
- Fat: 13
- Saturated Fat: 8
- Carbohydrates: 52
- Fiber: 5
- Protein: 3
Keywords: apple crisp, small batch, dessert for two, apple dessert, fall dessert, easy apple crisp