I want a peanut butter and jelly sandwich right now, but I don’t want to deal with the crusts. That’s the thought that hit me at 2 PM on a random Tuesday, standing in my kitchen with a half-empty jar of raspberry jam staring back at me. I had everything I needed—bread, peanut butter, jelly—but I just couldn’t bring myself to make a regular sandwich. You know that feeling? When you want the comfort of a childhood classic but your adult brain demands efficiency and, frankly, a little bit of fun.
So I grabbed my rolling pin, a round cookie cutter, and decided to make my own version of those freezer aisle sandwiches we all grew up loving. Honestly, it took me three tries to get the seal right. The first batch leaked jam everywhere. The second batch was too dry. But that third batch? Perfect. Golden edges, no leaks, and that satisfying pop when you bite through the crustless seal.
These Easy Homemade Uncrustables are freezer-friendly, meal-prep approved, and honestly better than anything you’ll find in a box. No preservatives, no weird ingredients, just real peanut butter and jelly locked inside soft bread. And the best part? You can customize them however you want. I’ve been making these for months now and my freezer is never without a stash. They’re the kind of recipe that makes you feel like you hacked the system.
Why You’ll Love This Recipe
Let me tell you why these homemade uncrustables have become my go-to freezer staple. I’ve tested this method more times than I’d like to admit, and every single tweak has been worth it.
- Quick & Easy: You can make a dozen of these in under 20 minutes. Seriously, the hands-on time is minimal.
- Simple Ingredients: No fancy grocery store trips. You probably have everything in your pantry right now.
- Perfect for Meal Prep: Make them once, grab them all week. Great for school lunches, work snacks, or lazy weekend breakfasts.
- Crowd-Pleaser: Kids love them, adults secretly love them, and nobody complains about crusts.
- Unbelievably Delicious: The texture is soft, the filling stays put, and every bite tastes like a little pocket of comfort.
What makes these different from the store-bought version? First, you control the ingredients. No high-fructose corn syrup, no hydrogenated oils. Just real peanut butter and your favorite jam. Second, the bread-to-filling ratio is perfect. I’ve figured out exactly how much peanut butter and jelly to use so you get a balanced bite every time. And third, they freeze beautifully without getting soggy. The trick is toasting the bread lightly before assembling, which I’ll show you in the method.
This recipe isn’t just convenient—it’s the kind of thing that makes you feel like a kitchen genius. You’ll pull one out of the freezer, pop it in the lunchbox, and watch it thaw perfectly by lunchtime. Or toast it for a warm, melty version that tastes like a completely different sandwich. Trust me, once you start making these, you won’t go back.
What Ingredients You Will Need
This recipe uses simple, wholesome ingredients that come together to create a freezer-friendly lunch staple. Nothing fancy, everything purposeful.
- 8 slices of sandwich bread (white, whole wheat, or sourdough—use your favorite. I prefer a soft, slightly dense bread for best sealing)
- ½ cup creamy peanut butter (natural or conventional both work. If using natural, stir well before using. I recommend Skippy or Jif for consistent texture)
- ½ cup jelly or jam (strawberry, grape, raspberry—use what you love. Seedless jam works best for smooth spreading)
- 2 tablespoons unsalted butter, softened (optional, for toasting the edges golden)
Ingredient Selection Tips: Look for bread that’s not too airy or full of holes. You want a tight crumb structure so the filling doesn’t leak out during sealing. If you’re using natural peanut butter, make sure it’s well-stirred and at room temperature for easier spreading. For the jelly, avoid super-runny preserves that might seep out during freezing.
Substitution Guidance: For a nut-free version, use sunflower seed butter or WowButter. For a lower-sugar option, try sugar-free jam or mashed fresh berries mixed with a little honey. Gluten-free bread works too, but you’ll need to be extra careful with the sealing process—gluten-free bread tends to be more fragile. If you’re dairy-free, skip the butter or use vegan butter for the optional golden edge.
Equipment Needed
You don’t need anything fancy to make these, which is part of the beauty. Here’s what you’ll need:
- Rolling pin (or a clean wine bottle if you’re improvising)
- 3-inch round cookie cutter (or a biscuit cutter, or even a drinking glass with a thin rim)
- Fork (for crimping the edges)
- Baking sheet (lined with parchment paper for freezing)
- Parchment paper (to prevent sticking)
- Ziplock freezer bags (for storage)
I’ve made these with a mason jar lid when I couldn’t find my cookie cutter—it works in a pinch. The key is having something round and sharp enough to cut through bread cleanly. If you’re using a glass, make sure the rim isn’t too thick or it’ll squish the bread instead of cutting it.
For the rolling pin, I use my grandmother’s old wooden one, but any rolling pin works. Just make sure you roll the bread evenly so it seals properly. Pro tip: if you don’t have a rolling pin, press the bread down with your palm and then use a heavy skillet to flatten it. Not as elegant, but it gets the job done.
Preparation Method
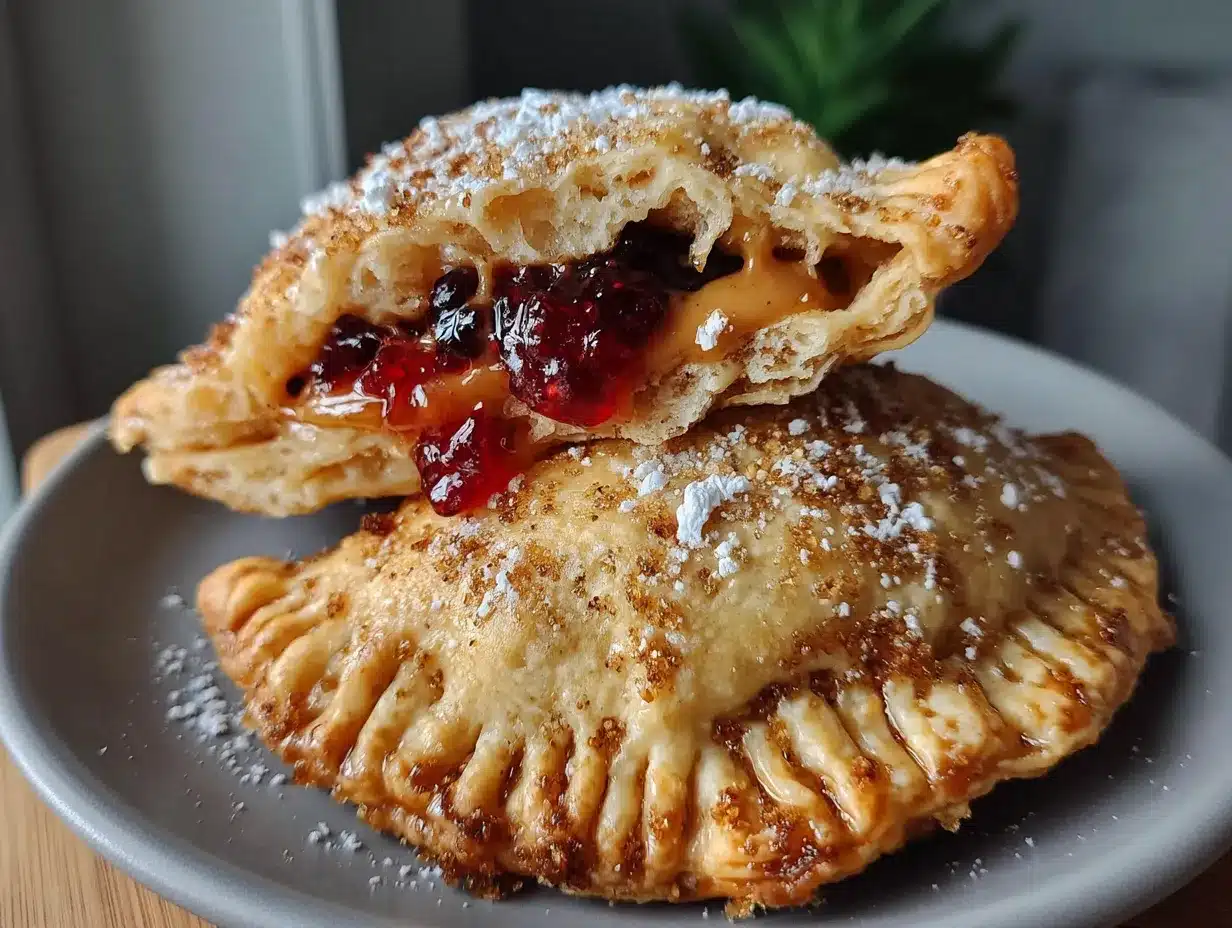
Let me walk you through this step by step. I’ve made these so many times I could do it in my sleep, but I’ll share all the little tricks I’ve learned along the way.
- Lightly toast the bread slices (optional but recommended). Pop the bread in the toaster on the lowest setting—just enough to dry it out slightly, not brown it. This helps prevent sogginess during freezing and thawing. Let the bread cool completely before moving to the next step.
- Flatten each bread slice with a rolling pin. Place a slice of bread on a clean surface and roll it out gently until it’s about ¼-inch thick. You want it even and thin but not torn. This step is crucial for getting a good seal. If the bread cracks, you’re rolling too hard.
- Spread 1 tablespoon of peanut butter onto one flattened bread slice. Leave a ½-inch border around the edge so the seal holds. Don’t go all the way to the edge or it’ll squeeze out when you press.
- Spread 1 tablespoon of jelly on top of the peanut butter. Again, leave that border. The peanut butter acts as a barrier to prevent the jelly from seeping into the bread and making it soggy. Genius, right?
- Place a second flattened bread slice on top. Press down gently around the edges to start the seal. Don’t press too hard yet—you want to keep the filling centered.
- Use your round cookie cutter to cut out the sandwich. Press straight down firmly and twist slightly to cut through cleanly. You should get a perfect round pocket with the filling sealed inside.
- Crimp the edges with a fork. Press the tines of a fork around the entire edge of the uncrustable. This creates a decorative seal and ensures nothing leaks out during freezing or toasting. Go around twice for extra security if you’re nervous about leaks.
- Place the uncrustables on a parchment-lined baking sheet in a single layer. Make sure they’re not touching each other. If you’re making a big batch, you can stack them with parchment paper between layers.
- Freeze for 1-2 hours until solid. This initial freeze is important—it sets the shape and prevents them from sticking together later.
- Transfer to freezer bags once frozen solid. Label the bag with the date and type of filling. They’ll keep for up to 3 months.
Sensory cues: When you press the fork around the edge, you should feel the bread compressing and sealing. The finished uncrustable should feel firm but not hard. If you see jelly seeping out, you used too much filling—next time, use a little less and leave a wider border.
Time estimate: Assembly takes about 15 minutes for a batch of 4 sandwiches. Freezing time is 1-2 hours. Total hands-off time is minimal.
Cooking Tips & Techniques
I’ve learned a few things the hard way so you don’t have to. Let me share what works and what doesn’t.
The biggest mistake? Using too much jelly. I know it’s tempting to pile it on, but less is more here. Too much jelly makes the sandwich leak and get soggy. Aim for a thin, even layer—about 1 tablespoon per sandwich. If you’re using a really runny jam, even less.
Another common issue: Not sealing the edges properly. If your uncrustables are leaking during thawing, you didn’t crimp enough. Go around the entire edge twice with the fork, pressing firmly. I once had a batch that looked perfect but leaked everywhere after thawing because I got lazy with the crimping. Never again.
Timing strategy: Make these when you have a few minutes of downtime, like while waiting for dinner to cook or during your morning coffee. Assemble them, freeze them on the tray, then transfer to bags later. The actual hands-on time is so short that you can squeeze it into any routine.
For best texture: If you’re packing these for lunch, take one out of the freezer in the morning and put it in the lunchbox. By lunchtime, it’ll be perfectly thawed and soft. If you want a warm version, toast it in a toaster oven or air fryer at 350°F for 3-4 minutes. The outside gets crisp and the inside stays soft and melty.
Consistency tip: Use the same amount of filling every time for consistent results. I use a tablespoon measure for both peanut butter and jelly. This way every uncrustable tastes exactly the same, which is great for meal prep.
Variations & Adaptations
Once you master the basic version, the possibilities are endless. Here are some of my favorite variations.
Nutella & Banana: Swap the peanut butter for Nutella and add a few thin slices of banana. This version is best eaten fresh or toasted—the banana doesn’t freeze as well, but it’s amazing for an immediate treat.
Fluffernutter: Use marshmallow fluff instead of jelly. This New England classic is sweet, gooey, and absolutely irresistible. The fluff freezes well and stays soft after thawing.
Savory Version: Yes, you can make savory uncrustables! Use cream cheese and jam for a sweet-savory combo, or try hummus and roasted red peppers for a lunch option. The same sealing technique works for any filling that’s not too wet.
Dietary Adaptations: For a lower-carb option, use low-carb bread and sugar-free jam. For a higher-protein version, use peanut butter powder mixed with a little water and Greek yogurt. I’ve tried both and they work surprisingly well.
Seasonal Twist: In the fall, use pumpkin butter and cream cheese. In summer, try fresh strawberry slices with honey. The basic method stays the same, but the flavors change with the season.
My personal favorite variation? The pumpkin cinnamon rolls inspired version—pumpkin butter and a sprinkle of cinnamon sugar. It tastes like autumn in a pocket.
Serving & Storage Suggestions
These uncrustables are incredibly versatile when it comes to serving. Here’s how to get the most out of them.
Serving temperature: They’re delicious straight from the freezer (after thawing, of course), but also amazing toasted. For a warm version, pop one in the toaster oven at 350°F for 3-4 minutes. The outside gets golden and crispy while the inside stays soft and gooey. For an air fryer version, 350°F for 2-3 minutes works perfectly.
Presentation ideas: Cut them in half for a fun shape, or serve whole with a side of fresh fruit or veggie sticks. They’re great for lunchboxes, picnics, road trips, or after-school snacks. I’ve even served them at brunch parties—nobody can resist a mini PB&J.
Complementary dishes: Pair them with cowboy caviar for a sweet-savory lunch combo, or serve alongside crockpot beef stew for a cozy meal. For a quick snack, pair with peanut butter protein balls for a double-dose of nutty goodness.
Storage instructions: Keep uncrustables in a freezer-safe bag for up to 3 months. Label the bag with the date and type of filling. They’re best eaten within 2 months for optimal freshness, but they’ll keep longer. To thaw, simply leave at room temperature for 1-2 hours or refrigerate overnight. Never microwave them straight from frozen—the filling gets dangerously hot while the bread stays cold.
Flavor development: These actually taste better after a day or two in the freezer. The flavors meld together and the bread absorbs just a hint of the filling. It’s subtle, but noticeable. I always make a batch and let them sit for at least 24 hours before eating.
Nutritional Information & Benefits
Here’s the nutritional breakdown for one uncrustable (based on using white bread, conventional peanut butter, and grape jelly):
| Nutrient | Amount per Serving |
|---|---|
| Calories | 280 |
| Total Fat | 12g |
| Saturated Fat | 2g |
| Carbohydrates | 36g |
| Fiber | 3g |
| Sugar | 14g |
| Protein | 8g |
| Sodium | 220mg |
Health benefits: Peanut butter provides healthy fats and protein that keep you full longer. The whole wheat version adds fiber for digestive health. If you use fruit preserves instead of jelly, you get a little vitamin C and antioxidants. For a lower-sugar option, use sugar-free jam and natural peanut butter—you’ll save about 6g of sugar per sandwich.
Dietary considerations: This recipe can be made gluten-free (use gluten-free bread), vegan (use plant-based butter and check your bread), and nut-free (use sunflower seed butter). The basic version contains peanuts, wheat, and potentially dairy (if using butter). Always check your specific ingredients for allergens.
Personal perspective: I love that these are portion-controlled. One uncrustable is the perfect snack size—satisfying without being too heavy. They’re great for kids, adults, and anyone who wants a quick, balanced bite without overthinking it.
Conclusion
These Easy Homemade Uncrustables are the kind of recipe that makes your life genuinely easier. No more buying overpriced freezer sandwiches with ingredients you can’t pronounce. No more soggy PB&Js in lunchboxes. Just pure, customizable, freezer-friendly goodness that you made yourself.
I love that this recipe gives you complete control. Want extra peanut butter? Go for it. Prefer strawberry jam over grape? Swap it out. Craving a savory version? Experiment away. The basic method is so foolproof that you can adapt it to whatever you’re in the mood for.
Try this recipe and see how much better homemade tastes. I promise you’ll never look at a store-bought uncrustable the same way again. If you make these, let me know in the comments—what filling combinations did you try? Did you toast yours or eat them cold? I love hearing about your kitchen wins.
Happy cooking, and may your freezer always be stocked with the good stuff!
Frequently Asked Questions
Can I use natural peanut butter?
Yes, but make sure it’s well-stirred and at room temperature. Natural peanut butter can be oilier, which might make the seal less secure. If it’s too runny, refrigerate it for 10 minutes before using.
Do I have to toast the bread first?
No, but it helps prevent sogginess. If you’re eating them fresh, skip the toasting. For freezer storage, a quick light toast makes a big difference in texture after thawing.
How long do these last in the freezer?
Up to 3 months in a sealed freezer bag. For best quality, eat them within 2 months. Label the bag with the date so you know when you made them.
Can I make these without a cookie cutter?
Absolutely! Use a drinking glass with a thin rim, a biscuit cutter, or even a mason jar lid. Just make sure whatever you use is clean and sharp enough to cut through bread cleanly.
Why are my uncrustables leaking?
You’re probably using too much filling or not leaving enough border. Use 1 tablespoon each of peanut butter and jelly, and leave a ½-inch border around the edge. Also, make sure you’re crimping the edges firmly with a fork.
Pin This Recipe!
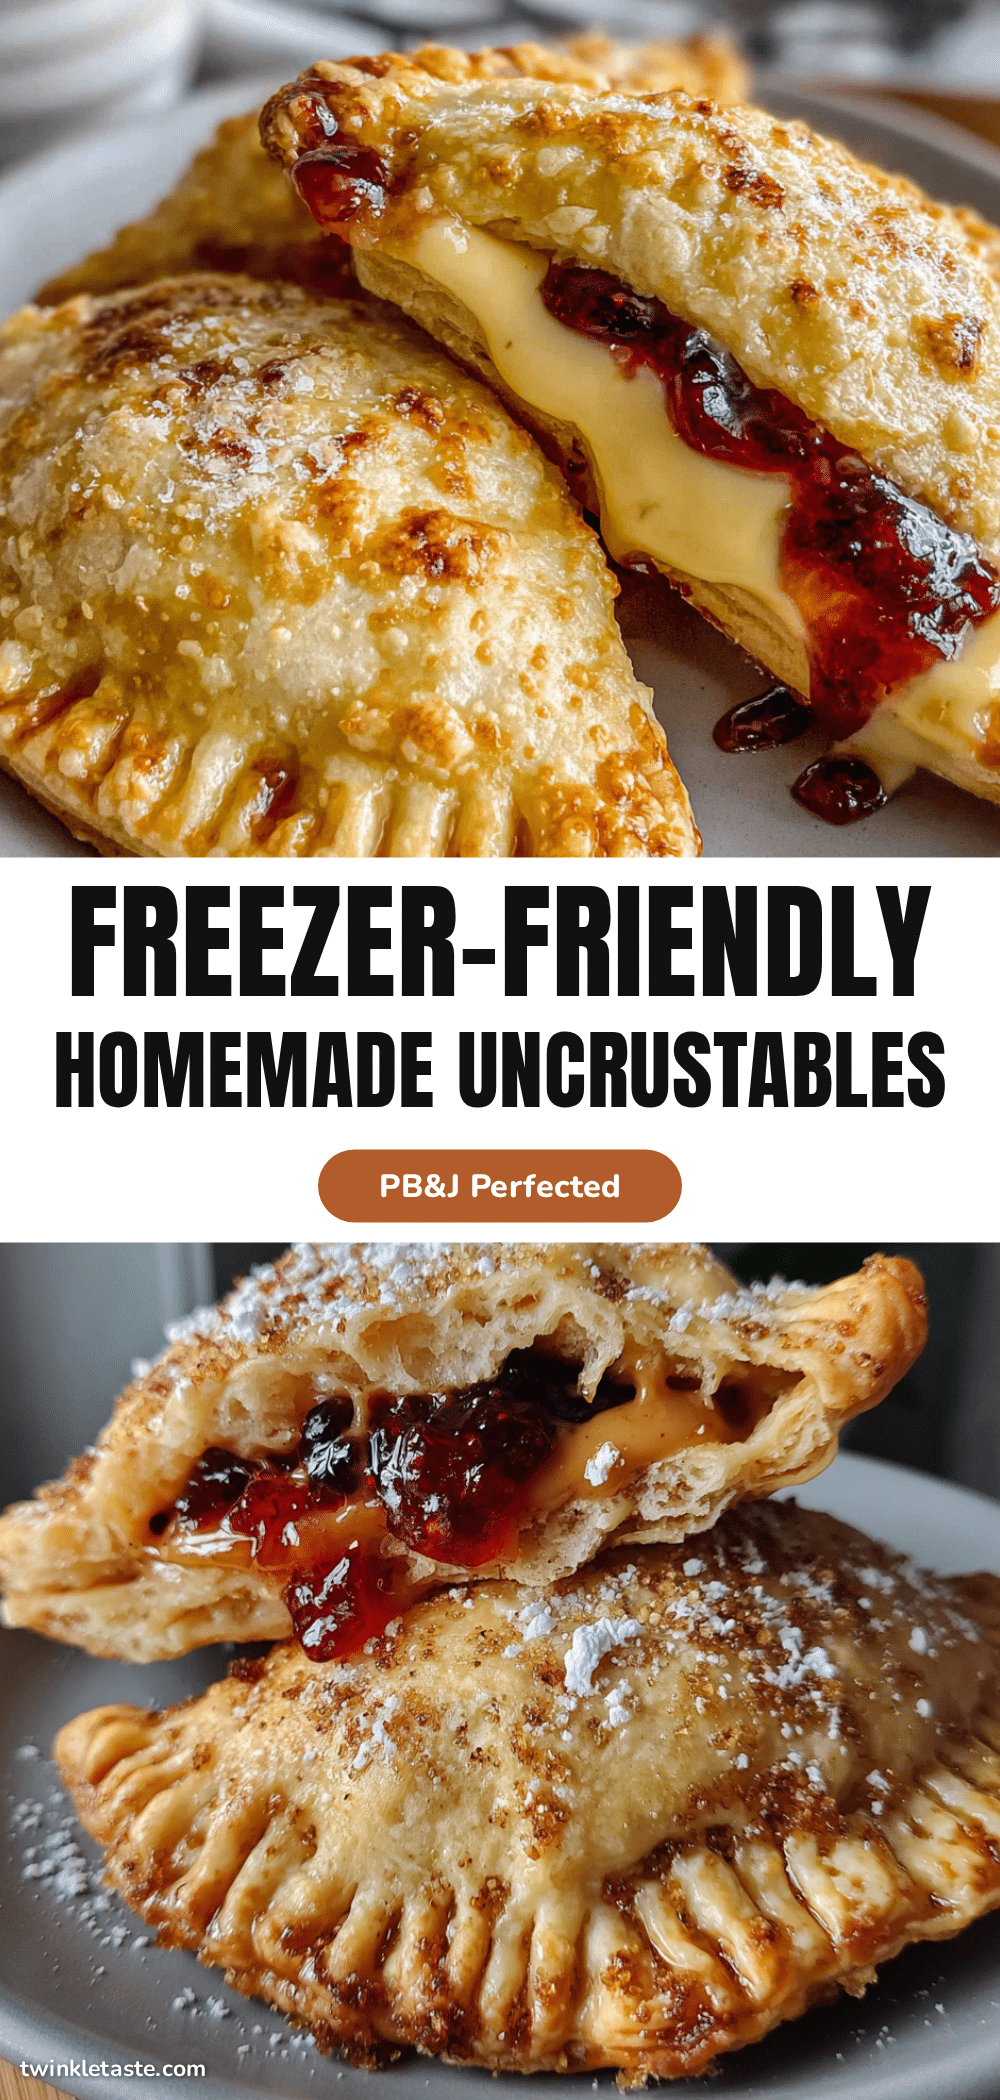
Easy Homemade Uncrustables (Freezer-Friendly Recipe)

These Easy Homemade Uncrustables are freezer-friendly, meal-prep approved, and better than anything you’ll find in a box. No preservatives, just real peanut butter and jelly locked inside soft bread, customizable to your liking.
- Prep Time: 15 minutes
- Cook Time: 0 minutes
- Total Time: 1 hour 15 minutes (including freezing time)
- Yield: 4 servings 1x
- Category: Snack
- Cuisine: American
Ingredients
- 8 slices of sandwich bread (white, whole wheat, or sourdough)
- ½ cup creamy peanut butter (natural or conventional)
- ½ cup jelly or jam (strawberry, grape, raspberry, or seedless jam)
- 2 tablespoons unsalted butter, softened (optional, for toasting edges)
Instructions
- Lightly toast the bread slices on the lowest setting to dry them out slightly; let cool completely.
- Flatten each bread slice with a rolling pin to about ¼-inch thick.
- Spread 1 tablespoon of peanut butter onto one flattened bread slice, leaving a ½-inch border.
- Spread 1 tablespoon of jelly on top of the peanut butter, again leaving a border.
- Place a second flattened bread slice on top and press down gently around the edges.
- Use a 3-inch round cookie cutter to cut out the sandwich, pressing straight down and twisting slightly.
- Crimp the edges with a fork, pressing firmly around the entire edge to seal.
- Place the uncrustables on a parchment-lined baking sheet in a single layer.
- Freeze for 1-2 hours until solid.
- Transfer to freezer bags, label with date and filling type, and store for up to 3 months.
Notes
For best results, use bread with a tight crumb structure to prevent leaks. If using natural peanut butter, stir well and use at room temperature. For a nut-free version, substitute sunflower seed butter. To thaw, leave at room temperature for 1-2 hours or refrigerate overnight. For a warm version, toast in a toaster oven or air fryer at 350°F for 3-4 minutes.
Nutrition
- Serving Size: 1 uncrustable
- Calories: 280
- Sugar: 14
- Sodium: 220
- Fat: 12
- Saturated Fat: 2
- Carbohydrates: 36
- Fiber: 3
- Protein: 8
Keywords: homemade uncrustables, freezer-friendly, peanut butter and jelly, meal prep, kid-friendly, easy snack


