Unexpected knock at the door. My pantry was nearly bare, except for a basket of ripe tomatoes sitting on the counter, looking like they’d been begging to be used. You know that moment when you realize the usual dinner plan just fell through, and all you’ve got is a handful of ingredients to make something work? That’s exactly how this easy canning tomatoes recipe came to be. No fancy gadgets or hours of prep—just a simple, straightforward water bath method that anyone can manage.
I remember the smells filling the kitchen as I boiled jars and peeled tomatoes, the steam fogging up the windows and the familiar tang of fresh tomatoes blending with the vinegar and salt. It wasn’t a planned project, but by the time I finished, I felt this quiet pride in preserving a summer’s worth of sunshine in jars. It’s funny how sometimes those last-minute kitchen scrambles lead to the most satisfying homemade staples.
This step-by-step water bath guide for easy canning tomatoes stuck with me because it’s approachable for beginners and yields delicious, shelf-stable jars ready for soups, sauces, and stews. I’ll share what I learned so you can confidently preserve your harvest, even if your pantry looks a little empty and the clock’s ticking.
Why You’ll Love This Recipe
Honestly, canning tomatoes used to intimidate me—the whole process felt like a science experiment I might mess up. But this easy canning tomatoes recipe breaks it down in a way that’s manageable, even if you’re just starting out. It’s been tested in my kitchen multiple times, and I’m confident it’ll work for you too.
- Quick & Easy: The entire canning process takes about 90 minutes from start to finish, including prep and boiling time, which is perfect for a weekend afternoon or a sudden urge to preserve.
- Simple Ingredients: You only need fresh tomatoes, lemon juice or citric acid, and salt—no complicated additives or preservatives. These are likely already in your kitchen.
- Perfect for Beginners: The step-by-step water bath guide walks you through each part, so you won’t feel lost or overwhelmed.
- Crowd-Pleaser: These canned tomatoes bring rich, fresh flavor to your favorite recipes, whether it’s a quick weeknight sauce or a comforting chili.
- Reliable and Safe: Following the water bath method ensures your canned tomatoes stay safe, flavorful, and ready to use all year round.
What sets this recipe apart? The focus on simplicity and clear instructions makes it ideal for anyone who’s ever wondered how to can tomatoes without fuss. Plus, I include small tricks like how to avoid cracked skins during peeling and how to get the jar seals right the first time. It’s about making canning approachable, so you can create pantry staples that feel like magic when you open them on a chilly night.
What Ingredients You Will Need
This recipe sticks to fresh, wholesome ingredients to give you that authentic tomato flavor preserved in every jar. No need to hunt down specialty items or unusual spices. Here’s what you’ll want to gather before starting:
- Fresh tomatoes: About 10 pounds (4.5 kg) of ripe, firm tomatoes, preferably plum or Roma tomatoes because they have fewer seeds and less water—ideal for canning.
- Fresh lemon juice or bottled lemon juice: 2 tablespoons per quart (950 ml) jar or 1 tablespoon per pint (475 ml) jar to safely acidify the tomatoes.
- Salt: 1 teaspoon per quart or ½ teaspoon per pint; use canning or pickling salt for best results (avoid iodized table salt).
- Water: For the water bath and blanching the tomatoes.
Optional but helpful:
- Citric acid: Can be used instead of lemon juice; use ¼ teaspoon per quart jar or ⅛ teaspoon per pint jar.
- Jar lids and bands: New lids are crucial for a proper seal; you can reuse metal bands if they’re in good condition.
For this recipe, I recommend using firm, ripe tomatoes from trusted sources like your local farmer’s market or home garden. If you have tomatoes from your own garden, even better—they tend to have the freshest flavor. If you want a little twist, check out my fresh cucumber tomato salad recipe for a light dish that pairs beautifully with your canned tomatoes later.
Equipment Needed
Getting your equipment ready is part of the fun, but it doesn’t need to be fancy. Here’s what you’ll want to gather:
- Large pot or canner: A big stockpot that can hold several jars and water to cover them by at least an inch.
- Glass canning jars: Quart or pint-sized, heat-safe, preferably Mason jars designed for canning.
- Lids and screw bands: New flat lids for sealing and reusable metal screw bands.
- Jar lifter: Essential for safely lifting hot jars out of boiling water.
- Large bowl: For ice water bath to cool peeled tomatoes.
- Funnel: Helps fill jars neatly without spills.
- Lid lifter or magnetic tool: For handling lids hygienically.
- Sharp paring knife: For scoring tomatoes before blanching.
If you don’t have a jar lifter, sturdy tongs can work, but be careful handling hot jars. I found a silicone-tipped jar lifter to be the safest and easiest tool after a few close calls. For those on a budget, many kitchen stores have starter kits with jars and tools at reasonable prices.
Preparation Method
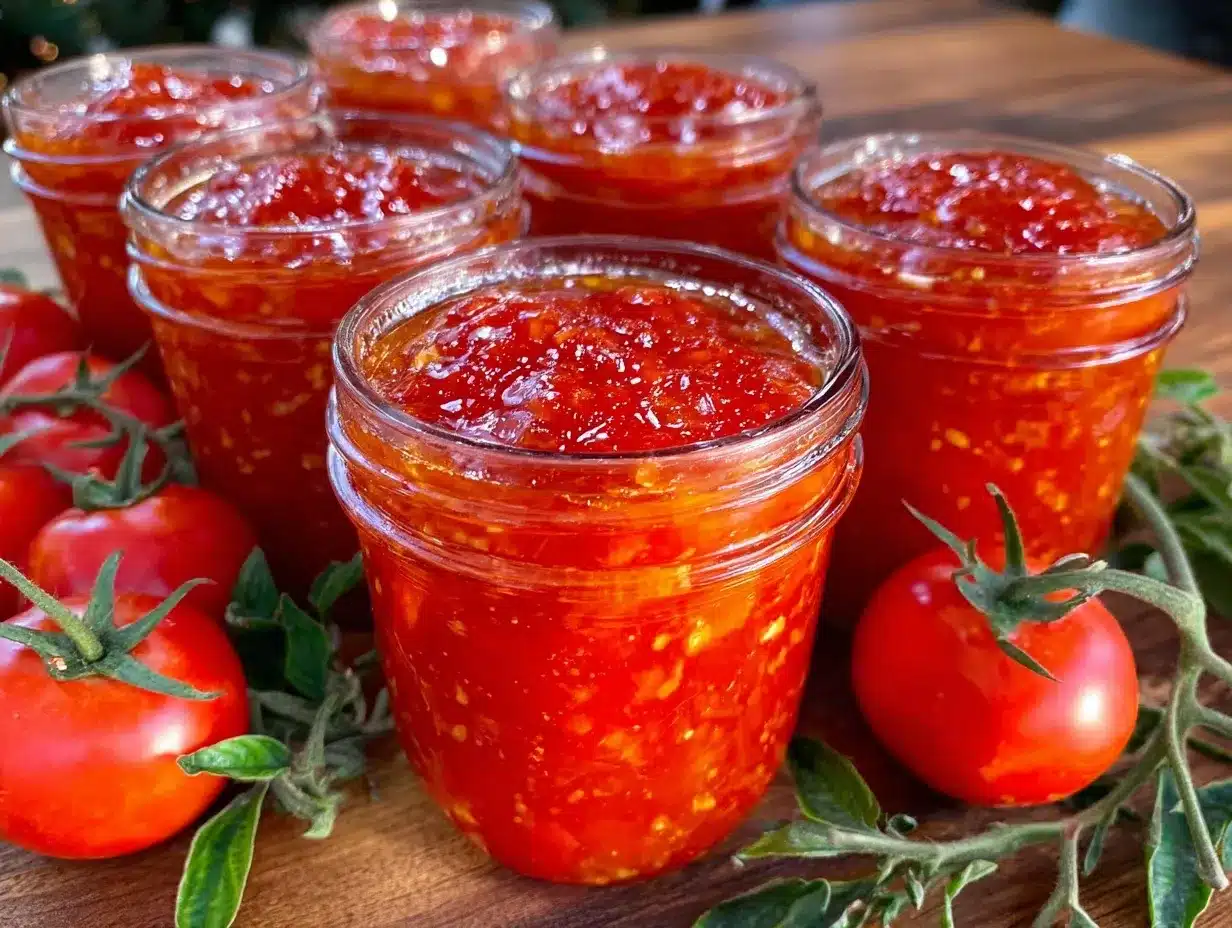
- Prepare your jars and lids: Wash jars, lids, and bands in hot, soapy water. Rinse well. Heat jars in simmering water to keep them hot until ready to fill. Place lids in a small pot of simmering water (not boiling) to soften the sealing compound. (10 minutes)
- Wash and score tomatoes: Rinse tomatoes under cold water. Use a sharp paring knife to make a small “X” at the bottom of each tomato. This helps loosen the skin during blanching. (10 minutes)
- Blanch tomatoes: Bring a large pot of water to a boil. Drop tomatoes in batches into boiling water for 30-60 seconds until skins start to peel away at the scored edges. Immediately transfer to an ice water bath to stop cooking. (15 minutes)
- Peel tomatoes: Once cool enough to handle, peel the skins off starting at the scored “X.” The skins should slip off easily without tearing the flesh. (15 minutes)
- Optional – Core and halve tomatoes: Remove the core and cut larger tomatoes in halves or quarters to fit jars better. (10 minutes)
- Add lemon juice or citric acid and salt to jars: Pour 2 tablespoons lemon juice or ¼ teaspoon citric acid into each quart jar (1 tablespoon or ⅛ teaspoon for pints). Add 1 teaspoon canning salt per quart (½ teaspoon per pint). These acidifiers ensure safe preservation. (5 minutes)
- Pack tomatoes into jars: Fill jars with peeled tomatoes packed gently but firmly, leaving about ½ inch (1.3 cm) headspace at the top. Avoid crushing tomatoes too much to keep texture intact. (15 minutes)
- Add boiling water or tomato juice: Pour hot water or fresh tomato juice over tomatoes, maintaining the ½ inch headspace. Remove air bubbles by running a non-metallic spatula around the inside of the jar. Wipe rims clean. (10 minutes)
- Seal jars: Place heated lids on jars, screw bands on finger tight (not too tight). (5 minutes)
- Process jars in water bath: Place jars in boiling water canner, ensuring water covers jars by at least 1 inch (2.5 cm). Boil for 40 minutes for quarts and 35 minutes for pints at sea level. Adjust time for altitude as needed. (40 minutes)
- Cool and check seals: Remove jars carefully with jar lifter, place on a towel to cool undisturbed for 12-24 hours. Check lids for proper seal (no flex or “pop” when pressed). Store sealed jars in a cool, dark place. (12-24 hours)
Tip: If a jar doesn’t seal properly, refrigerate and use those tomatoes within a week. Never reuse unsealed jars for long-term storage. The sensory cues here—like the smell of fresh tomatoes and the satisfying ‘pop’ of a sealed lid—make the process feel rewarding and safe.
Cooking Tips & Techniques
When I first started canning, I made the mistake of rushing the blanching step, which led to stubborn skins and lots of frustration. Here’s what I’ve learned to get it right every time:
- Don’t skip the acid: Tomatoes are borderline acidic, so adding lemon juice or citric acid is crucial for safe water bath canning.
- Keep jars hot: Filling cold jars with hot tomatoes can cause cracking. Always keep jars warm until you’re ready to fill.
- Headspace matters: Leaving the right gap at the top prevents overflow and helps jars seal properly.
- Watch your processing time: Under-processing risks spoilage; over-processing can mush your tomatoes. Stick to recommended times.
- Use a timer: It’s easy to get distracted, so keep a timer handy for each step.
- Test seals properly: After cooling, gently press the center of lids. A sealed lid will not flex or pop back.
Also, multitasking helps—while jars heat, prep tomatoes; while tomatoes blanch, prepare lids. This keeps things flowing smoothly. And if you want to make a homemade tomato sauce once your jars are ready, my creamy roasted red pepper penne recipe is a great way to put those canned tomatoes to delicious use.
Variations & Adaptations
One of the best things about canning tomatoes is how adaptable the process is. Here are some ideas to make this recipe your own:
- Skin-on style: For a chunkier texture, skip peeling and pack tomatoes whole. The skins add texture and nutrients but can be noticeable in sauces.
- Adding herbs: Drop a few basil or oregano leaves into jars for subtle flavor. Just be sure herbs are clean and dry to avoid spoilage.
- Low sodium: Omit or reduce salt for a low-sodium version; adjust later when you use the tomatoes in cooking.
- Tomato varieties: Use cherry or grape tomatoes whole for smaller jars—just increase processing time by 5-10 minutes.
- Pressure canning: If you want a faster or altitude-friendly method, pressure canning works well, especially for mixed tomato products like salsa.
Personally, I once tried adding roasted garlic cloves to the jars before sealing—turned out to be a delightful surprise in pasta dishes. Feel free to experiment, but always stick to tested acid and processing guidelines for safety.
Serving & Storage Suggestions
Canned tomatoes are incredibly versatile. Serve them as a base for hearty soups, stews, or pasta sauces, or use them in recipes where fresh tomatoes don’t quite hit the mark. They’re best when used within one year for peak flavor, stored in a cool, dark pantry away from direct sunlight.
Once opened, refrigerate any leftovers and use within 5-7 days. You can also freeze canned tomatoes for longer storage; just transfer to freezer-safe containers and leave space for expansion.
Reheating is simple—just add to your dish and simmer gently. Flavors often deepen after a day or two in the fridge, so leftovers can taste even better. If you’re looking for a cozy meal to warm up with after a day of canning, try pairing your tomatoes with my savory baked pork chop recipe for an easy weeknight dinner that’s satisfying and delicious.
Nutritional Information & Benefits
Canning tomatoes preserves their natural nutrients, including vitamin C, potassium, and antioxidants like lycopene, which supports heart health. One cup (240 ml) of canned tomatoes typically contains around 40 calories, 2 grams of fiber, and less than 1 gram of fat.
This recipe is naturally gluten-free, low in carbs, and contains no added preservatives beyond simple salt and acidifiers. It’s a wholesome way to enjoy tomatoes year-round, supporting a balanced diet with minimal fuss.
From a wellness perspective, having canned tomatoes on hand encourages cooking wholesome meals from scratch, reducing reliance on processed sauces full of sodium and additives.
Conclusion
This easy canning tomatoes recipe is proof that you don’t need to be a kitchen pro to preserve your harvest successfully. The straightforward water bath method paired with simple ingredients makes it a perfect project for beginners or anyone looking to save summer’s bounty.
Feel free to tweak the acidity, salt, or add your favorite herbs to make it your own. I love this recipe because it feels like a little time capsule—a jar of fresh summer, ready to brighten any dish months later. Plus, it’s a skill that keeps on giving, turning fresh tomatoes into pantry treasures.
If you try it out, I’d love to hear how your jars turned out or if you added a personal touch. Sharing these kitchen experiments makes the process even more rewarding. Happy canning!
FAQs
Can I use any type of tomato for canning?
Yes, but plum or Roma tomatoes are best because they’re meatier and have fewer seeds. You can use other varieties, but expect a slightly different texture.
Why do I need to add lemon juice or citric acid?
Tomatoes are borderline acidic, so adding lemon juice or citric acid ensures they’re safely acidic enough for water bath canning, preventing bacterial growth.
How long can I store canned tomatoes?
Properly sealed jars can last up to one year in a cool, dark place. After that, quality and flavor may decline, though they’re usually still safe to eat.
What if my jar doesn’t seal?
If a jar doesn’t seal, refrigerate it and use the contents within a week, or reprocess it with a new lid within 24 hours.
Can I freeze tomatoes instead of canning?
Absolutely! Freezing is easier and works well, but canned tomatoes have a longer shelf life and don’t require freezer space.
Pin This Recipe!
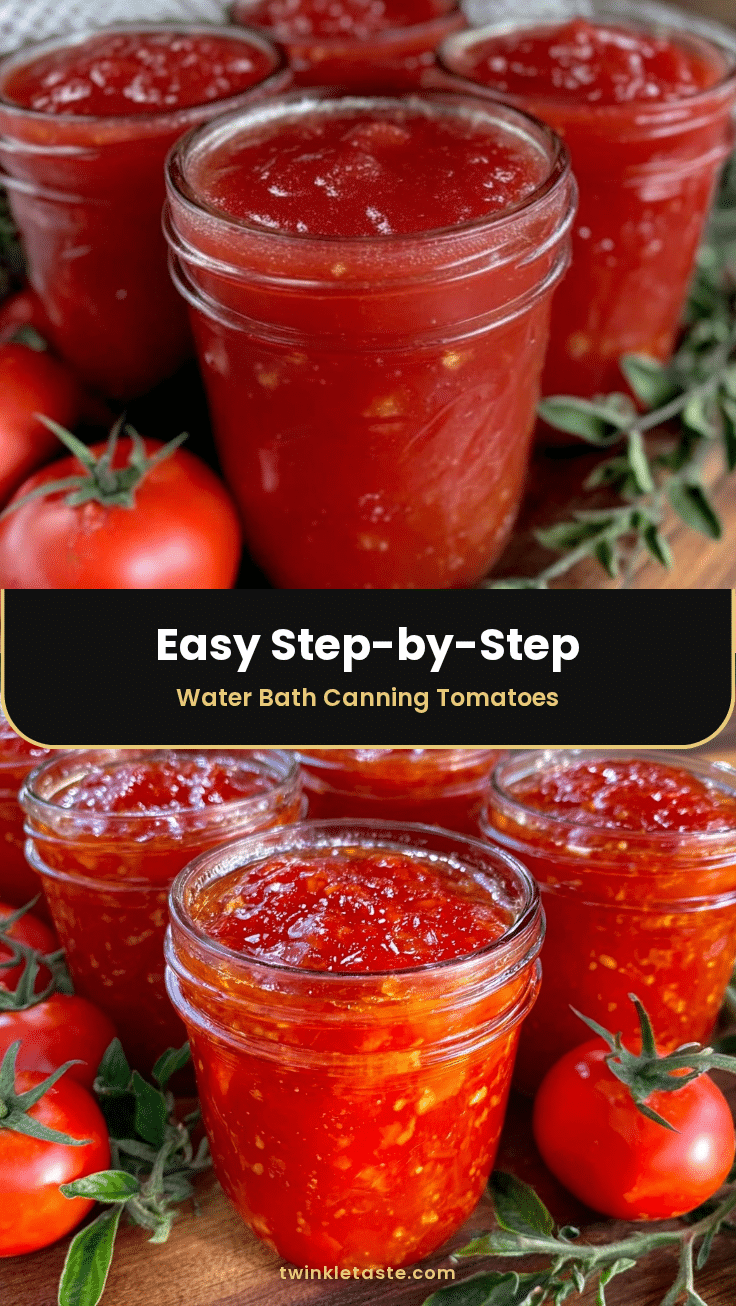
Easy Canning Tomatoes for Beginners Step-by-Step Water Bath Guide
A simple and approachable water bath canning method for preserving fresh tomatoes, perfect for beginners and yielding delicious, shelf-stable jars.
- Prep Time: 1 hour
- Cook Time: 40 minutes
- Total Time: 1 hour 40 minutes to 2 hours 10 minutes (including cooling time)
- Yield: Approximately 7 to 9 quart jars or 14 to 18 pint jars 1x
- Category: Preserving, Pantry Staple
- Cuisine: American
Ingredients
- 10 pounds ripe, firm tomatoes (preferably plum or Roma)
- 2 tablespoons fresh or bottled lemon juice per quart jar
- 1 tablespoon fresh or bottled lemon juice per pint jar
- 1 teaspoon canning or pickling salt per quart jar
- ½ teaspoon canning or pickling salt per pint jar
- Water for blanching and water bath
- Optional: ¼ teaspoon citric acid per quart jar or ⅛ teaspoon per pint jar
- Optional: New jar lids and reusable metal bands
Instructions
- Wash jars, lids, and bands in hot, soapy water. Rinse well. Heat jars in simmering water to keep them hot until ready to fill. Place lids in simmering water to soften sealing compound. (10 minutes)
- Rinse tomatoes under cold water. Use a sharp paring knife to score a small ‘X’ at the bottom of each tomato. (10 minutes)
- Bring a large pot of water to a boil. Blanch tomatoes in batches for 30-60 seconds until skins loosen at scored edges. Transfer immediately to ice water bath. (15 minutes)
- Peel skins off tomatoes starting at the scored ‘X’. (15 minutes)
- Optional: Core and halve larger tomatoes to fit jars better. (10 minutes)
- Add 2 tablespoons lemon juice or ¼ teaspoon citric acid and 1 teaspoon salt to each quart jar; or 1 tablespoon lemon juice or ⅛ teaspoon citric acid and ½ teaspoon salt per pint jar. (5 minutes)
- Pack peeled tomatoes gently but firmly into jars, leaving ½ inch headspace. (15 minutes)
- Pour boiling water or fresh tomato juice over tomatoes, maintaining ½ inch headspace. Remove air bubbles with a non-metallic spatula. Wipe jar rims clean. (10 minutes)
- Place heated lids on jars and screw bands on finger tight. (5 minutes)
- Process jars in boiling water bath with water covering jars by at least 1 inch. Boil for 40 minutes for quarts and 35 minutes for pints at sea level. Adjust for altitude if needed. (40 minutes)
- Remove jars with jar lifter and place on towel to cool undisturbed for 12-24 hours. Check lids for proper seal. Store sealed jars in a cool, dark place.
Notes
Do not skip adding lemon juice or citric acid to ensure safe acidity. Keep jars hot before filling to prevent cracking. Maintain ½ inch headspace to ensure proper sealing. Use a timer to avoid under- or over-processing. Test seals after cooling; refrigerate and use unsealed jars within a week.
Nutrition
- Serving Size: 1 cup (240 ml) canne
- Calories: 40
- Sugar: 6
- Sodium: 400
- Fat: 0.5
- Carbohydrates: 9
- Fiber: 2
- Protein: 2
Keywords: canning tomatoes, water bath canning, preserving tomatoes, beginner canning, homemade canned tomatoes, tomato preservation, pantry staples


