The Thanksgiving potluck at my new office was in less than twelve hours and I’d completely forgotten. Everyone else would be bringing their grandmother’s famous stuffing, a triple-layer pumpkin cheesecake that took two days to make, or perfectly golden braided bread. I had a bag of frozen green beans, a sad-looking onion, and about forty-five minutes of willpower left after a brutal work week. Let me tell you, I almost just grabbed a bottle of wine and called it a contribution.
But I couldn’t show up empty-handed on my first month. So I stood there, staring into my fridge like it held the answers to the universe, and remembered this crazy simple green bean casserole my roommate used to throw together. Except I needed it to be gluten-free because my new coworker had mentioned her celiac diagnosis. Honestly, I figured it was going to be a sad, gloopy mess that everyone would politely nibble.
The power went out halfway through baking. No joke. I finished it by the light of my phone flashlight, convinced this was a disaster in the making. I walked into that potluck with a slightly lopsided casserole dish, apologizing before anyone even took a bite. You know that feeling when you want the floor to swallow you whole?
Well, the dish was gone in twenty minutes. Someone asked for the recipe before the ham even made it to the table. And the best part? That coworker with celiac ate two servings and said it was the first green bean casserole she’d trusted in years. This wholesome gluten-free green bean casserole became my accidental signature dish, and I’ve been making it ever since. It’s the recipe that taught me simple, real ingredients don’t need a fancy pedigree to be unforgettable.
Why You’ll Love This Recipe
This isn’t just another green bean casserole. This is the one that makes people close their eyes after the first bite, even when they don’t realize it’s gluten-free. I’ve tested this version more times than I care to admit—burned my fair share of onions, made batches that were too watery, and once forgot the mushrooms entirely. But each failure taught me exactly what makes this recipe work.
- Quick & Easy : Comes together in under 45 minutes, most of which is hands-off baking time. Perfect for those “I forgot it was my turn to bring a side dish” moments.
- Simple Ingredients : No weird specialty flours or hard-to-find items. Your regular grocery store has everything you need.
- Perfect for Holidays and Potlucks : Brings that classic comfort without anyone feeling left out or restricted.
- Crowd-Pleaser : Gluten-free eaters and traditionalists alike go back for seconds. I’ve seen it happen at three different gatherings now.
- Unbelievably Creamy : The secret is making your own creamy mushroom sauce from scratch. It sounds fancy, but it’s just a few pantry staples and ten minutes of stirring.
What makes this different from every other recipe out there? It’s the texture. Most gluten-free casseroles get either gummy or dry. This one nails that perfect tender-crisp green bean with a velvety sauce that clings to every bean. The homemade crispy onions on top? They actually stay crunchy, even the next day. I developed this after getting tired of store-bought fried onions that turned soggy before the dish even hit the table.
It’s comfort food reimagined—lighter, cleaner, but with the same soul-soothing satisfaction that makes green bean casserole a holiday staple. Perfect for impressing guests without stress, or turning a simple weeknight dinner into something that feels special.
What Ingredients You Will Need
This wholesome gluten-free green bean casserole uses simple, wholesome ingredients to deliver that classic creamy texture and crunchy topping without any processed shortcuts. Most of these are probably already in your kitchen.
For the Green Beans
- Fresh green beans, 1 ½ pounds, trimmed and halved (look for bright, snappy beans that break cleanly)
- Sea salt, 1 teaspoon, for blanching water
- Ice water bath, to stop cooking
For the Creamy Mushroom Sauce
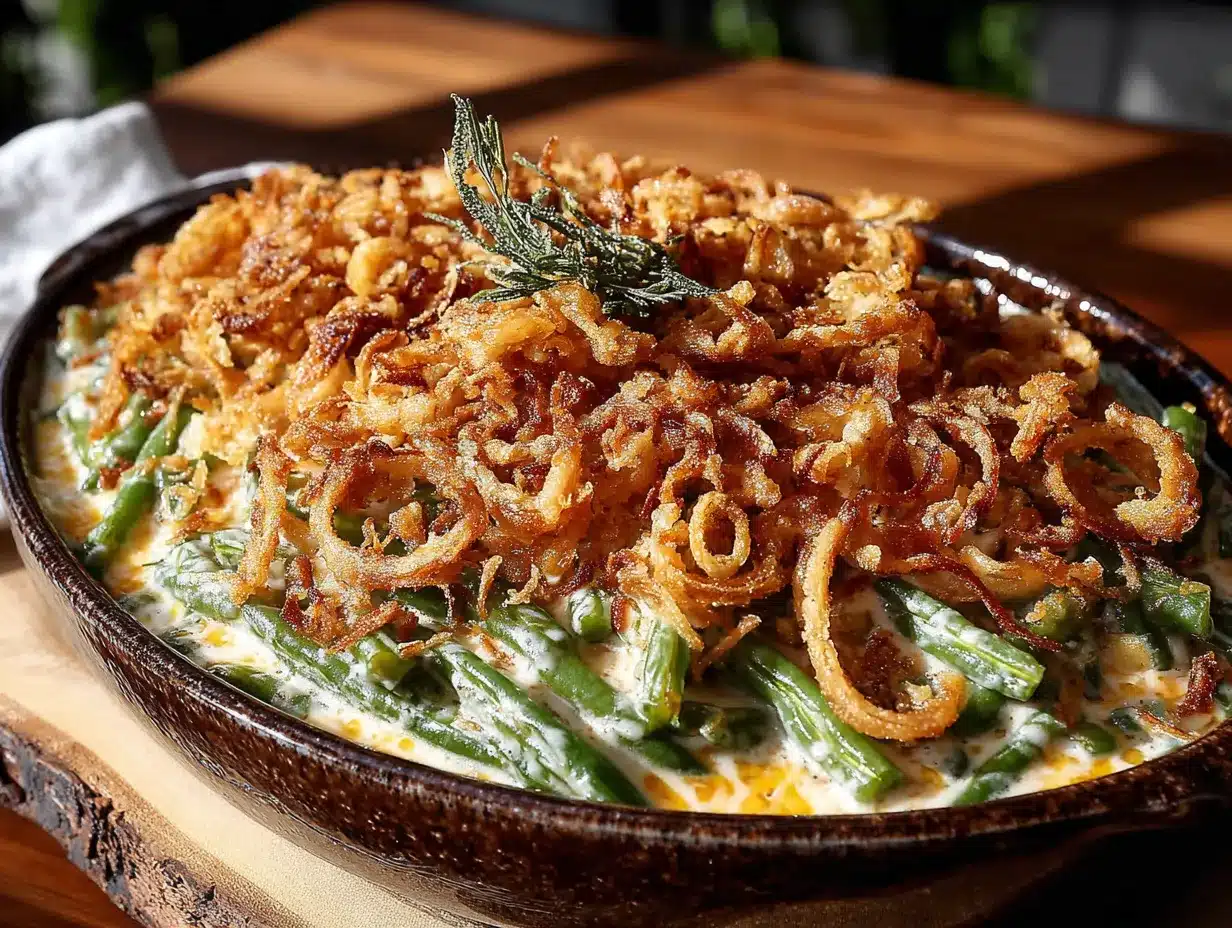
- Unsalted butter or dairy-free butter, 3 tablespoons
- Cremini mushrooms, 8 ounces, thinly sliced (baby bellas work beautifully here)
- Yellow onion, 1 medium, finely diced
- Garlic cloves, 3, minced
- Fresh thyme leaves, 1 teaspoon (or ½ teaspoon dried)
- Brown rice flour, ¼ cup (I prefer Bob’s Red Mill for its neutral flavor)
- Chicken or vegetable broth, 1 ½ cups, gluten-free certified
- Full-fat coconut milk or heavy cream, ½ cup (coconut milk keeps it dairy-free and adds subtle richness)
- Tamari or coconut aminos, 1 tablespoon (adds depth without gluten)
- Black pepper, ½ teaspoon, freshly ground
- Salt, ½ teaspoon, or to taste
For the Crispy Onion Topping
- Yellow onion, 1 large, thinly sliced into rings
- Buttermilk or unsweetened almond milk mixed with 1 teaspoon lemon juice, ½ cup
- Almond flour, ½ cup (finely ground, not almond meal)
- Nutritional yeast, 2 tablespoons (adds that savory, almost cheesy flavor)
- Garlic powder, ½ teaspoon
- Paprika, ½ teaspoon
- Salt, ¼ teaspoon
- Avocado oil or olive oil spray, for crisping
Ingredient Notes
I recommend using fresh green beans over frozen or canned for this recipe. The texture difference is night and day. Look for firm, bright green beans without any brown spots. For the mushrooms, cremini have a deeper flavor than white button mushrooms, but either works. If you’re dairy-free, the coconut milk and nutritional yeast combo creates that creamy, savory sauce without any cheese. Trust me on the tamari—it adds a subtle umami that makes everyone ask what your secret ingredient is.
Equipment Needed
- Large pot for blanching green beans
- Large bowl with ice water
- Large skillet or sauté pan (12-inch works best)
- 9×13 inch baking dish or similar casserole dish
- Baking sheet lined with parchment paper
- Sharp knife and cutting board
- Whisk for smooth sauce
- Measuring cups and spoons
If you don’t have brown rice flour, you can use any gluten-free all-purpose blend for the sauce. Just make sure it contains xanthan gum for proper thickening. For the crispy onions, an air fryer works beautifully if you have one—it cuts the baking time in half and gets them extra crunchy. I’ve made these on a basic baking sheet for years, so don’t feel like you need fancy equipment.
Preparation Method
- Preheat your oven to 400°F (200°C). Line a baking sheet with parchment paper for the crispy onions.
- Blanch the green beans. Bring a large pot of water to a rolling boil. Add 1 teaspoon of salt. Drop in the trimmed green beans and cook for exactly 3 minutes. They should turn bright green and be tender-crisp. Immediately transfer them to a bowl of ice water to stop the cooking. Let them sit for 2 minutes, then drain well and pat dry with a clean kitchen towel. This step is non-negotiable for perfect texture.
- Start the crispy onions. While the beans blanch, soak the thinly sliced onion rings in buttermilk (or your dairy-free milk mixture) for 10 minutes. This softens their sharp bite and helps the coating stick.
- Make the coating. In a shallow bowl, mix the almond flour, nutritional yeast, garlic powder, paprika, and salt. Remove onion rings from the milk, letting excess drip off, and toss them in the flour mixture. Press gently so the coating adheres. Place them in a single layer on the prepared baking sheet. Spray lightly with avocado oil.
- Bake the onions. Place the baking sheet in the preheated oven and bake for 12-15 minutes, flipping halfway through, until golden and crispy. Keep an eye on them after 10 minutes—they can go from perfect to burnt quickly. Set aside to cool.
- Reduce oven temperature to 375°F (190°C).
- Cook the mushrooms and onions. In a large skillet, melt the butter over medium-high heat. Add the sliced mushrooms and cook undisturbed for 3 minutes. Stir and continue cooking until they release their liquid and start to brown, about 5 more minutes. Add the diced onion and cook until translucent, about 4 minutes. Stir in the garlic and thyme and cook for 30 seconds until fragrant.
- Make the sauce. Sprinkle the brown rice flour over the mushroom mixture and stir constantly for 1 minute to cook out the raw flour taste. Slowly pour in the broth while whisking continuously to prevent lumps. Bring to a gentle simmer and cook for 3-4 minutes until thickened. Stir in the coconut milk (or heavy cream), tamari, black pepper, and salt. Taste and adjust seasoning. The sauce should be velvety and rich.
- Assemble the casserole. Place the blanched green beans in a 9×13 inch baking dish. Pour the creamy mushroom sauce over the top and gently toss to coat every bean evenly. Spread into an even layer.
- Bake the casserole. Bake for 20 minutes until bubbly and hot throughout. The sauce will thicken slightly more as it bakes.
- Add the topping. Remove the casserole from the oven and sprinkle the crispy onions evenly over the top. Return to the oven and bake for an additional 5 minutes until the topping is fragrant and the edges are just starting to brown.
- Rest before serving. Let the casserole sit for 5 minutes before serving. This allows the sauce to set slightly so it doesn’t run all over the plate.
Cooking Tips & Techniques
I learned most of these through trial and error. The first time I made this, I skipped the blanching step and ended up with sad, gray beans that were either crunchy or mushy—never in between. Don’t be like me. That ice water bath is your best friend.
Don’t overcrowd the mushrooms. If you dump all the mushrooms in at once, they’ll steam instead of brown. Give them space in the pan. If your skillet isn’t big enough, cook them in two batches. Those browned bits at the bottom of the pan are pure flavor.
The sauce will look thin at first. Don’t panic. It thickens as it simmers and continues thickening in the oven. If it gets too thick, just splash in a little extra broth. I’ve rescued many a sauce this way.
For the crispiest onions, don’t skip the soak. That buttermilk bath isn’t just for flavor—it helps the coating stick and creates that shatteringly crisp texture. Also, make sure your onions are in a single layer on the baking sheet. Overlapping them creates steam, which means soggy onions.
Timing is everything. I like to blanch the beans and make the sauce ahead of time, then assemble and bake just before serving. The crispy onions are best made fresh, but they’ll stay crunchy for a few hours if you store them in an airtight container at room temperature.
Variations & Adaptations
Dairy-Free Version : Use dairy-free butter and swap the heavy cream for full-fat coconut milk. The coconut flavor is subtle and actually complements the mushrooms beautifully. I’ve also used cashew cream with great results.
Protein-Packed Option : Add 8 ounces of cooked, crumbled turkey sausage or diced chicken to the sauce before baking. This turns a side dish into a complete meal. I did this for a post-Thanksgiving lunch and it was a hit.
Extra Veggie Boost : Toss in 1 cup of sliced bell peppers or a handful of spinach along with the mushrooms. The spinach wilts into the sauce and adds color without changing the flavor much.
Spicy Kick : Add ¼ teaspoon of red pepper flakes along with the garlic, or stir in a diced jalapeño for heat. My brother-in-law requests this version every year.
Nut-Free Topping : If you can’t have almonds, use crushed pork rinds mixed with nutritional yeast and spices. It sounds unusual, but it gets incredibly crispy and adds a savory crunch that works perfectly.
Serving & Storage Suggestions
Serve this wholesome gluten-free green bean casserole hot, straight from the oven. It’s the perfect side dish for roasted turkey, baked ham, or even a simple roast chicken. I love it alongside a big pile of mashed potatoes and some cranberry sauce for the full holiday experience.
For a lighter meal, pair it with a simple green salad dressed with lemon vinaigrette. The bright acidity cuts through the creamy sauce beautifully.
Storage: Leftovers keep well in an airtight container in the refrigerator for up to 4 days. The flavors actually meld together overnight and taste even better the next day.
Reheating: The best way to reheat is in a 350°F oven for 10-15 minutes until hot. The microwave works in a pinch, but the crispy onions will lose their crunch. I sometimes make extra crispy onions just to sprinkle on leftovers before reheating.
Freezing: You can freeze the assembled casserole (without the crispy topping) for up to 3 months. Thaw overnight in the refrigerator, then bake as directed, adding fresh crispy onions at the end.
Nutritional Information & Benefits
This recipe is naturally gluten-free and can easily be made dairy-free. It’s packed with fiber from the green beans and protein from the mushrooms and almond flour topping. Each serving provides a good dose of vitamin K from the green beans, which supports bone health, and antioxidants from the mushrooms.
Estimated per serving (based on 8 servings):
- Calories: 185
- Fat: 12g
- Carbohydrates: 16g
- Fiber: 5g
- Protein: 6g
- Sugar: 6g
This recipe is also suitable for those following a paleo or Whole30 lifestyle if you use coconut aminos instead of tamari and skip the nutritional yeast. It’s a wholesome, vegetable-forward dish that feels indulgent without the heaviness of traditional versions.
Conclusion
This wholesome gluten-free green bean casserole started as a panic-driven experiment and became my most-requested recipe. It proves that you don’t need processed soup mixes or complicated techniques to create something truly delicious. Fresh ingredients, a little patience, and a willingness to try something different are all you need.
I love this recipe because it brings people together—whether they eat gluten-free or not. It’s the dish that makes everyone feel included without anyone feeling like they’re missing out. That’s a pretty special thing for a simple side dish.
Try it for your next holiday gathering or weeknight dinner. Customize it with your favorite add-ins, make it your own, and let me know how it turns out. Drop a comment below with your variations, or tag me in your photos—I genuinely love seeing your creations. Happy cooking, friends!
Frequently Asked Questions
Can I use frozen green beans instead of fresh?
Yes, but the texture will be softer. If using frozen, thaw them completely and pat them very dry before using. Skip the blanching step since frozen beans are already blanched. Reduce the baking time by about 5 minutes to prevent mushiness.
What’s the best gluten-free flour for the sauce?
Brown rice flour works perfectly and has a neutral flavor. You can also use a gluten-free all-purpose flour blend that contains xanthan gum. Avoid coconut flour or almond flour for the sauce—they don’t thicken properly and can create a grainy texture.
Can I make this ahead of time?
Absolutely. Assemble the casserole completely (without the crispy onions) up to 24 hours in advance. Cover and refrigerate. When ready to bake, add about 10 minutes to the baking time since you’re starting from cold. Make the crispy onions fresh just before serving for the best crunch.
Why did my crispy onions turn out soggy?
This usually happens for one of three reasons: the onion slices were too thick, the baking sheet was overcrowded, or they weren’t baked long enough. Cut your onions into thin, even rings, give them space on the sheet, and bake until deeply golden. Let them cool completely on the sheet before moving them—they crisp up as they cool.
Can I use canned cream of mushroom soup instead of making the sauce?
You can, but the texture and flavor won’t be the same. Most canned cream of mushroom soups contain gluten, so check labels carefully if going that route. The homemade sauce takes only 10 minutes and makes a noticeable difference in creaminess and depth of flavor. I promise it’s worth the extra step.
Pin This Recipe!
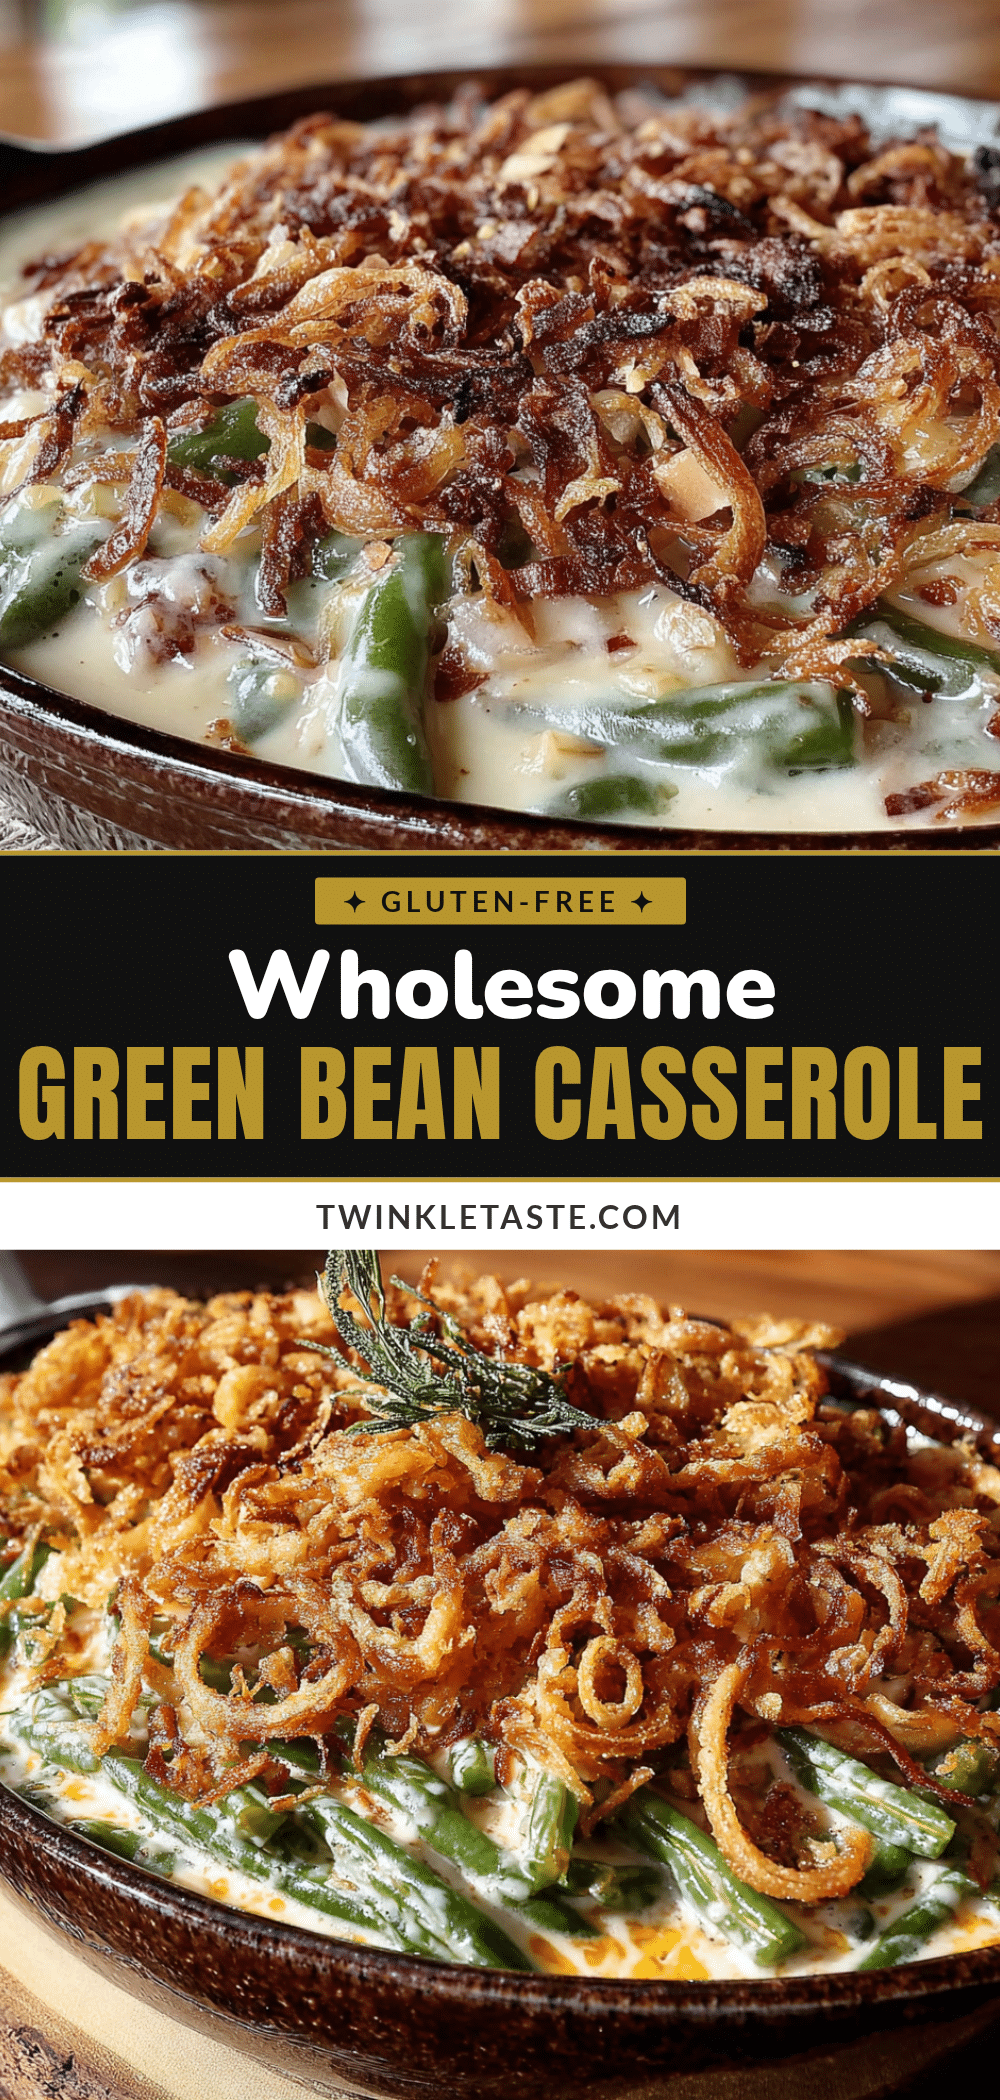
Wholesome Gluten-Free Green Bean Casserole: An Easy, Homemade Side Dish

This wholesome gluten-free green bean casserole is a creamy, crunchy side dish made from scratch with fresh green beans, a velvety mushroom sauce, and crispy onion topping. Perfect for holidays and potlucks, it’s a crowd-pleaser that everyone can enjoy.
- Prep Time: 15 minutes
- Cook Time: 30 minutes
- Total Time: 45 minutes
- Yield: 8 servings 1x
- Category: Side Dish
- Cuisine: American
Ingredients
- 1 ½ pounds fresh green beans, trimmed and halved
- 1 teaspoon sea salt, for blanching water
- Ice water bath, to stop cooking
- 3 tablespoons unsalted butter or dairy-free butter
- 8 ounces cremini mushrooms, thinly sliced
- 1 medium yellow onion, finely diced
- 3 garlic cloves, minced
- 1 teaspoon fresh thyme leaves (or ½ teaspoon dried)
- ¼ cup brown rice flour
- 1 ½ cups chicken or vegetable broth, gluten-free certified
- ½ cup full-fat coconut milk or heavy cream
- 1 tablespoon tamari or coconut aminos
- ½ teaspoon black pepper, freshly ground
- ½ teaspoon salt, or to taste
- 1 large yellow onion, thinly sliced into rings
- ½ cup buttermilk or unsweetened almond milk mixed with 1 teaspoon lemon juice
- ½ cup almond flour, finely ground
- 2 tablespoons nutritional yeast
- ½ teaspoon garlic powder
- ½ teaspoon paprika
- ¼ teaspoon salt
- Avocado oil or olive oil spray, for crisping
Instructions
- Preheat your oven to 400°F (200°C). Line a baking sheet with parchment paper for the crispy onions.
- Blanch the green beans: Bring a large pot of water to a rolling boil. Add 1 teaspoon of salt. Drop in the trimmed green beans and cook for exactly 3 minutes. They should turn bright green and be tender-crisp. Immediately transfer them to a bowl of ice water to stop the cooking. Let them sit for 2 minutes, then drain well and pat dry with a clean kitchen towel.
- Start the crispy onions: While the beans blanch, soak the thinly sliced onion rings in buttermilk (or your dairy-free milk mixture) for 10 minutes.
- Make the coating: In a shallow bowl, mix the almond flour, nutritional yeast, garlic powder, paprika, and salt. Remove onion rings from the milk, letting excess drip off, and toss them in the flour mixture. Press gently so the coating adheres. Place them in a single layer on the prepared baking sheet. Spray lightly with avocado oil.
- Bake the onions: Place the baking sheet in the preheated oven and bake for 12-15 minutes, flipping halfway through, until golden and crispy. Set aside to cool.
- Reduce oven temperature to 375°F (190°C).
- Cook the mushrooms and onions: In a large skillet, melt the butter over medium-high heat. Add the sliced mushrooms and cook undisturbed for 3 minutes. Stir and continue cooking until they release their liquid and start to brown, about 5 more minutes. Add the diced onion and cook until translucent, about 4 minutes. Stir in the garlic and thyme and cook for 30 seconds until fragrant.
- Make the sauce: Sprinkle the brown rice flour over the mushroom mixture and stir constantly for 1 minute to cook out the raw flour taste. Slowly pour in the broth while whisking continuously to prevent lumps. Bring to a gentle simmer and cook for 3-4 minutes until thickened. Stir in the coconut milk (or heavy cream), tamari, black pepper, and salt. Taste and adjust seasoning.
- Assemble the casserole: Place the blanched green beans in a 9×13 inch baking dish. Pour the creamy mushroom sauce over the top and gently toss to coat every bean evenly. Spread into an even layer.
- Bake the casserole: Bake for 20 minutes until bubbly and hot throughout.
- Add the topping: Remove the casserole from the oven and sprinkle the crispy onions evenly over the top. Return to the oven and bake for an additional 5 minutes until the topping is fragrant and the edges are just starting to brown.
- Rest before serving: Let the casserole sit for 5 minutes before serving.
Notes
For the crispiest onions, don’t skip the buttermilk soak and ensure onions are in a single layer on the baking sheet. The sauce will look thin at first but thickens as it simmers and bakes. If using frozen green beans, thaw and pat dry, skip blanching, and reduce baking time by 5 minutes. Assemble casserole (without topping) up to 24 hours ahead; add 10 minutes to baking time if starting from cold. Make crispy onions fresh for best crunch.
Nutrition
- Serving Size: 1 serving (about 1 c
- Calories: 185
- Sugar: 6
- Sodium: 480
- Fat: 12
- Saturated Fat: 4
- Carbohydrates: 16
- Fiber: 5
- Protein: 6
Keywords: gluten-free green bean casserole, homemade green bean casserole, dairy-free green bean casserole, holiday side dish, potluck recipe, creamy mushroom sauce, crispy onions