“You’re telling me I can get perfect hard-boiled eggs without that annoying peeling struggle? No way.” That was my reaction the first time a friend nudged me to try making hard-boiled eggs in the Instant Pot. Honestly, I’d always been skeptical about pressure cooking eggs—seemed like a lot of fuss for something so simple. But after a particularly chaotic morning when I needed quick protein and was too tired to wrestle with stubborn shells, I gave it a shot. The results were unexpectedly flawless—eggs cooked just right, with shells that practically slid off like magic.
It’s funny how a simple kitchen gadget like the Instant Pot can change your whole approach to a basic staple. No more guessing, no more cracked whites or bits of shell stuck to the egg. I started making these eggs multiple times a week—sometimes for a quick snack, other times as the base for my favorite egg salad or a speedy breakfast. It’s the kind of recipe that quietly wins over skeptics (like I was), and once you get it down, you trust it to deliver every time.
What really hooked me was the ease and consistency. Plus, it frees up stovetop space, which is a win when juggling other dishes like a quick cheesy single-serve lasagna or prepping some soft homemade garlic butter breadsticks for dinner. Having a batch of perfectly cooked eggs ready to go feels like a secret weapon for busy days.
So, here’s the deal: this easy Instant Pot hard-boiled eggs recipe isn’t about fancy ingredients or complicated steps. It’s about getting the basics exactly right, every single time. And yes, that perfect peel? It’s totally doable, even if you’ve struggled before. This little trick became my go-to, and it might just become yours too.
Why You’ll Love This Recipe
Having tested this method numerous times (and I mean multiple times a week), I can confidently say this Instant Pot hard-boiled eggs recipe is a game changer. Here’s why it stands out:
- Quick & Easy: You’re looking at about 15 minutes from start to finish, including natural pressure release and cooling. Perfect for those rushed mornings or last-minute meal preps.
- Simple Ingredients: Just eggs and water—no fancy additives needed. You probably already have everything in your kitchen.
- Perfect for Meal Prep: Great for prepping protein ahead of time. I often pair these eggs with a fresh salad or turn them into quick snacks when hunger strikes.
- Crowd-Pleaser: Everyone loves an egg that peels easily. No more wrestling with flaky shells or bits stuck to the whites.
- Consistent Results: Thanks to the reliable pressure cooking method, you’ll get evenly cooked eggs every time. No more guessing or overcooking.
What makes this recipe different? It’s the exact timing and water ratio that I’ve tweaked after many trials to get that perfect peel. The eggs aren’t rubbery or chalky, and the shells come off in large pieces without extra effort. Plus, you avoid the messiness of boiling water on the stove and the constant need to watch the clock.
This recipe is comfort food in its simplest form—easy, satisfying, and just right. Whether you’re prepping eggs for your kid’s lunchbox, a quick snack after work, or a base for dishes like my crispy egg fried rice, it’s a reliable staple that doesn’t disappoint.
What Ingredients You Will Need
This recipe uses minimal, pantry-friendly ingredients that deliver a straightforward, no-fuss approach to perfect hard-boiled eggs. The magic really lies in the technique rather than fancy additions.
- Large eggs: Fresh or older eggs both work, but slightly older eggs tend to peel easier. I usually buy a carton from trusted local farms or brands like Eggland’s Best for consistent quality.
- Water: About 1 cup (240 ml) of water for the Instant Pot. This creates the steam needed to cook the eggs evenly.
That’s it! Just two ingredients, but their roles are crucial. The water produces steam under pressure, cooking the eggs uniformly without hot spots or cracking. The eggs themselves are your blank canvas, ready to be transformed into breakfast, snacks, or meal prep essentials.
If you want to experiment a bit, you can add a teaspoon of baking soda to the water. Some cooks swear it helps with peeling by softening the shells slightly, but I find the timing and pressure method more important than additives.
Equipment Needed
- Instant Pot or any electric pressure cooker: This is the star tool here. A 6-quart size is ideal for fitting a dozen eggs comfortably.
- Steaming rack or trivet: Most Instant Pots come with one. It keeps the eggs above the water, allowing steam circulation.
- Large bowl: For the ice bath to cool eggs quickly and stop cooking.
- Slotted spoon or tongs: To safely remove hot eggs from the pot without cracking.
If you don’t have a pressure cooker, a traditional stovetop method works too, though peeling can be trickier. I’ve tried stovetop boiling in the past, but getting that perfect peel consistently was a pain—one reason I love the Instant Pot approach so much.
For cleanup, non-stick liners made for Instant Pots can save some scrubbing when water sometimes splashes inside, but it’s optional. I keep things simple and just wipe down the insert after use.
Preparation Method
- Prepare the Instant Pot: Pour 1 cup (240 ml) of water into the inner pot. Place the steaming rack or trivet inside.
- Arrange the eggs: Gently place up to 12 large eggs on the trivet. Make sure they’re not stacked too tightly to avoid cracking during cooking.
- Seal and set: Lock the lid and set the valve to sealing. Select the “Manual” or “Pressure Cook” mode and set the timer for 5 minutes at high pressure.
- Natural pressure release: Once cooking completes, let the pressure release naturally for 5 minutes—this step is key for texture and peel quality.
- Quick release remaining pressure: Carefully switch the valve to venting to release any leftover steam.
- Ice bath: Immediately transfer the eggs to a large bowl filled with ice water. Let them chill for at least 5 minutes. This cool-down step stops cooking and helps separate the membrane from the shell.
- Peeling time: Tap the eggs gently all over on a hard surface to crack the shell, then peel under running water for easier shell removal.
Timing is crucial here. The 5-minute cook time plus 5 minutes natural release hits the sweet spot for firm whites and creamy yolks without a green ring. If you want slightly softer yolks, try 4 minutes; for firmer yolks, go 6 minutes.
One trick I learned is peeling the eggs shortly after the ice bath, while still cold. Waiting too long makes peeling tougher. Also, peeling under running water helps wash away tiny shell bits.
Cooking Tips & Techniques
From my many trials, a few tips make all the difference when it comes to perfect Instant Pot hard-boiled eggs:
- Use older eggs if possible: They peel more easily because the pH of the egg white changes over time, loosening the membrane.
- Don’t skip the ice bath: It stops the cooking instantly and prevents that rubbery texture.
- Natural pressure release matters: Rushing to quick release after cooking causes the whites to toughen and shells to stick more.
- Arrange eggs carefully: Avoid overcrowding or stacking eggs, which can cause cracks and uneven cooking.
- Peel under running water: Helps remove stubborn shell fragments and makes peeling a breeze.
- Experiment with timing: A minute here or there can change the yolk texture. Start with 5 minutes and adjust according to preference.
One failure I remember was trying to cook 18 eggs at once in a 6-quart pot—some cracked and others were undercooked. Lesson learned: don’t overcrowd. Also, skipping the natural release led to shells that clung like glue. After dialing in these details, the results became reliable every time.
If you’re multitasking, start the eggs first since the Instant Pot takes a few minutes to build pressure. You can prep other parts of your meal in the meantime, like chopping veggies for a fresh salad or warming up leftovers like my creamy chicken and rice casserole.
Variations & Adaptations
While this recipe nails the classic hard-boiled egg, there are fun ways to mix it up or adapt for dietary needs:
- Soft-boiled eggs: Reduce the pressure cooking time to 3 minutes with 5 minutes natural release for a runny yolk center.
- Spiced peel trick: Add a splash of white vinegar or a pinch of baking soda to the water. Some cooks swear this helps with peeling, though I find it optional.
- Elevate with flavor: Once peeled, marinate eggs in soy sauce, sriracha, or a mix of herbs and olive oil for a quick snack twist.
- Allergen note: This recipe is naturally gluten-free, dairy-free, and paleo-friendly—great for many diets.
- Cooking for one: You can cook just a few eggs at a time. Adjust the water to 1 cup regardless of egg count for consistent pressure.
One personal favorite: peeling a batch for quick egg salad sandwiches, then layering them with crunchy veggies for a fresh cucumber sandwich twist. It’s a simple way to make eggs feel special beyond breakfast.
Serving & Storage Suggestions
Serve these hard-boiled eggs chilled or at room temperature, depending on preference. They’re perfect sliced over salads, mashed into egg salad, or just with a sprinkle of salt and pepper.
Pair them with fresh veggies, toast, or even alongside a comforting dish like tuna casserole with crispy potato chips for a balanced meal.
For storage, keep peeled or unpeeled eggs in an airtight container in the refrigerator for up to one week. If peeled, place a damp paper towel over them to retain moisture.
Reheat gently by warming in hot water for a few minutes if you prefer warm eggs, though many enjoy them cold.
Flavors actually mellow and improve after a day or two, making these eggs even better as part of meal prep for the week.
Nutritional Information & Benefits
Hard-boiled eggs are a nutrient-packed powerhouse. Each large egg contains about 70 calories, 6 grams of protein, and essential vitamins like B12, D, and choline. They provide healthy fats and are naturally gluten-free.
Eggs support muscle repair, brain function, and sustained energy, making them a smart choice for busy days or post-workout fuel.
For those watching cholesterol, current research suggests moderate egg consumption is safe for most people and part of a balanced diet.
This recipe keeps it simple—no added fats or salt—so you can control how you season and enjoy your eggs.
Conclusion
This easy Instant Pot hard-boiled eggs recipe is one of those kitchen tricks that quietly makes life better. No more peeling headaches or overcooked yolks—just dependable, perfect eggs every time.
Feel free to tweak the timing for your yolk preference or try the variations to keep things interesting. Personally, I love having these eggs ready for quick meals or snacks when I’m juggling a million things.
Give it a try—you’ll wonder how you ever dealt with peeling eggs the old way. And if you’re curious about other simple, tasty recipes that fit busy lifestyles, my quick mug pizza or easy 5-ingredient pizza casserole might be just what you need next.
Happy cooking, and here’s to perfectly peeled eggs from now on!
FAQs About Easy Instant Pot Hard-Boiled Eggs
How many eggs can I cook at once in the Instant Pot?
You can cook up to 12 large eggs comfortably in a 6-quart Instant Pot without overcrowding. Just place them in a single layer on the trivet for even cooking.
Can I use brown eggs for this recipe?
Yes! Brown eggs cook the same way as white eggs. Peeling ease depends more on egg freshness than shell color.
What happens if I overcook the eggs?
Overcooked eggs may develop a greenish ring around the yolk and have a rubbery texture. Stick to the recommended 5 minutes cooking time plus 5 minutes natural release for best results.
Can I skip the ice bath step?
The ice bath is essential to stop cooking immediately and make peeling easier. Skipping it can lead to overcooked eggs and tougher shells.
How long do hard-boiled eggs last in the fridge?
Hard-boiled eggs keep well in the refrigerator for up to one week, whether peeled or unpeeled. Store them in an airtight container for best freshness.
Pin This Recipe!
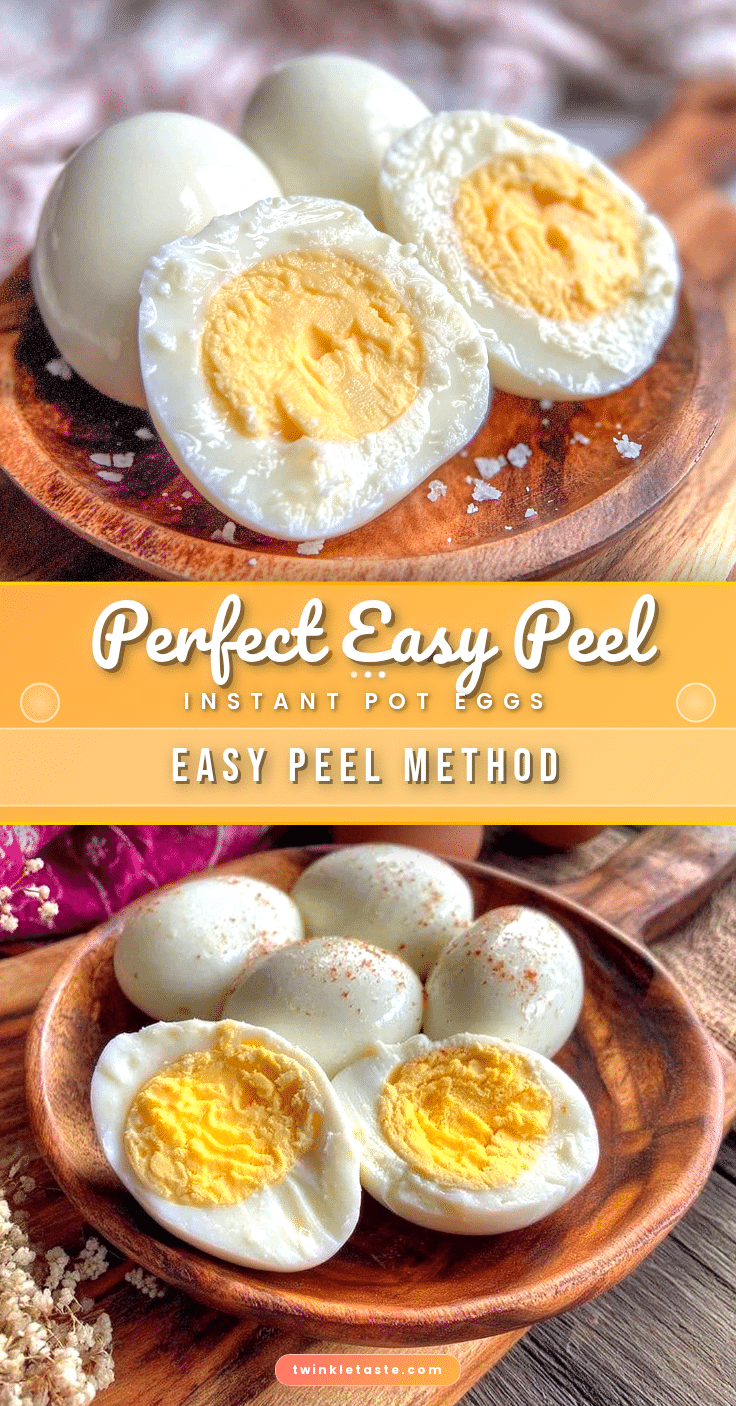
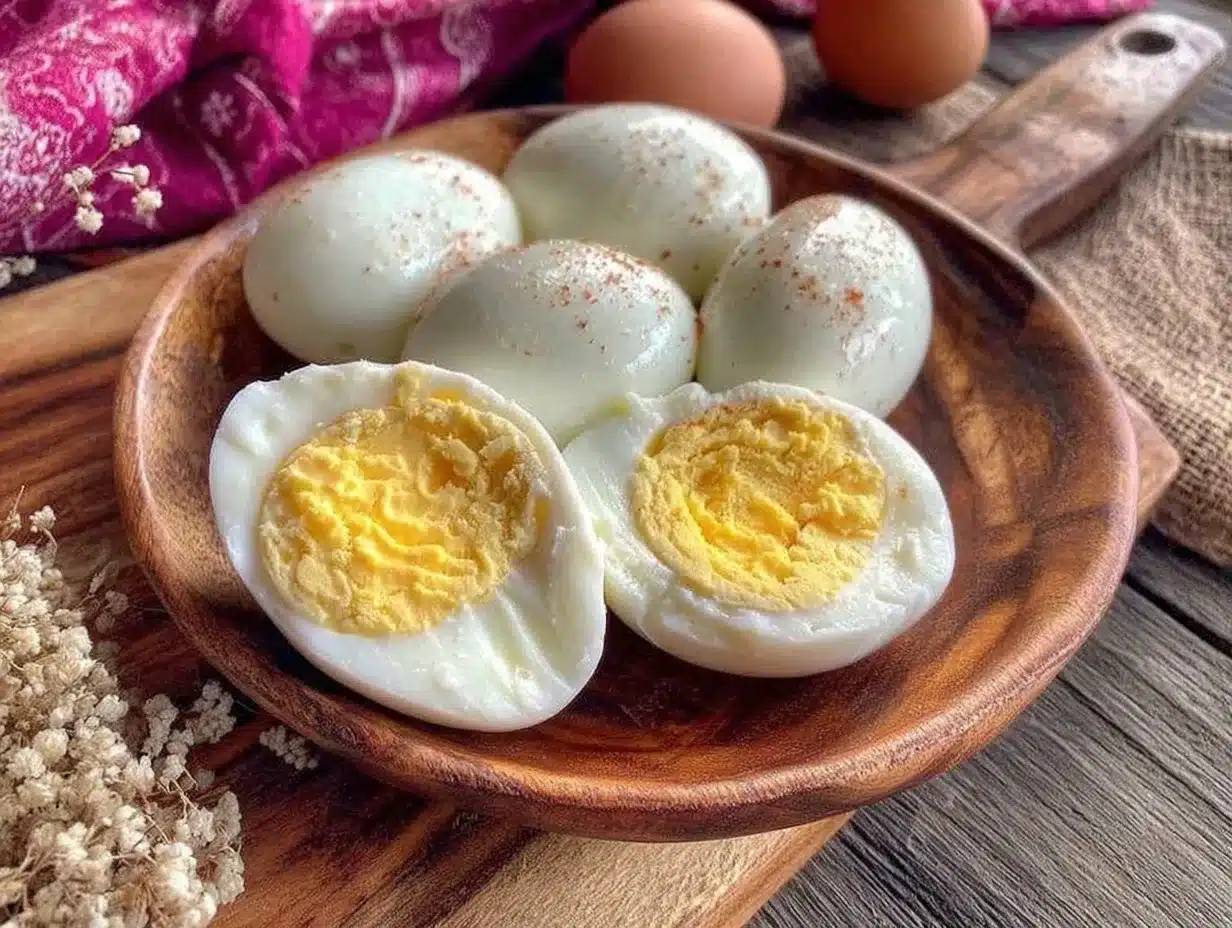
Easy Instant Pot Hard-Boiled Eggs Recipe for Perfect Peel Every Time
This easy Instant Pot hard-boiled eggs recipe delivers perfectly cooked eggs with shells that peel off effortlessly every time, making meal prep quick and hassle-free.
- Prep Time: 2 minutes
- Cook Time: 10 minutes
- Total Time: 15 minutes
- Yield: 12 servings 1x
- Category: Breakfast
- Cuisine: American
Ingredients
- Large eggs (up to 12)
- 1 cup (240 ml) water
Instructions
- Pour 1 cup (240 ml) of water into the Instant Pot inner pot and place the steaming rack or trivet inside.
- Gently place up to 12 large eggs on the trivet, ensuring they are not stacked tightly to avoid cracking.
- Lock the lid and set the valve to sealing. Select ‘Manual’ or ‘Pressure Cook’ mode and set the timer for 5 minutes at high pressure.
- Allow the pressure to release naturally for 5 minutes after cooking completes.
- Carefully switch the valve to venting to release any remaining steam.
- Immediately transfer the eggs to a large bowl filled with ice water and chill for at least 5 minutes to stop cooking.
- Tap the eggs gently on a hard surface to crack the shell, then peel under running water for easier shell removal.
Notes
Use slightly older eggs for easier peeling. Do not skip the ice bath to stop cooking and improve peel quality. Natural pressure release is key to avoid rubbery whites and stuck shells. Peel eggs under running water to remove shell fragments easily. Adjust cooking time for yolk preference: 4 minutes for softer yolks, 6 minutes for firmer yolks.
Nutrition
- Serving Size: 1 large egg
- Calories: 70
- Sugar: 1
- Sodium: 70
- Fat: 5
- Saturated Fat: 1.5
- Carbohydrates: 1
- Protein: 6
Keywords: Instant Pot, hard-boiled eggs, easy recipe, perfect peel, pressure cooker eggs, meal prep, quick protein