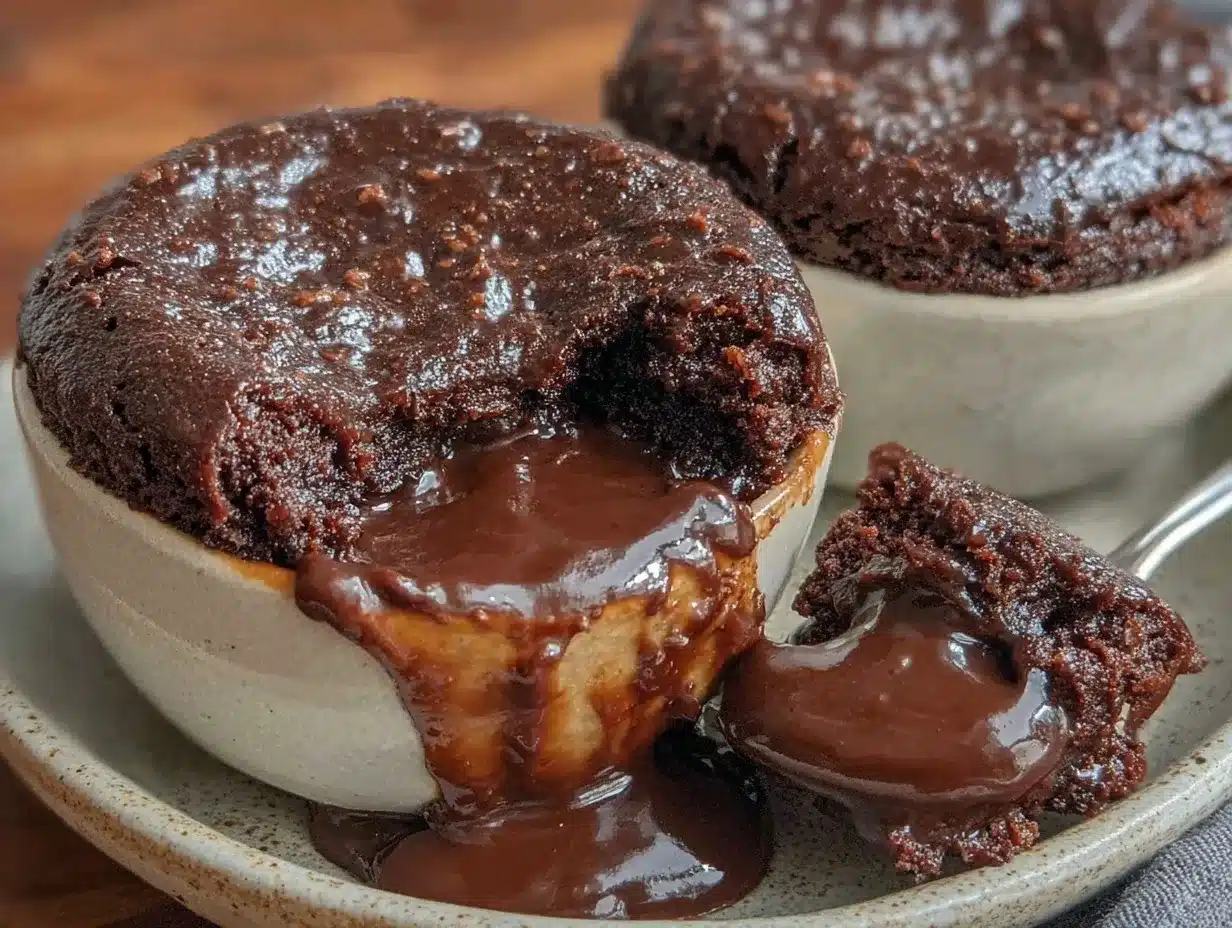
“Hey, did you seriously just make that in a mug? No mixer?!” my roommate blurted out the first time I whipped up these easy no-mixer molten lava cakes in coffee mugs. Honestly, I was skeptical myself at first—lava cakes felt intimidating, all fancy with their gooey centers and delicate textures. But one chaotic evening, when I had zero energy and even less patience, I tossed together this recipe with just a fork and a microwave. The result? A warm, chocolatey hug in a mug that somehow tasted like it took way more effort than it did.
That night, the smell of melting chocolate and butter filled the kitchen, cutting through the stress like a cozy blanket. I remember sitting by the window, spooning the molten cake straight from the mug, blissfully ignoring the pile of dishes. It wasn’t about perfection; it was about comfort and simplicity. Since then, this mug dessert has become my go-to for whenever life feels a bit too much or when friends drop by unexpectedly—because who can say no to a hot, indulgent treat that’s ready in under five minutes?
This easy no-mixer molten lava cakes recipe in coffee mugs stuck around my repertoire because it’s just that approachable and forgiving. It’s proof that you don’t need fancy tools or hours in the kitchen to enjoy an indulgent dessert. If you’ve ever wondered how to get that perfect molten center without all the fuss, this recipe’s got you covered—trust me, it’s a game changer.
Why You’ll Love This Recipe
After testing this recipe more times than I can count (sometimes twice in a week, no shame), I’ve come to appreciate exactly why it’s such a winner:
- Quick & Easy: From start to finish, this dessert comes together in under 10 minutes—ideal for those moments when you want something sweet without the wait.
- Simple Ingredients: You likely have everything in your pantry already—no need for specialty chocolates or obscure baking supplies.
- Perfect for Last-Minute Guests: When friends pop in unexpectedly, pulling out a mug dessert feels effortlessly impressive.
- Crowd-Pleaser: Kids, adults, even picky eaters tend to adore the gooey texture and rich chocolate flavor.
- Unbelievably Delicious: The molten center is perfectly gooey without being runny, and the cake portion stays tender and moist.
What sets this recipe apart is the no-mixer approach that still achieves a smooth batter without lumps or overmixing. Plus, the microwave method means you don’t have to heat up your whole oven—or wait forever. The balance of cocoa powder, melted butter, and just the right amount of sugar creates a deep chocolate flavor that’s both comforting and indulgent. Honestly, it’s the kind of dessert that makes you close your eyes after the first bite, savoring a moment of pure chocolate bliss.
It’s perfect for cozy nights in, a quick sweet fix after dinner, or pairing alongside your morning coffee (yes, really!). If you’re a fan of easy recipes like the soft crumbl milk chocolate chip cookies or the quick mug pizza microwave recipe, you’ll find this molten lava cake just as satisfying and fuss-free.
What Ingredients You Will Need
This easy no-mixer molten lava cakes recipe relies on simple, pantry-friendly ingredients that come together to create a rich, indulgent dessert without any hassle.
- All-purpose flour (about 4 tablespoons / 30 grams) – Provides structure; sifted for smooth batter.
- Cocoa powder (3 tablespoons / 15 grams) – Unsweetened; look for natural cocoa for a deep chocolate flavor.
- Sugar (4 tablespoons / 50 grams) – Granulated white sugar works best for sweetness and texture.
- Baking powder (1/4 teaspoon) – Helps the cake rise just enough to hold the molten center.
- Salt (a pinch) – Balances the sweetness and enhances chocolate flavor.
- Milk (3 tablespoons / 45 ml) – Whole milk is preferred for richness, but any milk or dairy-free milk works fine.
- Vegetable oil (2 tablespoons / 30 ml) – Keeps the cake moist without heaviness; light olive oil or canola also fine.
- Vanilla extract (1/2 teaspoon) – Adds warmth and depth to the chocolate.
- Chocolate piece or chocolate chips (1 square or 2 tablespoons / 30 grams) – Semi-sweet or dark chocolate for the molten center; use your favorite brand (I like Ghirardelli for smooth melting).
Most of these ingredients are kitchen staples, so no last-minute store runs. If you want, you can swap almond flour for all-purpose to try a gluten-free version (though the texture will be slightly different). For dairy-free, coconut or almond milk paired with coconut oil can substitute milk and vegetable oil nicely.
Equipment Needed
- Microwave-safe coffee mugs: Standard-sized, about 10-12 oz capacity works best to avoid overflow.
- Measuring spoons and cups: Accurate measurements make all the difference in a quick recipe like this.
- Fork or small whisk: For mixing ingredients right in the mug—no bulky equipment necessary.
- Microwave: A standard kitchen microwave with 800-1100 watts is ideal; adjust cooking times if your wattage is different.
- Optional: Small silicone spatula for scraping batter or melting butter.
If you don’t have a microwave, you could try baking these in a conventional oven-safe ramekin at 350°F (175°C) for about 12-14 minutes, but the mug method is definitely the fast lane. I once used a small mixing bowl as a mug substitute in a pinch—it worked but made serving a tad trickier. For quick cleanup, choose mugs without intricate designs or heavy handles.
Preparation Method
- Prep your mug and ingredients (2 minutes): Lightly grease the inside of your coffee mug with a little butter or non-stick spray to prevent sticking. Gather measured ingredients so everything’s ready to go.
- Mix the dry ingredients (1 minute): In the mug, combine 4 tablespoons (30g) of sifted all-purpose flour, 3 tablespoons (15g) cocoa powder, 4 tablespoons (50g) sugar, 1/4 teaspoon baking powder, and a pinch of salt. Use a fork to stir gently, breaking any lumps. The dry mix should look uniform and rich brown.
- Add the wet ingredients (1 minute): Pour in 3 tablespoons (45ml) of milk, 2 tablespoons (30ml) vegetable oil, and 1/2 teaspoon vanilla extract. Stir briskly but carefully to combine everything into a smooth batter. It should be thick but pourable—if it looks too dry, add a splash more milk.
- Insert the molten center (30 seconds): Gently press 1 square (about 30g) of semi-sweet chocolate or 2 tablespoons of chocolate chips into the center of the batter, pushing it slightly down but not mixing. This chunk will melt into that signature gooey core.
- Microwave cooking (1-2 minutes): Microwave your mug on high for 60 to 90 seconds. Watch closely after 60 seconds—the cake edges should be set while the center remains soft. Avoid overcooking, or the molten center will dry out. If your microwave’s wattage is lower, add 10-15 seconds incrementally.
- Cool and enjoy (1 minute): Let the mug cake cool for about a minute to thicken the molten center slightly. Then, grab a spoon and dig in—careful, it’s hot and wonderfully melty!
Pro tip: If your first attempt is a bit underdone or runny, don’t sweat it—microwave times can vary. Just nudge the cooking time up in small bursts next time. Also, stirring well before adding the chocolate ensures the cake part cooks evenly.
Cooking Tips & Techniques
Making molten lava cakes in mugs might seem straightforward, but a few learned tricks make all the difference:
- Don’t overmix: Stir just until combined to avoid tough cakes. The batter needs air but not too much.
- Use room temperature ingredients: This helps the batter blend smoothly without lumps, especially the milk.
- Choose quality chocolate: A good melting chocolate bar gives that silky molten center. I’ve found that chocolate chips sometimes don’t melt as uniformly.
- Watch cooking time closely: Microwaves vary wildly. Start with 60 seconds, then add in 10-second bursts if needed. The cake should be firm on the edges but soft in the middle. Overcooking turns the lava center into a regular cake.
- Experiment with mug size: A mug that’s too large may make the cake too thin; too small and it might overflow. Standard coffee mug size is ideal.
Once, I made the mistake of microwaving two mug cakes at once and ended up with uneven cooking—lesson learned! Stick to one mug at a time for the best results. Also, letting the cake rest a moment post-microwave really helps the lava set just enough to enjoy without burning your mouth.
Variations & Adaptations
This easy no-mixer molten lava cakes recipe is a fantastic base for customization. Here are a few ways I’ve tweaked it over time:
- Peanut Butter Lava: Drop a teaspoon of peanut butter into the center instead of chocolate for a nutty twist.
- Berry Surprise: Add a few fresh or frozen raspberries into the batter for a tart contrast to the rich chocolate.
- Mint Chocolate: Stir in a few drops of peppermint extract and use mint chocolate chips for a refreshing flavor.
- Gluten-Free Option: Substitute the all-purpose flour with almond flour or a gluten-free blend; the texture will be slightly denser but still delicious.
- Dairy-Free Version: Swap milk for coconut or almond milk and use coconut oil instead of vegetable oil.
I personally love the peanut butter lava variation for a decadent treat that feels a little more special. Also, if you want to try a savory mug snack, the easy cheesy single serve lasagna recipe is a great quick fix that pairs well after a sweet mug dessert night.
Serving & Storage Suggestions
This molten lava cake is best enjoyed warm, straight from the mug. The contrast between the tender cake and molten center tastes most indulgent when freshly cooked. For a quick garnish, a dusting of powdered sugar, a scoop of vanilla ice cream, or a dollop of whipped cream makes a lovely touch.
If you want to prepare ahead, you can mix the dry and wet ingredients in the mug, cover tightly with plastic wrap, and refrigerate for up to 24 hours. When ready to enjoy, add the chocolate center and microwave as usual.
Leftovers aren’t ideal since the molten texture changes once cooled, but if you do have some, store the mug covered in the fridge for up to 2 days. Reheat carefully in 10-second bursts to avoid overcooking.
Flavors tend to mellow slightly if you let the batter sit a bit before cooking, so it’s okay to prep a few minutes ahead if needed. Pair your molten cake with a freshly brewed coffee or a glass of cold milk to balance the richness perfectly.
Nutritional Information & Benefits
One mug serving of this easy no-mixer molten lava cake clocks in at approximately 350-400 calories, depending on the chocolate used. It provides a satisfying dose of carbohydrates and fats, mainly from the sugar, flour, and oil.
The cocoa powder contributes antioxidants and minerals like iron and magnesium, while the small amount of milk adds calcium and protein. This dessert isn’t a health food per se, but it’s a much better option than many store-bought microwave snacks, especially since it uses minimal processed ingredients.
For those avoiding gluten or dairy, the recipe adapts well without sacrificing texture or flavor. Just be mindful of allergen substitutions to maintain the gooey effect. Overall, it’s a wonderfully indulgent treat that satisfies cravings without complicated prep or additives.
Conclusion
If you want a dessert that’s both indulgent and effortless, this easy no-mixer molten lava cakes in coffee mugs recipe is a keeper. It’s perfect for anyone who loves chocolate but shies away from complex baking or long cleanups. The best part? It’s customizable, quick, and somehow still feels special.
I adore this recipe because it turned my “can’t even” evenings into moments of simple joy—and it’s become a little ritual when I need that sweet reset. Whether you’re treating yourself or surprising a friend, these mug cakes bring a warm, chocolaty hug right when you need it most.
Give it a try and see how easy it is to satisfy your chocolate cravings in minutes. And if you’re intrigued by quick, comforting meals, you might appreciate the cozy single serve chicken pot pie that’s equally straightforward but savory.
Let me know how your mug cake turns out, or share your own twists—I’m always excited to hear what fun variations you come up with!
Frequently Asked Questions
Can I use a regular oven instead of a microwave?
Yes! Use an oven-safe ramekin and bake at 350°F (175°C) for 12-14 minutes. The texture will be similar but might take a bit longer to get that molten center just right.
What if I don’t have cocoa powder? Can I use melted chocolate instead?
Cocoa powder is essential for the cake’s structure and flavor. Melted chocolate alone won’t give the same texture. If you want more chocolate flavor, add chocolate chips but keep the cocoa powder in the batter.
How can I tell when the molten lava cake is done?
The edges should look set and firm, while the center remains slightly soft and jiggly. Avoid cooking too long to keep the gooey chocolate core.
Can I make this recipe vegan?
Yes, swap milk for any plant-based milk and use oil instead of butter. Also, ensure your chocolate is dairy-free. The texture might vary slightly but still delicious.
Is it possible to make this recipe ahead of time?
You can mix the dry and wet ingredients in the mug and refrigerate for up to 24 hours. Add the chocolate piece just before microwaving for best results.
Pin This Recipe!
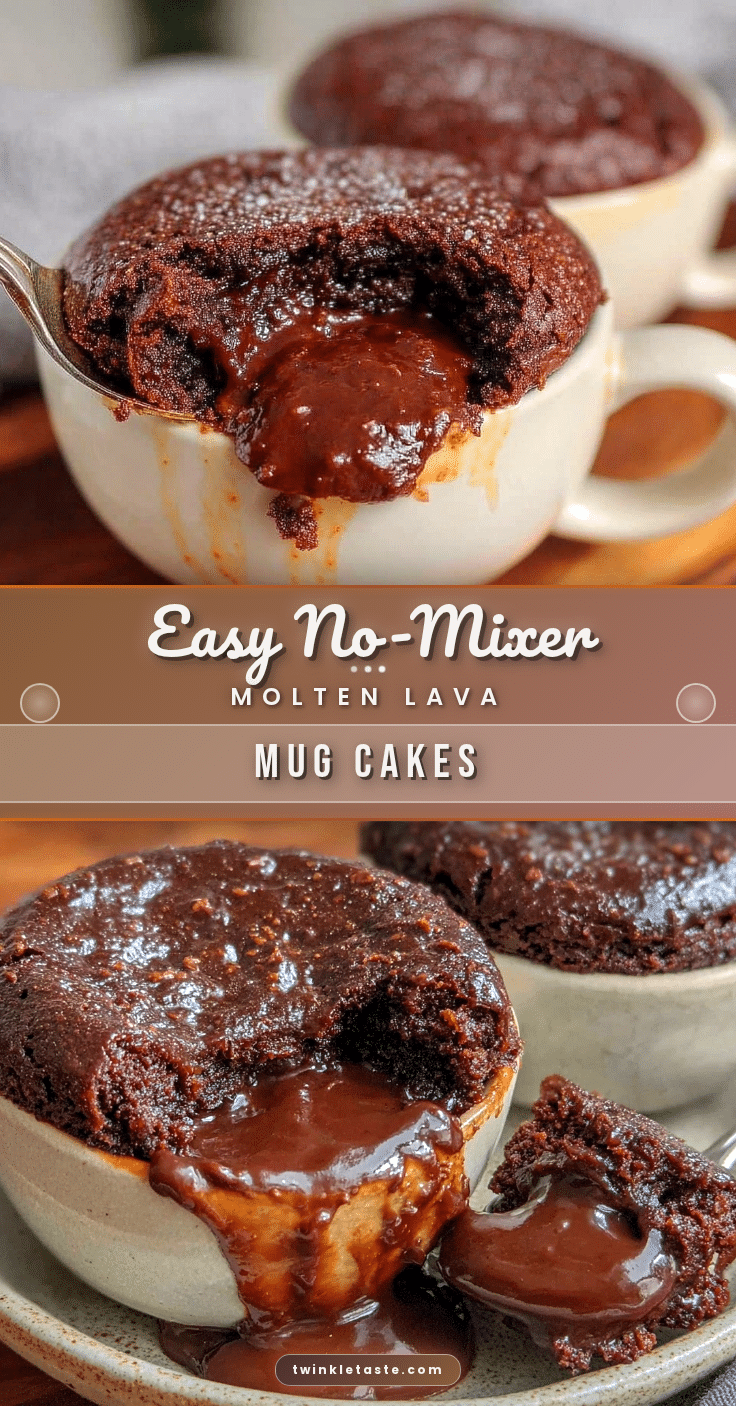
Easy No-Mixer Molten Lava Cakes Recipe for Perfect Coffee Mug Desserts

A quick and easy microwave mug cake recipe that creates a warm, chocolatey molten lava cake with a gooey center, perfect for an indulgent dessert in under 10 minutes without any mixer.
- Prep Time: 4 minutes
- Cook Time: 1.5 minutes
- Total Time: 5.5 minutes
- Yield: 1 serving 1x
- Category: Dessert
- Cuisine: American
Ingredients
- 4 tablespoons (30 grams) all-purpose flour, sifted
- 3 tablespoons (15 grams) unsweetened cocoa powder
- 4 tablespoons (50 grams) granulated white sugar
- 1/4 teaspoon baking powder
- A pinch of salt
- 3 tablespoons (45 ml) whole milk (or any milk/dairy-free milk)
- 2 tablespoons (30 ml) vegetable oil (or light olive oil/canola oil)
- 1/2 teaspoon vanilla extract
- 1 square (about 30 grams) semi-sweet or dark chocolate piece or 2 tablespoons chocolate chips
Instructions
- Lightly grease the inside of a microwave-safe coffee mug with butter or non-stick spray.
- In the mug, combine sifted flour, cocoa powder, sugar, baking powder, and salt. Stir gently with a fork to break lumps and mix evenly.
- Add milk, vegetable oil, and vanilla extract to the dry ingredients. Stir briskly until smooth and thick but pourable. Add a splash more milk if too dry.
- Press the chocolate piece or chocolate chips gently into the center of the batter without mixing it in.
- Microwave on high for 60 to 90 seconds. Check after 60 seconds; the edges should be set and the center soft. Add 10-15 second increments if needed, avoiding overcooking.
- Let the mug cake cool for about 1 minute to thicken the molten center, then enjoy warm.
Notes
Do not overmix the batter to avoid tough cakes. Use room temperature ingredients for smooth batter. Watch microwave time closely to keep the molten center gooey. Standard mug size is important to avoid overflow or thin cake. You can bake in an oven-safe ramekin at 350°F for 12-14 minutes as an alternative. Variations include peanut butter center, berries, mint chocolate, gluten-free flour substitutions, and dairy-free milk/oil swaps.
Nutrition
- Serving Size: One mug cake (about
- Calories: 375
- Sugar: 35
- Sodium: 150
- Fat: 18
- Saturated Fat: 5
- Carbohydrates: 50
- Fiber: 4
- Protein: 5
Keywords: molten lava cake, mug cake, microwave dessert, no mixer dessert, quick chocolate cake, easy dessert, coffee mug dessert