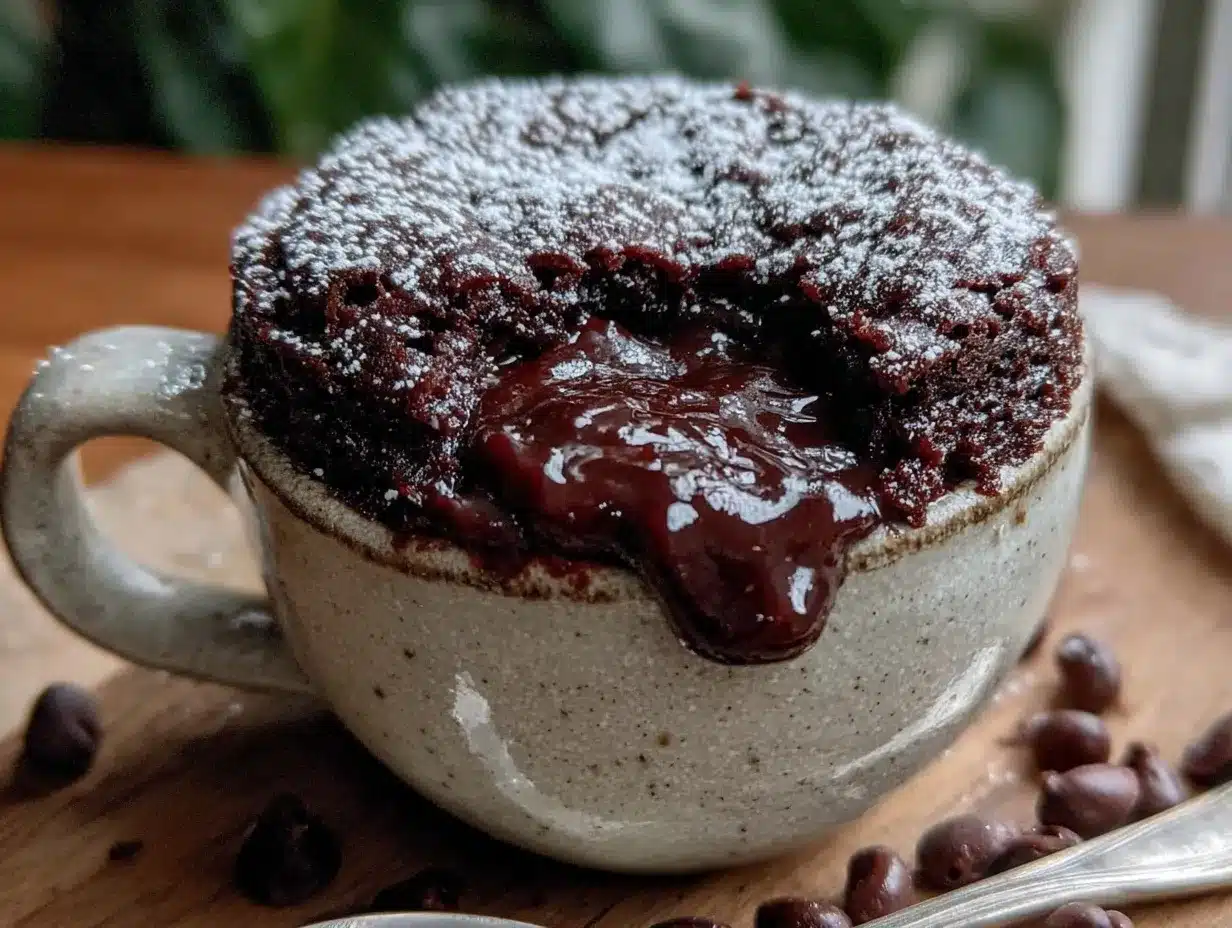
Let me tell you, the moment that warm, molten chocolate center oozes out from this easy single serve chocolate lava cake in a mug is pure magic. The rich aroma of cocoa mingling with melted butter fills the kitchen, making you want to dive right in (you know, before it cools off). The first time I made this dessert was on a rainy Saturday afternoon when I was knee-high to a grasshopper, trying to satisfy a serious chocolate craving without baking a whole cake. I was instantly hooked — the kind of moment where you pause, take a deep breath, and just smile because you know you’re onto something truly special.
This mug cake has become a staple in my household, especially when the family can’t stop sneaking bites straight from the microwave (and honestly, I can’t blame them). Years ago, I wish I’d discovered this dangerously easy treat that delivers pure, nostalgic comfort in just minutes. Whether you’re craving a quick sweet for a late-night snack, a last-minute dessert for guests, or just something to brighten up your Pinterest cookie board, this recipe has got your back. I’ve tested it a dozen times in the name of research, of course, and it never disappoints.
Why You’ll Love This Recipe
This easy single serve chocolate lava cake in a mug isn’t just any dessert—it’s a game changer for quick chocolate fixes. Here’s why it’s a winner every time:
- Quick & Easy: Takes under 5 minutes from start to finish, perfect for busy nights or sudden cravings.
- Simple Ingredients: No fancy shopping required; you probably have everything in your pantry right now.
- Perfect for Solo Indulgence: Designed for one, so no leftovers or sharing dilemmas.
- Crowd-Pleaser: Kids, adults, everyone loves the gooey center and tender crumb.
- Unbelievably Delicious: The combo of a slightly crisp top and molten chocolate inside is comfort food in its finest form.
What sets this recipe apart? Honestly, it’s the balance—the right amount of cocoa, butter, and a touch of sugar that hits the spot without being overly sweet. Plus, the mug method means you get that fresh-baked taste without heating the whole kitchen or pulling out a mixer. It’s comfort food reimagined—faster and fuss-free but with all the soul-soothing vibes intact. Perfect for impressing guests or quiet solo indulgence, this recipe is guaranteed to make you close your eyes after the first bite.
What Ingredients You Will Need
This recipe uses simple, wholesome ingredients to deliver bold chocolate flavor and a satisfyingly soft texture without the fuss. Most are pantry staples, and substitutions are easy if needed.
- All-purpose flour – 4 tablespoons (about 30 grams), provides structure to the cake.
- Sugar – 4 tablespoons (50 grams), adds just the right amount of sweetness.
- Unsweetened cocoa powder – 2 tablespoons (15 grams), for that rich chocolate taste. I recommend using a good-quality brand like Hershey’s or Valrhona for best results.
- Baking powder – 1/4 teaspoon, helps the cake rise and become tender.
- Salt – a pinch, to balance the sweetness and enhance the chocolate flavor.
- Milk – 3 tablespoons (45 ml), use whole or 2% milk for creaminess; dairy-free alternatives like almond or oat milk work well too.
- Vegetable oil – 2 tablespoons (30 ml), keeps the cake moist. You can substitute melted coconut oil for a subtle twist.
- Vanilla extract – 1/4 teaspoon, adds warmth and depth.
- Chocolate chips or chunks – 2 tablespoons, for that gooey lava center. Semi-sweet or dark chocolate works best.
Optional: A pinch of instant espresso powder can amplify the chocolate flavor without adding coffee taste. Also, feel free to swap the chocolate chips with caramel bits or peanut butter cups for a fun variation.
Equipment Needed
- Microwave-safe mug: Choose one that holds at least 12 ounces (350 ml) to avoid overflow.
- Measuring spoons and cups: Accuracy helps, especially with cocoa and baking powder.
- Small mixing bowl or directly in the mug: You can mix ingredients right in the mug if you prefer fewer dishes.
- Whisk or fork: For mixing the batter smoothly.
- Microwave: Obviously necessary! Make sure it’s in good working order for even cooking.
Personal tip: If your mug has a narrow base, the cake might cook unevenly. I prefer a wider mug that lets the batter spread nicely for consistent texture. For those without a microwave, a toaster oven or air fryer on a low setting can sometimes work, but you’ll need to watch closely.
Preparation Method
- Mix dry ingredients: In your mug or a small bowl, combine 4 tablespoons (30 g) of all-purpose flour, 4 tablespoons (50 g) of sugar, 2 tablespoons (15 g) of unsweetened cocoa powder, 1/4 teaspoon baking powder, and a pinch of salt. Stir thoroughly with a fork or whisk to ensure even distribution. This should take about 1 minute.
- Add wet ingredients: Pour in 3 tablespoons (45 ml) of milk, 2 tablespoons (30 ml) of vegetable oil, and 1/4 teaspoon vanilla extract. Mix well until a smooth batter forms without lumps, roughly 1-2 minutes. The batter should be thick but pourable.
- Insert the lava center: Gently press 2 tablespoons of chocolate chips or chunks into the center of the batter, pushing them slightly down but not mixing in. This is the secret to the molten middle.
- Microwave on high: Cook your mug cake for 70-90 seconds (timing depends on your microwave wattage). Start checking at 70 seconds—cake edges should be set, while the center remains slightly gooey. Avoid overcooking, or you lose that lava effect.
- Cool briefly: Let the cake rest for 1-2 minutes after microwaving. It will continue to cook slightly and firm up just enough while keeping the center molten.
- Enjoy: Grab a spoon and dig in! If you want, top with a scoop of vanilla ice cream or a dusting of powdered sugar for extra flair.
Quick tip: Microwaves vary wildly, so if this is your first time, watch carefully the first go. If the cake seems too wet, add 5-10 seconds; if dry, reduce time. Also, do not overfill your mug—leave at least an inch from the top to prevent spills.
Cooking Tips & Techniques
To get that perfect lava cake texture, timing is everything. Honestly, it’s tempting to cook it longer for a “done” cake, but the magic lies in slightly undercooking the center. The edges should be firm, but the middle soft and gooey.
Use a high-quality cocoa powder to avoid bitterness, and sift it with the flour if you want an ultra-smooth batter. Mixing the batter well but not overdoing it keeps the cake tender as well.
One common mistake is overheating, which leads to a dry cake without a molten center. My advice? Start on the lower end of cooking time and add seconds as needed. Also, let the cake rest after microwaving—this helps set the edges and keeps the lava flowing inside.
If you find your microwave heats unevenly, try rotating the mug halfway through cooking or use a microwave-safe turntable for even results. And trust me, using a wider mug not only prevents messes but helps the cake cook uniformly.
Variations & Adaptations
- Dietary twist: Swap all-purpose flour for almond or oat flour to make it gluten-free. Use coconut sugar or a sugar substitute if you want a lower-sugar version.
- Flavor swaps: Add a teaspoon of instant espresso powder for a mocha kick, or swirl in peanut butter or Nutella for a nutty lava center.
- Seasonal options: Toss in some fresh or frozen raspberries for a fruity surprise. In winter, a pinch of cinnamon or chili powder adds cozy warmth.
- Cooking method: If you don’t have a microwave, you can bake this in a preheated 350°F (175°C) oven for about 12-15 minutes, but watch closely to keep the molten center.
- Personal variation: I once tried stirring in a tablespoon of cream cheese for a cheesecake lava effect—dangerously delicious and worth experimenting!
Serving & Storage Suggestions
This single serve chocolate lava cake is best enjoyed warm right out of the mug, when that molten center is at its most luscious. Serve it with a scoop of vanilla ice cream or a dollop of whipped cream to balance the richness.
For a simple touch, sprinkle powdered sugar or cocoa powder on top, or add fresh berries for color and freshness. It pairs beautifully with a cup of coffee or a glass of cold milk.
If you want to prep ahead, you can mix the dry ingredients in the mug and store them sealed at room temperature. Just add wet ingredients and chocolate chips when ready to cook.
Leftovers? Honestly, these cakes don’t keep well once cooked—it’s best fresh. But if you must, cover the mug with plastic wrap and refrigerate for up to a day. Reheat carefully in 10-second bursts to avoid drying out.
Flavor develops best just after cooking, so don’t wait too long before digging in—that molten center waits for no one!
Nutritional Information & Benefits
Each easy single serve chocolate lava cake in a mug contains approximately:
| Nutrient | Amount per serving |
|---|---|
| Calories | 320 |
| Fat | 18g |
| Carbohydrates | 38g |
| Protein | 4g |
| Sugar | 25g |
The cocoa powder provides antioxidants, and using vegetable oil keeps the fat profile neutral. You can tweak the recipe for lower sugar or substitute dairy-free milk to suit dietary needs. Gluten-free adaptations with almond flour add a boost of healthy fats and protein.
While it’s definitely a treat, this recipe fits well into a balanced diet when enjoyed occasionally. From my experience, it’s a great way to satisfy sweet cravings without overindulging in large portions.
Conclusion
In the end, this easy single serve chocolate lava cake in a mug is the kind of recipe you’ll want to keep bookmarked. It’s quick, fuss-free, and hits that chocolate craving like no other. You can tweak it to your liking, whether that’s dairy-free, gluten-free, or with a twist of your favorite flavors.
Honestly, I love how it feels like a warm hug in dessert form—perfect for those moments when you want a little indulgence without the hassle. Give it a try, and don’t forget to share how you made it your own. Leave a comment or tell me about your favorite variation—I’m always eager to hear your tasty successes!
So go ahead, whip one up and enjoy that molten magic!
FAQs
Can I make this lava cake without a microwave?
Yes! You can bake it in a preheated 350°F (175°C) oven for 12-15 minutes. Keep a close eye to avoid overbaking and losing the lava center.
What if I don’t have cocoa powder?
You can substitute with melted dark chocolate (about 30g), but reduce the oil slightly to compensate for the extra fat.
Can I make this recipe vegan?
Absolutely. Use plant-based milk like almond or oat, replace the egg with a flax egg or omit entirely, and use dairy-free chocolate chips.
How do I know when the cake is done?
The edges should look set and spring back lightly when touched, while the center remains soft and gooey. It will firm up a bit after resting.
Can I add other mix-ins?
Sure! Chopped nuts, caramel bits, or berries work well. Just be careful not to overload the batter to keep the right texture.
Pin This Recipe!
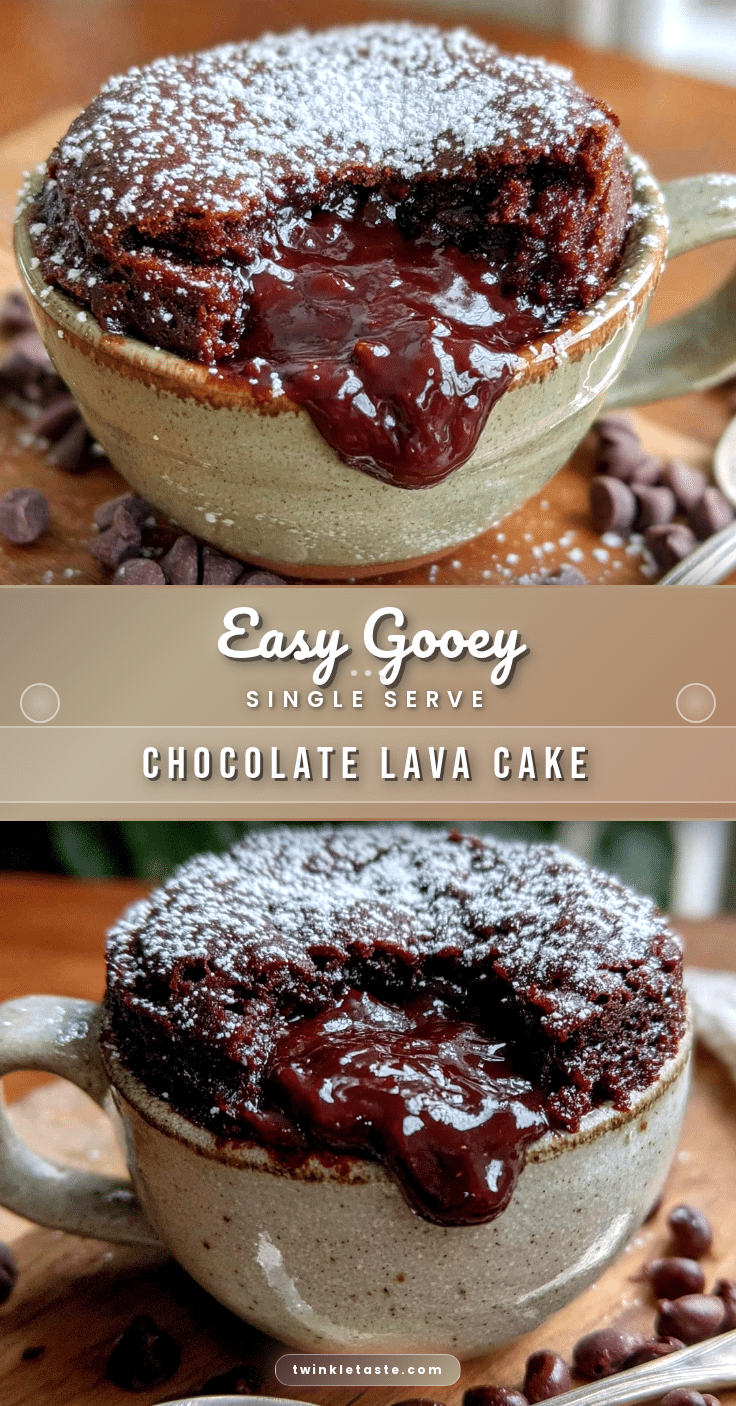
Easy Single Serve Chocolate Lava Cake Recipe Perfect for Quick Desserts in a Mug
A quick and easy single serve chocolate lava cake made in a mug, delivering a rich molten chocolate center in under 5 minutes. Perfect for solo indulgence or last-minute desserts.
- Prep Time: 3 minutes
- Cook Time: 1.5 minutes
- Total Time: 5 minutes
- Yield: 1 serving 1x
- Category: Dessert
- Cuisine: American
Ingredients
- 4 tablespoons all-purpose flour (about 30 grams or 1/4 cup)
- 4 tablespoons sugar (50 grams or about 1/4 cup)
- 2 tablespoons unsweetened cocoa powder (15 grams)
- 1/4 teaspoon baking powder
- Pinch of salt
- 3 tablespoons milk (45 ml, whole or 2%)
- 2 tablespoons vegetable oil (30 ml)
- 1/4 teaspoon vanilla extract
- 2 tablespoons chocolate chips or chunks (semi-sweet or dark chocolate)
Instructions
- In your mug or a small bowl, combine 4 tablespoons (30 g) of all-purpose flour, 4 tablespoons (50 g) of sugar, 2 tablespoons (15 g) of unsweetened cocoa powder, 1/4 teaspoon baking powder, and a pinch of salt. Stir thoroughly with a fork or whisk to ensure even distribution. This should take about 1 minute.
- Pour in 3 tablespoons (45 ml) of milk, 2 tablespoons (30 ml) of vegetable oil, and 1/4 teaspoon vanilla extract. Mix well until a smooth batter forms without lumps, roughly 1-2 minutes. The batter should be thick but pourable.
- Gently press 2 tablespoons of chocolate chips or chunks into the center of the batter, pushing them slightly down but not mixing in.
- Microwave on high for 70-90 seconds, starting to check at 70 seconds. The cake edges should be set while the center remains slightly gooey. Avoid overcooking.
- Let the cake rest for 1-2 minutes after microwaving to firm up while keeping the center molten.
- Enjoy warm, optionally topped with vanilla ice cream or powdered sugar.
Notes
Use a wider mug for even cooking and to prevent overflow. Start with 70 seconds cooking time and add in 5-10 second increments if needed. Let the cake rest after microwaving to set edges and keep the molten center. For gluten-free, substitute all-purpose flour with almond or oat flour. Dairy-free milk and chocolate chips can be used for vegan adaptation. Optional additions include instant espresso powder, caramel bits, or peanut butter cups for flavor variations.
Nutrition
- Serving Size: 1 mug cake
- Calories: 320
- Sugar: 25
- Fat: 18
- Carbohydrates: 38
- Protein: 4
Keywords: chocolate lava cake, mug cake, single serve dessert, quick dessert, microwave cake, easy chocolate cake