Let me tell you, the scent of rich chocolate mingling with fresh raspberry jam straight from the oven is enough to make anyone’s mouth water. The first time I made these Perfect Valentine’s Chocolate Raspberry Heart Sandwiches, I was instantly hooked—the kind of moment where you pause, take a deep breath, and just smile because you know you’re onto something truly special. Years ago, when I was knee-high to a grasshopper, Valentine’s Day meant store-bought sweets, but stumbling across this homemade recipe on a rainy weekend changed everything. Honestly, it feels like a warm hug wrapped in a sweet treat.
My family couldn’t stop sneaking these heart-shaped delights off the cooling rack (and I can’t really blame them). You know what? These sandwiches are dangerously easy to make but deliver pure, nostalgic comfort with every bite. Perfect for a cozy breakfast, a sweet treat for your kids, or brightening up your Pinterest cookie board, these sandwiches have become a staple for our family gatherings and gifting. I’ve tested this recipe more times than I can count—in the name of research, of course—and it never disappoints.
Why You’ll Love This Recipe
Having tested countless Valentine’s treats, I can honestly say these Chocolate Raspberry Heart Sandwiches stand out for several reasons:
- Quick & Easy: Comes together in under 30 minutes, perfect for last-minute sweet cravings or a festive breakfast surprise.
- Simple Ingredients: No need for fancy grocery trips—you likely already have everything in your kitchen pantry.
- Perfect for Valentine’s Day: Sweet, charming, and heartfelt, these sandwiches are great for sharing with loved ones or impressing guests.
- Crowd-Pleaser: Kids adore them, and adults keep coming back for more; the balance of chocolate and raspberry is irresistible.
- Unbelievably Delicious: The buttery, flaky sandwich paired with luscious raspberry jam and melted chocolate creates a next-level comfort food experience.
What makes these sandwiches different? It’s the delicate heart shape that adds a touch of whimsy, plus the ultra-smooth chocolate spread combined with tangy raspberry jam that hits all the right notes. This isn’t just another sweet sandwich; it’s the version you’ll want to make year after year. After the first bite, you’ll close your eyes and savor that perfect combo of flavors and textures. It’s classic comfort food reimagined—simple, sweet, and full of love.
What Ingredients You Will Need
This recipe uses simple, wholesome ingredients to deliver bold flavor and satisfying texture without the fuss. Most of these are pantry staples, and substitutions are easy if needed.
- For the Sandwiches:
- 6 slices of white sandwich bread (or whole wheat for a healthier twist)
- 4 tablespoons unsalted butter, softened (adds richness and helps with browning)
- For the Filling:
- 1/2 cup high-quality chocolate spread (I recommend a smooth hazelnut chocolate spread for best texture)
- 1/3 cup raspberry jam (look for seedless or smooth jam for easy spreading)
- For Garnish (Optional):
- Powdered sugar for dusting
- Fresh raspberries for serving
If you want to switch things up a bit, almond butter can stand in for chocolate spread, or use a sugar-free jam for a lighter option. For gluten-free lovers, gluten-free bread works just fine—just be sure it’s sturdy enough to hold up when toasted. When I use fresh raspberry jam in summer, the flavor is unbeatable, but the store-bought kind works well year-round.
Equipment Needed
- Heart-shaped cookie cutter (about 3 inches in diameter) – if you don’t have one, a small round cutter or even a sharp knife will work.
- Non-stick skillet or griddle – for evenly toasting the sandwiches.
- Butter knife or small offset spatula – to spread the chocolate and jam smoothly.
- Cutting board – for assembling and cutting the sandwiches.
- Spatula – to flip the sandwiches without losing any filling.
If you’re on a budget, a simple non-stick pan and a butter knife are all you really need. I’ve tried this on electric griddles and cast iron pans; both work great as long as you keep the heat moderate to avoid burning. Regular maintenance of your non-stick skillet (like seasoning or gentle cleaning) will keep it in tip-top shape for these sandwiches and beyond.
Preparation Method

- Prepare the bread: Lay out the six slices of bread on your cutting board. Using your heart-shaped cookie cutter, press firmly to cut out hearts from each slice. (If you’re using a knife, carefully cut out a heart shape approximately 3 inches wide.)
- Butter the bread: Spread a thin layer of softened butter on one side of each heart-shaped bread piece. This will help achieve that golden, crispy texture when toasted. Be sure not to add too much butter, or it may get greasy.
- Assemble the sandwiches: Flip three of the buttered hearts so the buttered side is down. Spread about 1 tablespoon (15 ml) of chocolate spread evenly over each piece. Then, add 1 teaspoon (5 ml) of raspberry jam on top of the chocolate. Finally, place another heart-shaped bread piece buttered side up on top, creating a sandwich.
- Heat your skillet: Warm your non-stick skillet or griddle over medium heat for about 2 minutes. You want it hot enough to toast but not so hot that the butter burns.
- Cook the sandwiches: Place the sandwiches carefully in the skillet. Cook for 2-3 minutes on each side, pressing gently with a spatula to encourage even browning. The sandwiches should be golden brown and the chocolate slightly melted inside.
- Remove and cool: Transfer the sandwiches to a wire rack or plate. Let them cool for a minute or two to firm up—this prevents the filling from oozing out when you bite in.
- Optional finishing touches: Dust lightly with powdered sugar and garnish with fresh raspberries for a festive Valentine’s presentation.
Pro tip: If you find the sandwiches are browning too quickly before the chocolate melts, lower the heat and cover the skillet loosely with a lid for 30 seconds to trap some warmth. This little trick helps melt the filling without burning the bread.
Cooking Tips & Techniques
Here are some tips I learned the hard way to get these sandwiches just right:
- Butter timing matters: Spread softened butter right before cooking. If it melts too early, the bread can get soggy and greasy.
- Don’t overload the filling: Too much chocolate or jam can cause the sandwiches to fall apart or become messy. A thin, even layer works best.
- Low and slow wins the race: Medium to medium-low heat lets the bread toast evenly while giving the chocolate time to melt. High heat burns the bread before the filling warms through.
- Press gently: When flipping, use a spatula to press lightly but firmly for better contact and crispness.
- Multitasking tip: While one batch cooks, assemble the next sandwiches to keep things moving efficiently.
- Cleaning tip: Wipe your skillet between batches if you notice excess butter pooling; this prevents burning bits from sticking.
Variations & Adaptations
If you feel like mixing things up or catering to different tastes, here are some tasty variations:
- Nut-free option: Swap the chocolate spread for a safe seed butter like sunflower seed butter combined with raspberry jam.
- Seasonal twist: In spring or summer, use fresh strawberry jam or a berry compote instead of raspberry jam for a fruity change.
- Decadent upgrade: Add a sprinkle of chopped toasted nuts (like hazelnuts or almonds) inside for crunch and extra flavor.
- Dairy-free adaptation: Use dairy-free butter and a vegan chocolate spread to make these suitable for plant-based diets.
- Mini versions: Use a smaller heart-shaped cutter for bite-sized sandwiches—perfect for parties or kids’ snacks.
Personally, I once tried adding a tiny pinch of cinnamon to the chocolate spread before assembling—it gave the sandwiches a cozy, subtle warmth that was surprisingly delightful. Feel free to experiment with your favorite flavors!
Serving & Storage Suggestions
These sandwiches are best served warm or at room temperature for that gooey, melty chocolate experience. Serve them alongside a cup of rich hot cocoa or a fresh berry smoothie to complement the fruity notes.
If you’re prepping ahead, you can store the sandwiches in an airtight container at room temperature for up to 4 hours. For longer storage, refrigerate for up to 2 days—just reheat gently in a skillet or toaster oven to bring back the crispness.
Freezing is possible too! Wrap each sandwich tightly in plastic wrap and place in a freezer bag. When you want a treat, thaw at room temp and warm in a pan over low heat until crispy and melty again.
Over time, the flavors meld nicely, especially if you let the sandwiches sit for 10 minutes after cooking. The raspberry jam softens and blends with the chocolate, creating a luscious filling that’s nothing short of dreamy.
Nutritional Information & Benefits
Each Perfect Valentine’s Chocolate Raspberry Heart Sandwich roughly contains:
| Nutrient | Amount per Sandwich |
|---|---|
| Calories | 220-250 kcal |
| Fat | 12 g (mostly from butter and chocolate spread) |
| Carbohydrates | 28 g |
| Sugar | 14 g (from jam and chocolate) |
| Protein | 3 g |
The raspberry jam adds antioxidants and vitamin C, while the chocolate spread provides a touch of iron and magnesium. Using whole wheat bread bumps up the fiber content, making it a bit more filling. If you’re watching allergens, note that these sandwiches contain gluten, dairy, and nuts (from chocolate spread) unless substituted.
From my wellness perspective, treating yourself to a homemade sweet like this every now and then is a lovely way to enjoy life’s little pleasures without guilt—especially when you know exactly what’s going into your food.
Conclusion
To wrap it up, these Perfect Valentine’s Chocolate Raspberry Heart Sandwiches are sweet, simple, and downright charming. They’re a recipe you can trust to impress without stress, customize to your taste, and share with those you care about. I love this recipe because it combines a classic flavor combo with a heartwarming presentation—just the thing to make Valentine’s Day (or any day) feel special.
Go ahead and try it out, tweak it to your liking, and don’t forget to drop a comment sharing your favorite variations or tips. Sharing is caring, after all! Here’s to sweet moments and homemade love—you’re going to want to bookmark this one.
FAQs
Can I use frozen raspberry jam for this recipe?
Absolutely! Just thaw it before spreading to avoid tearing the bread. Frozen jam works well if fresh isn’t available.
What if I don’t have a heart-shaped cookie cutter?
No worries! Use a small round cutter or carefully cut the shape with a knife. The sandwiches taste just as good even if they’re not perfectly heart-shaped.
Can I make these sandwiches ahead of time?
You can assemble them and store in the fridge for a few hours before toasting, but they’re best eaten fresh and warm for that melty filling.
How do I keep the sandwiches from getting soggy?
Use softened butter sparingly and toast on medium heat to get a crisp exterior quickly. Also, avoid over-spreading jam or chocolate.
Is there a vegan version of this recipe?
Yes! Use dairy-free butter, a vegan chocolate spread, and vegan bread to make these sandwiches plant-based and just as tasty.
Pin This Recipe!
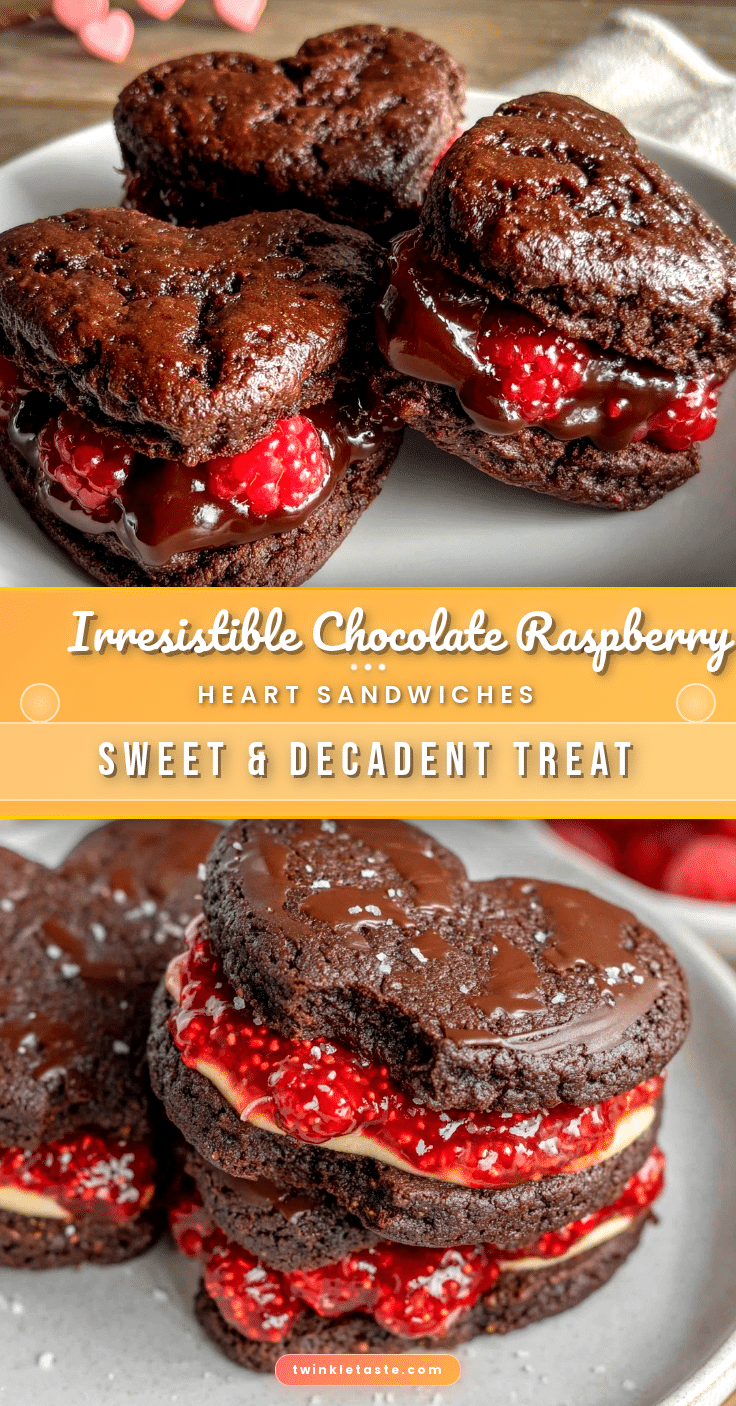
Perfect Valentine’s Chocolate Raspberry Heart Sandwiches

These heart-shaped sandwiches combine rich chocolate spread and tangy raspberry jam between buttery toasted bread, perfect for a sweet Valentine’s treat or cozy breakfast.
- Prep Time: 10 minutes
- Cook Time: 10 minutes
- Total Time: 20 minutes
- Yield: 3 sandwiches 1x
- Category: Dessert
- Cuisine: American
Ingredients
- 6 slices white sandwich bread (or whole wheat for a healthier twist)
- 4 tablespoons unsalted butter, softened
- 1/2 cup high-quality chocolate spread (smooth hazelnut chocolate spread recommended)
- 1/3 cup raspberry jam (seedless or smooth preferred)
- Powdered sugar for dusting (optional)
- Fresh raspberries for serving (optional)
Instructions
- Lay out six slices of bread on a cutting board. Use a heart-shaped cookie cutter (about 3 inches) to cut out hearts from each slice. Alternatively, carefully cut a heart shape with a knife.
- Spread a thin layer of softened butter on one side of each heart-shaped bread piece.
- Flip three of the buttered hearts so the buttered side is down. Spread about 1 tablespoon of chocolate spread evenly over each piece, then add 1 teaspoon of raspberry jam on top. Place another heart-shaped bread piece buttered side up on top to form a sandwich.
- Warm a non-stick skillet or griddle over medium heat for about 2 minutes.
- Place the sandwiches in the skillet and cook for 2-3 minutes on each side, pressing gently with a spatula to encourage even browning until golden brown and chocolate is slightly melted.
- Transfer sandwiches to a wire rack or plate and let cool for 1-2 minutes to firm up.
- Optionally, dust with powdered sugar and garnish with fresh raspberries before serving.
Notes
Spread softened butter right before cooking to avoid soggy bread. Use medium to medium-low heat to toast evenly and melt chocolate without burning. Press gently when flipping sandwiches. If sandwiches brown too quickly, lower heat and cover skillet loosely for 30 seconds to help melt filling.
Nutrition
- Serving Size: 1 sandwich
- Calories: 235
- Sugar: 14
- Sodium: 180
- Fat: 12
- Saturated Fat: 7
- Carbohydrates: 28
- Fiber: 2
- Protein: 3
Keywords: Valentine's Day, chocolate raspberry sandwiches, heart-shaped sandwiches, sweet treat, easy dessert, homemade, breakfast, chocolate spread, raspberry jam