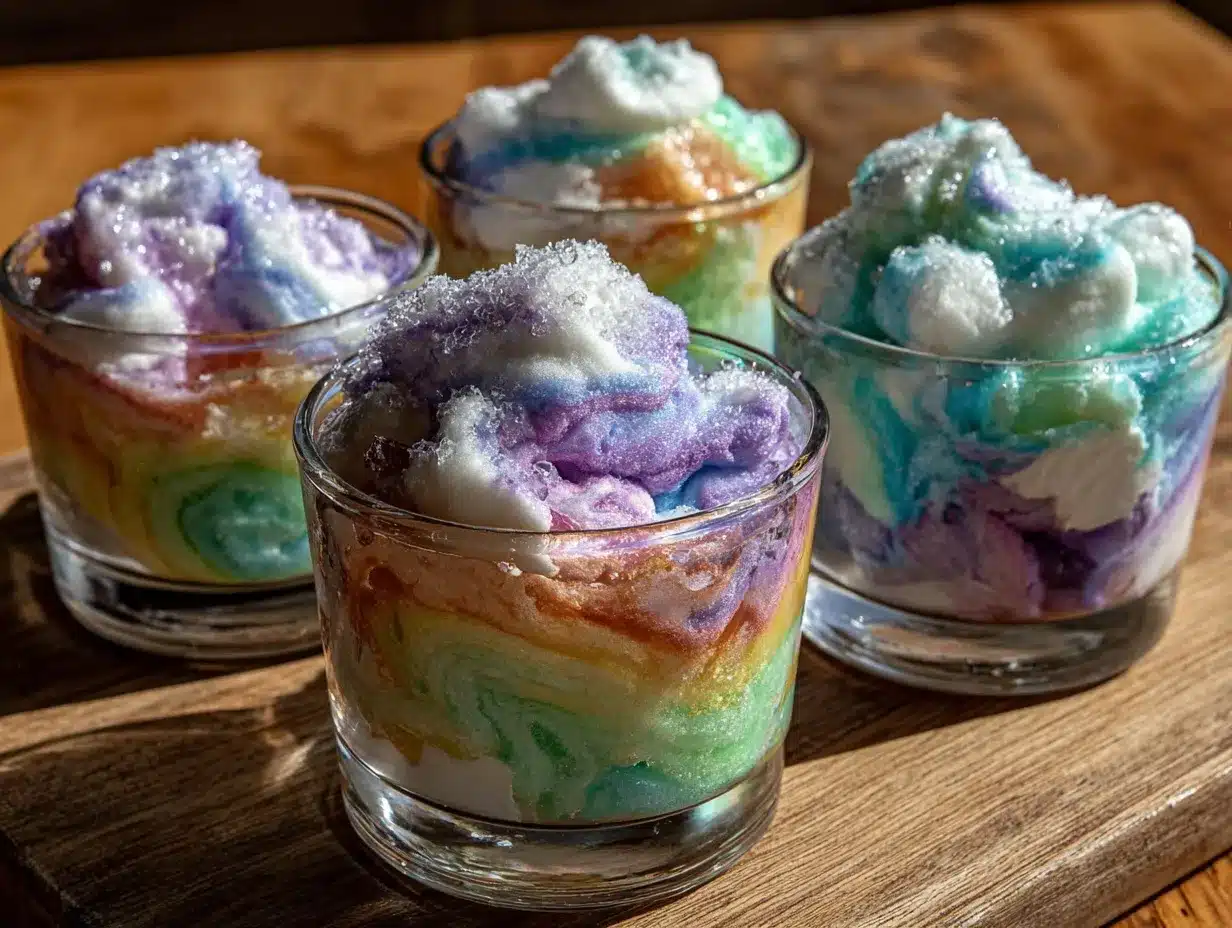
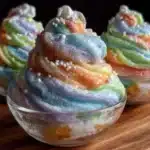
Let me tell you, the moment you unwrap a fluffy, pastel swirl of rainbow cotton candy, it’s like a carnival exploded right in your hands—sweet, airy, with colors so bright you can’t help but grin. Now, imagine capturing that magical feeling and turning it into a fun, playful treat with these whimsical rainbow cotton candy cups. The first time I made these, I was knee-high to a grasshopper in spirit, even if not in height. It was one of those rainy afternoons when boredom was creeping in, and I wanted something that would bring sheer joy to the table. Honestly, the kind of moment where you pause, take a deep breath, and just smile because you know you’re onto something truly special.
Years ago, I stumbled upon the idea while helping my niece with a school project themed around colors and celebrations. I thought, “Why not make a treat that’s as fun to look at as it is to eat?” My family couldn’t stop sneaking them off the cooling rack (and I can’t really blame them). The cotton candy cups are dangerously easy to make and deliver pure, nostalgic comfort with a modern twist. Perfect for potlucks, birthday parties, or just a sweet surprise after dinner, these cups brighten up your Pinterest cookie board and your day. After testing the recipe multiple times (in the name of research, of course), they’ve become a staple for family gatherings, gifting, and whenever you want to add a little whimsy to your snack game.
Why You’ll Love This Whimsical Rainbow Cotton Candy Cups Recipe
Honestly, you’re going to appreciate how this recipe marries simplicity with a playful spirit. I’ve put it through the wringer in my kitchen, and here’s why it stands out:
- Quick & Easy: Comes together in under 30 minutes, perfect for last-minute cravings or an impromptu party treat.
- Simple Ingredients: No fancy grocery trips needed; you likely have everything in your pantry already.
- Perfect for Celebrations: Great for kids’ parties, rainbow-themed events, or anytime you want to wow guests without the fuss.
- Crowd-Pleaser: Kids and adults alike rave about the fun textures and vibrant colors.
- Unbelievably Delicious: The melt-in-your-mouth cotton candy paired with the crisp cup shell is a texture dream.
This isn’t just another cotton candy recipe. The secret is in the playful layering of colors and the easy-to-make cup base that holds it all together. Plus, it’s flexible—you can customize the colors or flavors to match your mood or occasion. This recipe feels like comfort food reimagined—lighter, sweeter, and with that unmistakable carnival charm. Whether you want to impress guests or create a joyful treat for the little ones, these whimsical rainbow cotton candy cups have got you covered.
What Ingredients You Will Need
This recipe uses simple, wholesome ingredients to deliver bold flavor and satisfying texture without the fuss. Most are pantry staples or easy to find in your local store. Here’s what you’ll gather for your whimsical rainbow cotton candy cups:
- Granulated sugar (2 cups / 400g) – The base for your cotton candy sweetness.
- Light corn syrup (1/2 cup / 120ml) – Adds that perfect chew and prevents crystallization.
- Water (1/2 cup / 120ml) – For dissolving sugar and syrup evenly.
- Assorted food coloring gels (red, blue, yellow, green, purple) – Choose vibrant gels for the brightest rainbow effect.
- Flavored extracts (optional; vanilla, raspberry, lemon) – Adds extra dimension to your cotton candy flavors.
- Powdered sugar (for dusting) – Keeps the cotton candy from sticking and adds a soft finish.
- Mini paper or silicone cups – To shape and hold your cotton candy cups (I prefer reusable silicone for less waste).
- Vegetable oil spray – For lightly greasing the cups so the cotton candy lifts easily.
If you want to switch things up, almond extract adds a lovely twist, and you can find natural food colorings if you prefer to avoid artificial dyes. The key is to use gel-based colors so you don’t add extra liquid to your sugar syrup, which could throw off the texture. For the cotton candy base, I recommend a trusted brand like Domino for sugar and Karo for corn syrup, as they give the best consistency.
Equipment Needed
- Heavy-bottomed saucepan: To cook the sugar syrup evenly without burning.
- Candy thermometer: Essential for hitting the perfect sugar temperature (around 320°F / 160°C).
- Hand mixer or whisk: To help spin and fluff the cotton candy once it cools slightly.
- Silicone or paper cups: For shaping the cotton candy cups.
- Heatproof spatula: Useful for stirring and scraping the sugar mixture.
- Wire rack: For cooling your cotton candy cups.
If you don’t have a candy thermometer, a digital one is a budget-friendly option that I swear by for accuracy and durability. And while a hand mixer speeds things up, a sturdy whisk can do the trick if you’re patient. Silicone cups are my personal favorite because they’re easy to remove your cotton candy treat and clean up afterward, but paper works just fine for a one-time party.
Preparation Method
- Prepare your workspace and cups (10 minutes): Lightly spray the silicone or paper cups with vegetable oil spray, then dust them lightly with powdered sugar. This helps your cotton candy cups release easily once formed.
- Combine sugar, corn syrup, and water (5 minutes): In your heavy-bottomed saucepan, mix 2 cups (400g) granulated sugar, 1/2 cup (120ml) light corn syrup, and 1/2 cup (120ml) water. Stir gently over medium heat until the sugar dissolves.
- Boil to hard crack stage (10-12 minutes): Attach your candy thermometer and let the mixture boil without stirring. You’ll want to reach 320°F (160°C), also known as the hard crack stage. This is crucial for cotton candy texture—too low and it’ll be sticky; too high and it’ll burn.
- Divide and color the syrup (5 minutes): Remove the pan from heat. Quickly but carefully pour the syrup into separate small heatproof bowls (depending on how many colors you want). Add a few drops of gel food coloring and a splash of flavored extract to each. Stir gently but swiftly to avoid crystallization.
- Spin and form the cotton candy (10-15 minutes): Using a hand mixer or whisk, briskly whisk each colored syrup until it starts to fluff and lighten in color, resembling thin strands or wisps. This step takes patience—think of it as coaxing the syrup into airy ribbons.
- Layer the colors in cups (10 minutes): Carefully spoon or gently twirl each color into your prepared cups, layering them to create that whimsical rainbow effect. You can alternate colors or create your own patterns. Let the cotton candy cups set on a wire rack for about 20 minutes to firm up.
- Final touches and serving (5 minutes): Once set, dust lightly with powdered sugar again if desired, then serve immediately or store in an airtight container to keep the fluffiness intact.
Common troubleshooting tip: If your syrup crystallizes (turns grainy), try reheating gently with a dash of water and a squeeze of lemon juice to smooth it out. And always watch your thermometer closely—getting to the right temperature is half the battle!
Cooking Tips & Techniques
Making cotton candy cups might seem tricky, but a few tricks from my kitchen will get you there smoothly.
- Temperature is king: Use a candy thermometer and don’t rush the hard crack stage. It’s the sweet spot for that perfect texture.
- Keep tools dry: Any moisture can cause your sugar syrup to crystallize. Make sure bowls and utensils are completely dry.
- Work fast with colors: Sugar syrup hardens quickly. Once colored, whisk it immediately to create those wispy cotton candy strands.
- Don’t over-whisk: If you whisk too much, the sugar can become too brittle and lose its fluffiness.
- Layer gently: When building your rainbow cups, carefully layer colors to avoid mixing and losing that vibrant look.
I learned the hard way that skipping the powdered sugar dusting makes removal a nightmare. Also, multitasking during the spinning phase helps—whisk one color while prepping the next. Patience and practice pay off here!
Variations & Adaptations
This recipe is flexible and fun to tweak. Here are a few ways to make it your own:
- Dietary tweaks: For a vegan twist, swap corn syrup with agave syrup, though texture may vary slightly.
- Seasonal flavors: Add pumpkin spice extract in fall or peppermint around the holidays for a festive touch.
- Different color schemes: Use pastel shades for baby showers or neon colors for a glow party.
- Alternative bases: Try shaping the cotton candy over mini waffle cones or edible cookie cups for different textures.
- Personal favorite: I once layered tropical fruit extracts and colors for a beach-themed party—it was a hit!
Allergen note: This recipe is naturally gluten-free and nut-free, but always check your flavor extracts and food colorings to be safe for sensitive guests.
Serving & Storage Suggestions
Serve these whimsical rainbow cotton candy cups fresh at room temperature for the best fluffiness and melt-in-your-mouth feel. They’re perfect on a dessert table with other colorful treats or paired with a cold lemonade or sparkling water to balance the sweetness.
To store, place your cotton candy cups in an airtight container at room temperature—avoid the fridge as humidity will cause them to wilt. They keep best for up to 24 hours, though honestly, they rarely last that long around my house!
If you need to re-fluff them, a gentle puff of cool air from a handheld fan can help revive their lightness. Flavors actually mellow and blend nicely if you let them sit covered for a few hours, making them even more delightful.
Nutritional Information & Benefits
While these whimsical rainbow cotton candy cups are definitely a treat, here’s a quick glance at what you’re enjoying:
| Per Serving (1 cup) | Amount |
|---|---|
| Calories | 120 |
| Sugar | 30g |
| Fat | 0g |
| Protein | 0g |
The main ingredient is sugar, so it’s definitely a sweet treat to enjoy in moderation. On the bright side, it’s free from gluten, dairy, and nuts, making it accessible for many dietary needs. From a wellness perspective, indulging occasionally in something that brings joy and nostalgia is just as important as eating healthily. Life’s about balance, right?
Conclusion
Whimsical rainbow cotton candy cups are a playful, charming treat that’s as fun to make as it is to eat. They bring a splash of color and a burst of sweetness that turns any gathering into a celebration. I love how easy they are to customize and how they spark smiles from kids and adults alike. You’re going to want to bookmark this one for your next party or just because you deserve a little magic in your day.
Don’t be shy—try mixing up your own colors and flavors, then come back and share your creations! I’d love to hear how you make these cotton candy cups uniquely yours. Happy stirring and spinning!
Frequently Asked Questions
How long do rainbow cotton candy cups stay fresh?
They’re best enjoyed within 24 hours at room temperature. Store in an airtight container to keep them fluffy.
Can I make these cotton candy cups without a candy thermometer?
It’s possible but tricky. The thermometer ensures you hit the perfect temperature for texture. Without it, you risk sticky or burnt cotton candy.
Are there natural alternatives to food coloring?
Yes! You can use natural powders like beetroot for red, spirulina for green, or turmeric for yellow, but colors may be less vibrant.
Can I prepare the cotton candy syrup in advance?
It’s best to make and spin the syrup fresh. Stored syrup hardens and won’t fluff properly.
What if my cotton candy is sticky or melts too fast?
Humidity affects cotton candy. Make sure you’re working in a dry environment and dust cups lightly with powdered sugar to prevent sticking.
Pin This Recipe!

Whimsical Rainbow Cotton Candy Cups
A playful and colorful treat that captures the magic of carnival cotton candy in easy-to-make layered cups. Perfect for parties and celebrations, these cotton candy cups combine vibrant colors with a crisp cup shell for a delightful texture.
- Prep Time: 15 minutes
- Cook Time: 15 minutes
- Total Time: 30 minutes
- Yield: 12 servings 1x
- Category: Dessert
- Cuisine: American
Ingredients
- 2 cups granulated sugar (400g)
- 1/2 cup light corn syrup (120ml)
- 1/2 cup water (120ml)
- Assorted food coloring gels (red, blue, yellow, green, purple)
- Flavored extracts (optional; vanilla, raspberry, lemon)
- Powdered sugar (for dusting)
- Mini paper or silicone cups
- Vegetable oil spray
Instructions
- Prepare your workspace and cups: Lightly spray the silicone or paper cups with vegetable oil spray, then dust them lightly with powdered sugar to help cotton candy cups release easily once formed.
- Combine sugar, corn syrup, and water in a heavy-bottomed saucepan. Stir gently over medium heat until the sugar dissolves.
- Boil the mixture without stirring until it reaches 320°F (160°C), the hard crack stage, using a candy thermometer.
- Remove from heat and quickly pour the syrup into separate small heatproof bowls depending on the number of colors desired. Add a few drops of gel food coloring and a splash of flavored extract to each bowl. Stir gently but swiftly.
- Using a hand mixer or whisk, briskly whisk each colored syrup until it starts to fluff and lighten in color, resembling thin strands or wisps.
- Carefully spoon or twirl each color into the prepared cups, layering to create a whimsical rainbow effect. Let the cotton candy cups set on a wire rack for about 20 minutes to firm up.
- Dust lightly with powdered sugar again if desired, then serve immediately or store in an airtight container to keep fluffiness intact.
Notes
Use gel-based food coloring to avoid adding extra liquid which can affect texture. If syrup crystallizes, reheat gently with a dash of water and lemon juice. Work quickly when whisking colored syrup to create fluffy strands. Dust cups with powdered sugar to prevent sticking. Store cotton candy cups in an airtight container at room temperature and consume within 24 hours for best fluffiness.
Nutrition
- Serving Size: 1 cotton candy cup
- Calories: 120
- Sugar: 30
- Carbohydrates: 30
Keywords: cotton candy, rainbow, party treat, easy dessert, colorful, kids dessert, carnival, sweet treat